 Free shipping on orders over £29,85


How to keep resin from bubbling?
Master bubble-free resin pouring with expert techniques.

A smooth, glossy resin finish is the hallmark of a professional project, but unwanted bubbles can spoil even the most carefully crafted artwork or table. This guide explains reliable techniques for preventing and removing bubbles from your resin, so you can achieve crystal-clear results every time. Whether you are a beginner or experienced resin artist, these step-by-step instructions and troubleshooting tips will help ensure a flawless finish.
What You’ll Need
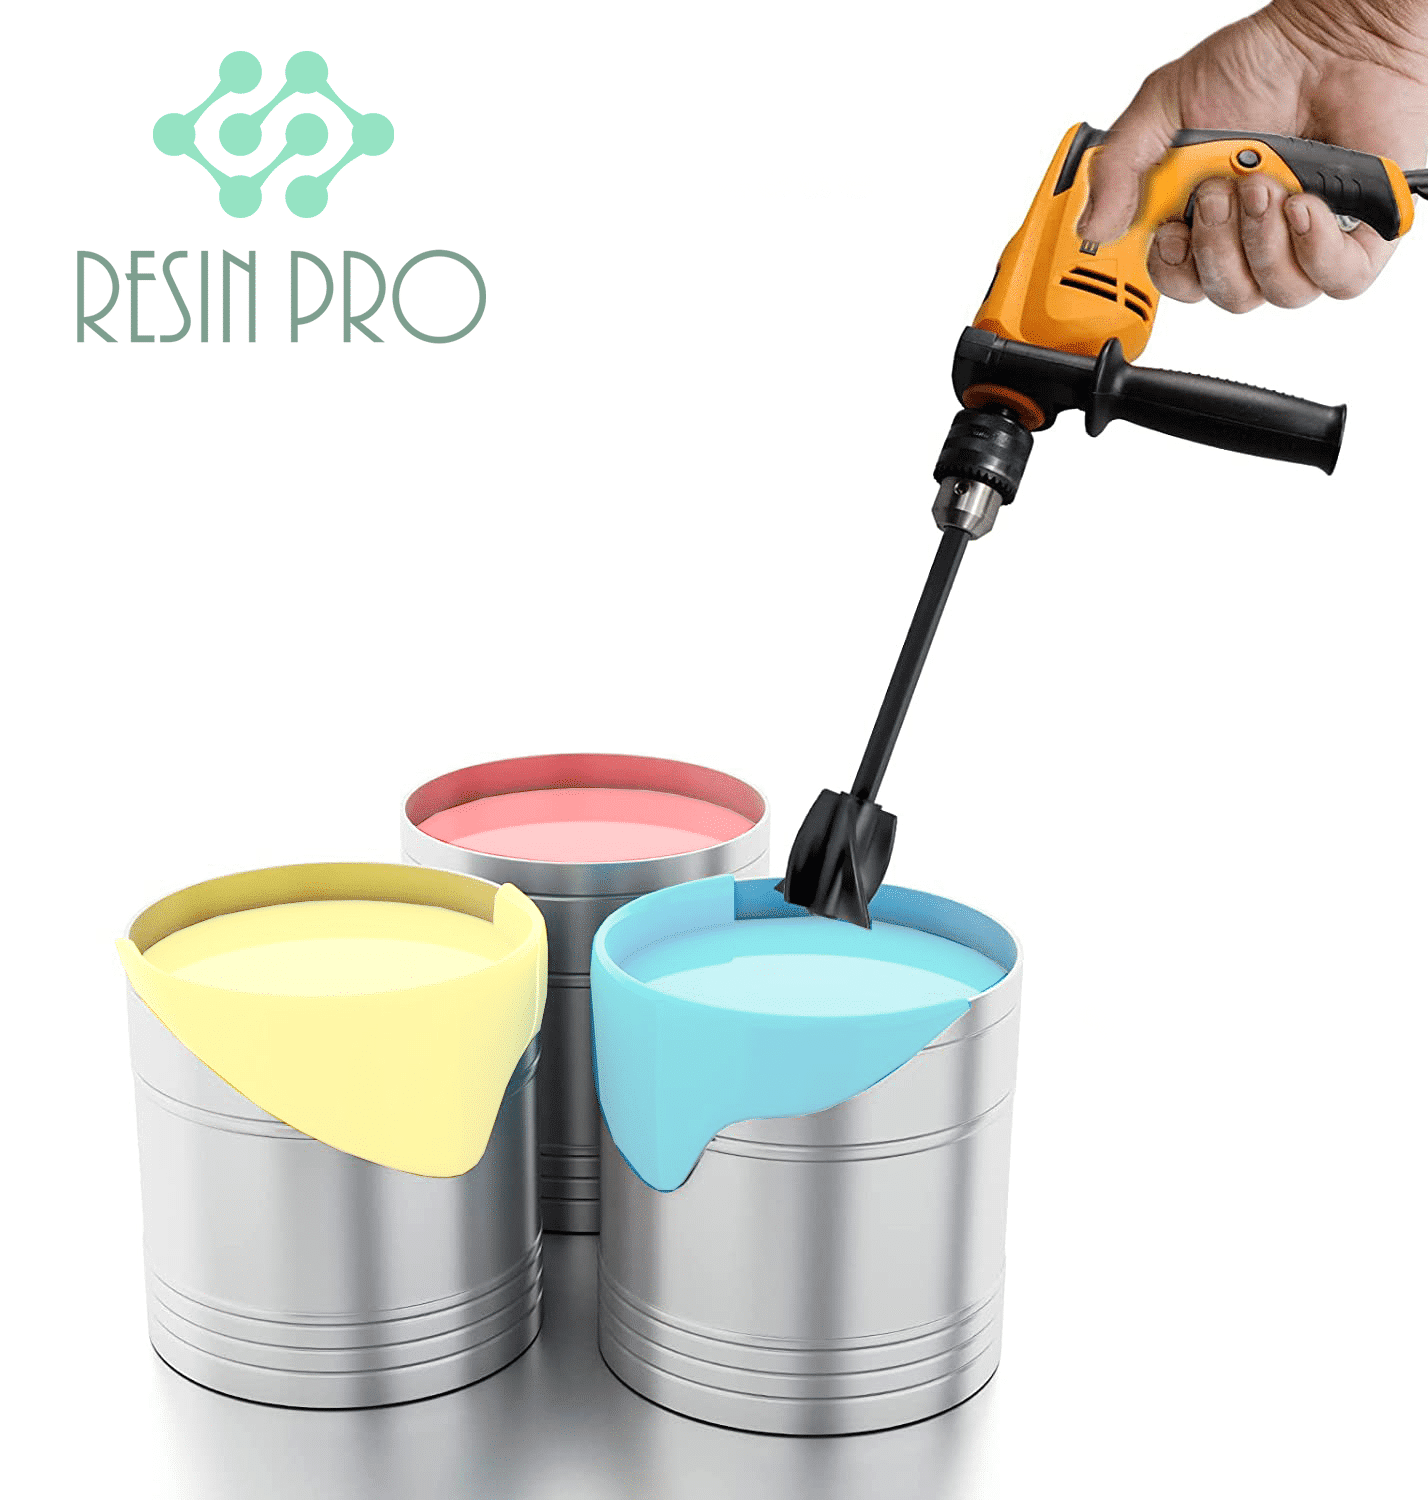
- Anti Bubble Mixer for Epoxy Resin – Reusable Mixing Tool: Gentle stirring minimises air bubbles during mixing.
- Pure Isopropyl Alcohol 99.9% – 1000ml Bottle for Epoxy Resin Projects & DIY: Use for popping surface bubbles and ensuring clean finishes.
- Gas Heat Gun for Epoxy Resin – Precision Tool for Bubble Removal and Finishing: To carefully heat the surface and remove trapped bubbles.
- “Epoxytable 10-Ten” – Deep Pour Epoxy Resin for Tables, Up to 10cm Casting: A low-viscosity resin perfect for bubble-free deep pours.

Visual Guide: Preventing Resin Bubbles
Observe a close-up of slow, deliberate resin mixing or see a video demonstration of bubbles gently rising to the surface. These visuals highlight the impact of proper technique on bubble prevention.
Notice the difference between rapid stirring and slow mixing under ideal lighting for clearer results.
Step 1: Mix Resin Slowly and Carefully
To prevent bubbles at the source, always combine your resin and hardener with a slow, steady motion. Rapid or aggressive stirring traps air, which forms bubbles in the cured resin. Allow ample time for mixing, scraping the sides and bottom of your mixing vessel to ensure consistency.
If you want to minimise bubbles even further, consider using the Anti Bubble Mixer for Epoxy Resin – Reusable Mixing Tool for a gentle, effective stir. This tool is designed to incorporate components with the least agitation, reducing bubble formation.
Step 2: Warm Your Resin and Workspace
Cold resin is more viscous, allowing bubbles to form and become trapped. Warm the resin bottles by placing them in a container of lukewarm water for several minutes—just ensure no water contaminates the resin. Maintain a room temperature environment (ideally 20–25°C) for best results, which helps air rise out of the mixture more easily and thins the resin naturally.
Step 3: Pour in Thin Layers Close to the Surface
Pouring from a height introduces air; instead, hold the jug close to your surface and let the resin flow out gently in thin layers. This technique allows air bubbles to escape before becoming trapped in thicker pours. For larger projects or deep pours, select a resin designed for bubble reduction, such as “Epoxytable 10-Ten” – Deep Pour Epoxy Resin for Tables, Up to 10cm Casting, which features low viscosity to help bubbles escape naturally.
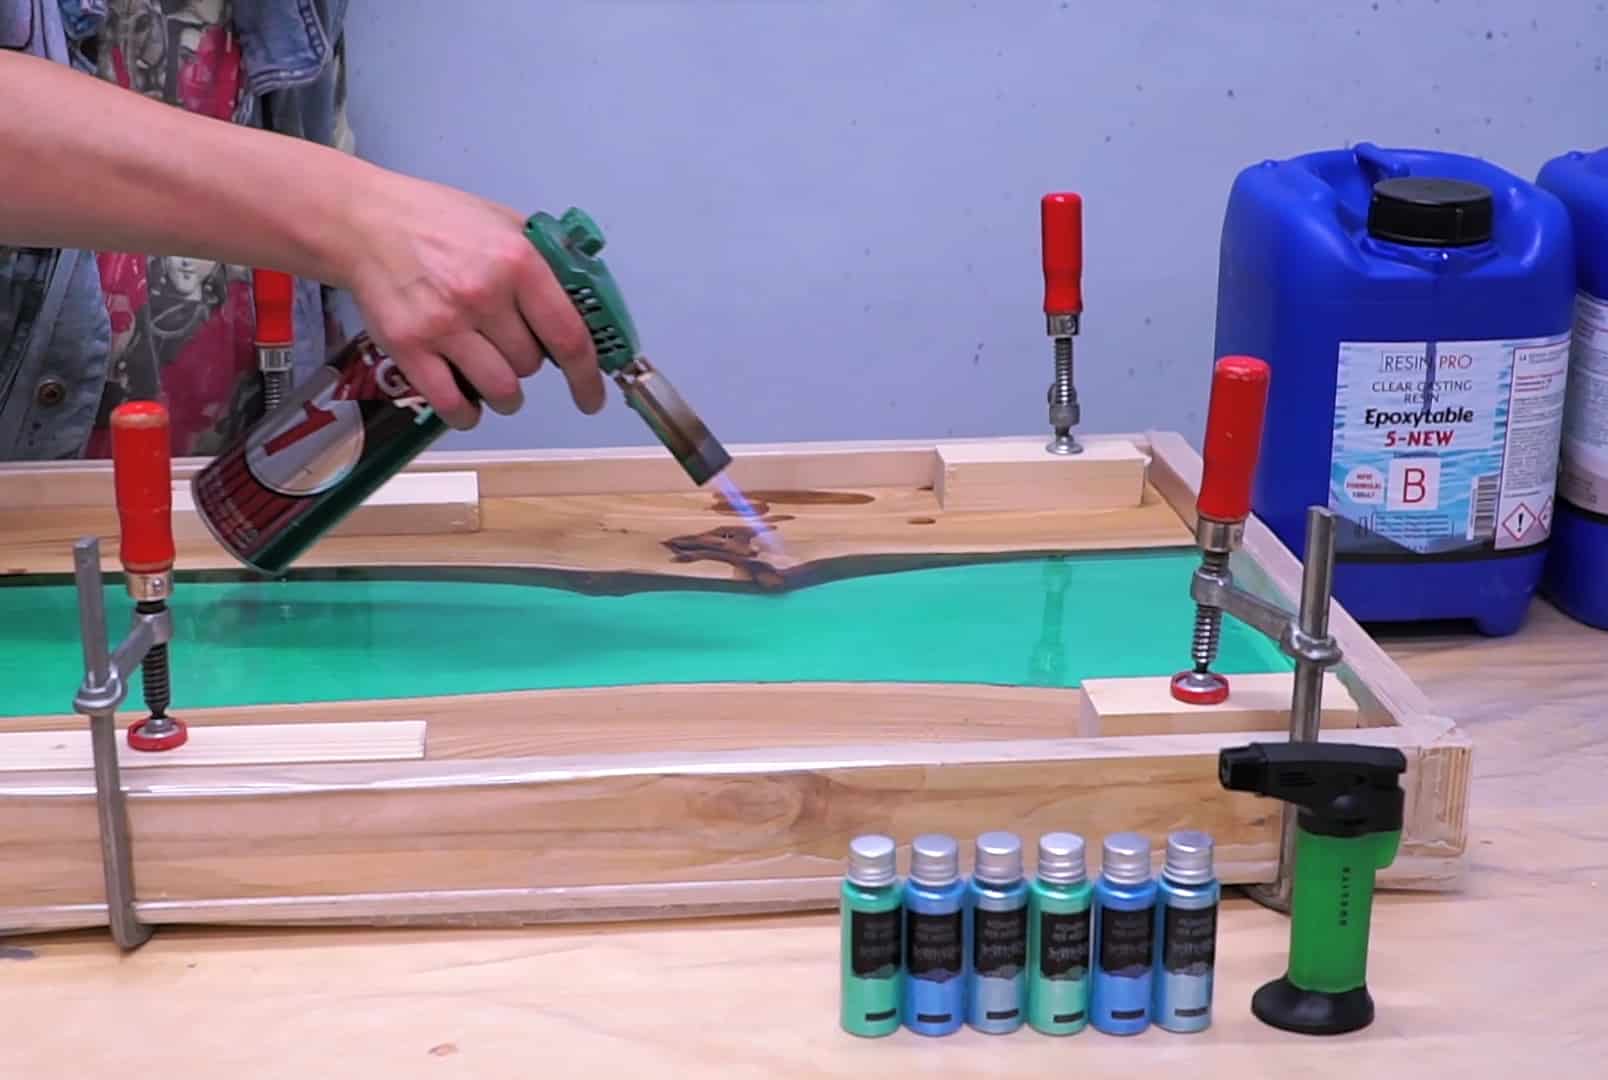
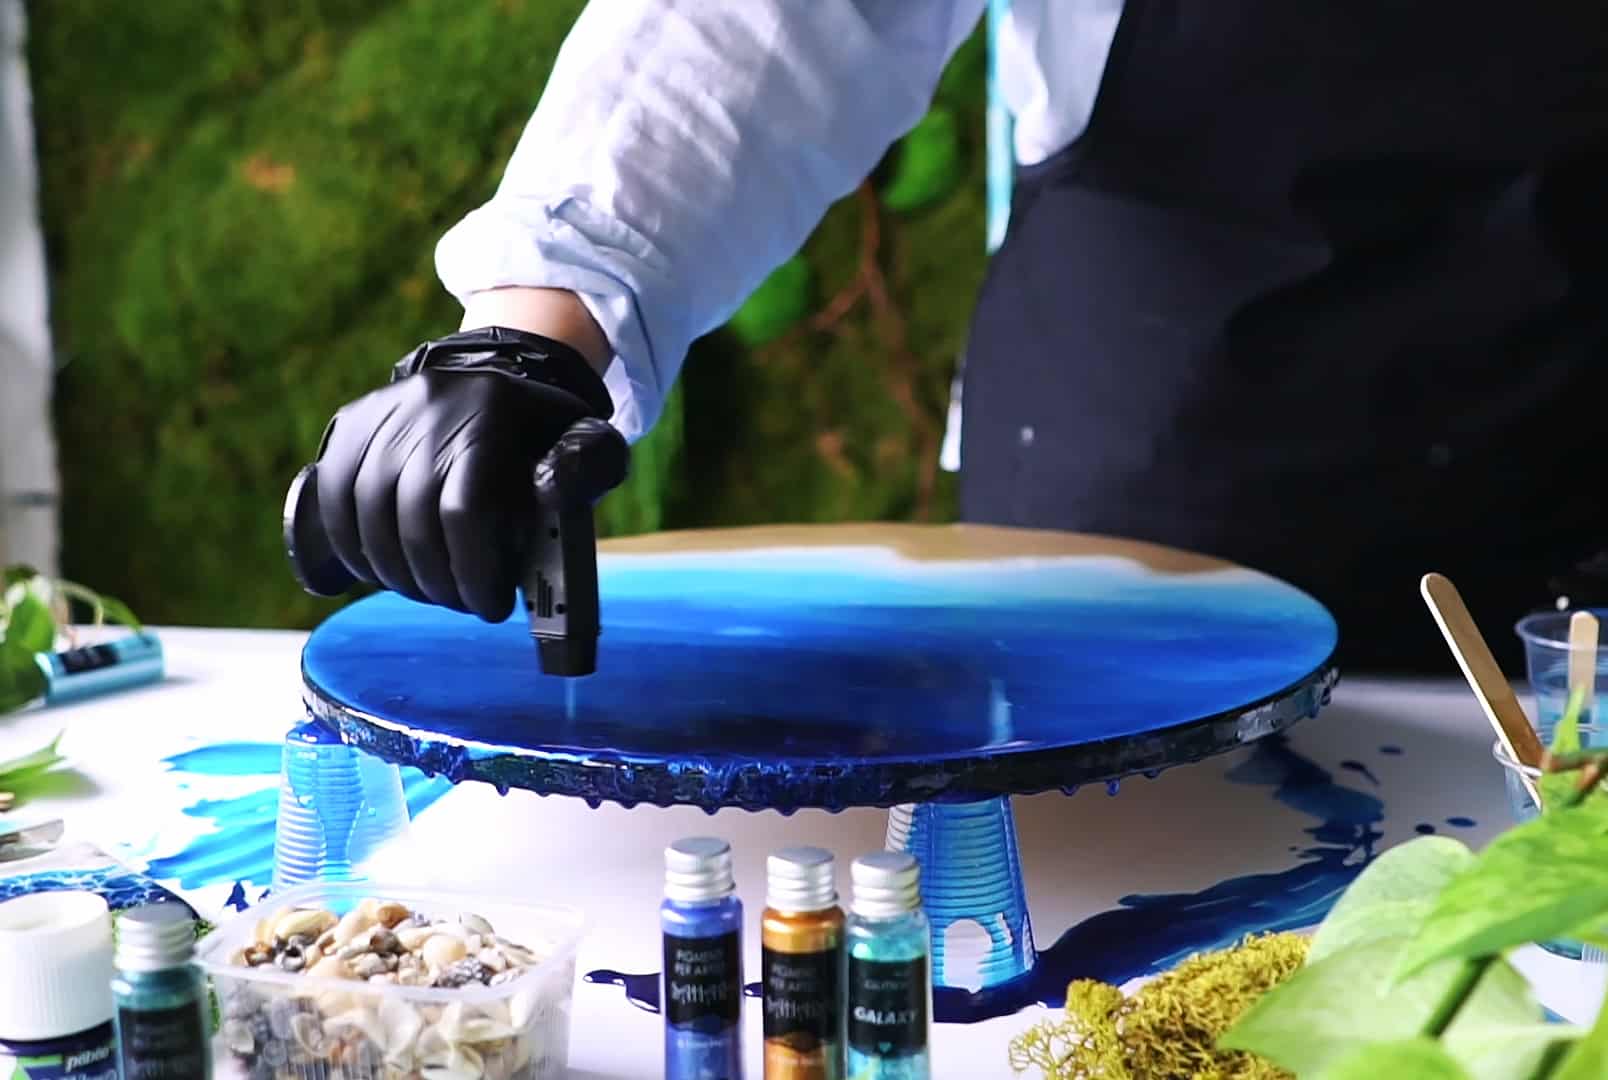
Step 4: Release Trapped Bubbles with Heat or Alcohol
Once the resin is poured, use a heat source, such as the Gas Heat Gun for Epoxy Resin – Precision Tool for Bubble Removal and Finishing, waved gently over the surface. The heat causes bubbles to rise and pop without scorching or disturbing the resin. For smaller projects or final finishing, lightly mist Pure Isopropyl Alcohol 99.9% – 1000ml Bottle for Epoxy Resin Projects & DIY over the surface to eliminate microbubbles. Take care to let alcohol evaporate completely before introducing any heat.
Tips, Common Mistakes and Troubleshooting
- Always stir resin slowly to minimise air introduction: This helps keep your mix free from excess bubbles.
- Warm your resin gently before mixing: It improves flow and allows bubbles to escape naturally.
- Pour resin close to your surface in thin layers: Prevents unneeded air from entering the mixture.
- Use a heat gun or alcohol spray for surface bubbles: Address minor bubbling after pouring for a flawless finish.
- Avoid excessive stirring or shaking: Overworking resin introduces more air than necessary.
If bubbles persist, check your workspace temperature or review your mixing method. Practice and patience are key to mastering bubble-free results.
Technique in Action: Finishing Touches
Watch how a heat gun and isopropyl alcohol are used to release bubbles in freshly poured resin. Examples include moving the gun in smooth passes and using a light alcohol mist for microbubble elimination.
Final close-ups reveal the transformation from bubbled to flawless resin surfaces.

- Anti Bubble Mixer for Epoxy Resin – Reusable Mixing Tool£4.45The Anti Bubble Mixer offers gentle stirring for epoxy resin projects, helping reduce bubbles and saving time.
- Pure Isopropyl Alcohol 99.9% – 1000ml Bottle for Epoxy Resin Projects & DIYPrice range: £9.85 through £19.85Pure Isopropyl Alcohol 99.9% is suitable for epoxy resin projects and helps remove bubbles and enhance resin finishes.
- Gas Heat Gun for Epoxy Resin – Precision Tool for Bubble Removal and FinishingPrice range: £4.15 through £13.85Gas Heat Gun offers precise heating to reduce resin bubbles, suitable for detailed epoxy projects within the theme on keeping resin from bubbling.
 “Epoxytable 10-Ten” – Deep Pour Epoxy Resin for Tables, Up to 10cm CastingPrice range: £33.85 through £334.85“Epoxytable 10-Ten” resin is suitable for deep casting projects up to 10cm with low viscosity aimed at bubble-free surfaces.
Frequently Asked Questions
Will heat remove bubbles in epoxy resin pours?
Yes, gently applying heat with a heat gun helps trapped air rise and pop on the resin's surface.
Can I use isopropyl alcohol for bubble removal?
Yes, misting isopropyl alcohol over uncured resin helps pop small bubbles on the surface for a smoother finish.
Does stirring speed affect bubbles in resin?
Absolutely. Stirring too quickly introduces excess air, so always mix slowly to keep bubbles at bay.
Why is it important to warm the resin and workspace?
Warming reduces viscosity, making it easier for bubbles to escape and improving the final finish.
Which resin is best for bubble-free deep casting?
A low-viscosity resin like 'Epoxytable 10-Ten' is ideal for large, thick pours with minimal bubbles.
How do I fix bubbles that appear after curing?
Sand the area carefully and re-coat with a thin layer of resin to restore a smooth finish.