 Free shipping on orders over £29,85


How do you make the color of the resin?
A practical guide for stunning, custom-coloured resin projects.


Creating coloured resin opens up endless creative possibilities, from art pieces to jewellery and furnishings. This guide covers the essential techniques and considerations for adding vibrant, lasting colour to your resin—whether you crave translucent gemstone effects or bold solid hues. Perfect for artists, crafters, and makers wishing to take their resin work to the next level.
What You’ll Need
- “Colourfun Set” – Liquid Epoxy Resin Colourant Set for Solid Colour Effects – for intense solid or translucent colour
- “Colourfun” – Liquid Epoxy Resin Colourant 25-100ml – High coverage – for customisable, vivid pigment options
- “Magic Crystal” – Transparent Resin Colour 45ml – best for glass-like or crystal effects
- “Magic Crystal” – Set of 5 Transparent Colourants, 5 x 45ml – for jewel-tone transparent finishes
- Clear epoxy or UV resin (as your base)
- Mixing cups, stir sticks, protective gloves, and dust mask (for safety)
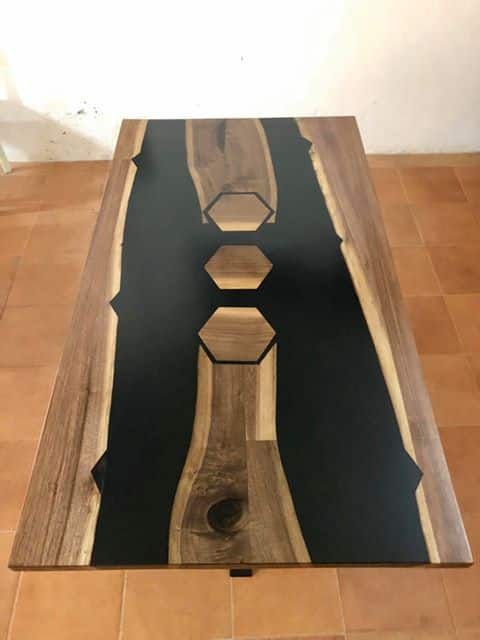
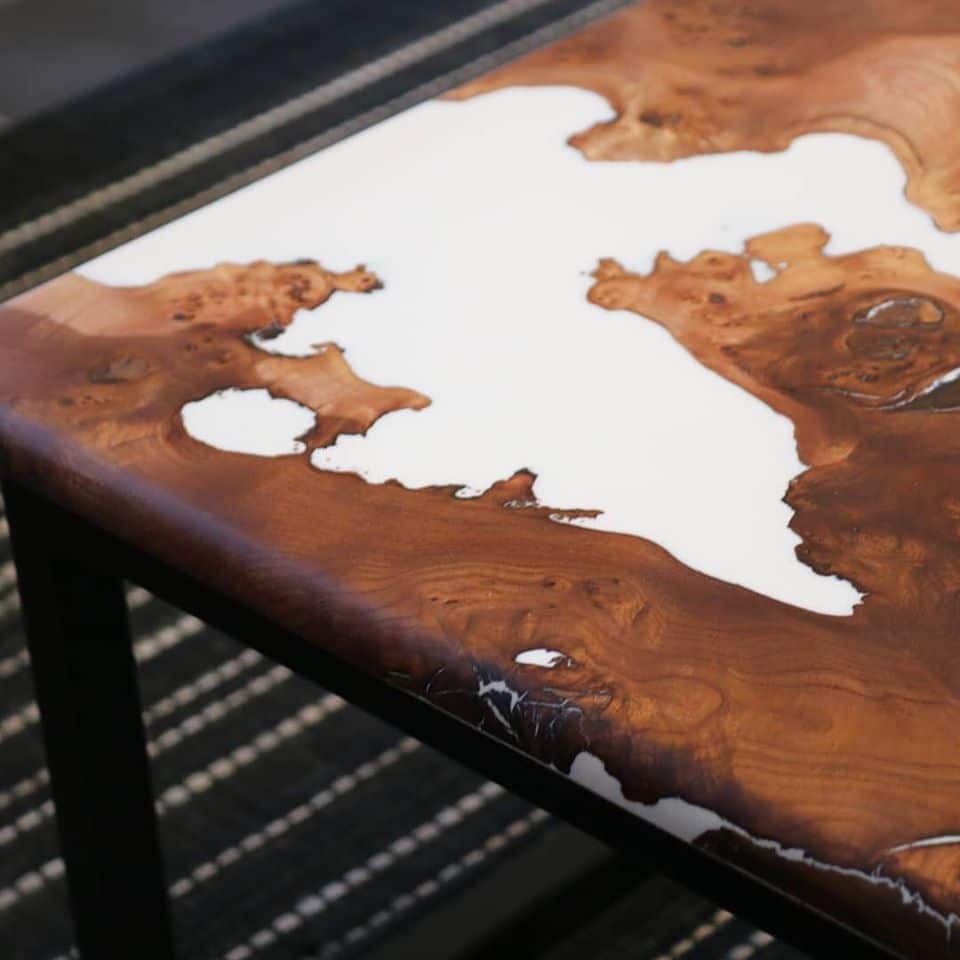
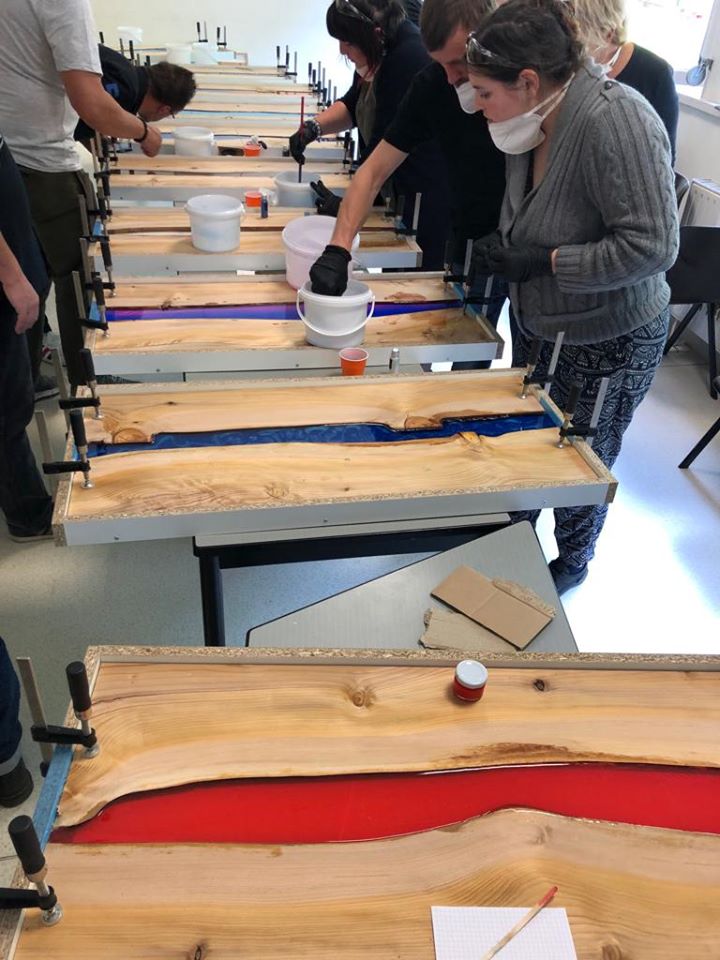
Get inspired by a range of coloured resin applications, from vibrant art pours to crystal-clear jewellery projects. Experimenting with high-quality pigments allows you to achieve glass-like or solid effects in just minutes.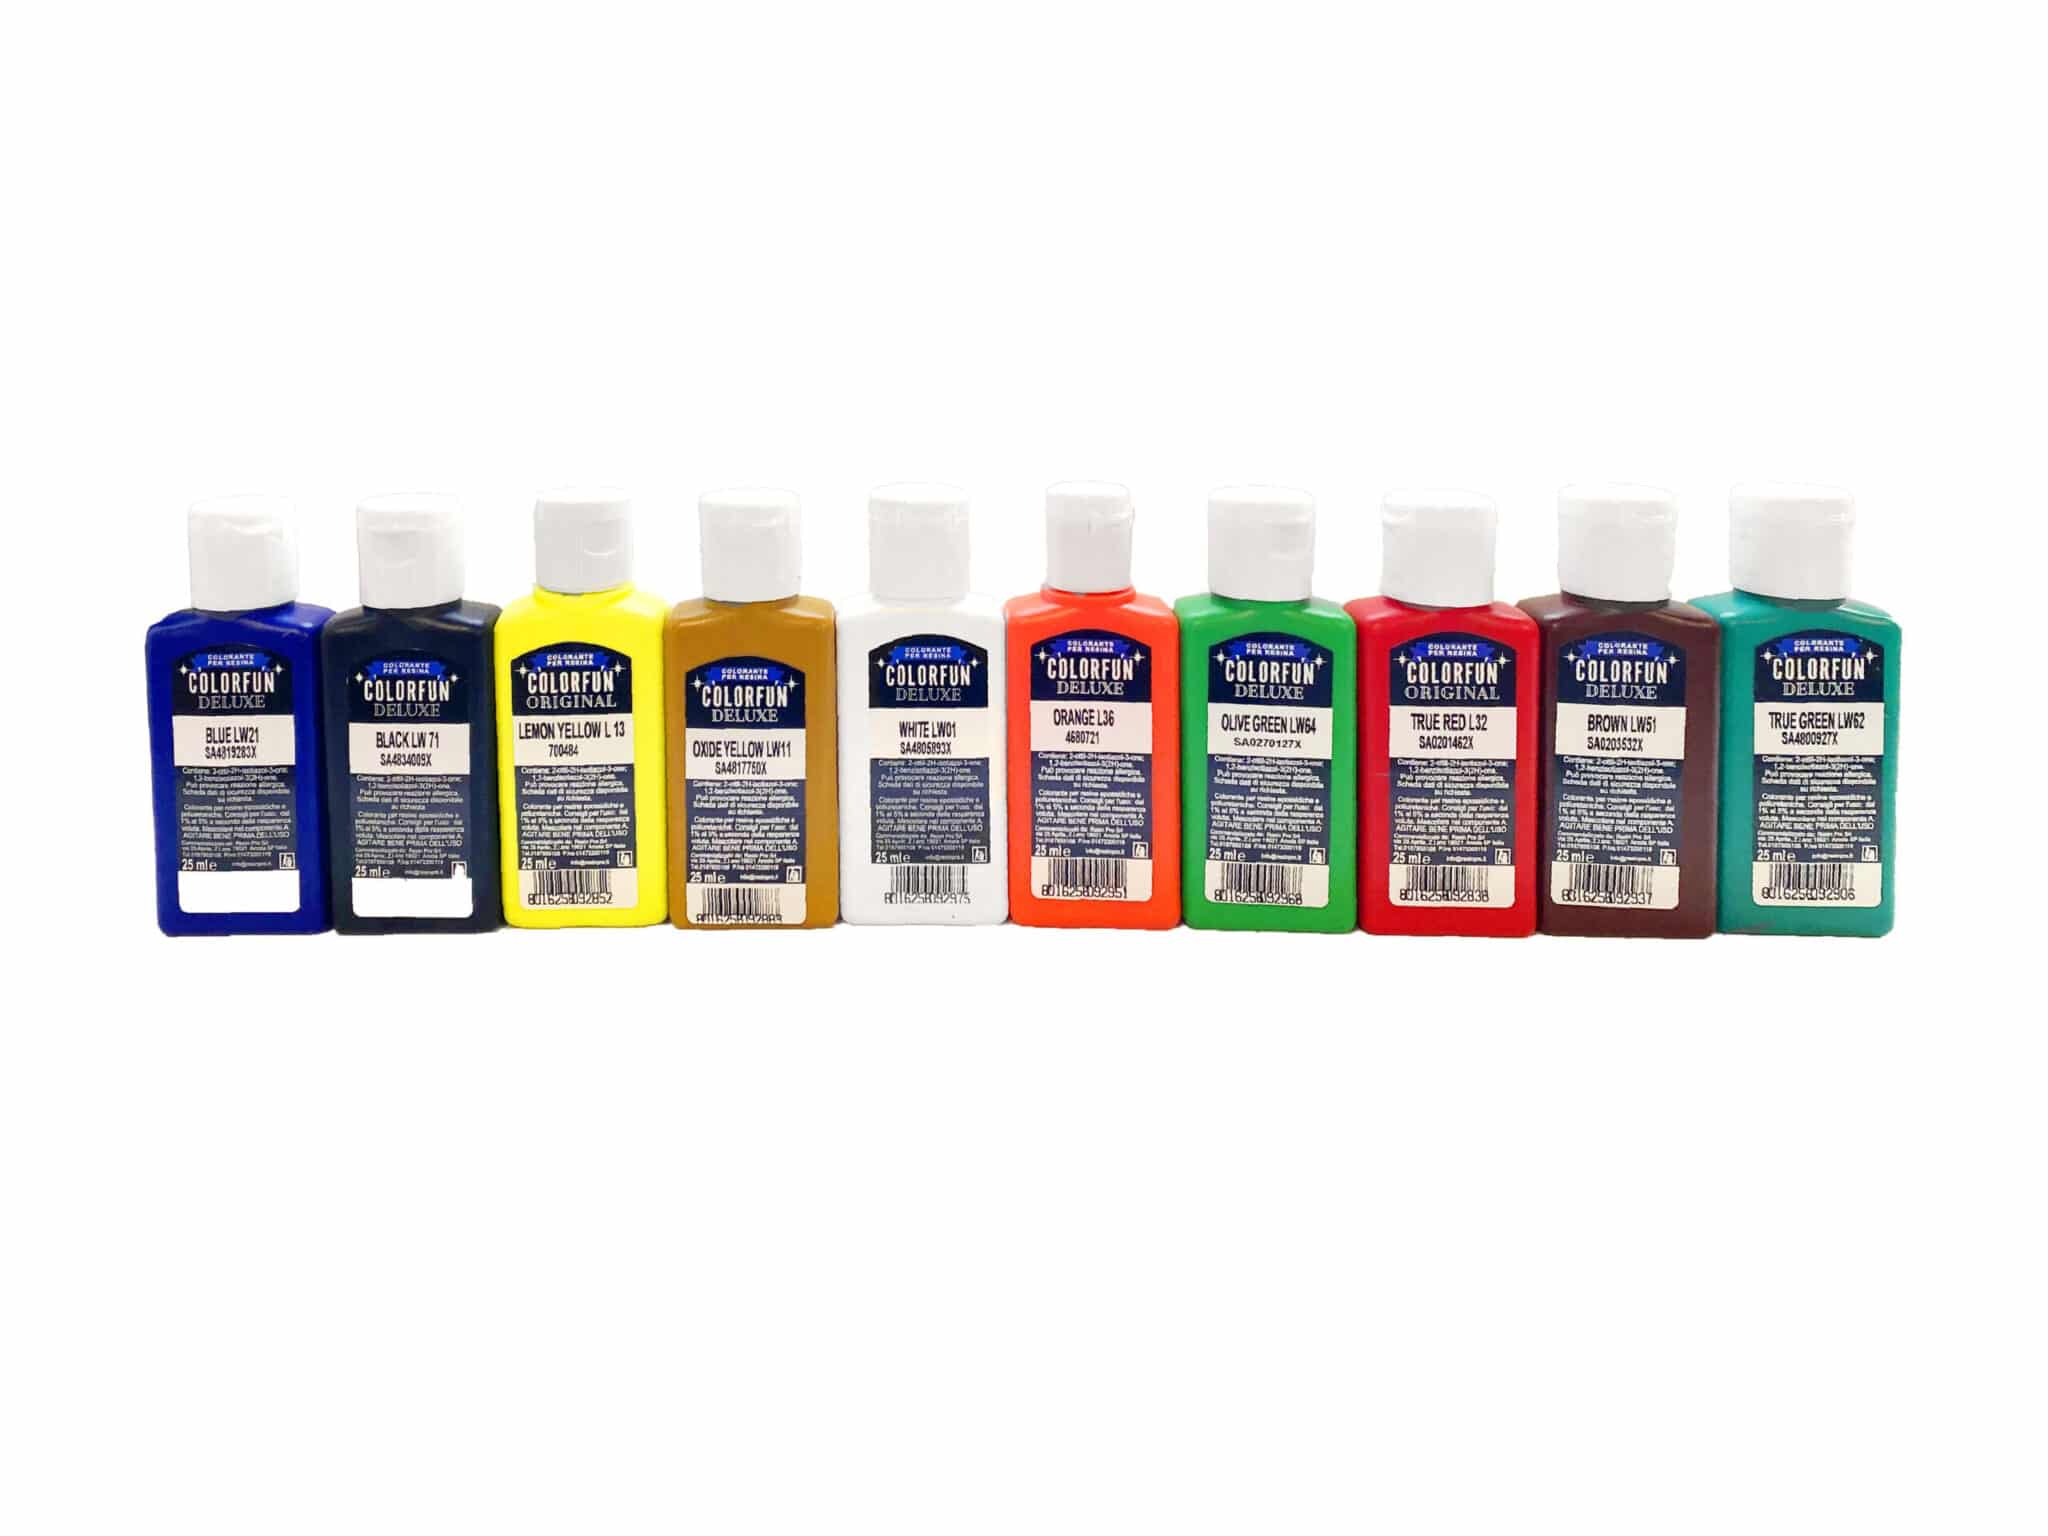
See Coloured Resin Transformation Examples
Step 1: Start with High-Quality Clear Resin
Start with high-quality clear resin as your base. The final colour clarity and brilliance depend on the purity and transparency of your resin. Ensure your workspace is clean and dust-free, as contaminants can affect both colour and finish. Always read the manufacturer’s instructions for your resin type, especially for mixing ratios and working times.
Work at recommended room temperatures and avoid direct sunlight during mixing and pouring to prevent unwanted yellowing or bubble formation.
Step 2: Measure Your Colourant Accurately
Measure your colourant accurately before adding to your mixed resin. The amount needed depends on the effect you want—add 1–5% colourant by weight for most projects. Using too much pigment may negatively affect the resin’s curing process, leading to tackiness or reduced hardness, so stick to the recommended levels for each product.
If you’re after vivid, solid shades for art, jewellery, or river tables, try the “Colourfun Set” – Liquid Epoxy Resin Colourant Set for Solid Colour Effects or “Colourfun” – Liquid Epoxy Resin Colourant 25-100ml – High coverage, both renowned for their intense pigmentation with minimal drops.
Step 3: Thoroughly Blend Colour into Resin
Thoroughly blend colour into resin directly after adding the pigment. Stir gently yet thoroughly for several minutes, scraping sides and base of your mixing vessel to achieve consistent distribution. This step is crucial; incomplete mixing may cause streaks, uneven colouration, or areas with uncured resin.
For glass-like transparency or crystal effects, opt for “Magic Crystal” – Transparent Resin Colour 45ml or the “Magic Crystal” – Set of 5 Transparent Colourants, 5 x 45ml, blending until your resin is evenly tinted and perfectly clear.
Step 4: Test Your Mixture Before Pouring
Test your mixture before pouring, especially when aiming for a specific transparency or custom shade. Place a few drops of coloured resin on a clear surface to assess intensity after curing. This is especially useful when using vibrant sets such as the Colourfun range, letting you make minor adjustments before casting your entire batch.
Allow a moment for air bubbles to rise and dissipate before pouring to achieve a flawless surface. Remember, colour may lighten slightly as resin cures.

Tips, Troubleshooting, and Common Mistakes
Mix small test batches to experiment with new colours or layering effects before committing to your full project. Avoid exceeding the recommended pigment ratio—too much can cause incomplete curing or dullness.
Store your colourants capped tightly in a cool, dry place. If you notice cloudiness or settling, re-mix your pigment thoroughly before adding to resin. For more inspiration and a wide variety of shades, explore the ResinPro dyes and pigments selection.
Selecting the right pigment shifts your finished piece from subtle crystal clarity to bold, opaque shades. Products like Magic Crystal create deeply transparent effects, while Colourfun range delivers rich, intense colour suitable for statement pieces.Choosing Between Transparent and Opaque Effects
- "Colourfun Set" – Liquid Epoxy Resin Colourant Set for Solid Colour EffectsPrice range: £14.45 through £50.95The Colourfun Set provides intense translucent colour pastes, designed to mix easily with epoxy resin for solid colour effects.
- "Colourfun" – Liquid Epoxy Resin Colourant 25-100ml – High coveragePrice range: £3.95 through £10.45Liquid epoxy resin colourant designed for vibrant, intense pigments and easy blending to adjust colour intensity.
 "Magic Crystal" – Transparent Resin Colour 45ml£4.95"Magic Crystal" offers transparent colouring designed for vibrant, glass-like resin effects suitable within the theme How do you make the color of…
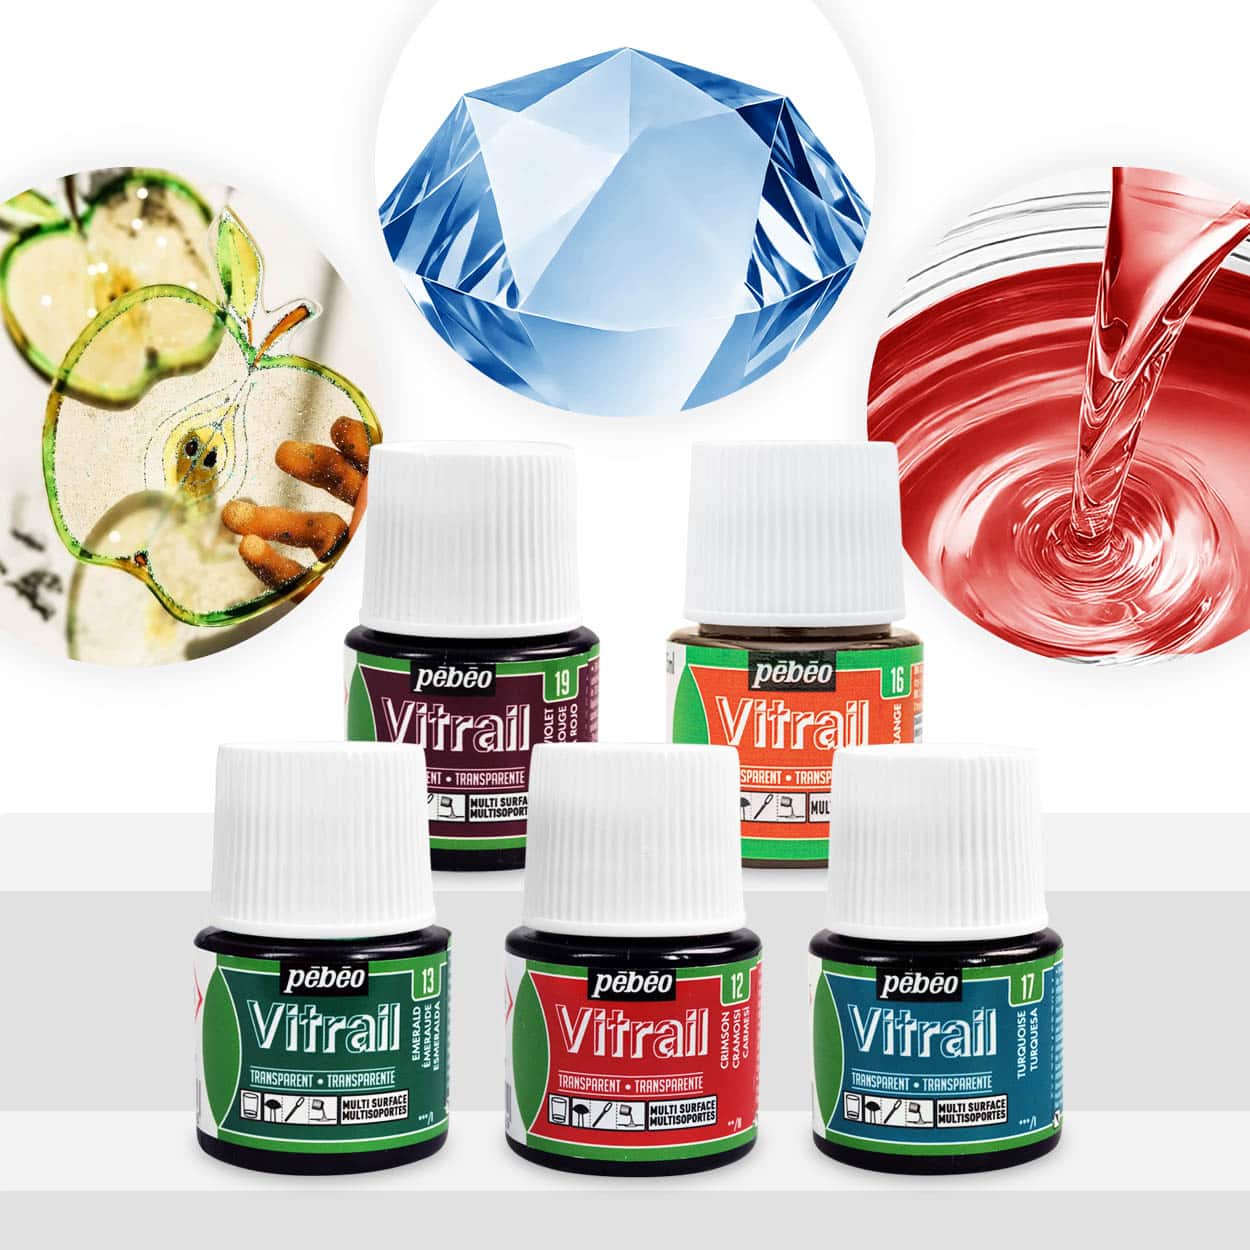 "Magic Crystal" – Set of 5 Transparent Colourants, 5 x 45ml£19.95"Magic Crystal" Set consists of 5 transparent colourants designed for creating custom coloured crystals with resin.
Frequently Asked Questions
What type of pigment should I use for resin colouring?
Liquid colourants provide vibrant effects and easy mixing, while transparent dyes are best for glass-like finishes. Choose based on your desired outcome.
How much colourant do I add to resin?
Generally, use 1–5% colourant by weight in your resin mix. Too much pigment can affect curing and finish.
Can I mix resin colourants to make custom shades?
Yes, blending different colourants lets you create unique custom hues. Mix in small batches before scaling up.
What is the difference between transparent and opaque colours in resin?
Transparent pigments create glass-like effects, perfect for jewellery, while opaque colourants offer solid, vivid coverage ideal for art pieces or river tables.
How can I fix cloudy resin after colouring?
Cloudiness is often caused by over-pigmentation or trapped air. Use the right quantity and mix thoroughly, then let bubbles escape before pouring.
Are these colourants compatible with UV resin?
Many liquid colourants, such as those in the Colourfun range, work with both epoxy and UV resin. Always check compatibility before use.
How do I get grey shades in resin?
Mix white and black liquid dyes to achieve different grey tones or use suitable metallic powders for a shimmering effect.