 Free shipping on orders over £29,85


How to remove epoxy putty?
Step-by-step methods for safe and thorough epoxy putty removal

Epoxy putty is valued for its strength and durability, but these same properties can make removal a challenge. Whether you’re tidying up a recent project, repairing a surface, or addressing accidental stains, this guide walks you through the best ways to remove epoxy putty from a variety of surfaces – safely and efficiently.
What You’ll Need
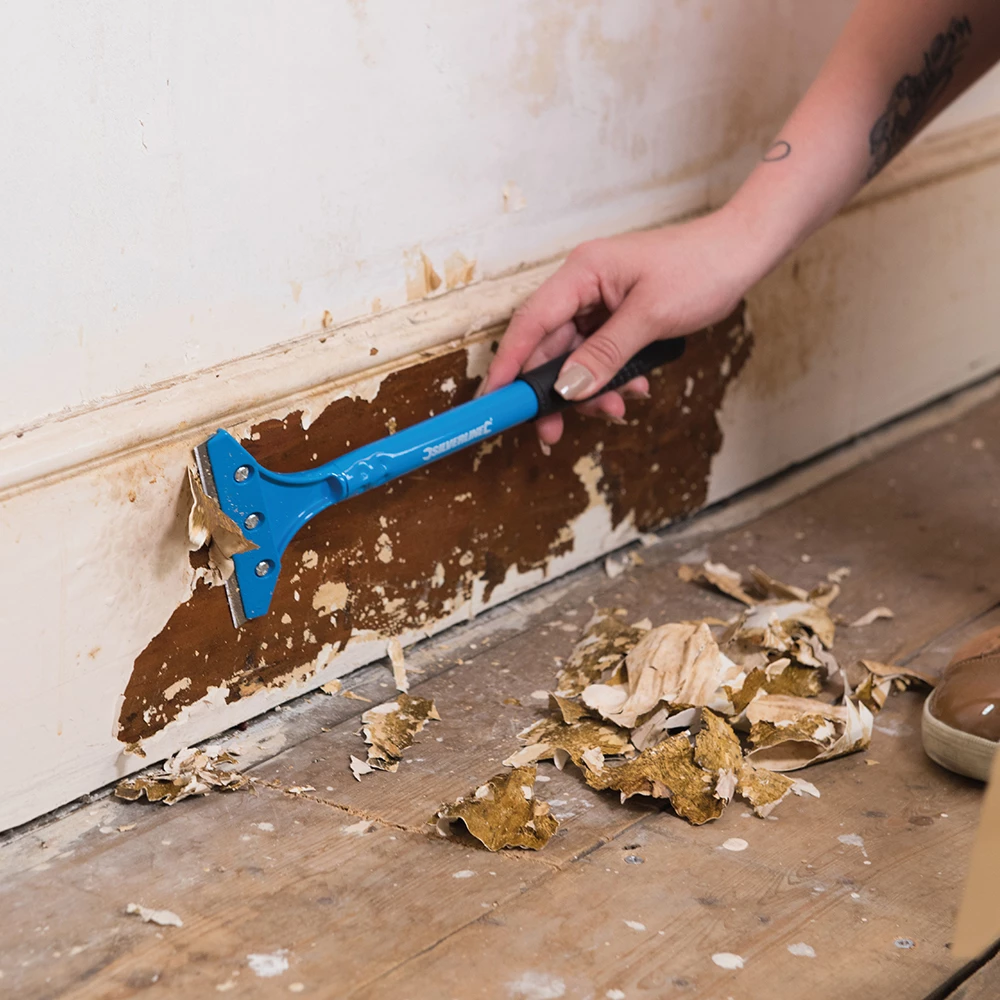
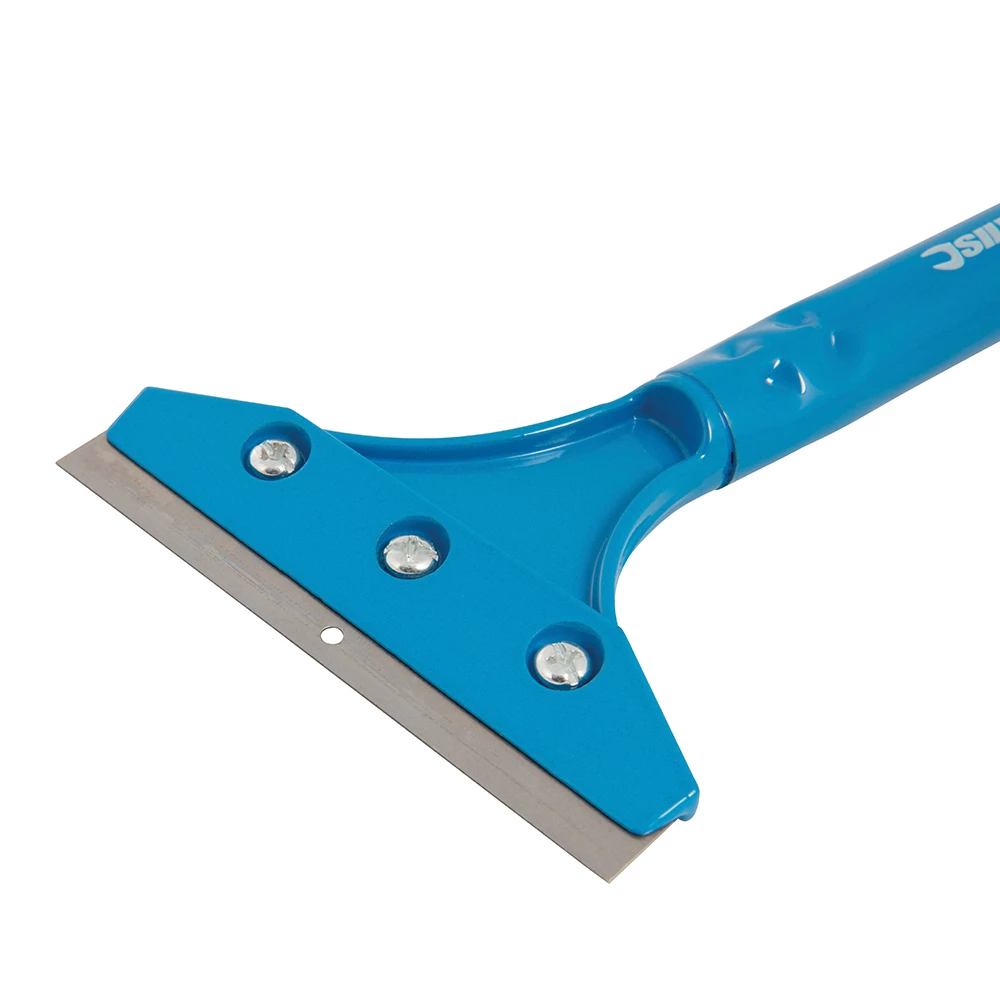
- Heavy Duty Scraper for Paint and Epoxy Resin Removal – Ideal for lifting and separating stubborn epoxy layers from hard surfaces.
- Scraper for Paint & Dry Resin Removal – 10 Double-Sided Blades – Great for smooth surfaces or precision scraping with replaceable blades.
- Pure Isopropyl Alcohol 99.9% – 1000ml Bottle for Epoxy Resin Projects & DIY – Useful for cleaning residues and softening uncured or partially cured epoxy.
- Strong Technical Degreaser for Resin Projects – 100% Natural Formula – For final clean-up and removal of grease or silicone after putty is gone.
- Protective gloves, safety goggles, lint-free cloths, and a plastic sheet to protect your workspace.
Which tools and cleaning agents are right for your removal project?
The best method depends on your project: a Heavy Duty Scraper works well for strong, flat surfaces, while scrapers with replaceable blades help on glass or delicate areas, and isopropyl alcohol assists with softening or cleaning residues. Degreasers are ideal for a final clean, especially where grease or silicone may interfere with the next steps.
Step 1: Assess the Epoxy Putty and Surface
Before attempting removal, determine whether the epoxy putty is fully cured or still slightly soft. Fully cured putty will require more effort and careful mechanical action, while semi-cured material can sometimes be softened with solvents. Identify the type of surface (wood, metal, glass, ceramic) to select the safest approach and to avoid unnecessary scratches or damage. Protect surrounding areas by covering with a plastic sheet or masking tape.

Step 2: Use Mechanical Removal Methods
Start with manual removal for hardened epoxy putty. For robust surfaces like metal or tile, firmly slide a Heavy Duty Scraper for Paint and Epoxy Resin Removal under the edge of the putty and apply steady, controlled pressure. On glass or delicate finishes, opt for a Scraper for Paint & Dry Resin Removal – 10 Double-Sided Blades to minimise the risk of scratching. Use sharp tools with caution to avoid damaging the underlying surface.
If the putty does not budge easily, try gentle tapping or rocking of the scraper rather than forceful prying. Patience yields cleaner results and keeps surfaces intact.
Step 3: Apply Solvent for Stubborn or Residual Epoxy
For areas where mechanical scraping leaves behind a thin residue or fragmented epoxy, introduce a solvent to soften the material. Dampen a cloth with Pure Isopropyl Alcohol 99.9% – 1000ml Bottle for Epoxy Resin Projects & DIY and press it against the remaining putty for several minutes. This helps break down surface bonds, simplifying scraping in a subsequent pass. Allow solvents or cleaners enough dwell time to be effective.
Always wear gloves and ensure proper ventilation when using chemicals. Remove softened residue with a scraper or cloth, repeating the process as needed until clear.
Step 4: Clean and Restore the Surface
With the bulk of epoxy putty gone, thoroughly clean the area to remove any traces of residue, grease, or silicone. Use a mild solution of warm water and a drop of dish soap on most surfaces. To finish, apply Strong Technical Degreaser for Resin Projects – 100% Natural Formula to dissolve any remaining contaminants, especially if working with kitchen, bathroom, or vehicle surfaces where cleanliness matters.
Wipe the area dry with a lint-free cloth and inspect for clarity. Test on a small area before applying any method to the full surface.

Tips and Common Mistakes When Removing Epoxy Putty
Use sharp tools with caution to avoid damaging the underlying surface. Approach glass, ceramics, or high-gloss finishes gently and consider using plastic blades or softer tools if unsure. Allow solvents or cleaners enough dwell time to be effective. Rushing the process may leave residues or risk unnecessary scratching. Always wear gloves and ensure proper ventilation when using chemicals. Avoid mixing cleaning agents unless manufacturer instructions permit. Test on a small area before applying any method to the full surface. Surfaces vary, and a patch test helps prevent unwanted side effects.
Keep your workspace safe and prepared
Wear gloves and goggles during every stage, and be mindful that sharp or solvent-based methods can impact surrounding materials. If in doubt about a particular surface, always perform a patch test first and ventilate the area fully while cleaning up.
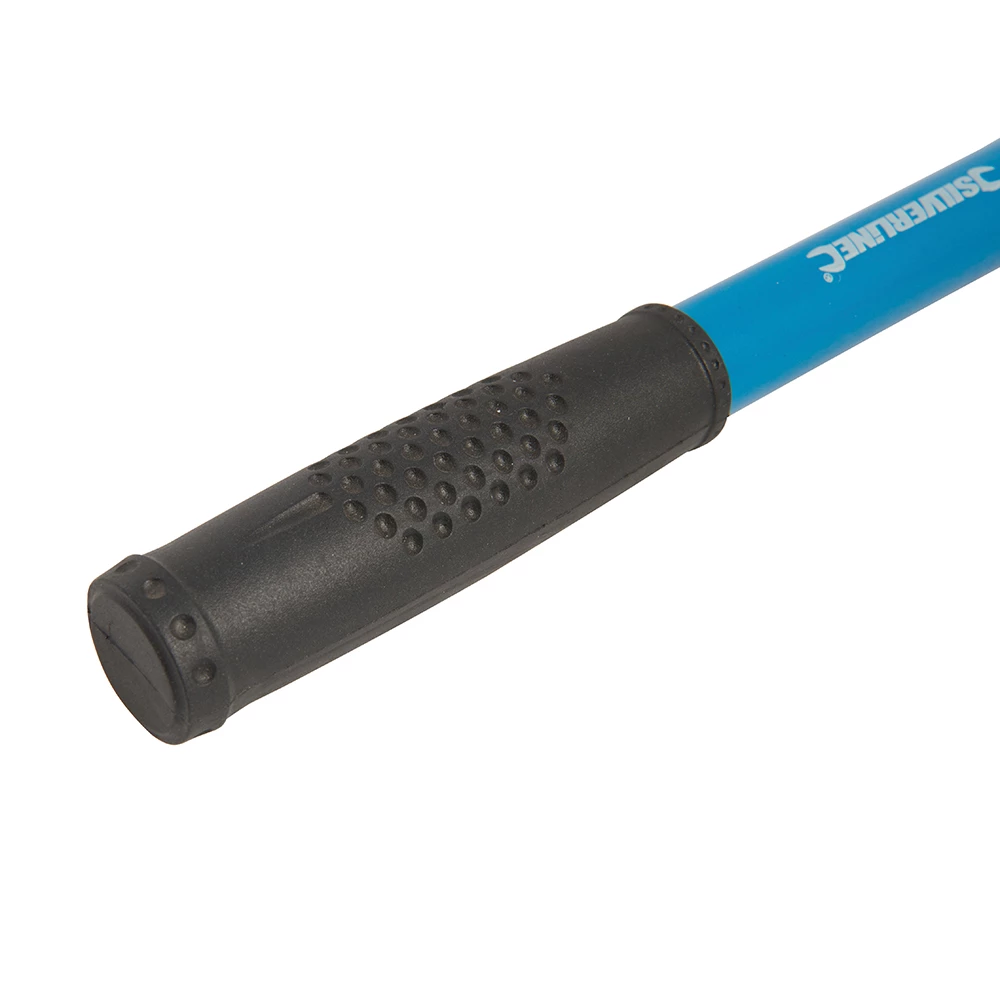
- Heavy Duty Scraper for Paint and Epoxy Resin Removal£8.95The Heavy Duty Scraper is designed for effective removal of paint and coverings, suitable for both DIY and professional use.
- Scraper for Paint & Dry Resin Removal – 10 Double-Sided Blades£4.95The Window Scraper is designed for effective paint removal from smooth surfaces, suitable for professionals and DIY users.
 Pure Isopropyl Alcohol 99.9% – 1000ml Bottle for Epoxy Resin Projects & DIYPrice range: £10.45 through £20.95Pure Isopropyl Alcohol 99.9% is suitable for epoxy resin projects, aiding bubble removal and effects creation.
 Strong Technical Degreaser for Resin Projects – 100% Natural FormulaOriginal price was: £10.95.£9.45Current price is: £9.45.Strong Technical Degreaser is designed for cleaning epoxy resin surfaces using a natural, gentle formula.
Frequently Asked Questions
How can I remove epoxy putty without damaging the surface?
Start with gentle scraping using a suitable scraper. Use solvents only on resistant residues and always test on an inconspicuous spot.
Are solvents safe for removing epoxy putty?
Solvents like isopropyl alcohol can soften epoxy residues, but always use gloves and ventilate the area. Test first to avoid harming sensitive materials.
What is the best way to remove epoxy putty from glass or ceramic?
Use a fine-edged scraper and gentle pressure. If needed, apply isopropyl alcohol to soften residues before scraping further.
How do I clean up residue after removing epoxy putty?
Wipe with a cloth dampened with isopropyl alcohol, then finish with a technical degreaser for a clean, residue-free finish.
Can I remove epoxy putty from sensitive surfaces?
Yes, use gentle scraping and minimal solvent, always patch test first. For very delicate materials, consult manufacturer advice.
How do I protect my workspace during epoxy putty removal?
Cover nearby areas with a plastic sheet or masking tape to catch debris and prevent solvents from contacting unwanted surfaces.
When is the best time to remove fresh epoxy putty?
Remove as soon as possible before full curing. For semi-cured putty, solvents are most effective.