 Free shipping on orders over £29,85


How to remove epoxy resin glass?
Effective techniques for safe and thorough epoxy resin removal


Epoxy resin glass can add remarkable shine and durability to surfaces, but accidental spills or the need for surface restoration often require removal. This guide walks you through proven methods for safely removing epoxy resin glass, whether you are tackling drips, uneven coatings, or preparing for a new project. Suitable for DIY enthusiasts, resin artists, and anyone dealing with cured or semi-cured resin, these steps focus on preserving the underlying material and using the right tools for the job.
What You’ll Need
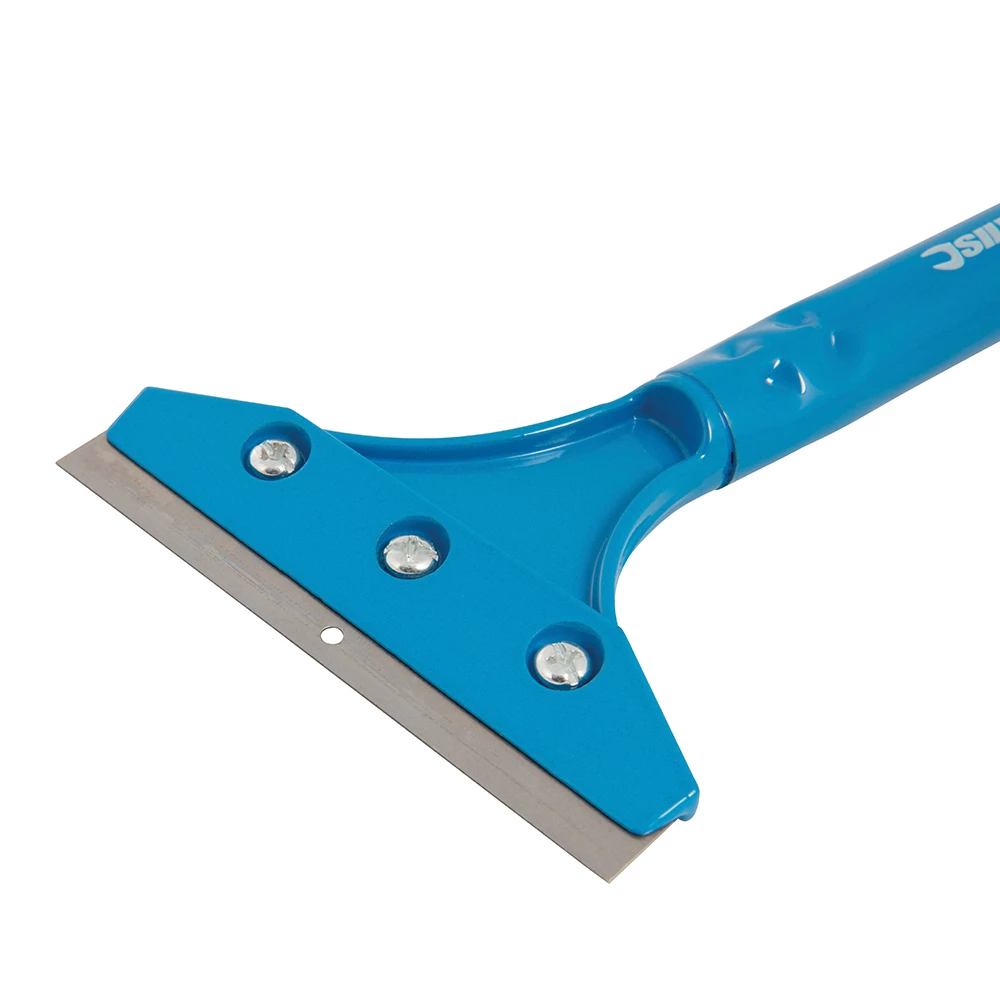
- Heavy Duty Scraper for Paint and Epoxy Resin Removal – for physically lifting and removing hardened resin layers
- Strong Technical Degreaser for Resin Projects – 100% Natural Formula – ideal for cleaning residues and prepping the surface after scraping
- Pure Isopropyl Alcohol 99.9% – 1000ml Bottle for Epoxy Resin Projects & DIY – for dissolving light resin residues or spot cleaning
- “Epoxy Polish” – Epoxy Resin Polishing System – to restore surface clarity after removal
- Microfibre cloths and gloves
- Protective eyewear and mask (recommended for dust and fumes)

Tools and Products for Epoxy Removal
Having the correct scraper and cleaning agents is key for safe and effective epoxy resin glass removal. Select tools matched to your project size and surface type, and always read all application instructions in advance.
Step 1: Assess and Prepare the Surface
Start by identifying the nature and thickness of the epoxy resin glass that needs to be removed. Examine whether the resin is fully cured (hard, glassy) or in a semi-cured state (slightly tacky). Clear the workspace and protect surrounding areas with masking tape or plastic sheeting if needed. Always test your approach on a small area first to avoid damaging the underlying surface, especially with delicate materials like glass, tiles, or wood.
Put on gloves and protective eyewear before beginning, ensuring all necessary tools are within reach. Adequate ventilation is recommended, particularly when using solvents.
Step 2: Scrape Off Bulk Resin Carefully
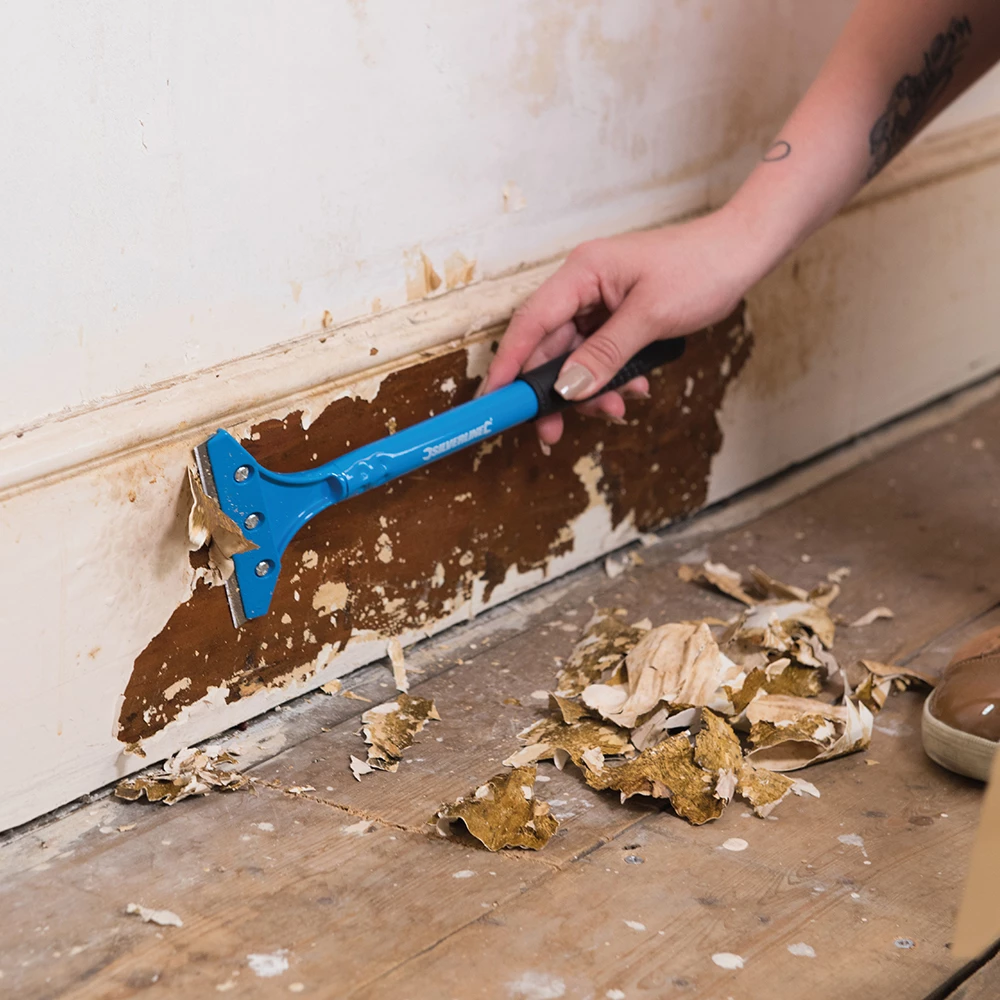
For most hardened or thick epoxy resin glass, start with cautious manual removal. Gently insert the edge of a Heavy Duty Scraper for Paint and Epoxy Resin Removal beneath the resin, holding the blade at a shallow angle to the surface. Use steady, even pressure to lift or nudge away the resin without gouging the base material.
Work with patience, frequently wiping away loosened particles with a microfibre cloth. For stubborn patches, multiple passes may be required. If dealing with a vertical surface, scraping from top to bottom is advisable to maintain control and prevent slips.
Step 3: Treat Residues with Solvents or Degreaser
Any remaining residue or thin film of epoxy can often be softened or dissolved using appropriate cleaners. Moisten a clean microfibre cloth with a small amount of Pure Isopropyl Alcohol 99.9% and gently rub over the affected area. The alcohol helps break down the resin, especially in spots where scraping isn’t practical.
Follow up if needed with the Strong Technical Degreaser for Resin Projects – 100% Natural Formula, which is excellent for lifting oily residues, grease, or any leftover stickiness. Wipe thoroughly and inspect the surface for cleanliness.
Step 4: Polish and Restore the Surface
Once all visible resin is removed and the area is dry, the underlying surface may appear dull or slightly scratched. Use the “Epoxy Polish” – Epoxy Resin Polishing System with a soft pad or cloth, following the product’s instructions. Work in circular motions to gently buff out fine scratches and restore gloss.
Diligent polishing will help rejuvenate tiles, glass, or coated surfaces, bringing them as close as possible to their original clarity and shine.

Tips, Common Mistakes & Troubleshooting
- Use correct safety gear – Gloves and eyewear protect against shards and chemicals.
- Work slowly to minimise accidental scratches. Hasty scraping can cause more harm than good.
- Avoid harsh abrasives, fast scraping, or excessive force – Always allow the solvent or degreaser time to work.
- If residue persists, repeat the cleaning process rather than intensifying physical effort.
- Ensure ventilation when using solvents – Open windows or use extraction if possible.
- On valuable items, consulting a professional may be beneficial.
- Dispose of resin and chemical waste responsibly – Follow local guidance for safe disposal.
Safeguarding Surfaces and Results
Test a hidden area first before proceeding with large-scale removal to avoid surface damage. Attention to detail in each removal and cleaning phase helps maintain the surface’s original integrity and appearance.
- Strong Technical Degreaser for Resin Projects – 100% Natural FormulaOriginal price was: £10.95.£9.45Current price is: £9.45.Strong Technical Degreaser is a natural, gentle cleaner suited for removing grease and residues during epoxy resin projects.
- Pure Isopropyl Alcohol 99.9% – 1000ml Bottle for Epoxy Resin Projects & DIYPrice range: £10.45 through £20.95Pure Isopropyl Alcohol 99.9% suits epoxy resin projects and DIY, used to remove bubbles and enhance resin effects in line with the theme.
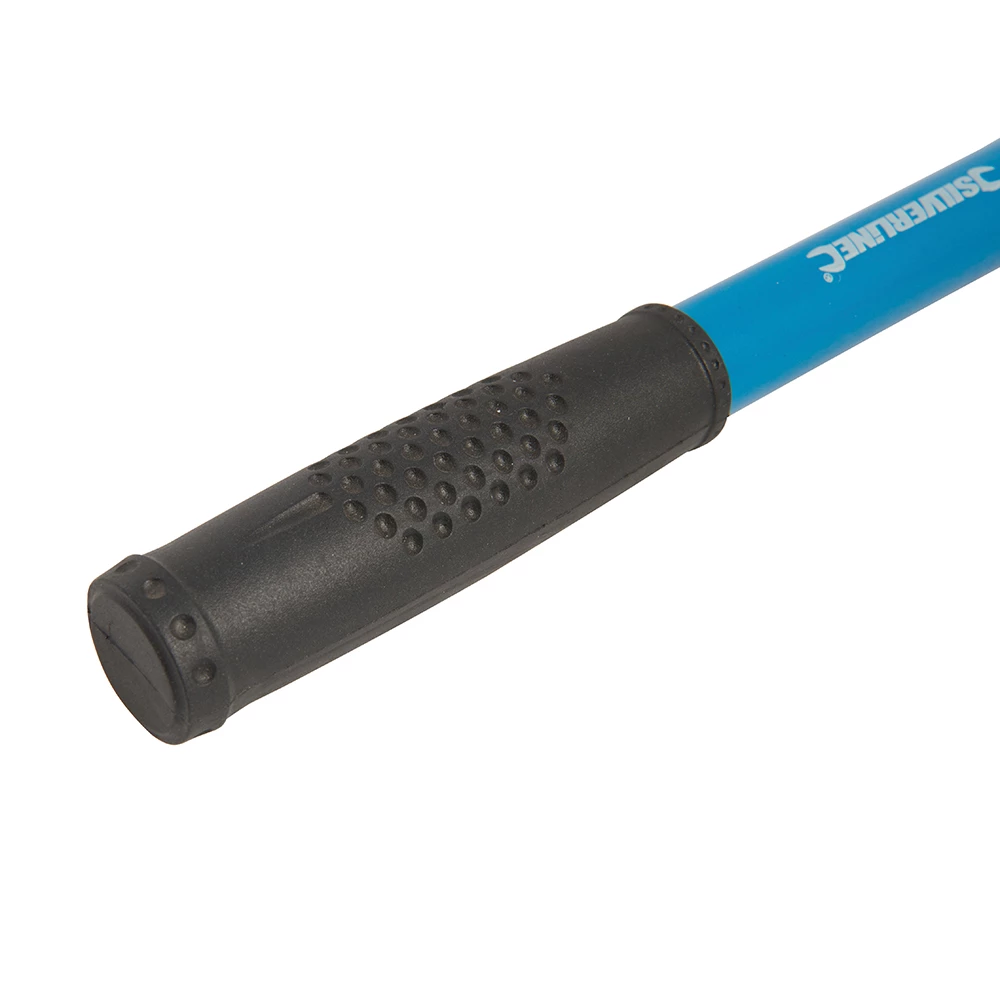
- Heavy Duty Scraper for Paint and Epoxy Resin Removal£8.95The Heavy Duty Scraper is designed for effective paint and resin removal with a lightweight, easy-grip steel shaft.
- "Epoxy Polish" – Epoxy Resin Polishing SystemPrice range: £18.95 through £47.45"Epoxy Polish" offers a professional-grade solution to rejuvenate epoxy resin surfaces to a mirror-like shine with ease.
Frequently Asked Questions
How do I safely remove epoxy resin glass from tile?
Scrape gently with a sharp scraper, then use isopropyl alcohol or a natural degreaser to clean up any residue. Avoid harsh abrasives.
What if residue remains after scraping epoxy resin?
Apply isopropyl alcohol or a plant-based degreaser to dissolve and wipe away remaining resin. Repeat as needed for stubborn spots.
Can I polish my surface after removing resin glass?
Yes. Use a dedicated epoxy polishing system and a soft pad to restore gloss and reduce scratches left by scraping.
Should I use heat to remove epoxy resin glass?
As a general rule, avoid heat to prevent damaging underlying materials or releasing fumes. Focus on scraping and solvent use.
What safety tips apply for epoxy removal indoors?
Wear gloves, eyewear, and ensure good ventilation. Carefully handle scrapers and solvents, and clean up waste appropriately.
Is repeat cleaning needed during epoxy removal?
Yes, it’s common to repeat solvent and degreaser steps for stubborn stains or thick resin patches until the surface is fully clear.