 Free shipping on orders over £29,85


How Do You Spread Epoxy Resin?
Essential steps for flawless, uniform epoxy resin application


Achieving a smooth, even layer of epoxy resin is crucial for both professional and DIY projects. Whether you’re creating art, coating tables, or working on crafts, a well-spread resin ensures the best finish. This guide walks you through proven spreading methods, key techniques, and best practices to help you create flawless resin surfaces with ease.
What You’ll Need
- Tooth Shaped Spatula for Epoxy Resin Application – For achieving smooth, even layers on flat surfaces
- Resin & Paint Application Rollers – Short-Pile, Large, and Sponge Types – Suitable for large areas, floors, or walls
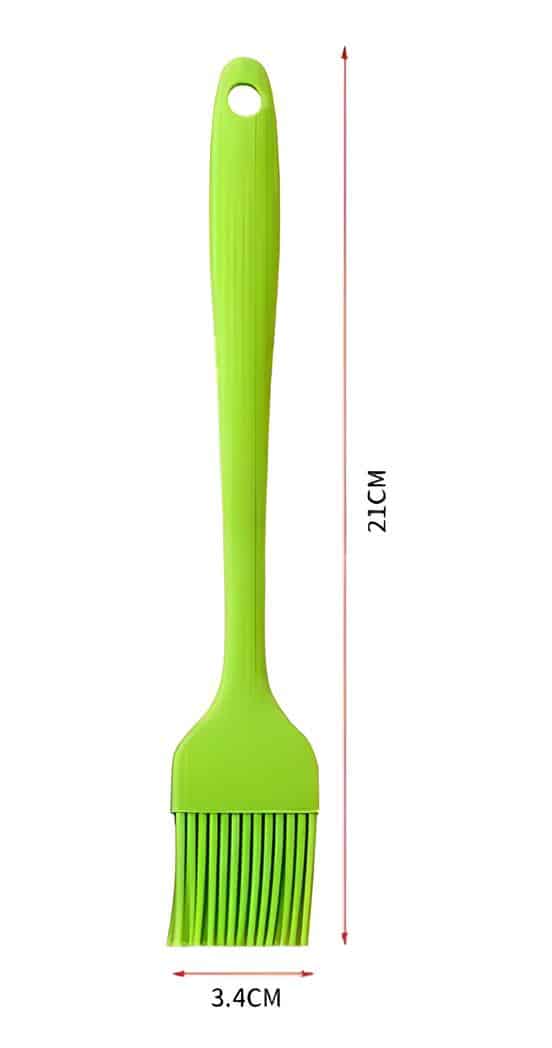
- Reusable Silicone Resin Brush for Epoxy Art and Wood Applications – Ideal for detail work and precision
- Wooden Spatula for Epoxy Resin Mixing – 90x10mm & 114x15mm – For accurate mixing and initial spreading
- Protective gloves and surface covers
- Spirit level (for larger flat surfaces)

Choosing the Right Epoxy Resin Tool
Each spreading tool offers unique results. The Tooth Shaped Spatula is best for smooth tables and art, while epoxy rollers are ideal for larger, flat areas. For detail or precision work, a silicone brush ensures controlled application even in hard-to-reach spots.

Step 1: Prepare your tools and workspace
Start by ensuring your work area is clean, dust-free, and level. Any debris or unevenness beneath your project may show through the finished resin. Lay down protective sheeting on surrounding surfaces to prevent spills. Gather all necessary tools and arrange them within easy reach, as epoxy resin cures quickly once mixed.
Wearing gloves is highly recommended to protect your skin from direct contact with the resin. Consider setting up in a well-ventilated space to minimise fumes.
Step 2: Mix your epoxy resin thoroughly
Carefully follow the resin manufacturer’s guidelines to mix the components in the correct ratio. Inadequate mixing can lead to uneven curing or sticky spots in the finished piece. Use a Wooden Spatula for Epoxy Resin Mixing – 90x10mm & 114x15mm for precise blending, paying special attention to the sides and bottom of your mixing container.
Mix until the solution is clear and streak-free. If possible, prepare only the amount you can apply before the resin begins to thicken, as pot life is limited.
Step 3: Pour and spread the resin evenly
Pour the mixed resin onto the centre of your substrate and allow it to naturally flow outward. Use the chosen tool based on your surface: a Tooth Shaped Spatula for Epoxy Resin Application works well for spreading uniform layers across tables, trays, or art boards.Where larger areas are involved, such as floors or long surfaces, a Resin & Paint Application Roller helps achieve quick, streak-free coverage.
For detailed designs or intricate art, opt for a Reusable Silicone Resin Brush to carefully manoeuvre resin into corners and around raised elements. Work gently to avoid introducing bubbles.
Step 4: Allow for levelling and bubble removal
Once the resin is spread, let it self-level for several minutes. Cover the work if possible to prevent dust from settling. If air bubbles rise to the surface, quickly address them using a heat gun or torch waved lightly over the area. Do not overheat, as this can damage the resin or substrate below.
Check edges for drips and adjust as needed while the resin is still workable.

Tips and Common Mistakes to Avoid
Work quickly but carefully: Epoxy resin has a limited working time, so plan your actions in advance. Maintain a clean environment: Stray hair, dust, or dirt can easily embed in the finish. Avoid overworking the resin, as this may cause streaks or unwanted texture. To prevent uneven layers, always double-check the level of your project before you start pouring.
When switching between tools, clean them immediately to remove remaining resin before it cures. Dispose of gloves and covers responsibly after use.
Expert Technique for Even Epoxy Resin Results
Uniform motion while spreading and not overworking the layer are keys to a glass-like finish. Maintain tool cleanliness and act quickly, especially when working under changing room temperatures, for the best results every time.

- Tooth Shaped Spatula for Epoxy Resin Application£3.45The Tooth Shaped Spatula offers precise and even application for epoxy resin on both small and large surfaces.
- Resin & Paint Application Rollers – Short-Pile, Large, and Sponge TypesPrice range: £3.62 through £5.09Rollers designed for epoxy resin applications, providing precision and uniform coverage suitable for various resin surfaces.
- Reusable Silicone Resin Brush for Epoxy Art and Wood Applications£3.62This silicone brush offers a reusable, easy-to-clean tool suitable for precise epoxy resin application in art and wood projects.
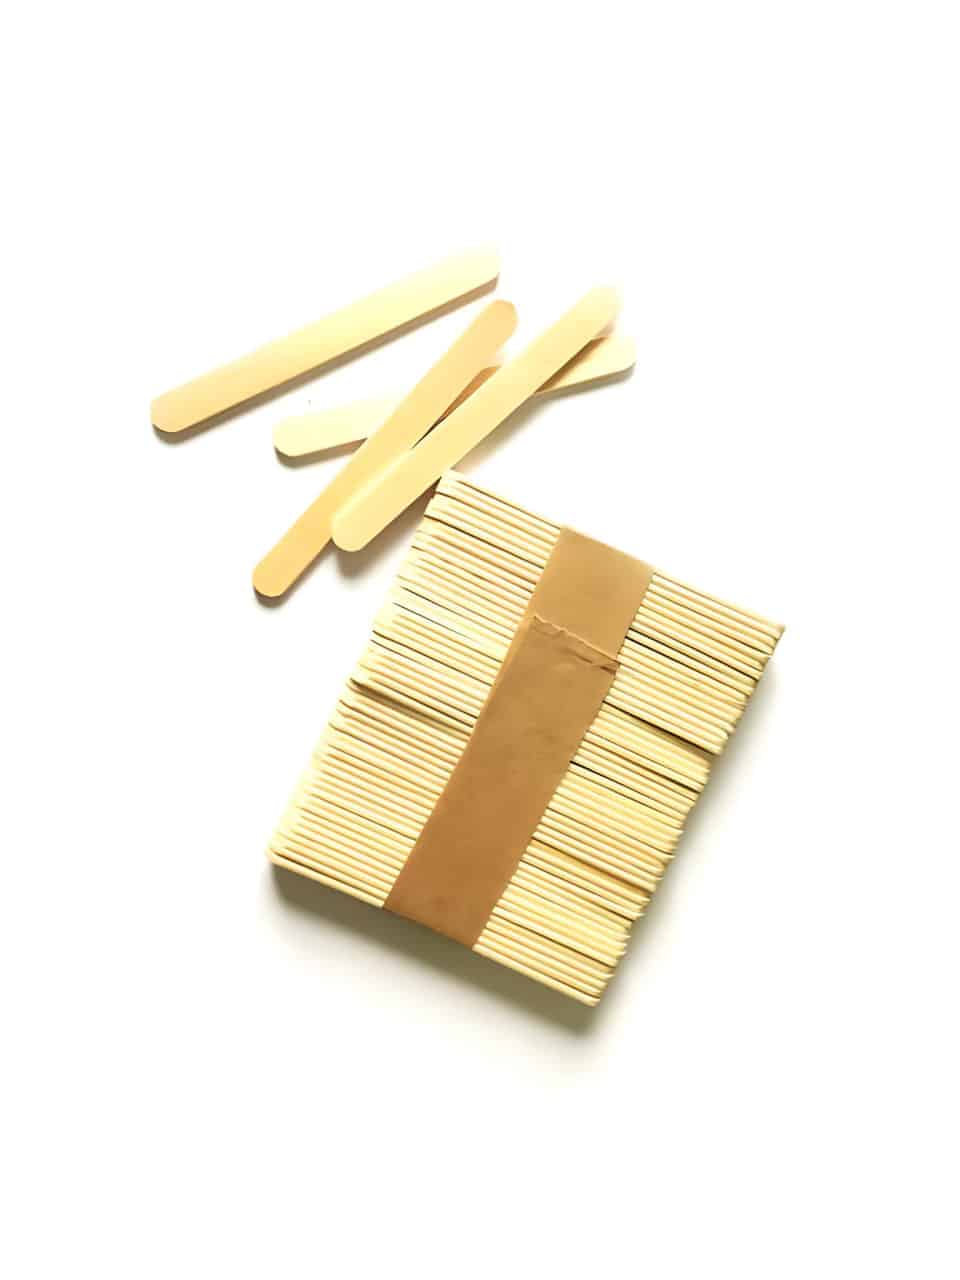 Wooden Spatula for Epoxy Resin Mixing – 90x10mm & 114x15mm, Pack of 50Price range: £2.05 through £7.45Wooden spatulas sized for detailed epoxy resin mixing, suitable for artists and DIYers following the How Do You Spread Epoxy Resin? theme.
Frequently Asked Questions
What are the best tools for spreading epoxy resin evenly?
A tooth-shaped spatula, epoxy-specific rollers, and silicone brushes are effective for achieving a smooth, uniform resin layer.
How can I prevent bubbles when spreading epoxy resin?
Use a heat gun or torch after spreading the resin and mix slowly to avoid incorporating air. Always pour in a dust-free environment.
Which type of roller should I use for large resin areas?
Choose a large or sponge roller designed for epoxy to cover big surfaces efficiently and achieve self-levelling results.
Can I use a wooden spatula for mixing and initial spreading?
Yes, wooden spatulas are suitable for accurate mixing and can help with small-scale spreading before switching to larger tools.
What is the best way to handle detail work in epoxy resin projects?
A silicone resin brush allows for precise application in corners and around fine features without disturbing previously spread resin.
How do I get an even epoxy resin layer on tables or art boards?
Use a tooth-shaped spatula to evenly spread the resin from the centre outward. Regularly check the level and work methodically.