 Free shipping on orders over £29,85


How do you burn myrrh resin?
A step-by-step guide to safely burning myrrh at home

Burning myrrh resin is a traditional way to release its distinctive, grounding aroma, popular for spiritual, therapeutic, and aromatic uses. This guide walks you through the essential steps for safely burning myrrh resin at home, with a focus on achieving the best fragrance and maintaining safe conditions throughout the process. Whether you’re a curious beginner or seasoned incense enthusiast, you’ll learn effective techniques to enhance your resin burning experience.
What You’ll Need
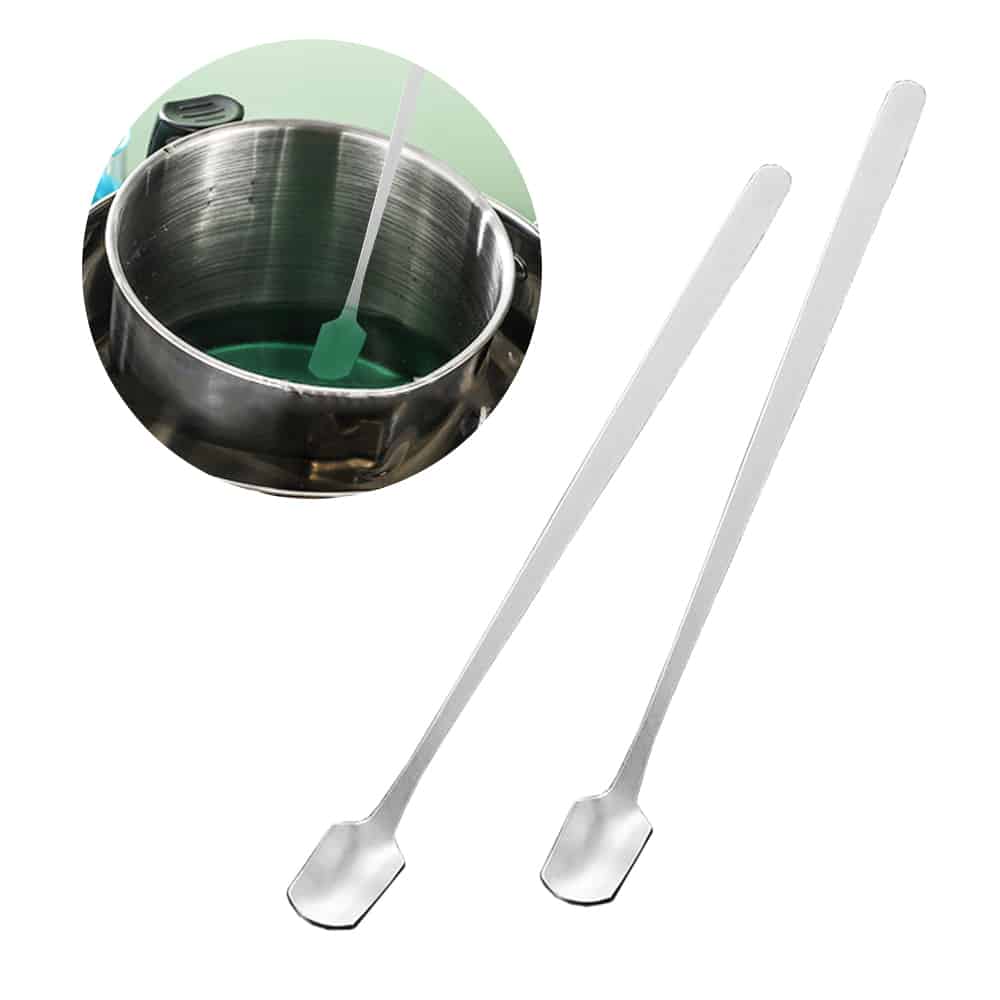
- Metal Spoon 17cm for Melting Wax and Resin Projects – Ideal for handling and placing resin fragments over a heat source.
- Aluminum Pot for Melting Wax – 1.8L Capacity – Suitable for creating a makeshift burner or as a safe container for indirect heating if you prefer not to use charcoal discs.
- Charcoal discs or self-igniting charcoal (optional, if not using a metal pot for indirect heat)
- A heat-proof surface or burner plate
- Tongs or tweezers for safe handling
- Myrrh resin granules or chunks
- Matches or a lighter
Step 1: Prepare Your Burning Area
Set up your workspace on a stable, heat-resistant surface away from flammable materials and drafts. Adequate ventilation is essential to enjoy the rich aroma of myrrh without overwhelming the senses or accumulating smoke. Make sure your chosen area is free from distractions and out of reach of children and pets. Gather all necessary materials before you begin to ensure a smooth process.
Always use heat-resistant surfaces to protect furniture and floors and prevent accidental burns.
Step 2: Choose Your Burning Method
Myrrh resin can be burned using the direct charcoal method or via indirect heating in a dedicated pot. For traditional burning, ignite a charcoal disc and place it in a suitable burner or heat-proof pot. Once hot, it will be ready to receive the resin. If you prefer a gentler, smokeless experience, you can use an aluminium pot designed for melting wax to gently heat and release the resin’s fragrance indirectly, avoiding the intensity of charcoal combustion.
The Aluminum Pot for Melting Wax – 1.8L Capacity is ideal for larger quantities or indirect melting, allowing controlled heat application for subtler aromas.
Step 3: Add the Myrrh Resin
Use a heat-resistant tool to place small pieces of myrrh resin onto the heated surface. If using charcoal, carefully position a resin fragment on the hot charcoal with tongs or a Metal Spoon 17cm for Melting Wax and Resin Projects for precision. For the indirect method, place the resin inside the pre-heated pot. The resin will slowly smoulder and produce fragrant smoke or aroma. Always begin with a small amount, as myrrh is highly aromatic and can produce significant smoke if overused.
Never leave resin burning unattended to avoid fire hazards or unwanted smoke build-up.
Step 4: Control the Fragrance and Clean Up
Monitor the intensity of the fragrance and adjust the amount of resin or distance from the heat source as needed. When finished, extinguish the charcoal safely or allow the pot to cool completely before handling. Dispose of spent char and residue once cool. Clean your spoon or pot thoroughly before your next use to prevent residue build-up and ensure each burning yields the purest aromas.
Clean your utensils after each session to maintain optimal aroma and performance for future use.
Tips and Common Mistakes When Burning Myrrh Resin
- Start with a small amount of resin – Too much can produce overwhelming smoke or waste valuable material.
- Ensure all equipment is heat-resistant and intended for open-flame or high-heat use.
- Avoid breathing in concentrated smoke — use in well-ventilated areas only.
- Never use non-metal utensils or plastics, as they can melt or become dangerously hot.
- Storing unused myrrh resin in an airtight container preserves its aroma for future sessions.
- Metal Spoon 17cm for Melting Wax and Resin Projects£4.57Metal Spoon 17cm designed for precise control in melting wax and resin tasks, suited for the 'How do you burn myrrh resin?' theme.
- Aluminum Pot for Melting Wax – 1.8L Capacity£11.95Aluminum Pot for Melting Wax is designed for efficient wax melting with a 1.8L capacity, suiting DIY wax projects and related crafts.
Frequently Asked Questions
How much myrrh resin should I use for each session?
Begin with a small pinch or piece—using too much can lead to excess smoke and overwhelm the scent. Adjust as needed for your space.
What is the best way to clean utensils after burning myrrh resin?
Allow all components to cool, then gently scrape residue or wash with warm, soapy water. Do not immerse hot metals directly in water.
Can I use household pots or spoons for burning myrrh resin?
Only use metal utensils and pots intended for high temperatures. Avoid plastic, painted, or wooden tools as these may melt or catch fire.
What safety measures should I take when burning myrrh resin?
Work on a heat-proof surface, supervise burning at all times, and keep the area ventilated to avoid inhaling excessive smoke.
Can I burn myrrh resin without using charcoal?
Yes. You can use an aluminium melting pot for indirect heating, which gently releases the fragrance without open flame.
What’s the best way to store myrrh resin after use?
Keep myrrh resin in an airtight container away from direct sunlight and humidity to protect its aroma.