 Free shipping on orders over £29,85


How to Fill and Paint Resin?
Step-by-step techniques for flawless resin finishes


Achieving a professional finish on resin projects depends on mastering the art of filling and painting resin. Whether you’re repairing surface imperfections, preparing for decorative painting, or simply refining your resin art, following the right process ensures long-lasting and visually appealing results. This guide walks you through each critical stage, making it ideal for DIY enthusiasts, crafters and repair specialists.
What You’ll Need
- CROP 2K Fiberglass Putty – 750 ml + Hardener: For durable crack and cavity filling.
- Resin & Paint Application Rollers – Short-Pile, Large, and Sponge Types: For even resin and paint application.
- Protective gloves and mask
- Mixing tools (spatula or plastic mixing board)
- Sandpaper (various grit, preferably wet/dry)
- Primer suited to resin surfaces
- Paint (acrylic or resin-compatible, depending on project)
- Clean cloth

Essential Tools and Materials for Resin Finishing
Gather all tools and safety gear before starting any resin project. Protective gloves and a mask help prevent exposure to dust and fumes. Choose fillers and rollers specifically suited for resin to ensure strong adhesion and a smooth, professional finish at every stage.
Step 1: Prepare the Resin Surface
Successful filling and painting of resin begins with an adequately prepared surface. Inspect your resin piece for dust, grease, or other contaminants. Wipe with a clean, slightly damp cloth to remove surface grime. If the resin has cured with rough areas or gloss, lightly sand it with a fine-grit sandpaper to create suitable adhesion for filler and paint. Ensure surface is clean and fully dry before moving on to filling.
Step 2: Fill Cracks, Dents or Cavities
For areas that require filling, select a suitable filler that bonds well to resin and provides sufficient mechanical strength, particularly if the damage is deep or structural. CROP 2K Fiberglass Putty – 750 ml + Hardener is purpose-built for such tasks, offering strong adhesion and easy sanding after curing. Mix the putty and hardener thoroughly, and apply it with a spatula, pressing firmly into cracks or dents. Apply filler in thin, manageable layers to reduce the risk of air bubbles or shrinkage.
Allow the filled area to cure according to the manufacturer’s instructions before continuing. Multiple thin layers may be needed for deeper repairs, ensuring each layer cures fully before adding the next.
Step 3: Sand and Clean the Filled Surface
Once the filler has cured, sand the area using progressively finer grits until the patch is flush with the surrounding resin. Take care not to oversand, as this may create unevenness or expose layers underneath. Remove sanding dust with a lint-free cloth and ensure no residue remains. This meticulous preparation helps paint or further resin layers adhere reliably and look consistent.
Step 4: Prime and Paint the Resin
Select a primer formulated for resin surfaces; this step is particularly important for ensuring paint adhesion and a uniform final appearance. Apply the primer in thin, even coats, allowing each to dry completely. Once primed, choose a suitable paint (acrylics are popular for artistic resin, while industrial coatings may be preferable for functional pieces). Allow complete curing between each stage for best results.
Depending on project size and detail, use a brush for intricate sections or a Resin & Paint Application Roller for broader areas. Choose the right roller or brush for an even, streak-free finish, and apply multiple thin coats rather than one thick layer.
Tips and Common Mistakes to Avoid
Patience at each stage pays off in the finished result. Rushing the curing times between filling and painting can lead to compromised adhesion or visible blemishes. Applying filler too thickly at once is a common error that may cause shrinking or cracking upon drying. Always sand between layers and clean the surface thoroughly. For intricate or large-scale decorative resin projects, consider enrolling in a specialist course such as the Resin Class – 3D Effects Coasters Masterclass, 120 Minutes to expand your skills.
Achieving a Lasting, Beautiful Resin Finish
Taking the time to properly prepare, fill, sand and paint your resin project brings outstanding results. Practice on small test pieces before tackling complex items to build confidence. Well-executed techniques turn simple resin surfaces into visually stunning art or durable repairs.

- Resin Class – 3D Effects Coasters Masterclass, 120 MinutesAn online course teaching how to create resin coasters, trays and bowls with practical guidance, suitable for DIY enthusiasts.
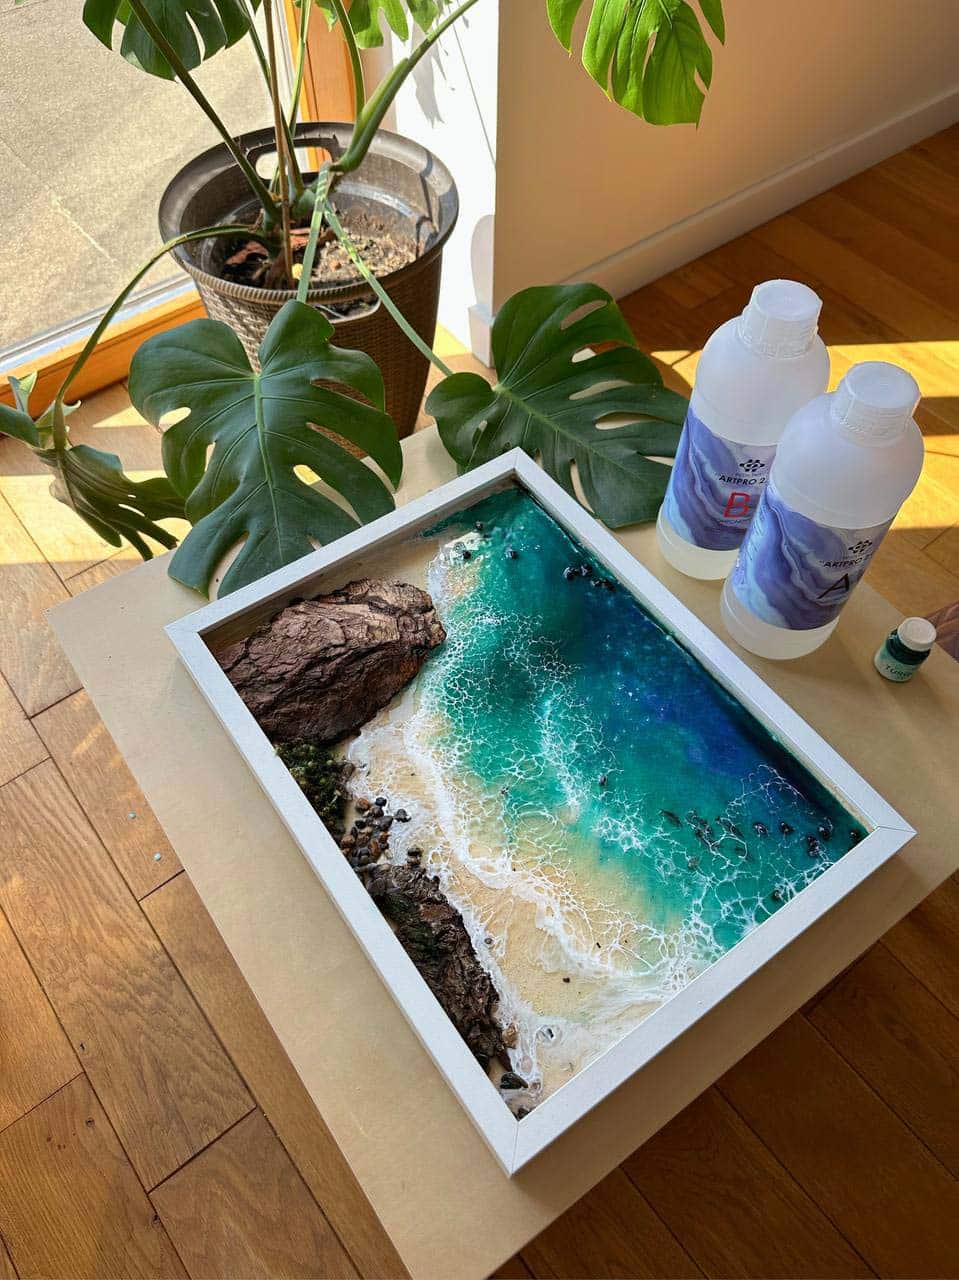
- Free Step-by-Step Resin Ocean Art Lesson by Natalia NatirumOriginal price was: £99.00.£0.00Current price is: £0.00.This free video tutorial guides you through creating Resin Ocean Art with recommended materials in the theme How to Fill and Paint Resin?
 CROP 2K Fiberglass Putty – 750 ml + Hardener£15.85CROP 2K Fiberglass Putty is a polyester putty with fibreglass reinforcement, suitable for filling and painting repairs in line with the theme.
 Resin & Paint Application Rollers – Short-Pile, Large, and Sponge TypesPrice range: £3.62 through £5.09Rollers designed for epoxy resin applications provide varied sizes for precise or broad coverage on resin surfaces.
Frequently Asked Questions
What is the best putty for repairing resin surfaces?
A fibreglass-reinforced polyester putty ensures strength and easy sanding, making it ideal for durable filler applications on resin.
How long should I wait before painting filled resin?
Always allow the filler and any primers to cure fully as per the manufacturer's guide before beginning the painting process.
Can you paint directly over cured resin?
Painting directly over cured resin is possible if the surface is lightly sanded and properly cleaned to promote adhesion.
Why does paint sometimes not stick to resin?
Grease, dust, or gloss surfaces prevent adhesion. Ensure thorough cleaning and light sanding prior to priming or painting.
What is the safest way to sand resin surfaces?
Wet sanding with appropriate grit paper and using a mask helps minimise dust and produces a smooth, even finish.
What are the best tools for even painting of resin?
Short-pile rollers or high-quality brushes offer control and smooth paint distribution on resin surfaces.