 Free shipping on orders over £29,85


How do you clean containers with epoxy resin residue?
Practical steps for removing sticky and cured resin from your mixing tools


If you work with epoxy resin, proper cleaning of your mixing containers is essential for keeping your workspace safe and your tools reusable. Sticky residue, partially cured resin, or even fully set remnants can appear daunting but can be tackled with the right methods. Whether you’re an artist, hobbyist, or professional, this guide helps you clean up efficiently and safely so you can focus on your next resin project.
What You’ll Need
- Pure Isopropyl Alcohol 99.9% – 1000ml Bottle for Epoxy Resin Projects & DIY – For dissolving uncured resin and cleaning surfaces.
- Strong Technical Degreaser for Resin Projects – 100% Natural Formula – Ideal for tackling oily or sticky residues.
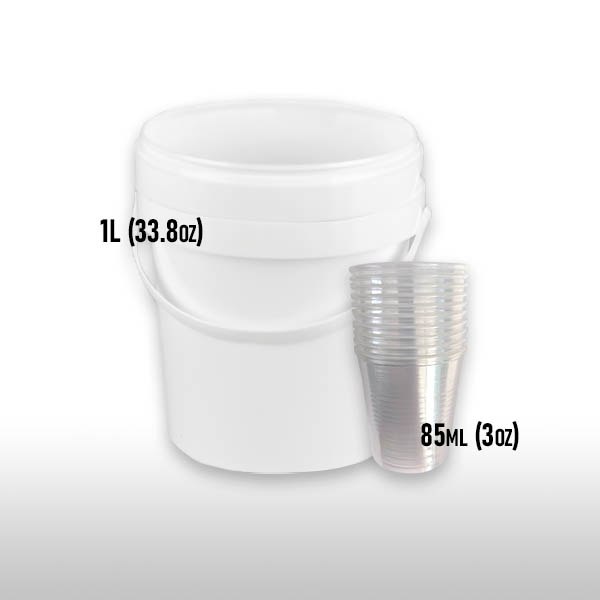
- Mixing Buckets Kit for Epoxy Resin Art – Easy Clean Flexible Design – Flexible and reusable, makes removing set resin much simpler.
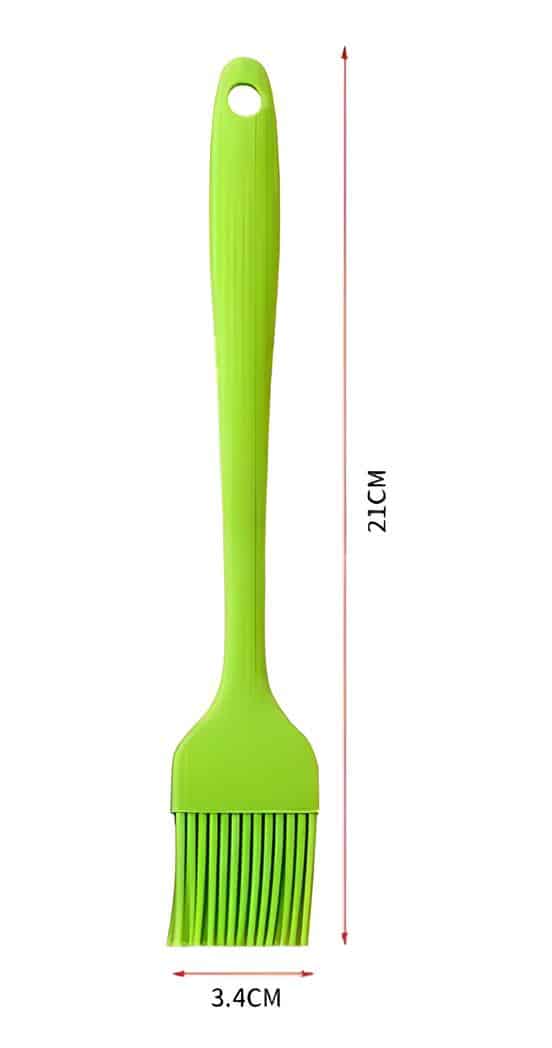
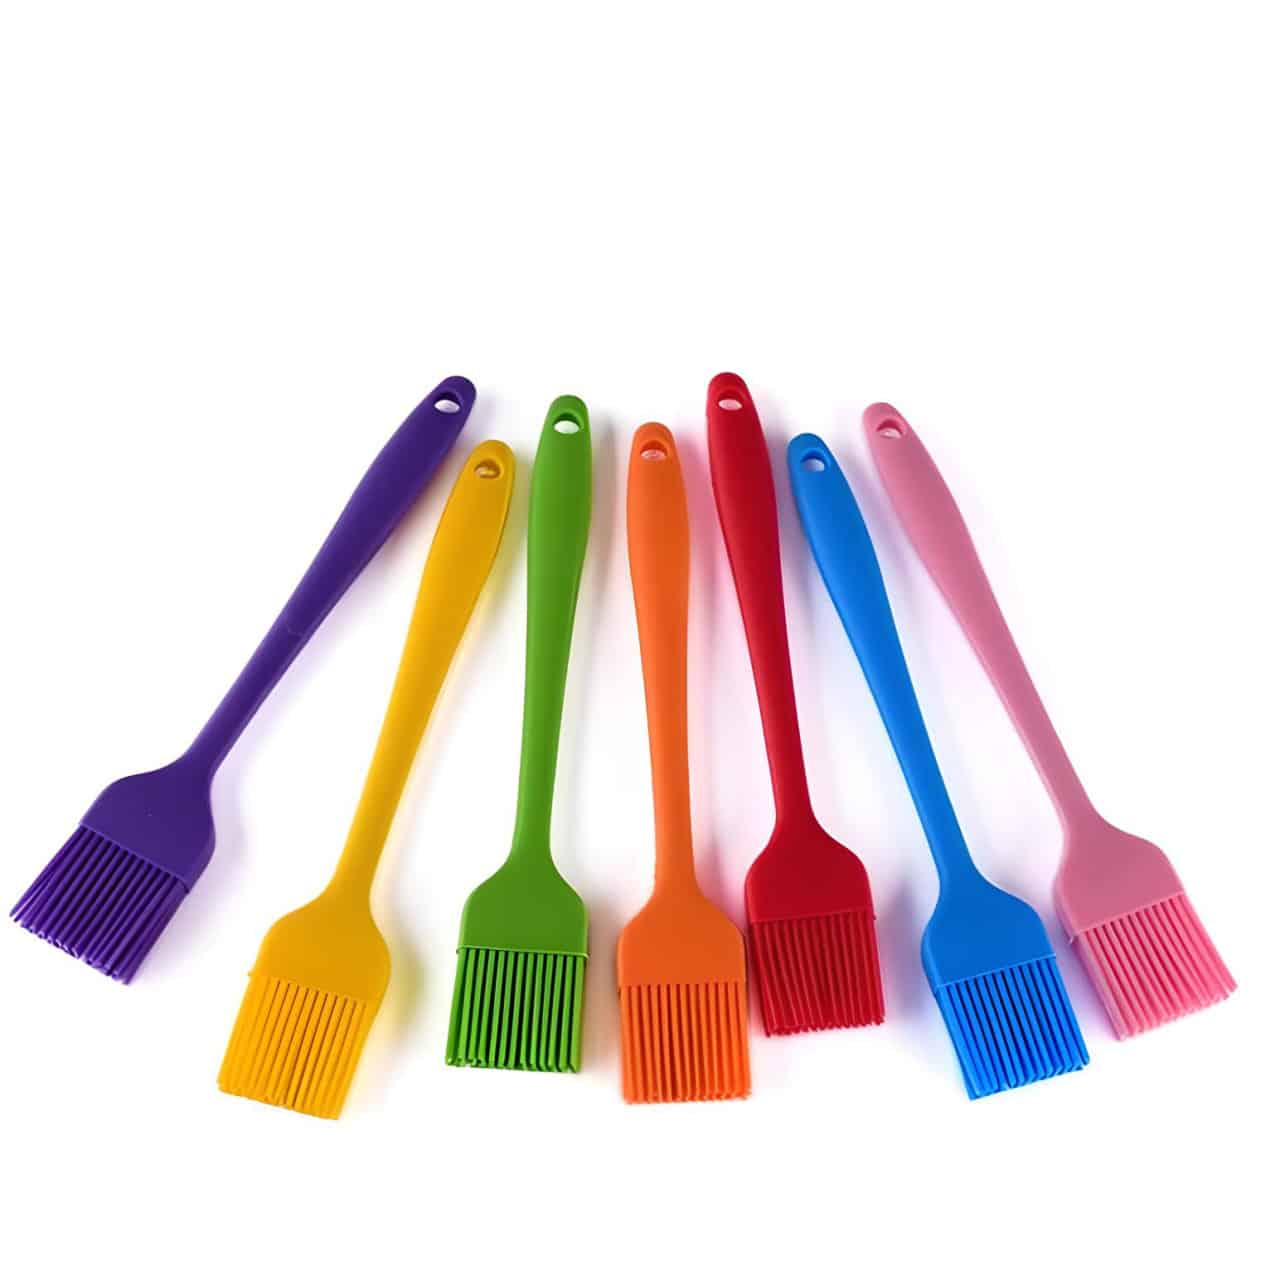
- Reusable Silicone Resin Brush for Epoxy Art and Wood Applications – Helps apply cleaning solutions and is itself easy to clean.
- Warm soapy water
- Soft sponge or cloth
- Protective gloves and eyewear
- Paper towels or disposable cloths
Video: Cleaning Epoxy Mixing Containers the Easy Way
See how to quickly clean your mixing buckets and tools after working with epoxy resin. Techniques for removing sticky or cured resin are demonstrated for beginners and advanced resin artists in this practical step-by-step showcase.
Step 1: Take Immediate Safety Precautions
Always wear gloves and protective eyewear when cleaning epoxy resin residue. Epoxy resin can irritate skin and eyes, especially in liquid or sticky form. Work in a well-ventilated area and avoid inhaling fumes from solvents. If working with isopropyl alcohol or any liquid cleaners, ensure there are no sources of ignition nearby, as some solvents are highly flammable.
Step 2: Remove Excess Resin Before It Cures
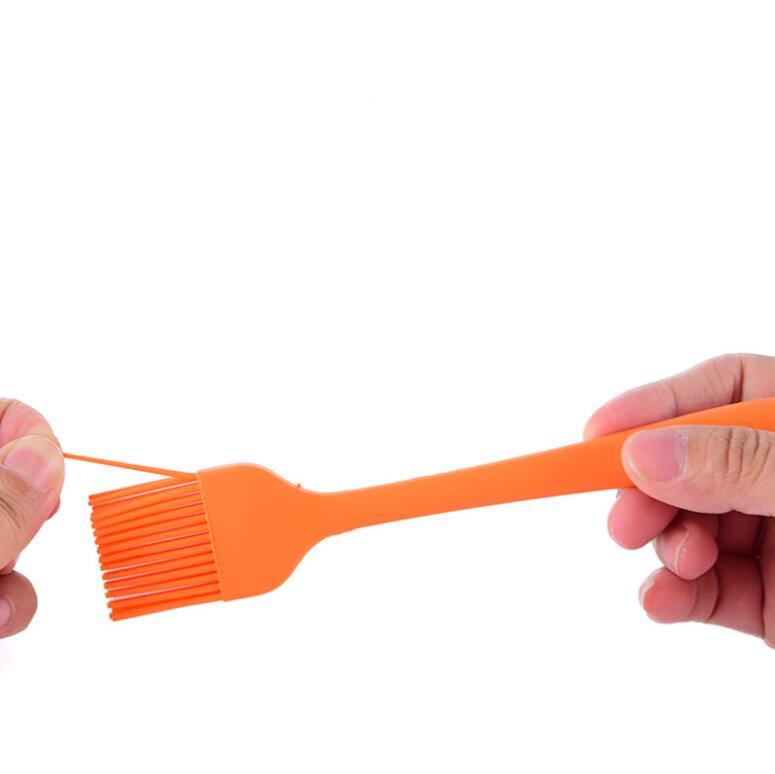
The easiest time to clean containers is immediately after pouring your resin, while it is still liquid or tacky. Use a broad, reusable tool like the Reusable Silicone Resin Brush for Epoxy Art and Wood Applications to scrape out as much unmixed resin as possible. Wipe away the remaining material with paper towels or disposable cloths.
Act quickly while the resin is still uncured. The longer resin remains in the container, the harder it will be to remove. Avoid letting your tools sit unused, as resin cures rapidly depending on ambient temperature and humidity.
Step 3: Use the Right Solvent or Cleaner
For leftover uncured or sticky residue, apply a generous amount of Pure Isopropyl Alcohol 99.9% – 1000ml Bottle for Epoxy Resin Projects & DIY or Strong Technical Degreaser for Resin Projects – 100% Natural Formula to a soft sponge. Gently rub the interior surface, focusing on areas with visible film or streaks. Keep the surface moist with your chosen solvent and let it sit for a few minutes to soften the resin.
Let the container soak before scrubbing stubborn patches. For very sticky spots, soaking for up to 10 minutes with the solvent can help lift the residue more easily. After soaking, scrub with your non-abrasive sponge.
Step 4: Deal with Fully Cured Resin
If the resin has fully hardened, physical removal is more effective than chemical. Flexible containers, like the Mixing Buckets Kit for Epoxy Resin Art – Easy Clean Flexible Design, make this much easier. After the resin has fully cured (generally 24–48 hours), squeeze the sides of the bucket to loosen and pop out the cured mass in one piece.
Never use abrasive tools that may scratch your containers. For rigid containers, gently flexing or tapping can help. Avoid metal scrapers, as these might damage the container and make future cleaning even harder.
Step 5: Final Rinse and Safe Disposal
After the bulk of resin is removed, wash the container with warm soapy water. Some residue may remain as a faint film—another wipe with isopropyl alcohol or the technical degreaser can help. Ensure all cleaning cloths and waste materials that come into contact with epoxy resin are disposed of safely. Follow local guidance for chemical waste and avoid pouring solvents down the drain.
Dispose of resin-soaked cloths and waste material responsibly. Store these in a sealed bag until you can dispose of them according to local guidelines, ensuring environmental and personal safety.
Tips and Common Mistakes When Cleaning Resin Containers
Work as soon as possible after using resin to prevent unnecessary buildup. Using reusable, flexible containers saves time in the long run, and warm soapy water is still effective for light residue. Never mix solvents and always ventilate your space. Rushing the process or using the wrong cleaning method can damage your containers, making them less effective for future projects.
Gallery: Cleaning Success Stories from Resin Artists
Discover before-and-after results shared by our community, featuring flexible buckets, brushes, and the effect of natural degreaser and isopropyl alcohol on stubborn residue. See how the right technique transforms messy tools back to new.
- Pure Isopropyl Alcohol 99.9% – 1000ml Bottle for Epoxy Resin Projects & DIYPrice range: £10.45 through £20.95Pure Isopropyl Alcohol 99.9% is suitable for epoxy resin projects and helps remove bubbles and clean surfaces effectively.
- Strong Technical Degreaser for Resin Projects – 100% Natural FormulaOriginal price was: £10.95.£9.45Current price is: £9.45.Strong Technical Degreaser is a gentle, natural cleaner suitable for epoxy resin residue and multiple surfaces.
- Mixing Buckets Kit for Epoxy Resin Art – Easy Clean Flexible DesignPrice range: £2.05 through £8.95Mixing Buckets Kit designed for epoxy resin art with a flexible, easy-to-clean design suitable for various mixing tasks.
- Reusable Silicone Resin Brush for Epoxy Art and Wood Applications£3.62The Reusable Silicone Resin Brush supports ecological use in epoxy resin applications with easy cleaning and suitability for art and wood projects.
Frequently Asked Questions
How should I clean buckets with uncured epoxy resin?
Remove as much resin as possible, then use isopropyl alcohol or a natural degreaser and wipe clean with a cloth.
What if the resin is fully cured in the container?
Wait for the resin to set, then flex or squeeze the container to pop out the cured mass. Avoid using metal tools.
How should I dispose of solvents after cleaning resin?
Collect used solvents and resin waste in a sealed bag and follow local disposal regulations for chemical materials.
Do standard household cleaners work on epoxy resin residue?
They are less effective than specialised solvents like isopropyl alcohol or technical degreasers for epoxy residue.
Any tips to keep my containers reusable?
Clean immediately after use, choose easy-clean flexible containers, and avoid leaving resin to harden inside.