 Free shipping on orders over £29,85


How do you install self-leveling resin?
A step-by-step guide for perfect, professional-level resin finishes

Self-leveling resin provides a seamless and durable finish for tables, floors, artworks, and restoration projects. Installing it correctly ensures a bubble-free, level, and glossy result, whether you are a DIY enthusiast or a professional. This guide walks you through the essential steps to achieve a flawless application on your chosen surface.
What You’ll Need
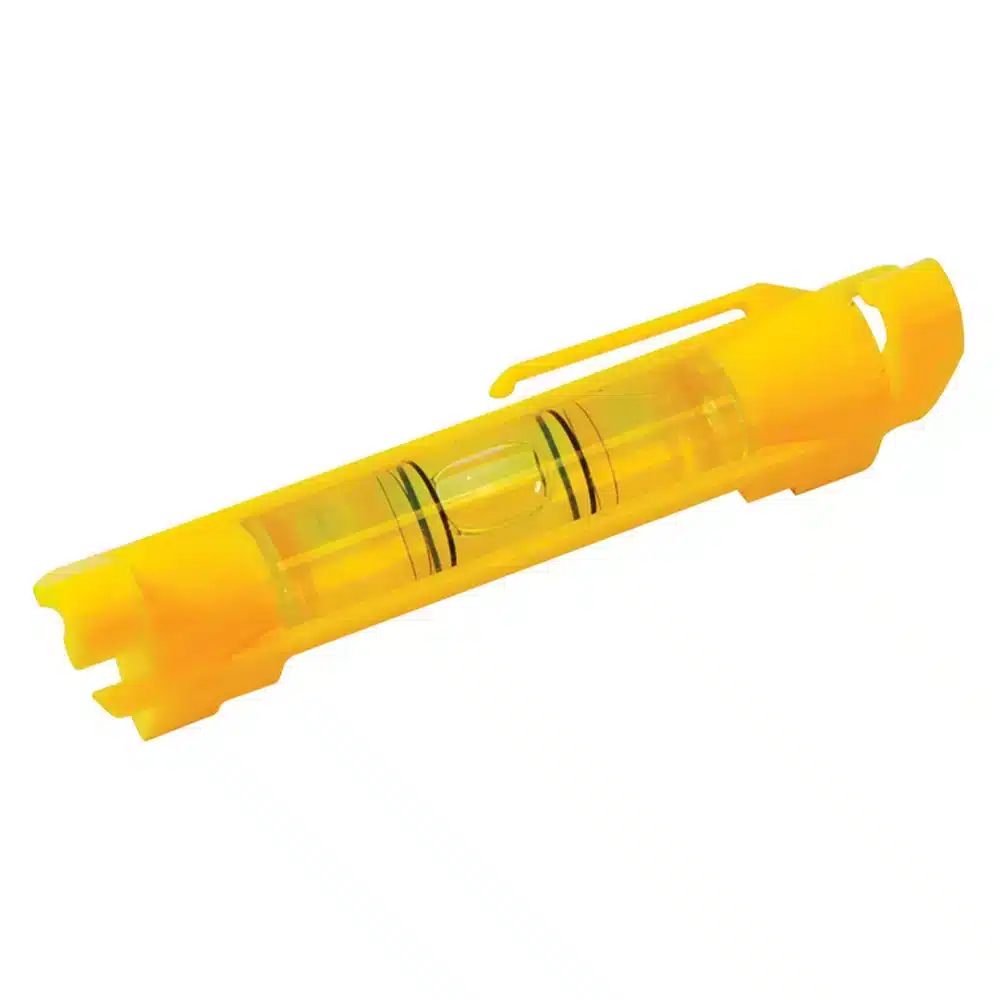
- Compact Line Level for Epoxy Projects for Accurate Surfaces – 75mm – assists in verifying a perfectly level workspace
- Resin & Paint Application Rollers – Short-Pile, Large, and Sponge Types – for spreading and evening out the poured resin
- “Icrystal” – Clear Epoxy Resin – Odourless Formula – Up to 1.5cm or “Trasparente” – Multipurpose Clear Epoxy Resin for Casting – Up to 2cm – as your self-leveling resin base
- Straight-edged trowel or spreader
- Mixing buckets, gloves, and protective gear

Set Yourself Up for Success
Proper preparation delivers the best results. Clean your workspace, assemble all tools beforehand, and organise your chosen resin, rollers, and protective equipment. Taking a careful, methodical approach at the outset is key to achieving a level and glossy finish.

Step 1: Prepare and Level the Surface
Ensure the substrate is flat, dry, and free from grease or dust. Clean thoroughly, remove any debris, and fill or sand down major imperfections. A perfectly prepared base is crucial for professional results, as self-leveling resin will emphasise any underlying dips or bumps.
Check that your workspace itself is level. Use the Compact Line Level for Epoxy Projects to confirm the table or floor is even before you begin. Address any unevenness before proceeding with your pour.
Step 2: Mix the Resin Carefully
Read all instructions for your specific resin. Follow the recommended proportions: incorrect ratios can result in poor curing or surface irregularities. Pour the required volumes of resin and hardener into a clean, dust-free bucket. Use a slow, careful mix to combine both parts for at least two minutes, scraping sides and bottom to avoid unmixed residue.
Remove excess air bubbles by letting the mixture stand briefly before pouring. Choosing a self-levelling resin, such as “Icrystal” or “Trasparente”, will simplify the mixing and spreading process.
Step 3: Pour and Spread Evenly
Mix thoroughly and pour in a steady, even fashion. Start from one end and work across the surface, allowing the resin to flow naturally. Pour in strips or pools, rather than dumping it all in one spot, to minimise trapped air.
Use a suitable roller—such as the Resin & Paint Application Rollers (sponge roller for self-levelling, short-pile for edges)—to assist the resin in spreading out thinly and evenly, particularly across wide or detailed sections.
Lightly guide the resin with a trowel or spreader as needed, but avoid excessive manipulation, as this can introduce bubbles or waves.

Step 4: Allow to Level and Cure
Spread evenly without overworking. Once in place, the self-leveling resin will naturally settle, smoothing out minor inconsistencies. Inspect for and promptly pop any visible bubbles using a toothpick or gentle heat.
Protect the area from dust and avoid vibration or disturbance during the curing process. Ensure a stable room temperature based on the manufacturer’s recommendations, and let the piece cure undisturbed for the time indicated on your resin packaging.
Allow undisturbed curing for the specified period. Resist the urge to touch or move the work area, as premature contact may mar the finish. Properly cured resin results in an even, glossy, and hard-wearing surface.

Tips, Common Mistakes, and Troubleshooting
Work in a dust-free and temperature-controlled environment to avoid cloudiness. Always double-check levels before pouring, and mix resin thoroughly—but not so vigorously as to trap bubbles. Use rollers that are clean and lint-free.
Common mistakes include rushing surface prep, incorrect mix ratios, overworking the spread, or failing to protect the curing zone. If imperfections develop, most can be corrected with a light sanding and an additional resin coat after full cure.
What If Something Goes Wrong?
Imperfections can usually be fixed. If your resin surface cures with bumps or bubbles, wait until it is fully hard, sand it gently, remove dust, and apply a thin additional layer of self-leveling resin for a flawless result.

- Compact Line Level for Epoxy Projects for Accurate Surfaces – 75mm£1.21The Compact Line Level is a lightweight tool designed for achieving accurate, level surfaces in epoxy resin projects.
- Resin & Paint Application Rollers – Short-Pile, Large, and Sponge TypesPrice range: £3.62 through £5.09Rollers designed for epoxy resin ensure precision and uniform application suitable for self-leveling resin projects.
- "Icrystal" – Clear Epoxy Resin – Odourless Formula – Up to 1.5cmPrice range: £12.45 through £341.45"Icrystal" clear epoxy resin is a self-levelling, odourless product suited for transparent coating applications.
 "Trasparente" – Multipurpose Clear Epoxy Resin for Casting – Up to 2cmPrice range: £8.95 through £397.95"Trasparente" is a clear, self-levelling epoxy resin suitable for detailed casting and DIY projects up to 2cm thickness.
Frequently Asked Questions
Can self-leveling resin be applied to uneven surfaces?
It is best to install self-leveling resin only on flat, even substrates. Irregularities may show through the final finish.
How do I prevent bubbles from forming in self-leveling resin?
Mix slowly, allow the resin to rest briefly, and use a roller or gentle heat source to release trapped air immediately after pouring.
Should I use a roller or a trowel for self-leveling resin?
Rollers are ideal for spreading resin evenly over larger areas, while trowels can help distribute and smooth resin in detailed sections.
How thick should each layer of self-leveling resin be?
Refer to your specific product; for example, "Icrystal" supports up to 1.5cm and "Trasparente" up to 2cm per layer.
How long does self-leveling resin take to cure?
Cure times depend on product and thickness, but full cure is typically reached after 24–72 hours under normal conditions.
What is the ideal temperature for installing self-leveling resin?
A stable temperature between 18–24°C is generally best. Extreme cold or heat can affect curing time and surface quality.