 Free shipping on orders over £29,85


How do you make a table with wood and resin?
Step-by-step guide for a flawless resin and wood table


Learning how to make a table with wood and resin opens up endless design possibilities for unique, stunning centrepieces in your home or workspace. This guide is tailored for DIYers and creators who want to achieve a professional finish with the confidence of step-by-step instruction, whether you are looking to craft a river table or introduce vibrant resin accents to timber.
What You’ll Need
- “River-Table” – Complete Kit for Creating Your First Epoxy Resin Table: A comprehensive kit perfect for first-timers, including all core materials and beginner-friendly instructions.
- “EpoxyTable 5-Five” – Deep Pour Epoxy Resin for Tables and Large Projects – Up to 5cm: Select this resin for pours up to 5cm deep, for medium to large designs.
- “Epoxytable 10-Ten” – Deep Pour Epoxy Resin for Tables, Up to 10cm Casting: Necessary for extra-thick designs or statement tables.
- “Shiny Shield” – Glossy Release Film for Resin Projects: Ensures easy removal from the mould and glossy surfaces.
- Quality timber (e.g., walnut, oak, or maple)
- Pigments (if you wish to add colour)
- Formwork materials (MDF, melamine board, screws)
- Mixing containers and stirring sticks
- Protective gloves, mask, and safety glasses
- Sanding equipment and polishing compound

Essential Tools for Your Wood and Resin Table Project
A successful wood and resin table requires more than just resin and wood. Gather high-quality protective equipment, sturdy mixing tools, and reliable formwork supplies to prepare your workspace before starting. Having well-organised materials ensures a smoother process from start to finish.

Step 1: Plan and Prepare Your Table Design
Start by choosing your timber. Select pieces that are dry, flat, and structurally sound. Decide on your final design, such as a classic river table or timber segments with resin inlets. Accurate measurements and a template can prevent costly mistakes later. Sand the wood surfaces to remove dirt and smooth rough edges, as this ensures better resin adhesion and a clean look. Position your wood inside the intended form to verify fit and make any necessary adjustments.
This step is also the time to consider how deep your resin pour will be. For pours up to 5cm, opt for a deep pour resin like “EpoxyTable 5-Five”, or use a kit such as “River-Table” – Complete Kit for Creating Your First Epoxy Resin Table for a straightforward start.
Step 2: Build and Seal the Formwork
Construct a sturdy form using MDF or melamine board, sized for your table top. The form must be watertight to prevent resin leaks. Use screws or clamps on the outside to secure the sides, and seal every internal edge carefully with a silicone sealant. Line the base and sides with “Shiny Shield” – Glossy Release Film for Resin Projects or a similar release film to ensure the cured table can be demoulded without sticking or leaving residue. Make sure all wood is properly secured, as floating pieces can ruin the final look.
Inspect the set-up and perform a leak test with a small amount of water or spare resin. Fix any leaks before moving on to pouring resin.
Step 3: Mix and Pour the Resin
Wear gloves, a respirator mask, and safety glasses for this step. Follow your chosen resin’s mixing ratio precisely—using the correct epoxy product is critical for curing and clarity. Stir slowly and thoroughly, scraping the sides and bottom of your container. If you plan on adding pigments for colour effects, do so gradually and blend evenly.
Pour the resin into the mould in stages if your project is thicker than the recommended maximum single pour. For deep projects up to 10cm, use “Epoxytable 10-Ten” – Deep Pour Epoxy Resin for Tables, Up to 10cm Casting. For each layer, allow partial curing before pouring the next. Use a heat gun or torch lightly to pop air bubbles after each pour for a glass-clear result. Allow the resin to level naturally and cover to protect from dust during curing.

Step 4: Demould and Finish the Table
Leave your project to fully cure according to the resin manufacturer’s guidelines—this could be from 24 to 72 hours depending on thickness and room temperature. Remove the table carefully from the mould. If you used “Shiny Shield” – Glossy Release Film for Resin Projects, demoulding should be smooth and quick.
Level or trim the edges if needed, then sand the surface with progressively finer grit. Finish with a polishing compound for a mirror gloss. Add table legs or supports to your newly finished top to complete the table.

Key Tips and Common Mistakes
Prepare your materials and workspace in advance for a smooth workflow. Always measure resin and hardener by weight, not volume, for best results. Avoid working in humid or very cold conditions, as these can affect curing and clarity. Don’t rush the pouring process—pouring too thick or too quickly can cause overheating, cracks, or cloudiness. Finally, always work safely by using protective gear and allowing plenty of ventilation.
Finishing Touches for a Professional Result
Sanding with a variety of abrasives and using a suitable polishing compound can transform your table from rough to radiant. Consider adding felt pads or protective feet to your finished piece to protect floors and enhance your table’s stability.

- "River-Table" – Complete Kit for Creating Your First Epoxy Resin TablePrice range: £198.45 through £467.45"River-Table" provides a complete kit with materials and instructions for creating a modern wood and resin table.
- "EpoxyTable 5-Five" – Deep Pour Epoxy Resin for Tables and Large Projects – Up to 5cmPrice range: £17.95 through £1,154.95"EpoxyTable 5-Five" is designed for deep pour projects like tables, offering low exothermic reaction and a bubble-free finish.
 “Epoxytable 10-Ten” – Deep Pour Epoxy Resin for Tables, Up to 10cm CastingPrice range: £35.95 through £351.95“Epoxytable 10-Ten” is designed for deep pour applications, suitable for creating tables and projects up to 10cm thick.
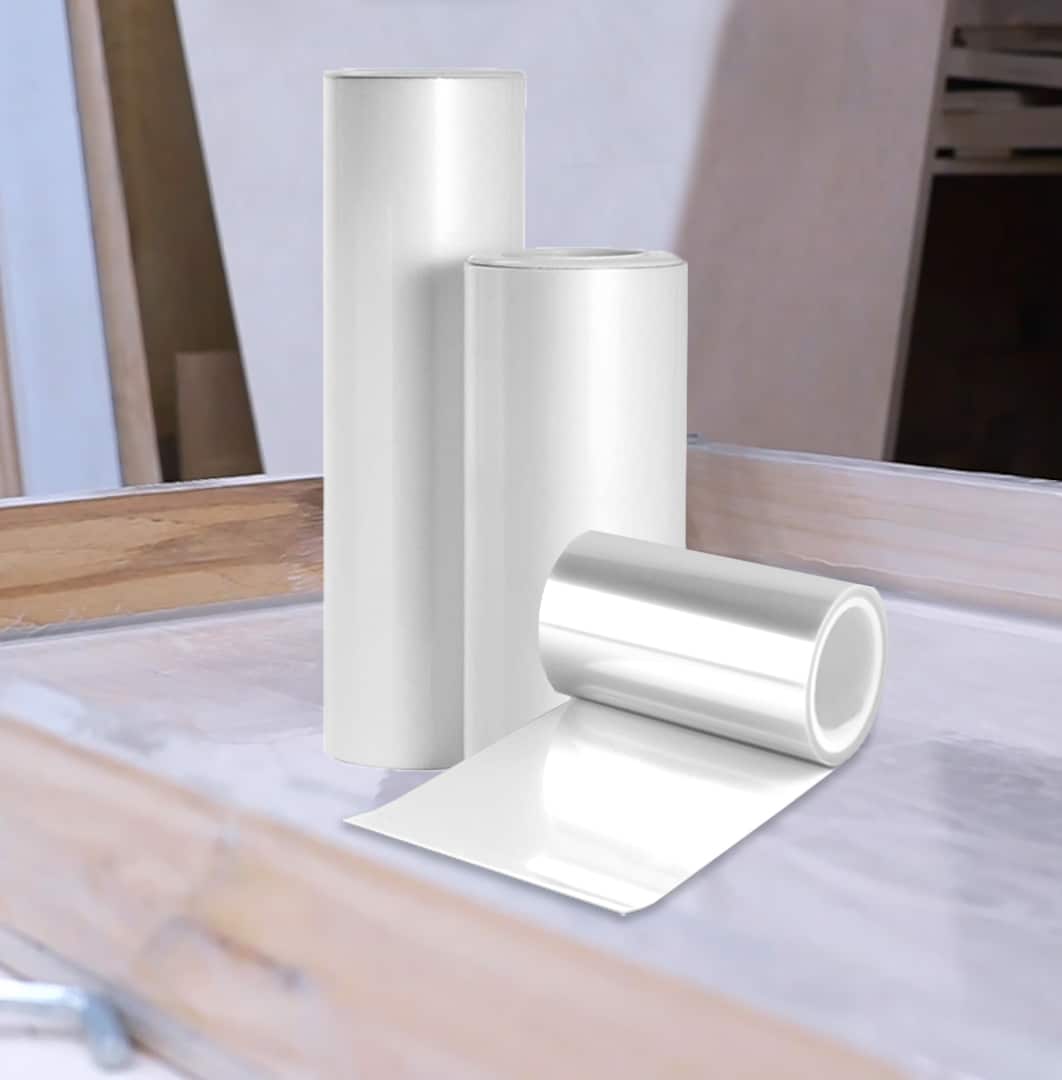 "Shiny Shield" – Glossy Release Film for Resin ProjectsPrice range: £3.45 through £12.95"Shiny Shield" is a glossy release film designed for resin projects to create a flat, bubble-free surface with easy removal and reusability.
Frequently Asked Questions
What is the best resin for wood table making?
Select a deep pour epoxy resin specifically formulated for tables, such as 'EpoxyTable 5-Five' or 'Epoxytable 10-Ten', to achieve thick, clear pours without yellowing.
Can beginners make a wood and resin table?
Yes, with suitable materials and step-by-step instructions, beginners can create a quality wood and resin table successfully.
Do I need release film for resin table moulds?
A glossy release film, like 'Shiny Shield', is recommended to ensure easy demoulding and a flat, polished surface.
How thick can I pour epoxy for a table?
Resins like 'EpoxyTable 5-Five' allow pours up to 5cm, while 'Epoxytable 10-Ten' supports up to 10cm in a single layer. For greater thicknesses, pour in stages.
Can I colour the resin in my table project?
Yes, add compatible pigments to the resin while mixing to achieve creative, personalised effects in your table.
How do I fix bubbles in my resin pour?
Use a heat gun or torch lightly over the resin surface immediately after pouring to remove air bubbles.