 Free shipping on orders over £29,85


How to make resin smoother?
Techniques and tools for a flawless resin finish every time


If you’ve ever struggled with rough or uneven surfaces on your resin projects, this guide is for you. Here, you’ll discover step-by-step methods for achieving a glass-like finish on any epoxy resin creation. Whether working on jewellery, art pieces, or resin tables, these proven techniques will help you minimise imperfections and deliver a smooth, professional result.

What You’ll Need
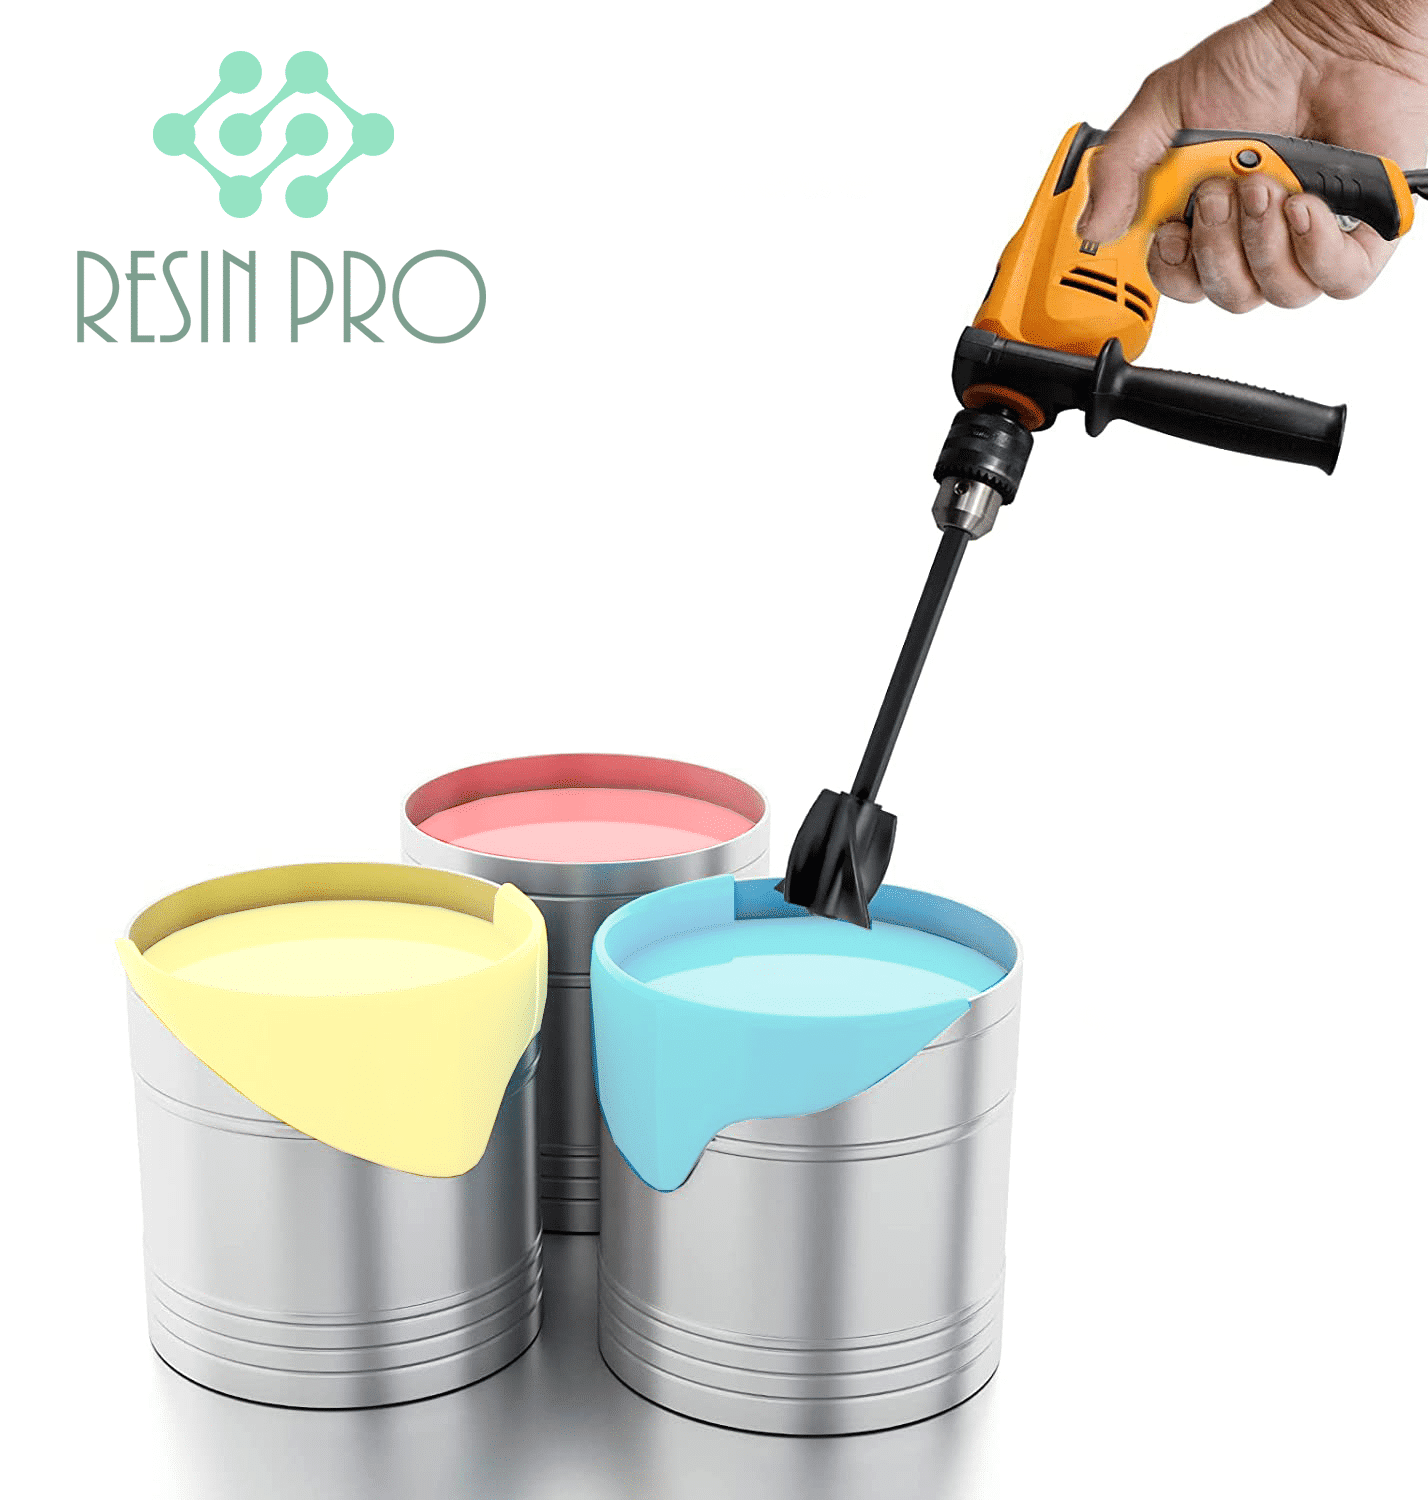
- Anti Bubble Mixer for Epoxy Resin – Reusable Mixing Tool: A mixing tool designed for smoother epoxy resin results by reducing bubble formation through gentle stirring.
- Tooth Shaped Spatula for Epoxy Resin Application: A notched spatula for even application of epoxy resin on various surfaces.
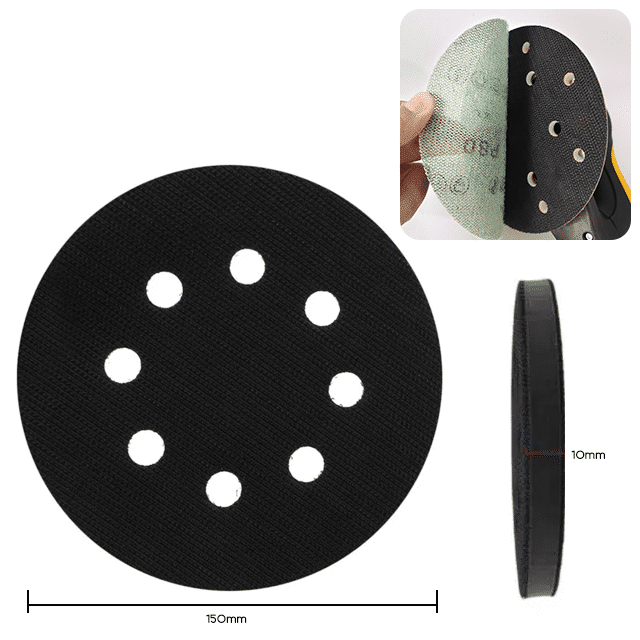
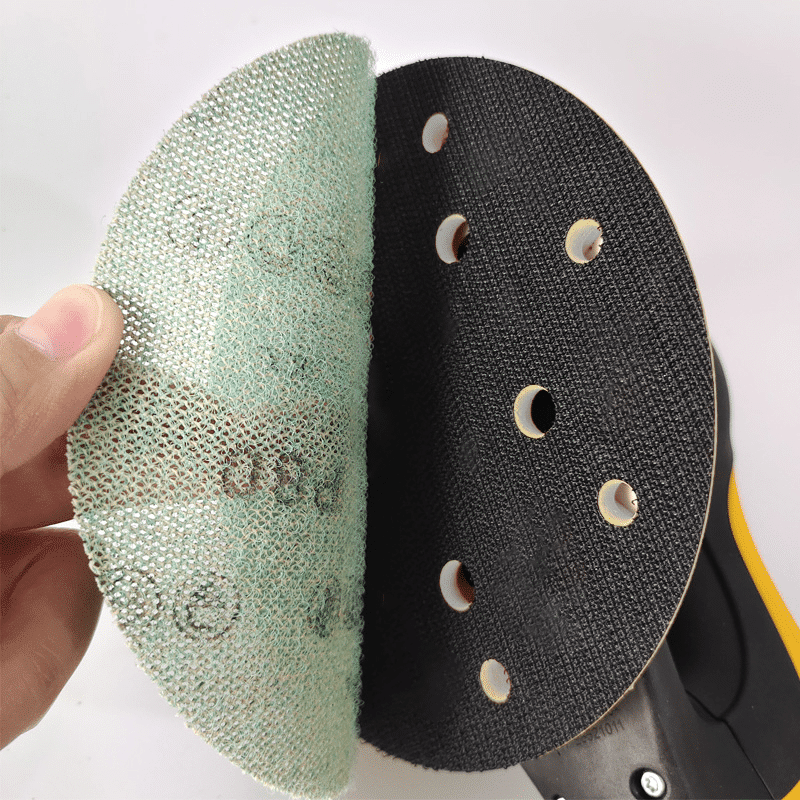
- Mirka Sanding Interface Pad 150mm x 10mm – For NET Sanding Discs: Provides a softer sanding experience for refined finishes on resin (can also be used with compatible sanding discs).
- “Epoxy Polish” – Epoxy Resin Polishing System: Crafted to improve gloss and surface clarity on epoxy resin after sanding.

Getting the Most from Your Resin Tools
High-quality mixing and application tools are essential for a professional resin finish. Choosing the right spatula or mixer can save time and reduce surface flaws, while reliable sanding accessories make smoothing effortless. Invest in dedicated resin tools to achieve consistently brilliant results.
Step 1: Mix Your Resin Carefully
Achieving a smooth finish begins right from the mixing stage. Always measure your resin and hardener accurately, and mix slowly and steadily to avoid introducing air. Rapid or forceful stirring can trap bubbles, which later harden and make the surface rough. Instead, use gentle motions and scrape along the sides and base of your mixing container to fully combine the components without foaming.
If you want to further reduce bubbles, consider using the Anti Bubble Mixer for Epoxy Resin – Reusable Mixing Tool. Its gentle stirring action helps create a homogenous mixture, promoting a smooth, clear result.


Step 2: Spread the Resin Evenly
Once your resin is perfectly mixed, pour it slowly onto your project surface. For best results, avoid pouring from too great a height, as this can introduce new bubbles. Use a tool designed for uniform application to guide the resin across your work area, keeping the layer thickness consistent. This is especially important for larger projects like tabletops to avoid low spots and pooling.
The Tooth Shaped Spatula for Epoxy Resin Application is ideal for this stage. Its notched design ensures precise and even distribution, reducing ridges and ensuring that each area is coated smoothly from the outset.
Step 3: Let the Resin Cure Properly
Patience is crucial once the resin is poured. Allow your project to cure in a dust-free, level environment without disturbance. Cover the piece to prevent any debris or dust from settling on the surface before it hardens. Avoid touching or moving the piece during the initial cure, as even small movements can create waves or marks.
Curing times vary depending on resin type, thickness, and ambient temperature, so always follow the manufacturer’s recommendations for your specific product. This step cannot be rushed—cutting corners on curing can result in a sticky, uneven finish that is difficult to correct later.

Step 4: Sand the Surface Smooth
After full curing, inspect the resin for any bumps, protruding bubbles, or unevenness. Begin sanding with a medium or fine grit, keeping the pad flat and moving in a circular motion if working by hand or with a sander. Wet sanding is especially effective for resin, as it minimises airborne dust and helps achieve a flawlessly smooth touch.
For controlled, gentle sanding that won’t gouge the resin, use the Mirka Sanding Interface Pad 150mm x 10mm – For NET Sanding Discs. It is designed for a softer sanding experience, allowing you to even out surfaces without leaving visible scratches or abrasive marks. Progress through finer grits for the best results.
Step 5: Polish to a Glossy Finish
Once sanding leaves your piece perfectly smooth to the touch, it’s time to restore full clarity and shine. Apply a dedicated resin polishing compound with a soft cloth or polishing pad, using slow, overlapping strokes. Buff the surface until it achieves a glass-like, high-gloss appearance.
The “Epoxy Polish” – Epoxy Resin Polishing System is purpose-built for this finishing stage, removing fine scratches and surface dullness for a professional result. Follow the instructions on the kit for optimal polishing and long-lasting lustre.
Tips, Common Mistakes, and Troubleshooting
- Always mix resin slowly to minimise bubbles—rushing this stage introduces more air than you might think!
- If imperfections appear, do not try to fix them while the resin is curing—wait until it’s fully cured, then address them by sanding and polishing.
- Don’t rush the curing process; curing times affect both smoothness and final surface quality.
- For best smoothing results, use a fine sanding pad and progress gradually through finer grits before polishing.
- Polish only after thoroughly sanding to avoid simply enhancing scratches.
- If cloudiness occurs after sanding, continue with finer sandpaper grades and finish with a suitable polishing compound.
Perfecting the Final Polish
A flawless shine requires both patience and the right touch. Take your time with each stage of finishing—sanding, then polishing—to reveal true clarity and smoothness. The correct polishing system will not only restore lustre but also enhance the resin’s unique visual depth.

- "Epoxy Polish" – Epoxy Resin Polishing SystemPrice range: £18.95 through £47.45"Epoxy Polish" is designed for restoring gloss and removing scratches on resin surfaces, supporting smoother finishes in your projects.
- Anti Bubble Mixer for Epoxy Resin – Reusable Mixing ToolPrice range: £4.95 through £12.45The Anti Bubble Mixer is designed to help achieve smooth epoxy resin mixing with minimal bubbles, supporting projects aimed at a finer finish.
- Tooth Shaped Spatula for Epoxy Resin Application£3.45The Tooth Shaped Spatula enables a smooth, even spread of epoxy resin across various surfaces, suitable for hobbyists and professionals.
- Mirka Sanding Interface Pad 150mm x 10mm – For NET Sanding Discs£6.45The Mirka Sanding Interface Pad 150mm x 10mm is designed for a smoother sanding finish, suitable for resin and other materials.
Frequently Asked Questions
Do I need to polish after sanding resin?
Yes, polishing after sanding removes micro-scratches and restores clarity to your resin surface, resulting in a professional glossy finish.
Can I use any sander or sanding pad on resin?
Preferably use sanding pads designed for delicate surfaces, like the Mirka Sanding Interface Pad, to avoid gouges and achieve a refined finish.
How can I prevent bubbles in my resin projects?
Mix resin slowly and use bubble-reducing tools, like the Anti Bubble Mixer, to help reduce bubbles at the source and ensure a smoother finish.
What if my resin remains sticky or uneven?
Allow the resin more time to cure in a level, dust-free space. If tackiness persists, additional thin layers may be needed before sanding and polishing.
Should I wet or dry sand resin surfaces?
Wet sanding is preferred as it reduces dust and achieves smoother results, although either method works if done with the right grit and technique.
How do I achieve a high-gloss finish on resin?
Thorough sanding followed by polishing with a resin-specific system, such as Epoxy Polish, delivers a rich, mirror-like shine.