 Free shipping on orders over £29,85


← Back to How do you sand resin sheets and paint?
Preparing a resin surface for painting requires a smooth, scratch-free finish. Properly eliminating scratches is an essential step, ensuring your painted design looks its best and lasts.
Step-by-Step: Sanding Out Scratches
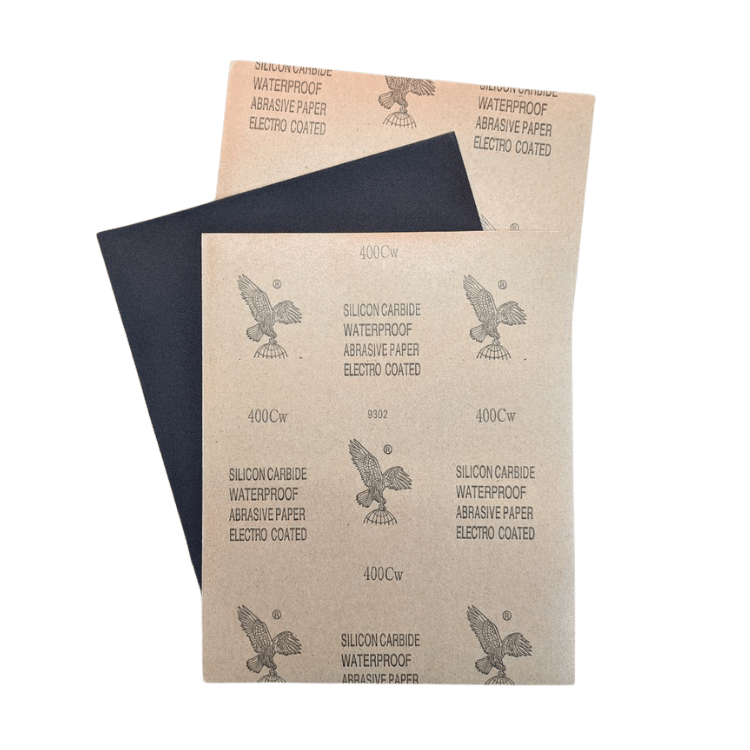
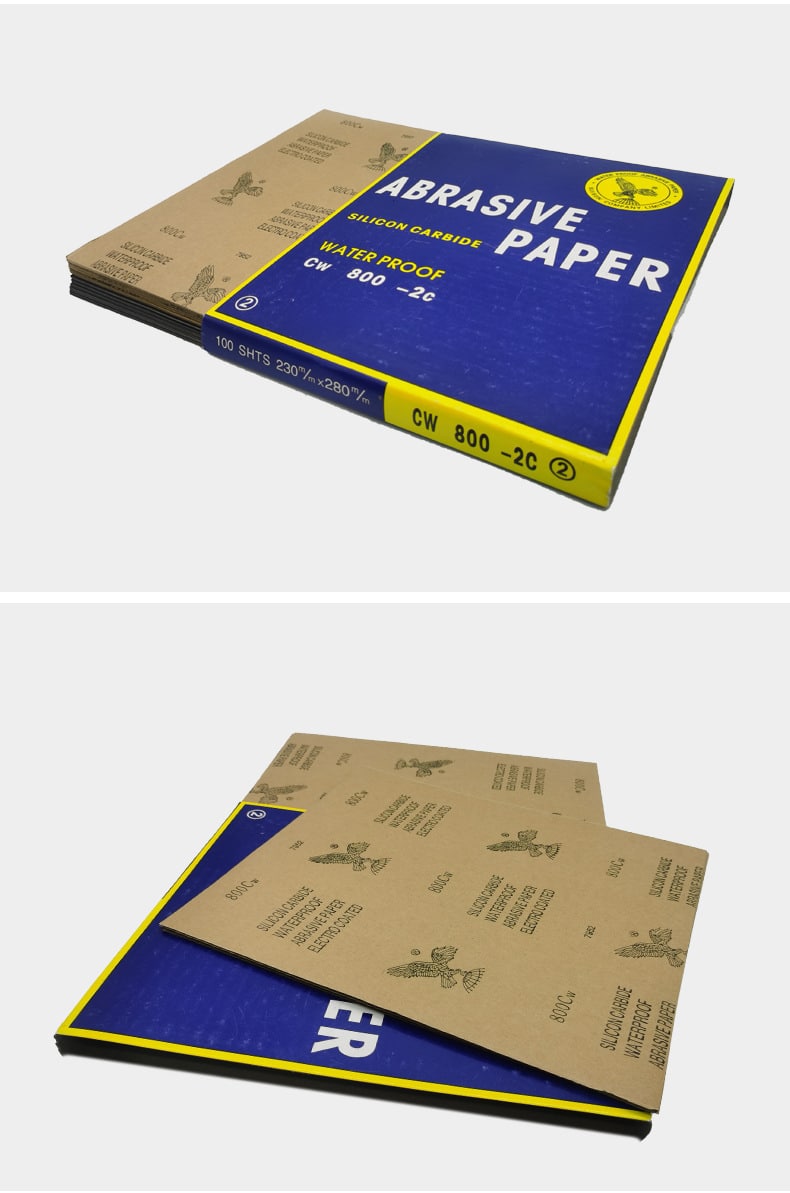
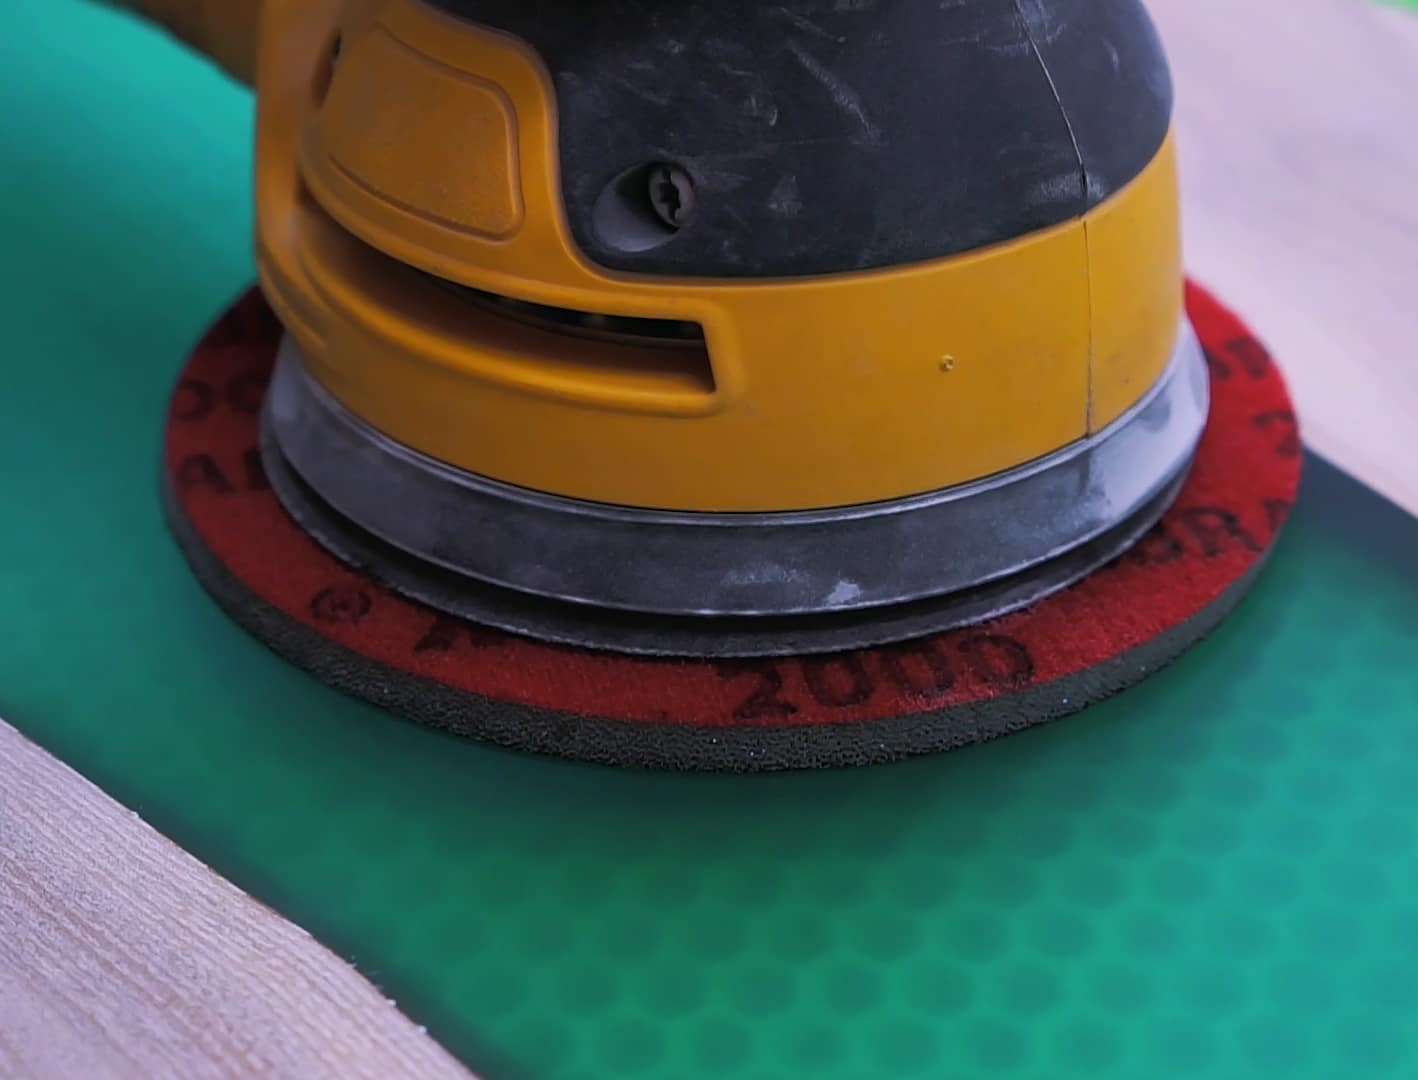
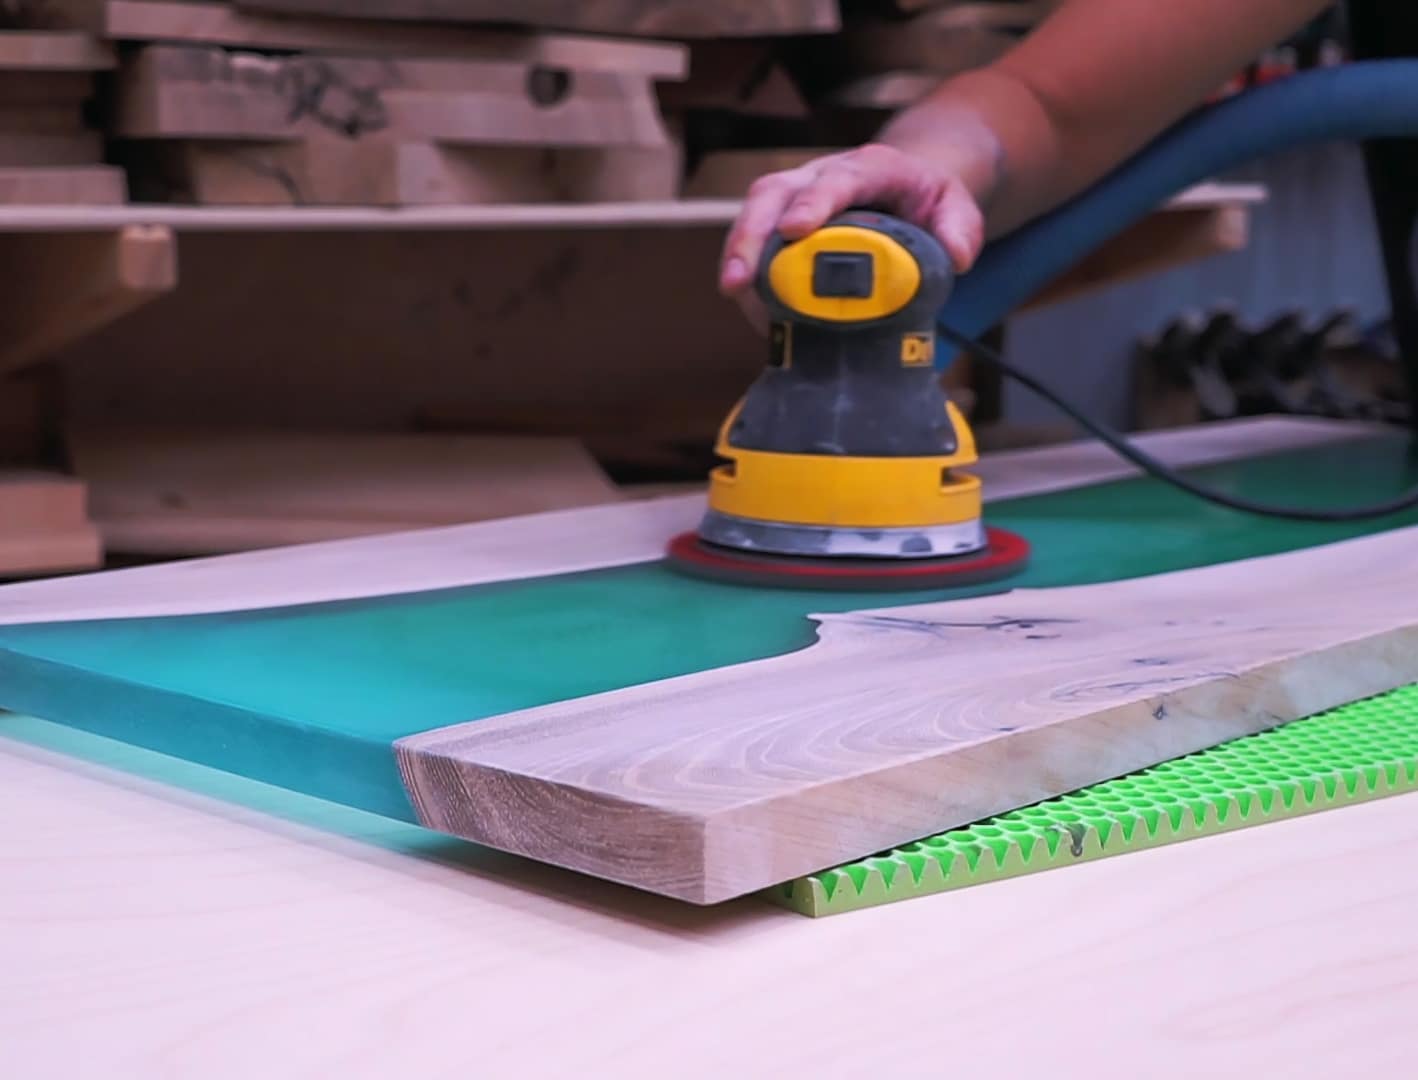
Begin by selecting a coarse grit sanding paper to target visible scratches on your resin sheets. Sand in small, even circles, applying light pressure to avoid gouging the surface. Progressively move to finer grits, which will refine the finish and diminish sanding marks left by previous coarser papers. Products like the A4 Waterproof Sanding Paper Assorted Grits Pack are especially suitable, as they offer a range of grits for each sanding stage.
- Always clean the surface between grit changes to remove debris.
- Consider wet sanding for a smoother result and reduced dust, using waterproof papers only.
- Finish with a sanding pad or very fine grit for the best base before painting.

Polishing for a Flawless Finish
After your final round of sanding, you may notice a subtle haze or micro-scratches. To address this, apply a specialised polishing system such as the Epoxy Polish. Use a soft polishing pad or a rotary polisher in gentle, overlapping motions. This last step brings out a uniform, high-quality finish ideal for paint adhesion.
- Follow product instructions for the best results.
- Wipe away all polishing residue before moving on to painting.
When This Matters Most
Meticulous scratch removal is crucial when an even, professional-looking finish is needed, such as with resin art, jewellery, or tabletops. Visible imperfections can become more pronounced once painted, so investing time at this stage pays off in the final appearance.
Related products
Related guides
By gradually sanding and polishing resin before painting, you set the foundation for a striking, durable result. Explore more tips on surface prep and finishing on our main guide: How do you sand resin sheets and paint?