 Free shipping on orders over £29,85


How to pour resin into a mold?
Achieve crystal-clear castings and vibrant resin art every time

Poured resin artwork and keepsakes are uniquely beautiful, but successful results depend on careful technique. This guide covers everything you need to know about pouring resin into silicone, wooden, or coaster moulds, so you achieve clear, bubble-free casts and vibrant art pieces—whether you are a beginner or just looking to refine your process.

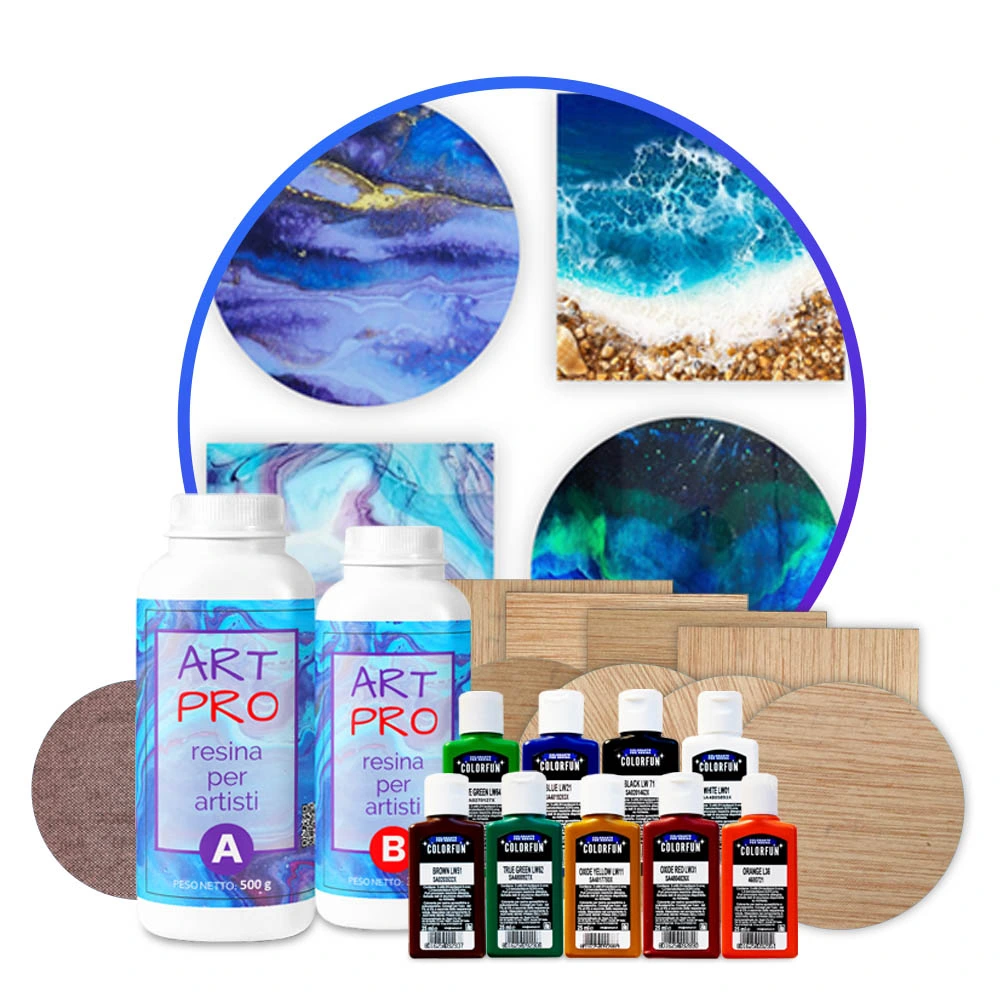
What You’ll Need
- Resin Memory Box Complete Epoxy Resin Kit with Silicone Moulds – 3kg: Complete epoxy resin kit designed for crafting memory boxes with dried floral arrangements.
- Petri Resin Art Starter Kit – Create Stunning Petri Effect Art at Home: A complete starter kit for making Petri effect resin art using alcohol inks and a silicone mould.
- Resin Geode Coaster Starter Kit – Create Stunning Crystal-Style Coasters at Home: A complete kit for creating handmade resin coasters inspired by natural geode and crystal patterns.
- Wooden Resin Coaster Starter Kit – Create Beautiful Handmade Coasters at Home: A complete kit designed for creating handmade wooden resin coasters with various colour and effect options.
- Mixing cups, stirring sticks, protective gloves, and a level work surface
- Heat gun or gas torch (optional, for bubble removal)
- Apron and workspace cover (to protect from drips or spills)
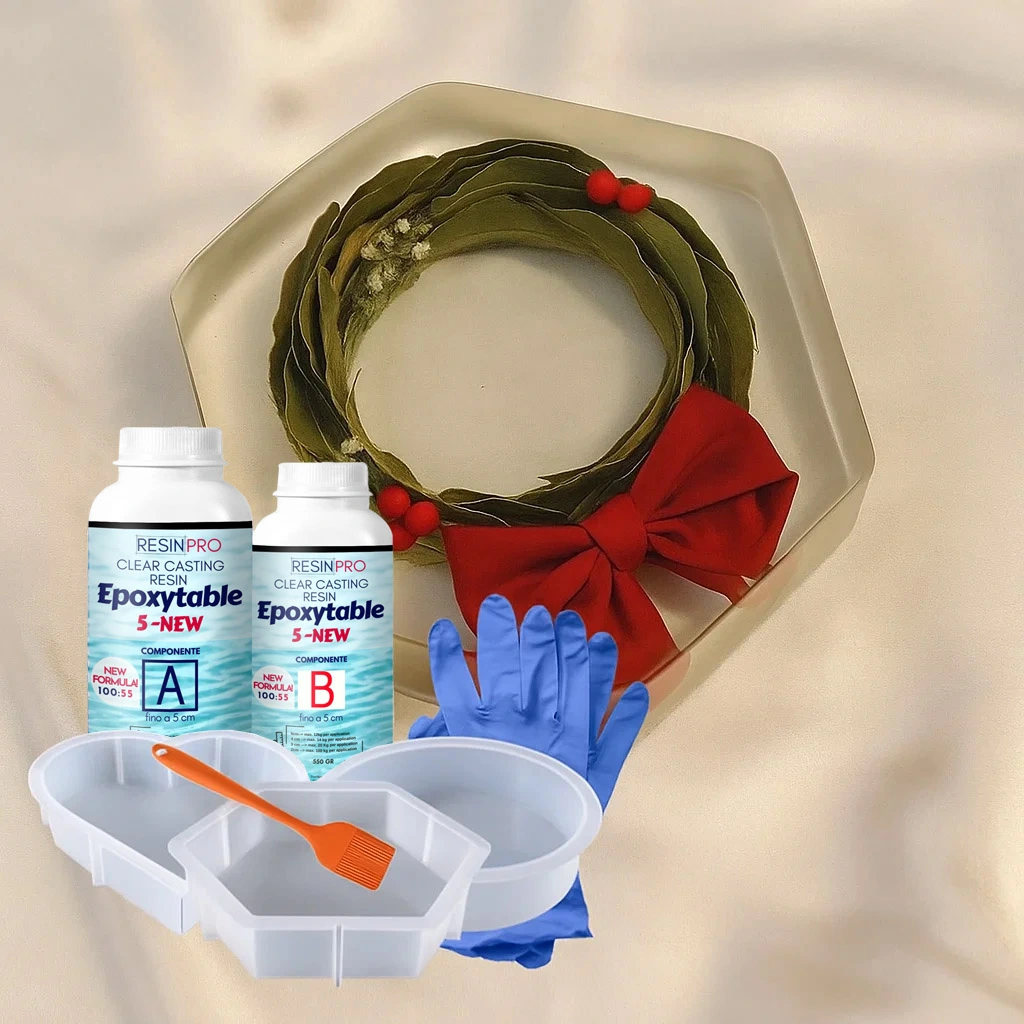
Visual Guide to Preparing Your Mould and Resin
See how a clean, prepared workspace and levelled mould are essential for flawless resin casting results. Position all protective equipment, measuring tools and selected kit components before mixing begins.
Step 1: Prepare Your Workspace and Mould
Work in a dust-free and well-ventilated environment to ensure no dust or pet hair settles onto your curing resin. Position your protective mat and supplies nearby. Set up your silicone or wooden mould on a perfectly level surface—an uneven base causes uneven thickness. Make sure the mould is clean and dry; for silicone, a quick wipe with isopropyl alcohol can help remove residues. For wooden bases (such as those in certain starter kits), ensure the surface is dust-free and fully dry before applying resin. Gather all materials now so you can move efficiently during the process.

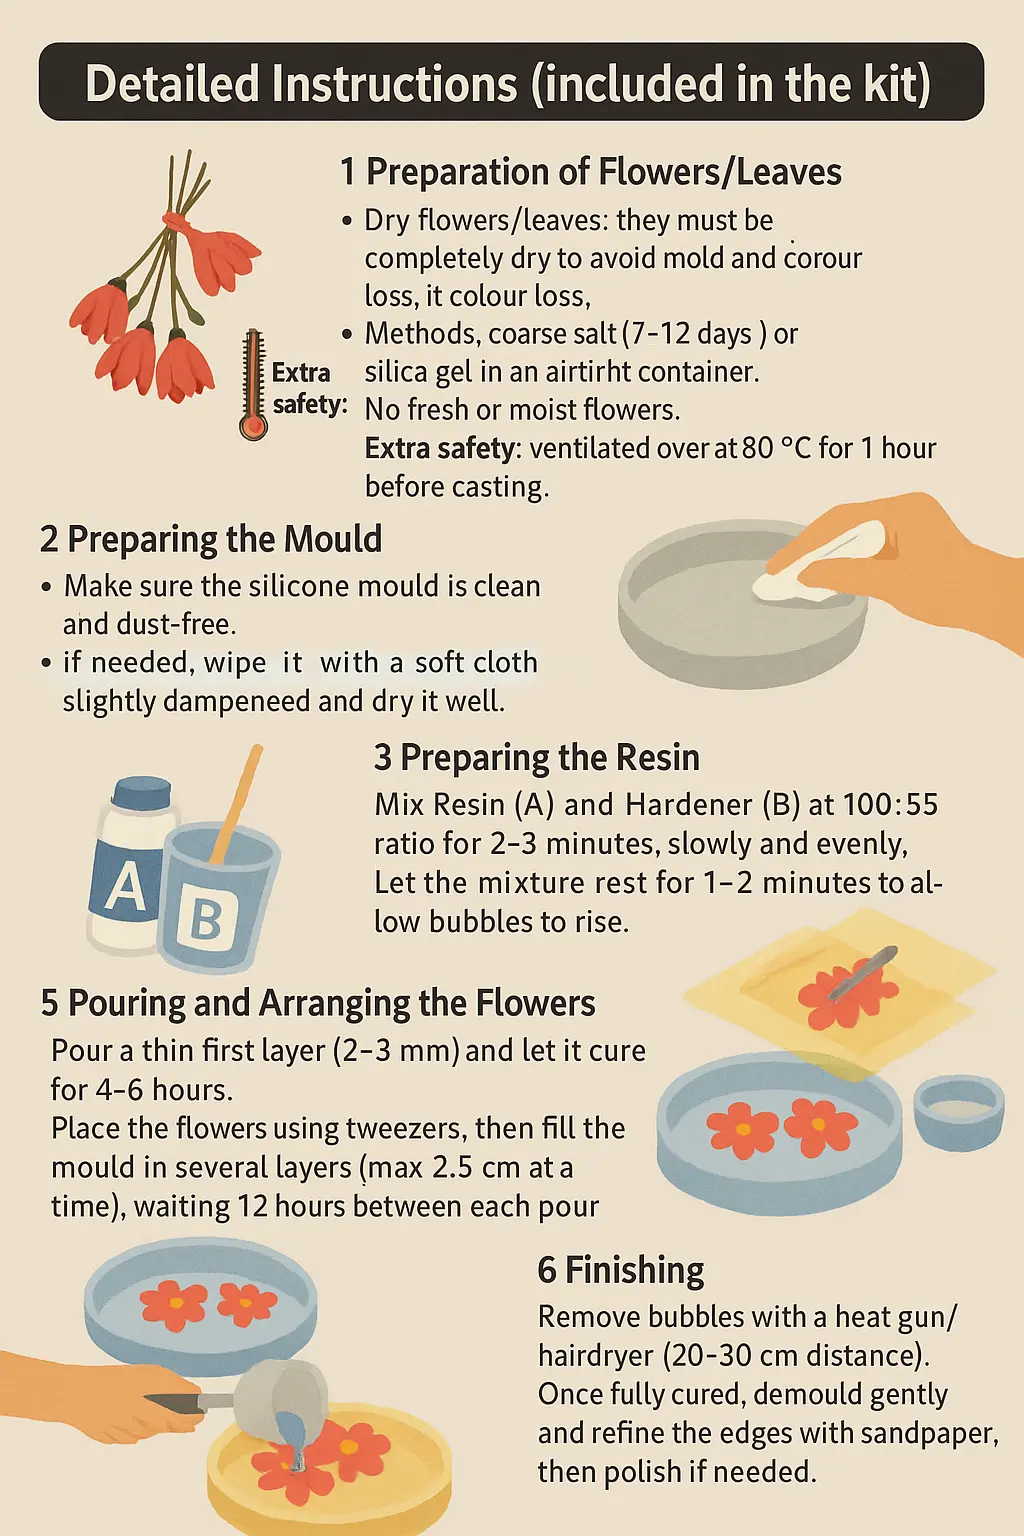
Step 2: Measure and Mix Your Resin
Use clean, dry mixing cups and wear gloves for protection. Accurately measure and thoroughly mix your resin and hardener as per your kit’s instructions—precision at this stage is crucial for a proper cure. Stir slowly for several minutes, scraping the sides and bottom of your container to blend the components completely and minimise air bubbles. When using a kit like the Resin Geode Coaster Starter Kit – Create Stunning Crystal-Style Coasters at Home, this is also the time to add your chosen colour pigments or shimmer powders, mixing to an even distribution.
Step 3: Pour Resin into the Mold
Slowly pour the mixed resin into the centre of the mould, allowing it to flow outward and fill the space naturally. Pouring slowly helps reduce trapped air and forms a smooth surface. Avoid overfilling and pause if working with very deep moulds; for large casts, pour in stages if recommended. For Petri dish art effects (using the Petri Resin Art Starter Kit), you may add coloured or white ink drops immediately after pouring for organic patterns. For memory boxes and geode-style art, you can introduce dried flowers or coloured swirls at this point for unique personalisation.


Step 4: Remove Air Bubbles and Allow to Cure
After pouring, pause briefly so any existing bubbles can rise to the surface. Gently pop surface bubbles using a heat gun or gas torch on low setting, moving the flame continuously to avoid overheating any area. Some bubbles may continue to emerge for 10–20 minutes; more gentle passes over the surface help. Let the piece cure undisturbed for the time recommended in your kit instructions, usually 24–48 hours for small to medium moulds. Keep projects covered to prevent dust settling, and avoid moving the mould until fully cured for best results.
Tips, Troubleshooting, and Common Mistakes
Resin pouring requires patience. Work at a moderate room temperature—extremes of cold or heat can cause cloudiness or increased bubbles. Be mindful that deep pours generate heat, so follow the safe depth and volume limits given in your resin kit. If bubbles persist, try warming the resin slightly in its sealed container before mixing, or pour from greater height in a thin stream into the mould’s centre. Clean up drips while the resin is still wet with isopropyl alcohol. Always follow the safety instructions provided—wear gloves and ventilate the workspace to minimise risk.
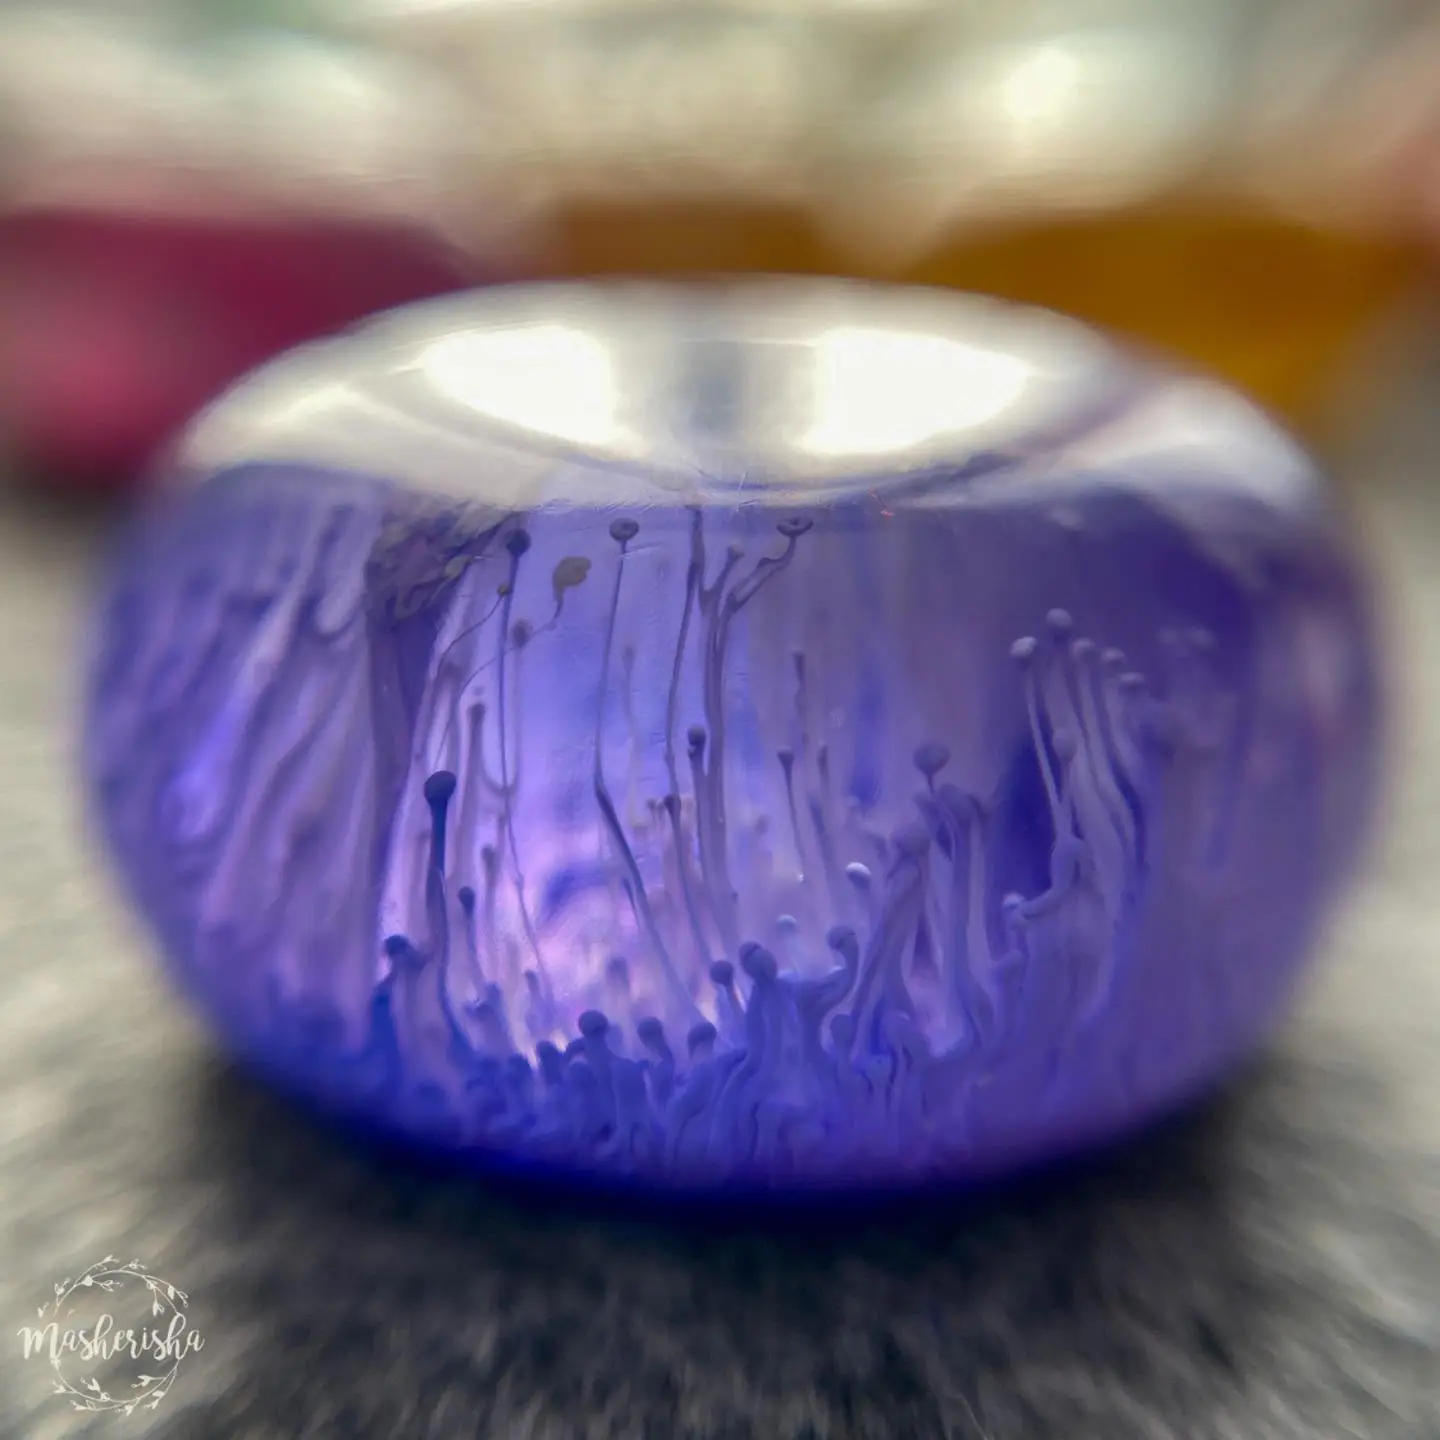
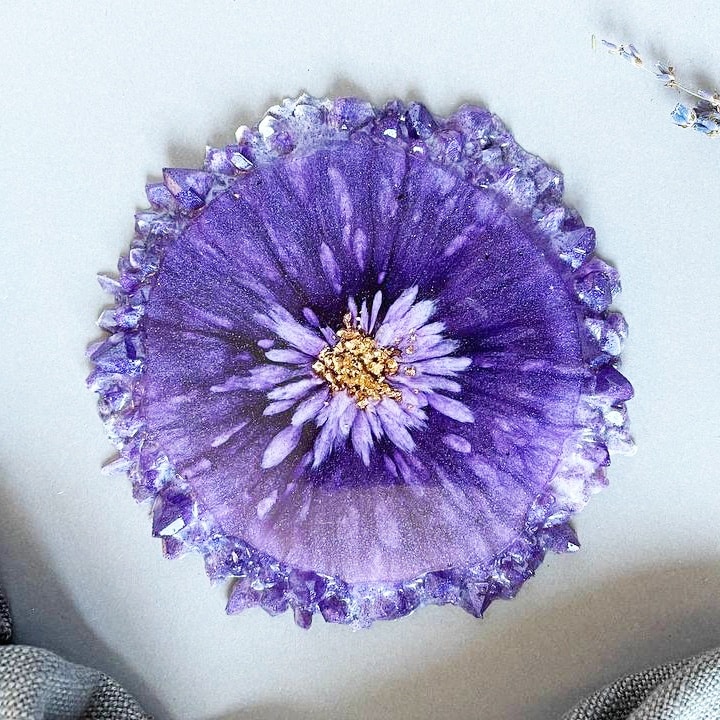
Showcasing Bubble-Free, Artistic Resin Mould Results
Finished resin pieces highlight the importance of careful bubble removal and temperature control during pouring and curing. From crystal-clear coasters to vibrant memory boxes—attention to curing and finishing brings out the true beauty of resin art mould projects.

- Resin Memory Box Complete Epoxy Resin Kit with Silicone Moulds – 3kg£65.95The Resin Memory Box Kit provides all essentials, including epoxy resin and silicone moulds, suited for crafting resin memory boxes.
- Petri Resin Art Starter Kit – Create Stunning Petri Effect Art at Home£55.85This kit includes resin, mould, inks, gloves, and tools designed for creating decorative and artistic Petri resin pieces.
- Resin Geode Coaster Starter Kit – Create Stunning Crystal-Style Coasters at Home£42.85A resin kit with moulds and colourants for crafting geode-inspired coasters, suited to beginners under the theme 'How to pour resin into a mold?'.
 Wooden Resin Coaster Starter Kit – Create Beautiful Handmade Coasters at Home£50.85Wooden Resin Coaster Starter Kit provides materials and instructions to create wooden coasters with resin, suitable for beginners exploring resin…
Frequently Asked Questions
Can I use fresh flowers when pouring resin into a mold?
No, only dried or properly treated flowers should be used in resin casting to prevent discolouration and moisture problems.
How do I prevent bubbles in my resin mold projects?
Mix resin slowly, pour gently into the centre of the mould, and use a heat gun or torch to eliminate remaining bubbles on the surface.
Are silicone or wooden moulds reusable for resin casting?
Silicone moulds are generally reusable if cleaned properly. Wooden coasters can be reused if not damaged in demoulding.
When can I demould my resin piece?
Most resin projects can be safely demoulded after 24–48 hours, depending on mould size and room temperature.
Can I add colour, inks, or flowers in my resin mold?
Yes. Add pigments, alcohol inks, or dried flowers directly to the mixed resin before pouring, as your design requires.
What should I do if resin stays sticky or soft after pouring?
Sticky resin usually means improper mixing or measurement. Leave to cure for longer; if it doesn’t harden, discard and start again with precise mixing.