 Free shipping on orders over £29,85


How do you harden UV resin?
Expert guidance for fast, durable, and clear UV resin curing every time


Achieving a flawless and durable finish with UV resin depends on understanding the correct hardening process. Whether you’re crafting jewellery, casting miniatures, or sealing decorative pieces, mastering UV resin curing ensures your creations remain strong and crystal clear. This guide will walk you through each step, highlight safety and quality tips, and help you avoid common curing mistakes.

What You’ll Need
- 380W UV Lamp with Automatic Sensors for Fast Resin and Gel Curing – powerful and hands-free for swift, even curing
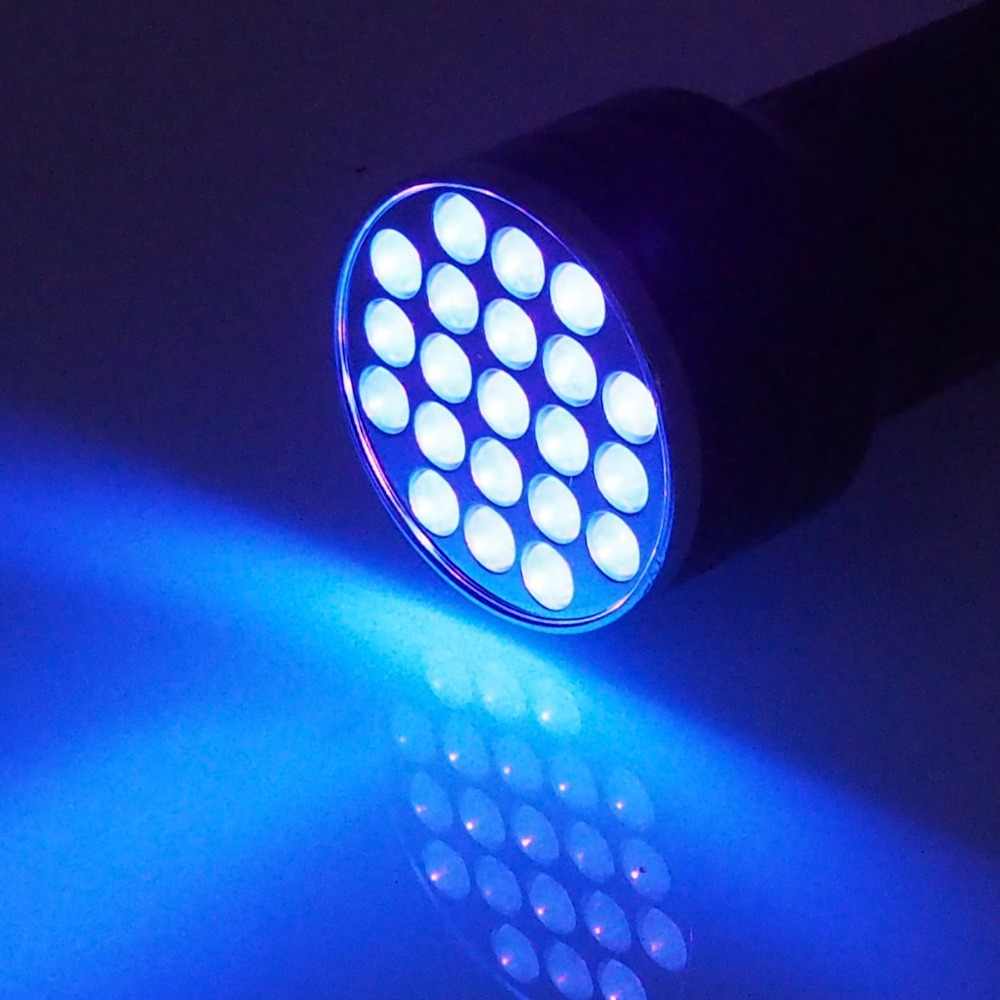
- 21 LED UV Torch for Fast Acrylic Resin Curing – portable tool perfect for small projects and spot curing
- UV Resin Kit with 5 Christmas Silicone Moulds for Festive Crafting – includes fast-curing resin and moulds for beginners
- “UV–Creation” – Fast Acrylic Resin, 3 Minute UV Cure – ready-to-use resin for jewellery and crafts
- Mixing stick or spatula (not included in kits)
- Gloves and protective eyewear for safe handling

Visual Guide: Essential Tools for UV Resin Curing
See a selection of must-have UV resin curing devices and crafting kits for artists of every skill level. Reliable lamps and torches guarantee strong, flawless results for jewellery, ornaments, and small crafts. Explore compatible UV resins and accessories for your next project.
Step 1: Prepare Your Workspace and Materials
Ensure your surface is clean and free from dust or grease before pouring or applying your UV resin. Work in a well-ventilated area and avoid exposure to direct sunlight, as ambient UV can cause premature curing. Check that your moulds, bezels, or bases are completely dry to prevent cloudiness or defects in the final finish.
Position all materials within easy reach, including your selected UV resin and curing device—such as the 380W UV Lamp with Automatic Sensors for Fast Resin and Gel Curing or the 21 LED UV Torch for Fast Acrylic Resin Curing. Consider wearing gloves and eye protection to minimise skin contact and light exposure risks.

Step 2: Apply the UV Resin in Thin Layers
Apply resin in thin layers for best results. Dispense a small amount into your mould or onto the surface, using a spatula or mixing stick to spread it evenly. Thin layers (up to 3 mm) ensure the UV light can fully penetrate for thorough hardening and minimise the risk of bubbles or tackiness.
Layering is especially helpful when using products like “UV–Creation” – Fast Acrylic Resin, 3 Minute UV Cure, as each layer cures evenly and achieves a crystal-clear effect. Wait for the previous layer to fully cure before adding more resin if your design requires extra depth or multiple colours.
Step 3: Cure the Resin with UV Light
UV resin cures only under ultraviolet light, so using the right equipment is key. Place your item under a UV lamp, such as the 380W UV Lamp with Automatic Sensors for Fast Resin and Gel Curing, or shine a UV torch, like the 21 LED UV Torch for Fast Acrylic Resin Curing, directly over small or intricate pieces.
Position your UV lamp or torch at the recommended distance (usually 1–5 cm) and ensure that the light covers the entire resin surface. Typical curing times are around 2–5 minutes per layer, but some fast-cure resins, such as those in the UV Resin Kit with 5 Christmas Silicone Moulds for Festive Crafting, may solidify in as little as 3 minutes. If in doubt, cure slightly longer to guarantee a hard, non-tacky surface.


Step 4: Check for Complete Hardening and Finish Your Piece
After initial curing, remove your piece from direct UV exposure and test the surface. If any areas remain sticky or soft, simply return them under the UV lamp or torch for another minute or two.
Avoid touching the resin before it is fully cured to prevent fingerprints or unwanted marks. Once fully hardened, you can demould, sand rough edges, or proceed to assemble your finished craft as desired. Store your cured pieces away from direct sunlight to preserve their clarity over time.
Tips for Success: Avoiding Common UV Resin Mistakes
Work in layers to ensure each part cures evenly, especially for deeper moulds and thick designs. Always cover the entire resin layer with UV light and do not rush the process—uncured pockets can lead to tacky spots or bubbles. Remember, some resins require specific wave-length lamps for effective curing, so match your resin to the correct lamp or torch as indicated by the product instructions. Safety matters: wear gloves and keep UV light away from eyes and skin where possible.

Gallery: UV Resin Curing in Action
Browse project examples showing perfectly cured resin items with crisp details and high-gloss finishes. See how technique and the right equipment deliver professional results in jewellery, festive décor, and more. Find resins and lamps for similar effects.

- 380W UV Lamp with Automatic Sensors for Fast Resin and Gel Curing£13.95A lamp for fast resin curing with automatic sensors, providing efficient and reliable hardening for UV resin and gel.
- 21 LED UV Torch for Fast Acrylic Resin CuringOriginal price was: £10.45.£7.45Current price is: £7.45.This compact 21 LED UV torch offers consistent and energy-efficient curing for acrylic resin projects, suitable for artists and hobbyists.
- UV Resin Kit with 5 Christmas Silicone Moulds for Festive CraftingPrice range: £15.95 through £27.45This UV Resin Kit provides fast-curing clear resin and Christmas-themed moulds for crafting festive jewellery and decorations.
- "UV–Creation" – Fast Acrylic Resin, 3 Minute UV CurePrice range: £8.45 through £62.95UV–Creation is a ready-to-use UV acrylic resin curing in 3 minutes with a clear, glossy finish suitable for jewellery making.
Frequently Asked Questions
How long does UV resin take to harden fully?
Most UV resins cure in 2 to 5 minutes under an appropriate UV lamp or torch. Thicker layers may require additional time.
Can I use sunlight to cure UV resin?
Direct sunlight contains UV but is inconsistent and slower than a UV lamp. For best results, use a dedicated UV curing device.
Why is my UV resin still tacky after curing?
Tackiness usually means insufficient light exposure. Cure for longer or use a lamp with higher power to fully harden the resin.
What is the best UV lamp for resin crafts?
A lamp with at least 380W and broad UV coverage, like the 380W UV Lamp with Automatic Sensors, ensures reliable and fast curing for most projects.
Do I need UV resin or epoxy for jewellery making?
UV resin is ideal for small and quick projects thanks to its rapid curing with UV light, while epoxy cures more slowly and suits larger designs.
Is UV resin safe for home use?
UV resin is safe when handled with care; always wear gloves and cure in a ventilated space. Avoid direct exposure to UV light.