 Free shipping on orders over £29,85


How do you remove epoxy grout from mosaic?
Step-by-step guide to cleaning mosaic tiles safely and thoroughly

Removing epoxy grout from mosaic tiles can be a challenging process due to the strength and durability of epoxy-based grout. This guide is designed to help both DIY enthusiasts and professional tilers safely and effectively clear away unwanted epoxy residue on mosaic surfaces without scratching or damaging the delicate tiles beneath.
What You’ll Need
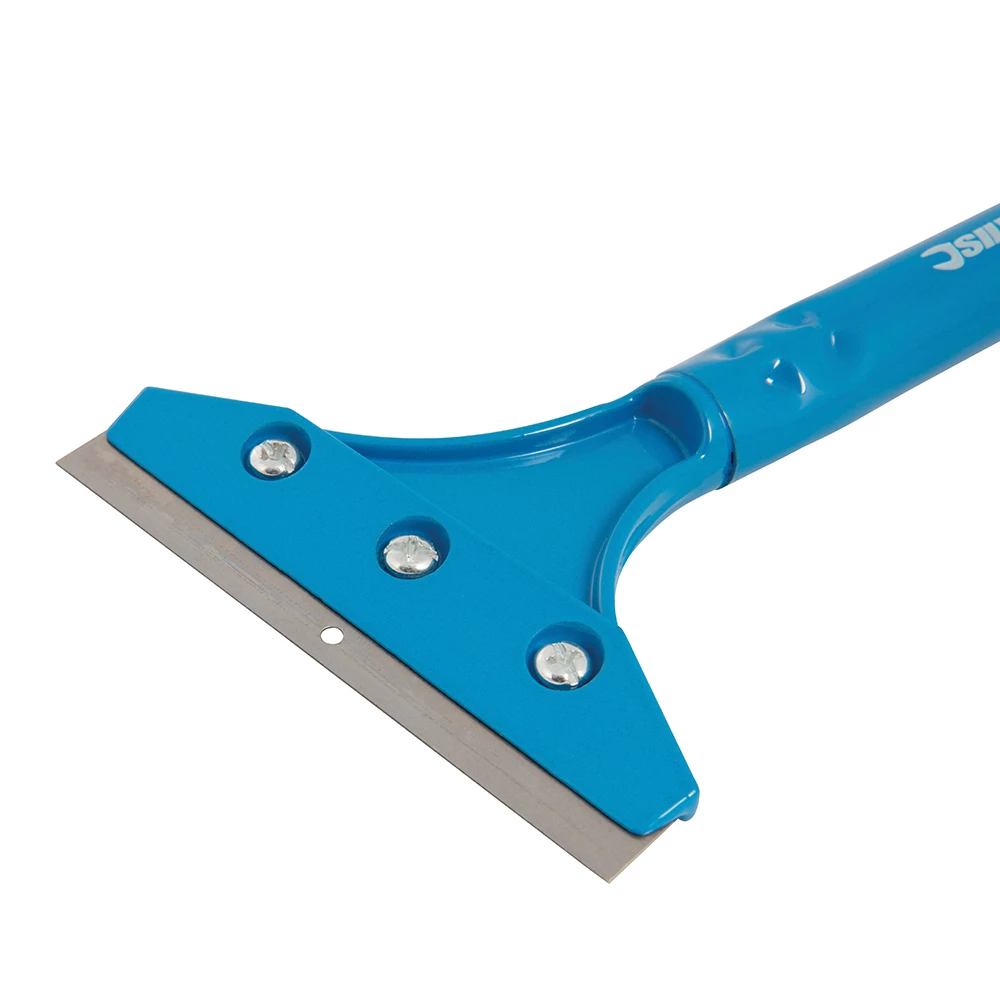
- Heavy Duty Scraper for Paint and Epoxy Resin Removal – For controlled removal of hard grout from larger mosaic areas.
- Scraper for Paint & Dry Resin Removal – 10 Double-Sided Blades – Suited for precise work on smooth, flat sections.
- “Ebonite Abralon” – Sanding Pads 360-4000 Grit for Resin and Wood – For fine abrasion and polishing after grout removal.
- Protective gloves and goggles
- Soft cloths or microfibre towels
- Small container of clean water (for wet sanding)
Close-up Mosaic Cleaning Preparation
Proper setup and assessment help ensure you only remove excess epoxy grout. Good lighting and clean surfaces reveal problem spots and keep your work controlled and safe. Use protective coverings and gloves before you begin scraping or sanding.

Step 1: Assess the Grout and Prepare the Area
Begin by closely inspecting the mosaic to identify areas where epoxy grout overspill or haze is present. Take care to distinguish between intentional grout joints and accidental coverage on tile surfaces. Remove loose dirt and dust from the area using a soft cloth.
Lay protective coverings on adjacent surfaces to avoid accidental scratches or spills. Always wear gloves and goggles to prevent injury from sharp tools or debris during the process.
Step 2: Gently Scrape Away Thick Epoxy Grout
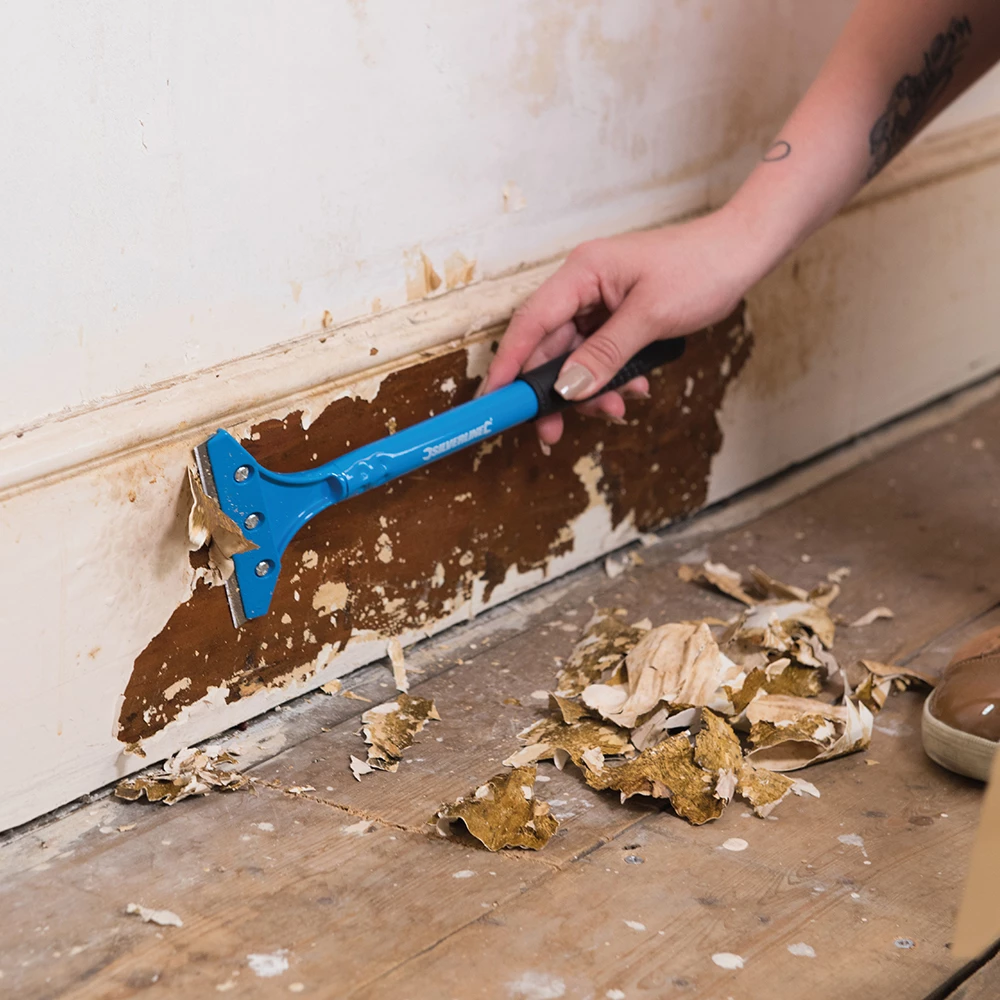
For areas where the epoxy grout forms a noticeable raised layer, use the Heavy Duty Scraper for Paint and Epoxy Resin Removal. Hold the scraper at a low angle to the tile and apply gentle, steady pressure to lift the epoxy grout without gouging the surface beneath.
Work in short strokes and frequently check your progress. Avoid pushing too hard, especially on glass, ceramic, or other delicate mosaic materials. For tight spaces or small patches, consider the Scraper for Paint & Dry Resin Removal – 10 Double-Sided Blades for precise, careful work.


Step 3: Sand Residual Grout for a Smooth Finish
After removing the main bulk of grout, some residue or haze may remain on the mosaic. Moisten an “Ebonite Abralon” – Sanding Pad with water for wet sanding, which reduces dust and minimises scratching. Use a fine grit (e.g. 2000 or above) and apply gentle circular motions to the affected area.
Clean the surface frequently with a damp cloth to monitor your progress and prevent build-up of debris. Patience is key—repeat sanding if necessary, always using higher grit pads for polishing to restore the mosaic’s original shine.
Step 4: Wipe Down and Inspect Your Work
Once all visible grout residue has been removed and the mosaic surface feels smooth to the touch, give the area a final wipe with a damp microfibre towel. Inspect the grout joints to ensure they remain intact and confirm that the tiles have not been abraded or dulled.
If any slight film remains, repeat the gentle sanding and wipe-down process as needed.

Tips for Success and Common Mistakes to Avoid
- Test in a Discreet Area First: Always check your technique and chosen tools on a hidden section to make sure the tiles are not scratched.
- Do Not Use Excessive Force: Applying too much pressure can damage mosaic tiles or dislodge them from the adhesive base.
- Work Slowly and Gently: The goal is to remove only the unwanted epoxy, not to disturb the underlying structure.
- Protect Yourself and the Mosaic: Wear safety gear and cover surrounding areas to prevent accidental injury or scratching.
- Use Suitable Tools for Each Stage: Pair scrapers for bulk removal and sanding pads for final smoothing.
Technique in Action: Scraping and Sanding Mosaic
Controlled, gentle technique is essential for preserving mosaics. Start with the right scraper in small strokes, then switch to fine sanding pads for a flawless finish. Patience and periodic cleaning produce the best results.
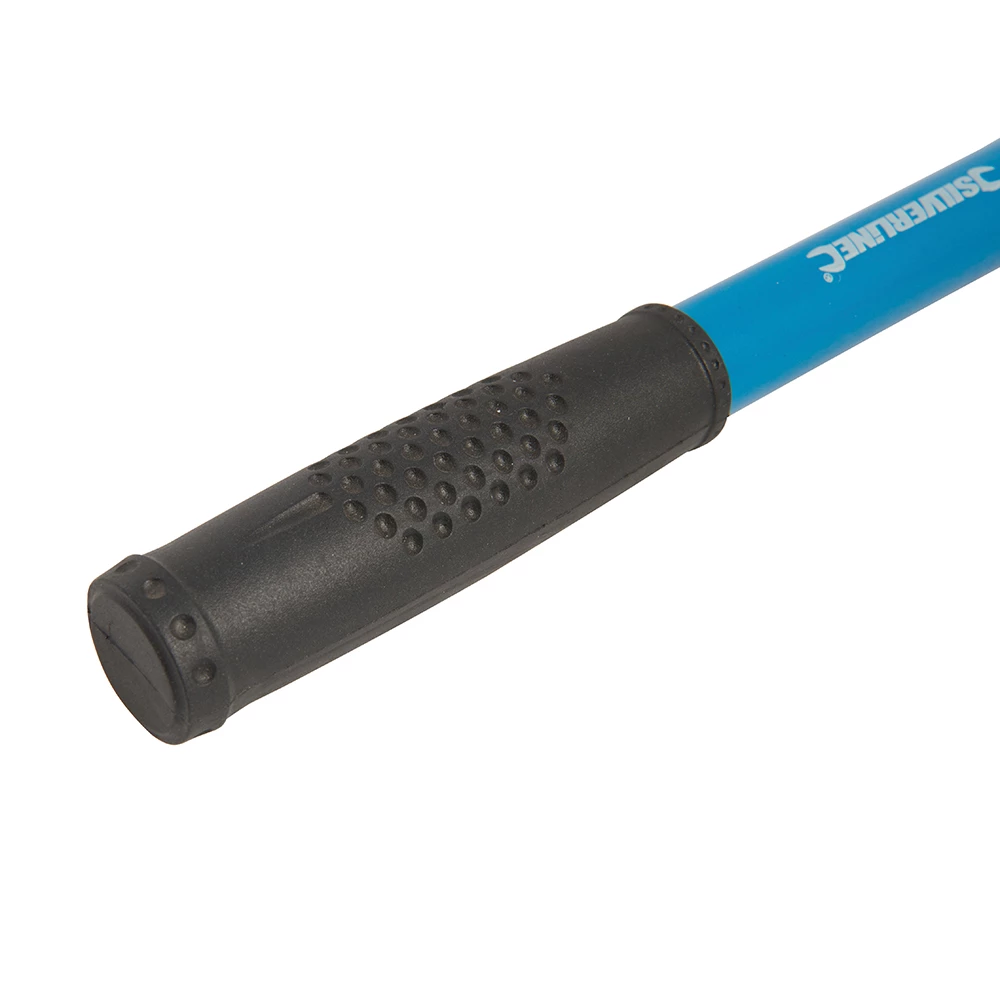
- Heavy Duty Scraper for Paint and Epoxy Resin Removal£8.95Heavy Duty Scraper designed for effective removal of wall coverings and paint, suitable for careful use in mosaic and resin-related tasks.
- Scraper for Paint & Dry Resin Removal – 10 Double-Sided Blades£4.95The Window Scraper is designed for effective paint and resin removal on smooth surfaces, suitable for professionals and DIY users.
 "Ebonite Abralon" – Sanding Pads 360-4000 Grit for Resin and Wood£4.15Ebonite Abralon Sanding Pads offer long-lasting traction and are suited for polishing resin and wood surfaces.
Frequently Asked Questions
Can you safely remove epoxy grout from mosaic tiles?
Yes, with gentle scrapers and fine sanding pads, epoxy grout can be removed from mosaics without damaging the underlying tiles.
What are the best tools to remove epoxy grout from mosaic surfaces?
A heavy duty scraper is good for the bulk of grout, while fine sanding pads are ideal for final residue and polishing.
How do I avoid scratching my mosaic when removing grout?
Always use tools with care, test first, and apply only light pressure with fine abrasives.
Can I remove epoxy grout without using chemicals?
Yes, physical methods like scraping and wet sanding work effectively for epoxy grout removal from mosaics.
What if some epoxy grout will not come off?
Repeat gentle scraping and sanding. Patience and gradual removal prevent tile damage.
How can I protect mosaic tiles during epoxy grout removal?
Use soft cloths for wiping, choose suitable scrapers, and always work slowly to avoid scratches.