 Free shipping on orders over £29,85


← Back to How do you create bubbles in resin?

Getting bubbles or cell effects in resin isn’t just about materials—the moment you act can make or break your design. Proper timing unlocks creative textures, while hesitation can lead to missed opportunities or unwanted flaws.
Why Timing Matters in Resin Art
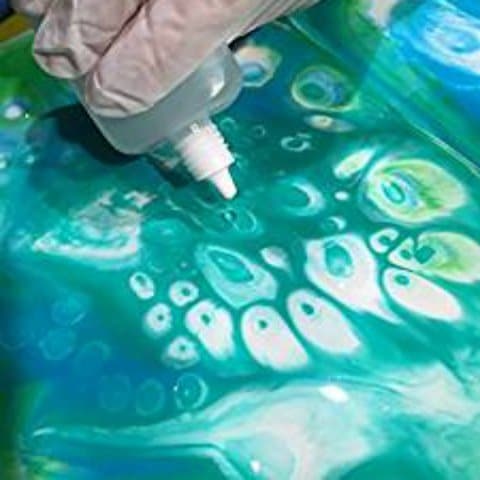
Resin evolves rapidly as it cures—its viscosity increases and surface tension changes. Introducing additives like Resi-Blast – Cell Effect Additive for Resin Art, 25ml early enough allows them to move freely within the liquid resin, producing vibrant cells or bubbles. Waiting too long causes the resin to thicken, making it harder for additives or air to interact helpfully, which diminishes the effects or traps bubbles in place.
Techniques for Perfect Timing
- Add while liquid: Drop additives or introduce bubbles within minutes after pouring, while the resin is still fluid and workable.
- Work quickly but steadily: Organise your tools and plan your colours so you can act efficiently during the narrow workable window.
- Monitor curing: Keep an eye on temperature and texture—if the resin starts to feel thick or sticky, you’re moving past the best window for bubble or cell formation.
When This Matters Most
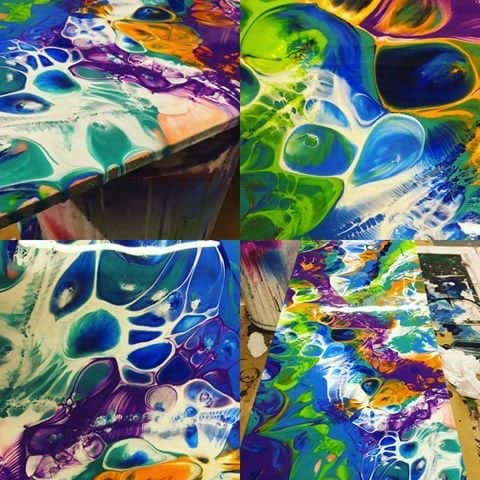
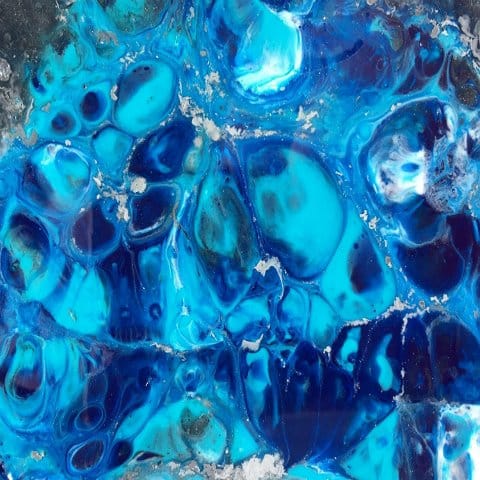
If you want crisp cell effects or even, intentional bubble patterns—such as in ocean art or abstract designs—timing is key. Too soon, and effects may blur; too late, and you’ll miss the opportunity entirely. Kits like the “Sea” – Resin Kit for Creating Ocean Art include wave additives that rely on the right application moment.

Related products
Related guides
Mastering the timing of your additives and techniques helps elevate your resin bubble effects. For more ways to create mesmerising bubbles or cellular patterns, explore our guide on creating bubbles in resin.