 Free shipping on orders over £29,85

How to tint epoxy?
Step-by-step guide to vibrant colours in epoxy resin creations


Tinting epoxy allows you to create eye-catching resin projects, from ocean-inspired art to bold, custom castings. This guide covers the essential steps for achieving vibrant and consistent colours in epoxy, helping you avoid common pitfalls and get professional-looking results—whether you’re new to resin or an experienced creator seeking more control over your palette.
What You’ll Need
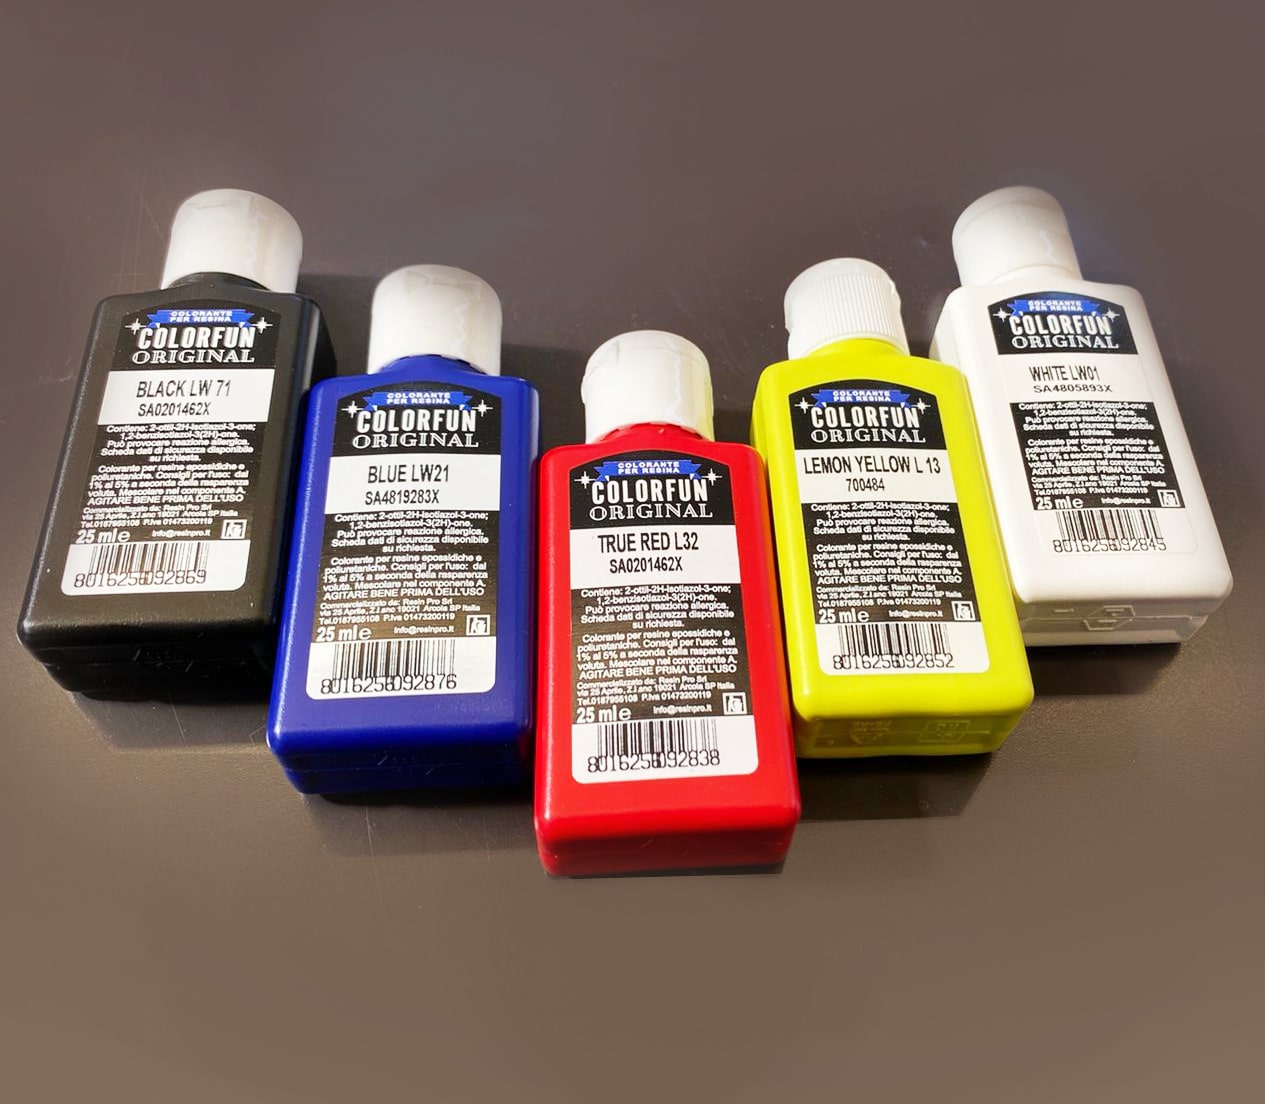
- “Colourfun” – Liquid Epoxy Resin Colourant 25-100ml – High coverage: For vivid, customisable colour in small to large resin projects.
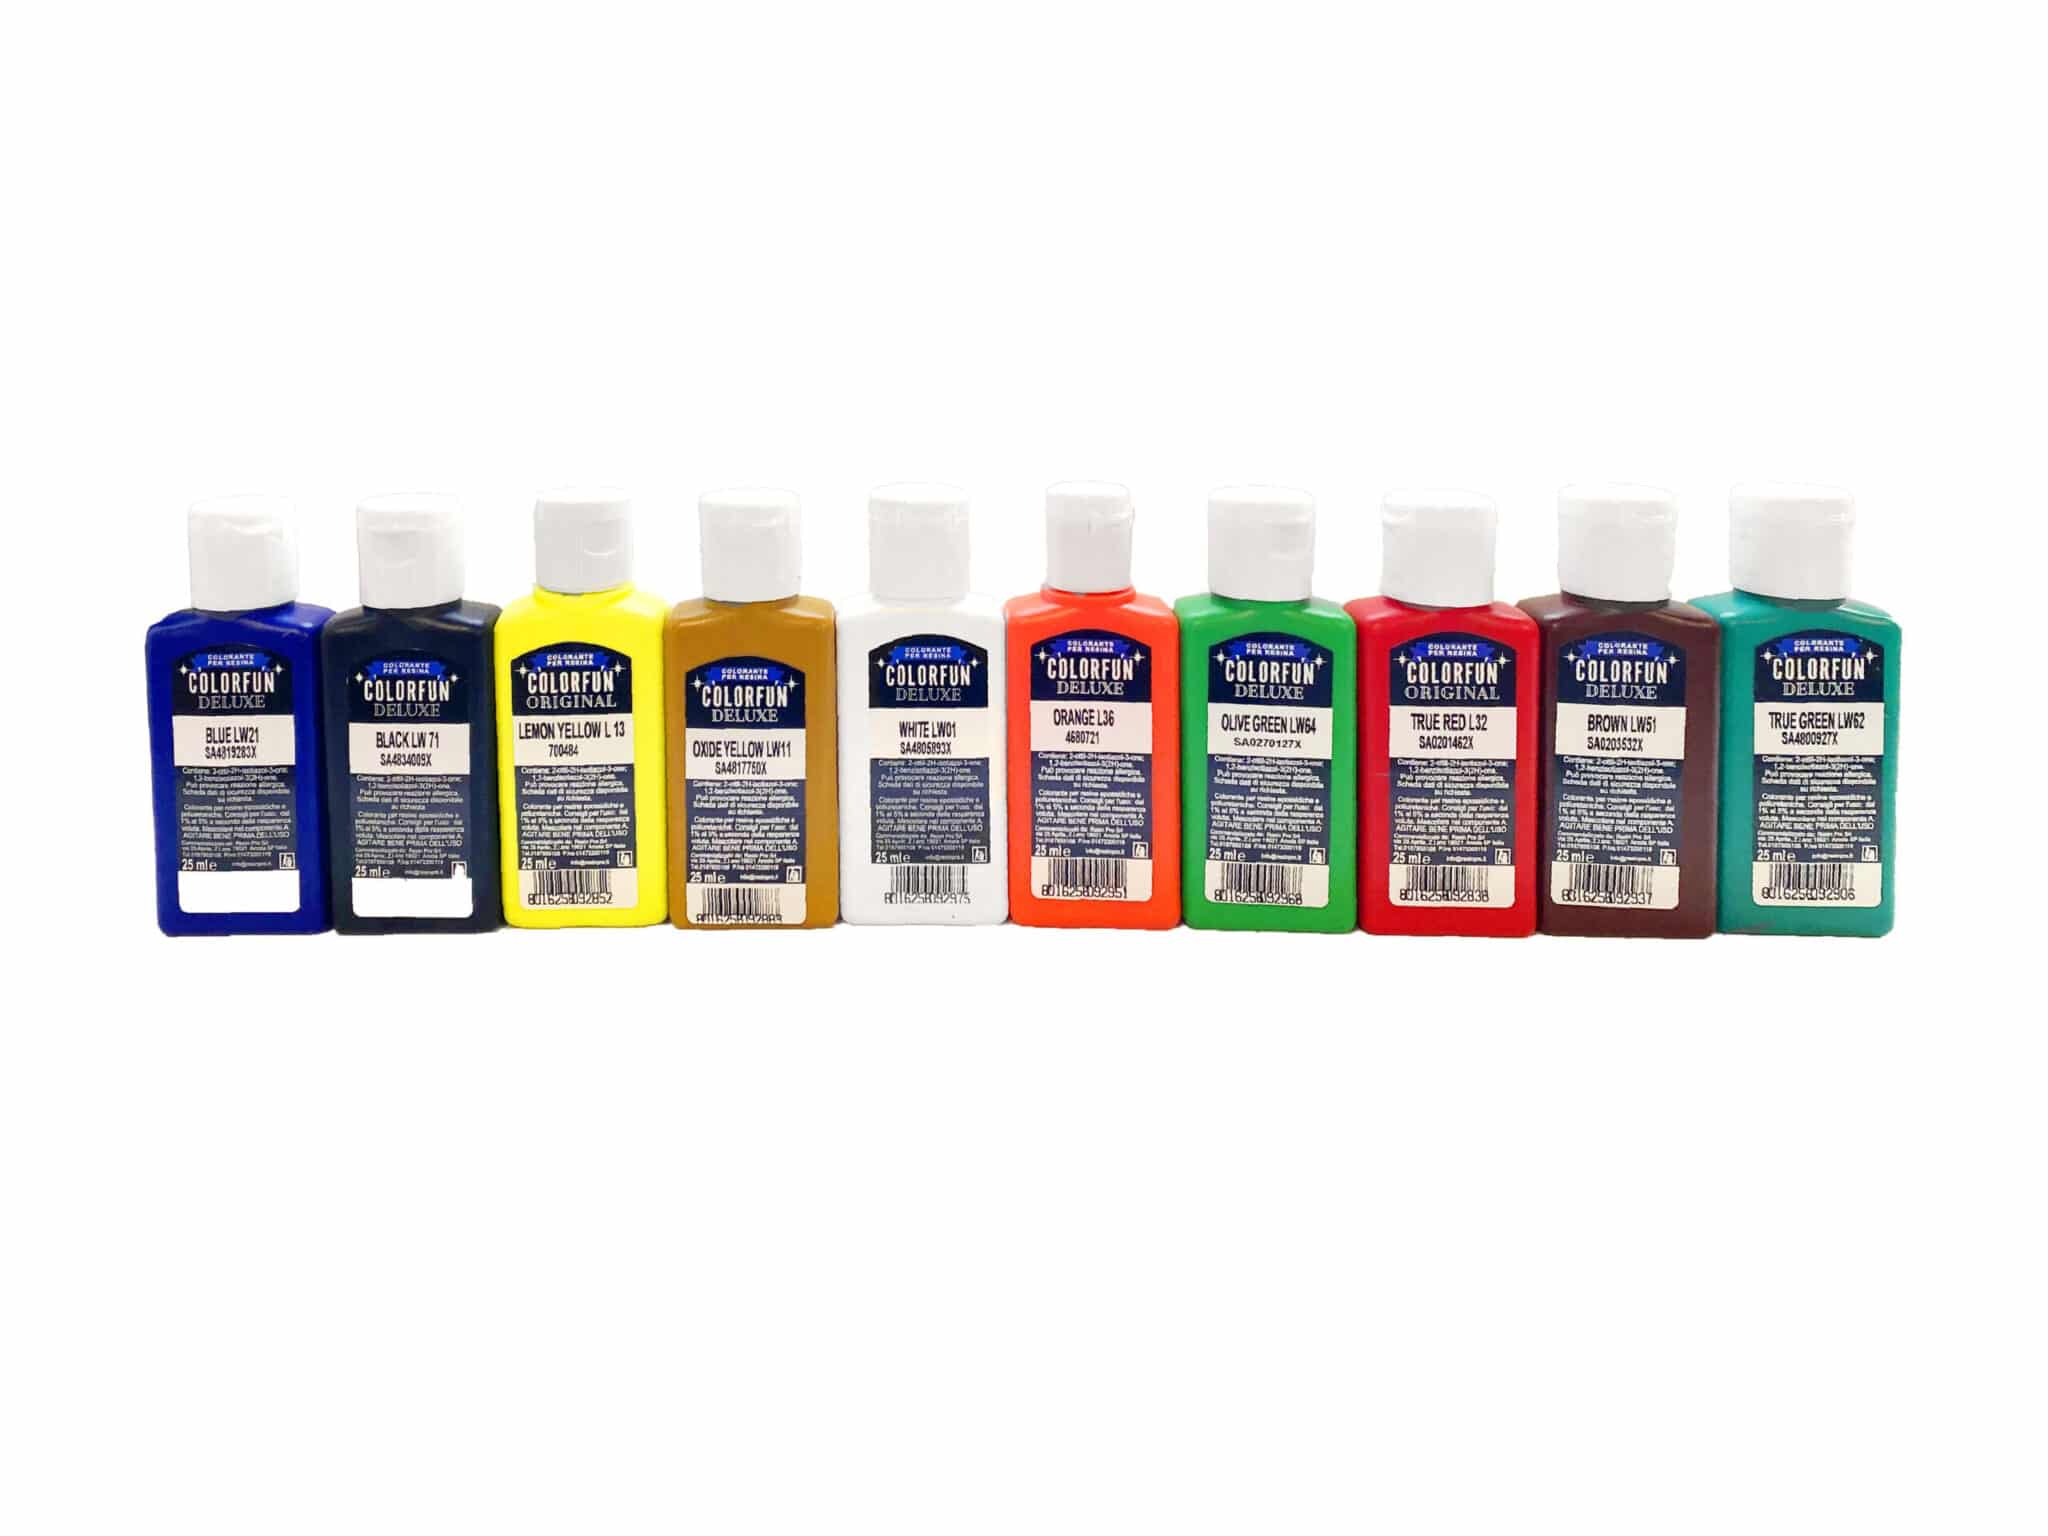
- “Colourfun Set” – Liquid Epoxy Resin Colourant Set for Solid Colour Effects: Ideal for artists needing a range of concentrated paste tints.
- “Marine Palette” – Set of Dyes for Ocean Art, Epoxy Resin, and Beach Effects: Specially picked shades for creating lifelike ocean effects.
- “Sahara Space” – Interference Metallic Pigment, 10g: To introduce shimmering, metallic colour effects in your resin art.
- Protective gloves and apron
- Mixing sticks and measuring containers
- Disposable cups or containers for multiple tints
- Clear epoxy resin and suitable hardener

Choosing Tints for Your Epoxy Resin Project
High-quality tints designed for epoxy resin unleash your creativity with reliable, even colour effects. Select between vivid liquid colourants, solid-effect pastes, or marine-inspired dye sets depending on your artwork or casting goals. Begin with clear ideas about the shades and effects you’d like to achieve for the most satisfying result.
Step 1: Prepare Your Workspace and Materials
Begin by ensuring your workspace is well-ventilated and protected from dust, as airborne particles can affect the resin’s clarity. Lay down a non-stick mat or disposable cover to safeguard surfaces. Gather all your materials before starting, including your selected epoxy resin and hardener, mixing tools, and protective equipment. Organise your colourants, keeping them close at hand so you can efficiently introduce them during mixing.
If you plan to use a set like the Colourfun Set, arrange your chosen pastes or liquids according to your project’s needs, and use clean mixing items to avoid cross-contamination.

Step 2: Mix the Epoxy Resin and Hardener
Following your epoxy kit’s instructions, measure the resin and hardener accurately—precision here ensures the mixture will cure correctly. Mix thoroughly for the recommended time to achieve a uniform blend. Scrape the sides and base of your container throughout to prevent unmixed material, which can lead to uneven colouring and ineffective curing.
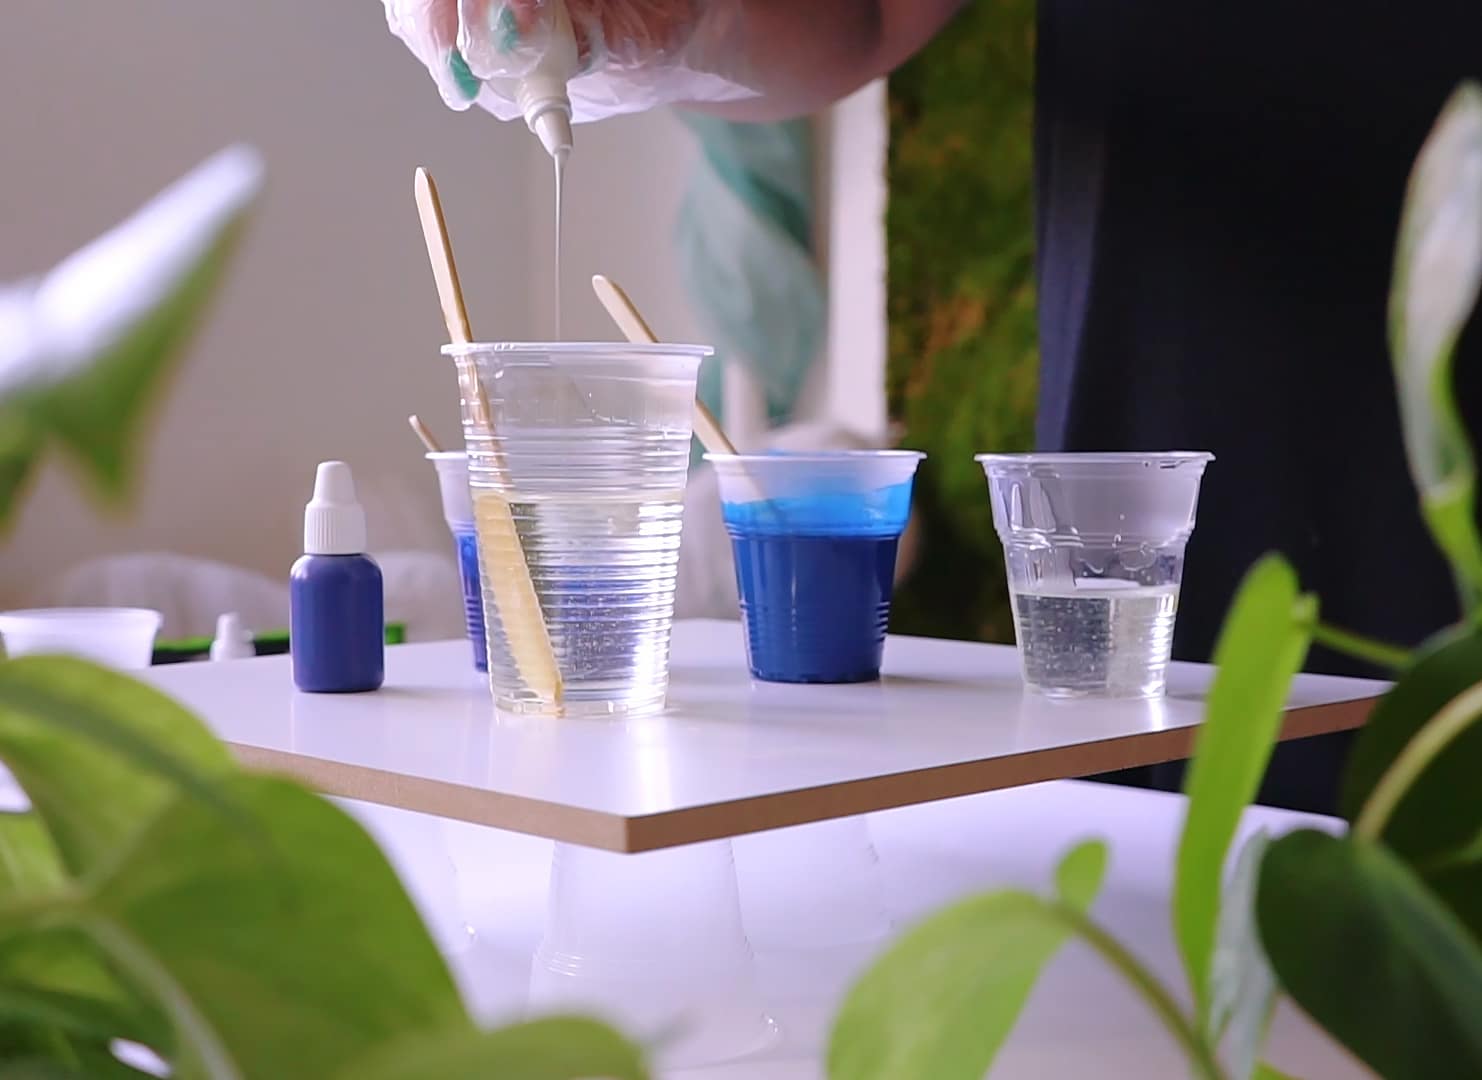
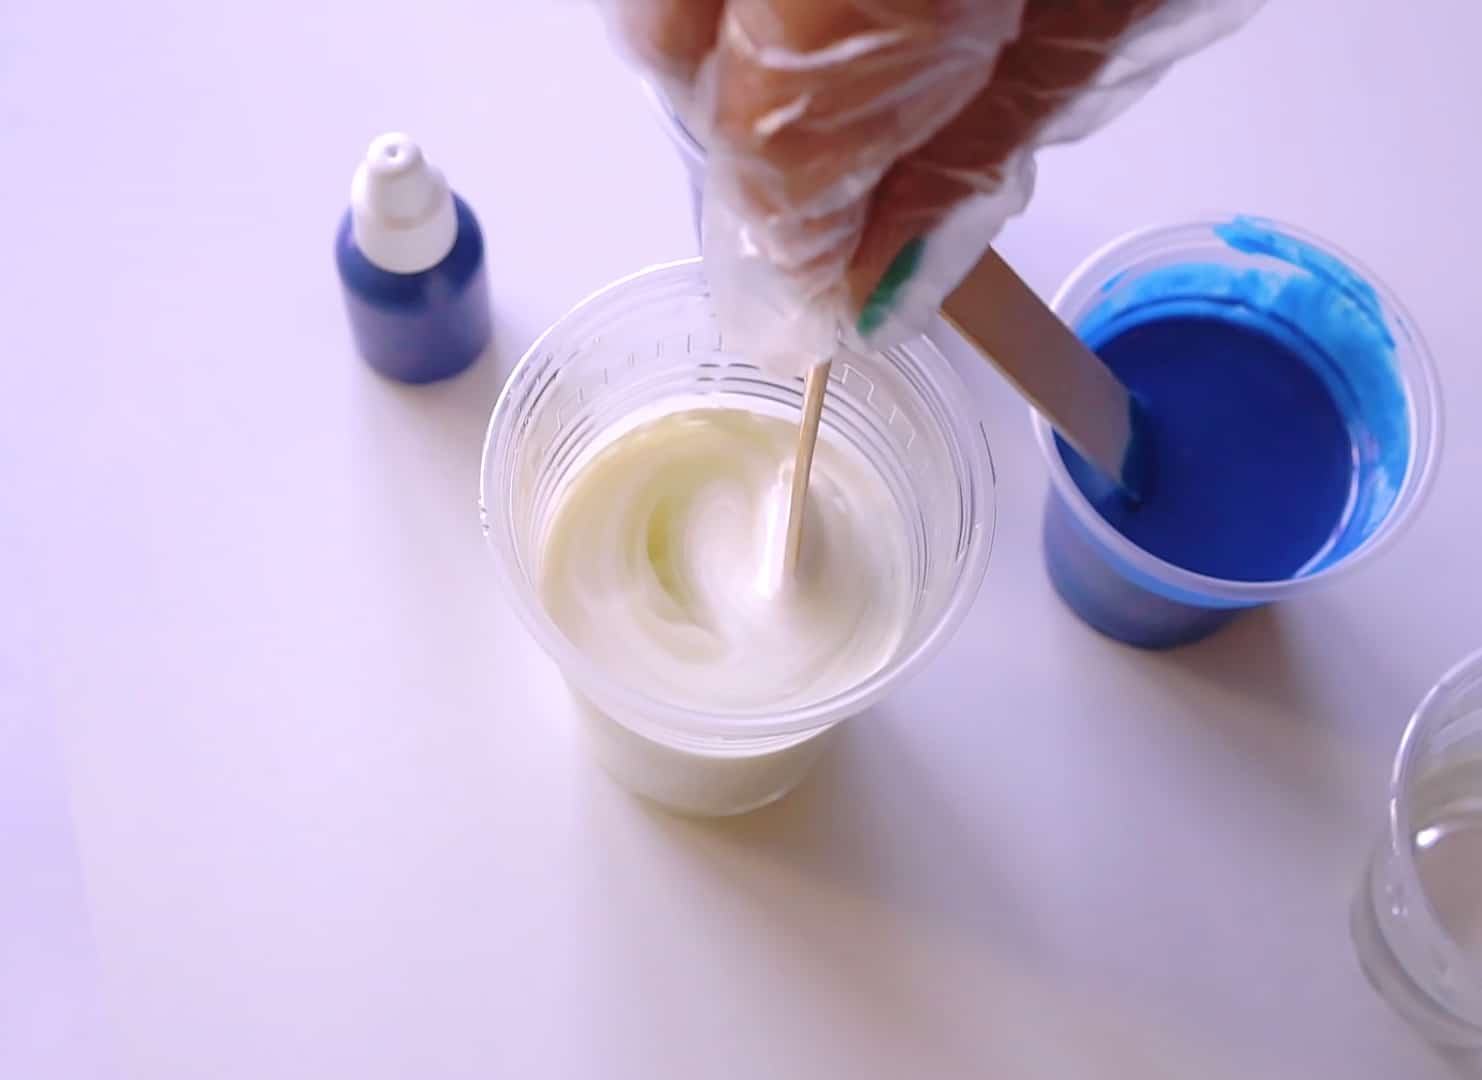
Step 3: Add and Blend in Your Tint
Now it’s time to bring the colour to your resin. Use separate mixing containers for each colour to maintain clarity and avoid muddled tones. Select from options like Colourfun – Liquid Epoxy Resin Colourant for vibrant, high coverage pigment or choose the Marine Palette for authentic ocean hues.
Add tint gradually, starting with a small drop or pinch (for powder) per batch. Mix gently until the colour is fully dispersed and you reach your preferred transparency or intensity. For metallic or interference effects, the Sahara Space – Interference Metallic Pigment can be stirred into the resin at this stage.
Never exceed recommended pigment ratios (generally no more than 5% by mass) to ensure proper curing and a smooth finish. Over-tinting can lead to sticky, soft, or matte surfaces. If in doubt, perform a small test batch first.
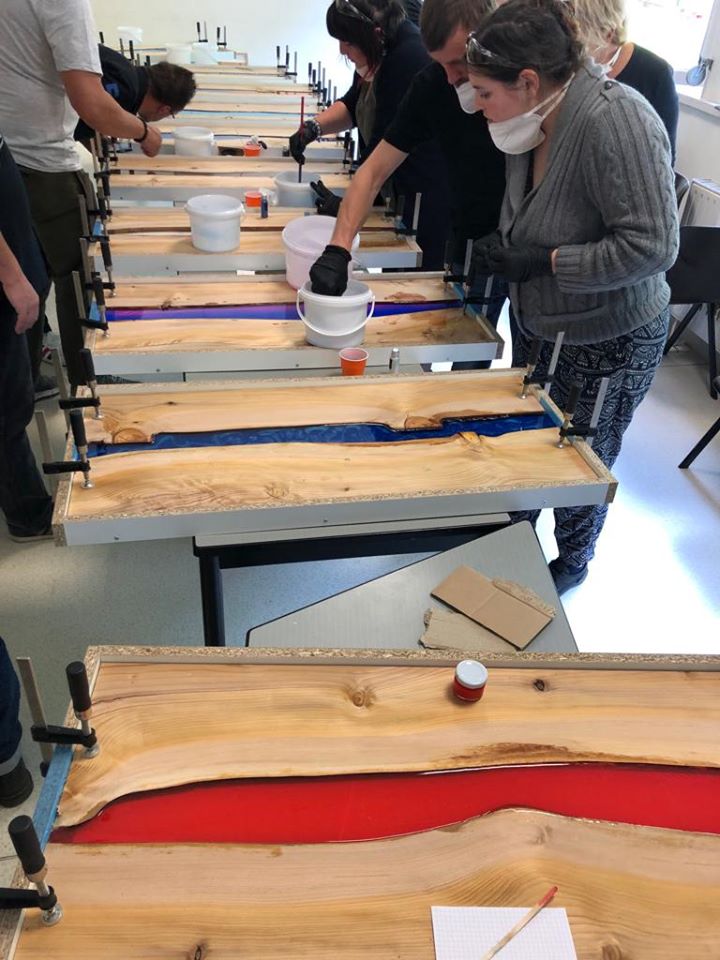
Step 4: Pour and Cure with Attention to Colour
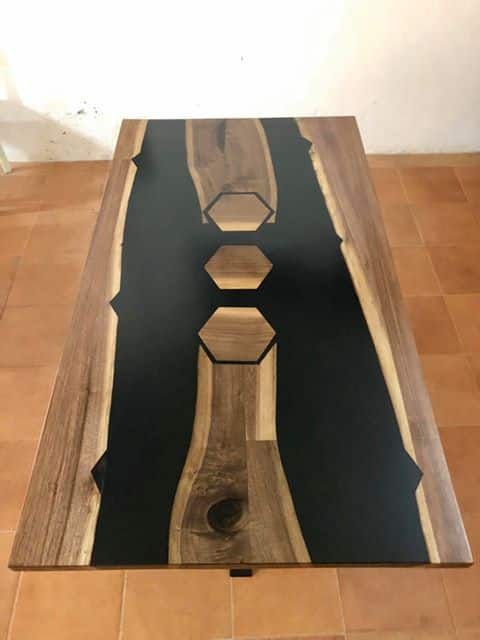
Once your epoxy is evenly tinted, pour it into your prepared mould or onto your surface promptly—tinted resin cures at the same rate as untinted, so work efficiently. Avoid re-stirring excessively after tinting and before pouring, as this can introduce bubbles and streaks. For projects using multiple layers or colour transitions (such as ocean art), allow each layer to partially set before adding the next to maintain crisp boundaries between colours.
Keep the curing environment stable in terms of temperature and away from direct sunlight, which can alter colour appearance. If aiming for special effects, experiment with layering or swirling different tints using clean tools for each pigment blend.
Tips and Common Mistakes When Tinting Epoxy
Testing your colourant in a small trial batch reduces the risk of unexpected results and helps fine-tune intensity. Remember, some pigments are more concentrated than others—start small and build up gradually. Clean all tools between colour changes to maintain clarity and intended shade. Avoid cheap or incompatible colourants, as these can cause hazing, incomplete curing, or separation. Stick with products designed for epoxy resin, as listed above, to ensure safety and optimal finish in your work.
Experiment Safely for Unique Results
Test small batches before committing to large amounts of resin—this ensures the hue matches your vision and prevents waste. Gradually incorporate different pigments to discover new effects, and always record ratios for repeatable success.
- "Colourfun" – Liquid Epoxy Resin Colourant 25-100ml – High coveragePrice range: £3.95 through £10.45"Colourfun" liquid colourant delivers vivid pigments for epoxy resin art and castings, compatible with the Resin Pro range.
- "Colourfun Set" – Liquid Epoxy Resin Colourant Set for Solid Colour EffectsPrice range: £14.45 through £50.95The "Colourfun Set" offers intense, translucent colour pastes designed for transparent epoxy resin projects in the theme How to tint epoxy?.
 "Marine Palette" – Set of Dyes for Ocean Art, Epoxy Resin, and Beach EffectsPrice range: £11.45 through £17.95The Marine Palette set offers ready-to-use, epoxy-safe dyes designed for ocean-inspired resin art with highly pigmented, odourless colours.
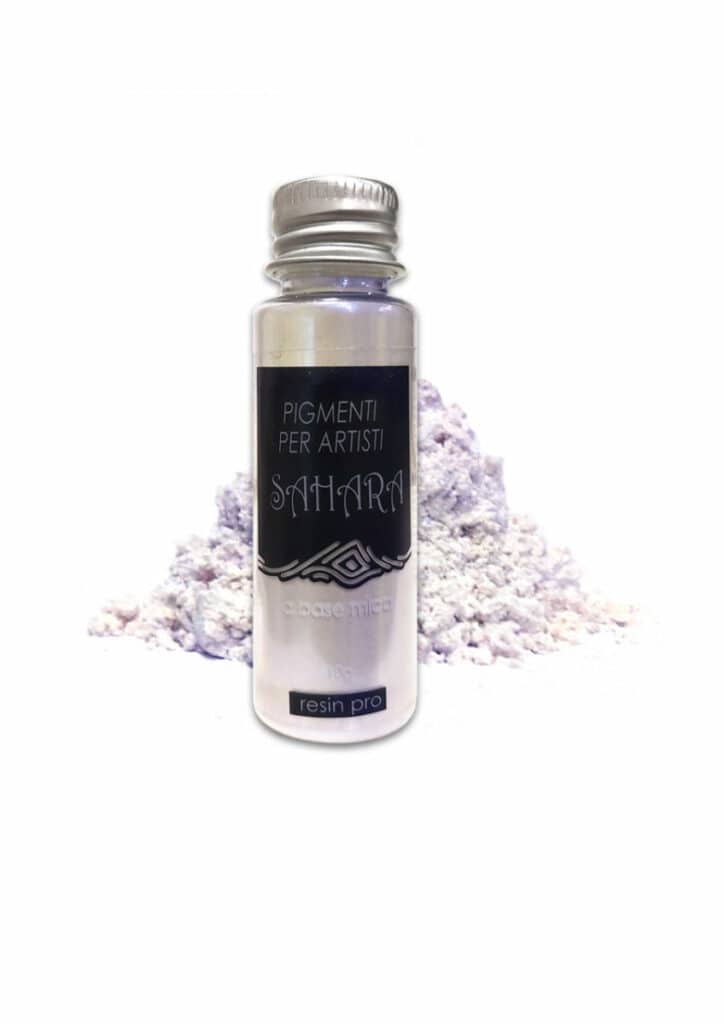 "Sahara Space" – Interference Metallic Pigment, 10gMetallic interference pigments in four colours designed for use in tinting epoxy and resin art.
Frequently Asked Questions
How much colourant should I add to epoxy resin?
Never exceed 5% pigment by mass of the total mixture. Too much pigment can lead to improper curing and a sticky finish.
Which tints work best for ocean art effects?
Marine-specific dye sets, like Marine Palette, provide shades carefully selected for blending ocean blues and achieving realistic beach effects.
Can I mix liquids and pastes as tints in epoxy?
Yes, provided they are designed for epoxy resin. Always mix each into a small portion first to verify compatibility and effect.
How can I achieve a metal effect when tinting epoxy?
Add metallic or interference pigments such as Sahara Space to your resin for shimmering or reflective colour finishes.
Can I tint epoxy with regular paint or ink?
Avoid standard paints and inks. Only use colourants specifically designed for epoxy to avoid curing and colour stability issues.
What are some tips for layering multiple tints in one resin project?
Let each tinted layer partially set before adding the next colour, using clean tools to prevent blends and unwanted mixes.