 Free shipping on orders over £29,85

How do you screw on a resin cover video?
Securely attach handles or covers to resin with confidence.

If you’re looking to securely attach a handle or decorative cover to your resin tray or craft, you’ve come to the right place. This guide breaks down exactly how to mark, drill, and screw through resin elements, ensuring a professional, safe, and durable finish. Whether you’re working with functional trays or decorative resin pieces, these techniques help prevent cracks and ensure a solid hold.
What You’ll Need
- “Tray” – Complete Resin Tray Kit with Silicone Mould and Colour Dyes: For crafting a resin tray surface, including a mould and handles.
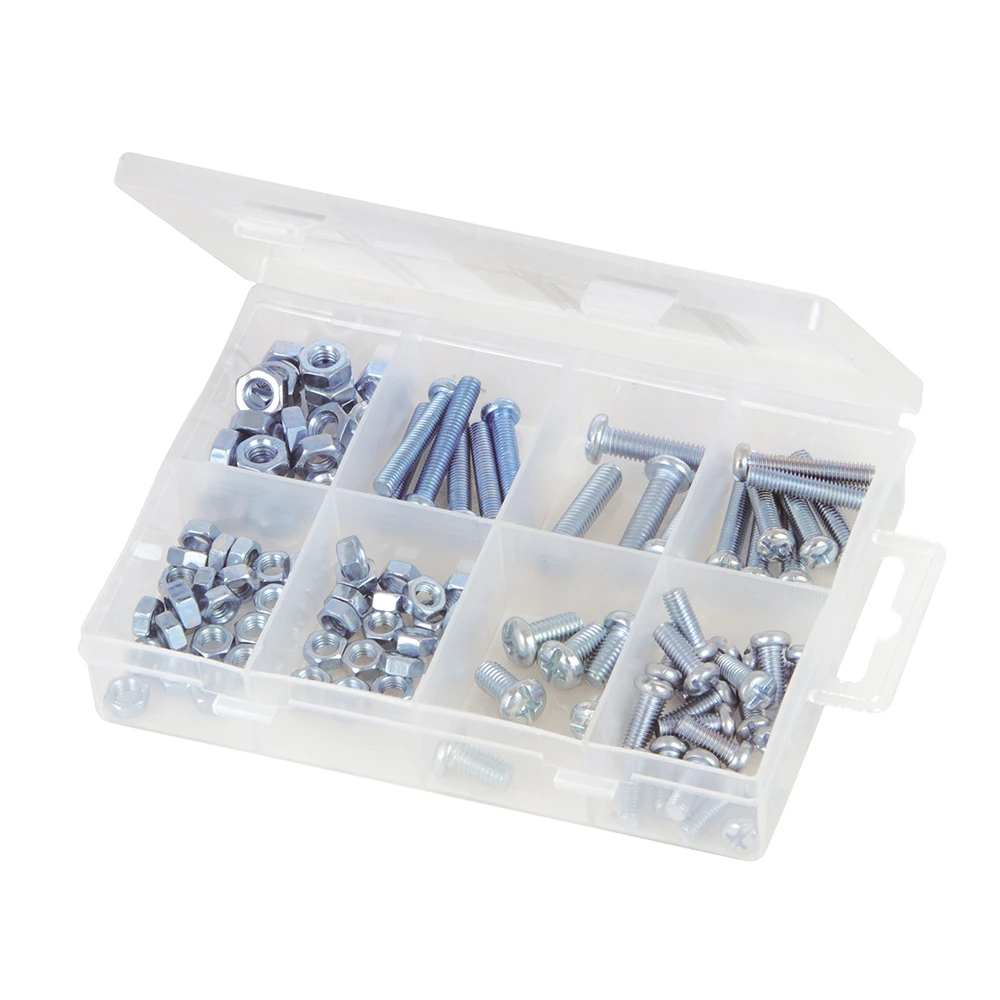
- 105pcs Self-Tapping Screws Pack for DIY Assembly with Storage Case: For easy, secure attachment without pre-drilling.
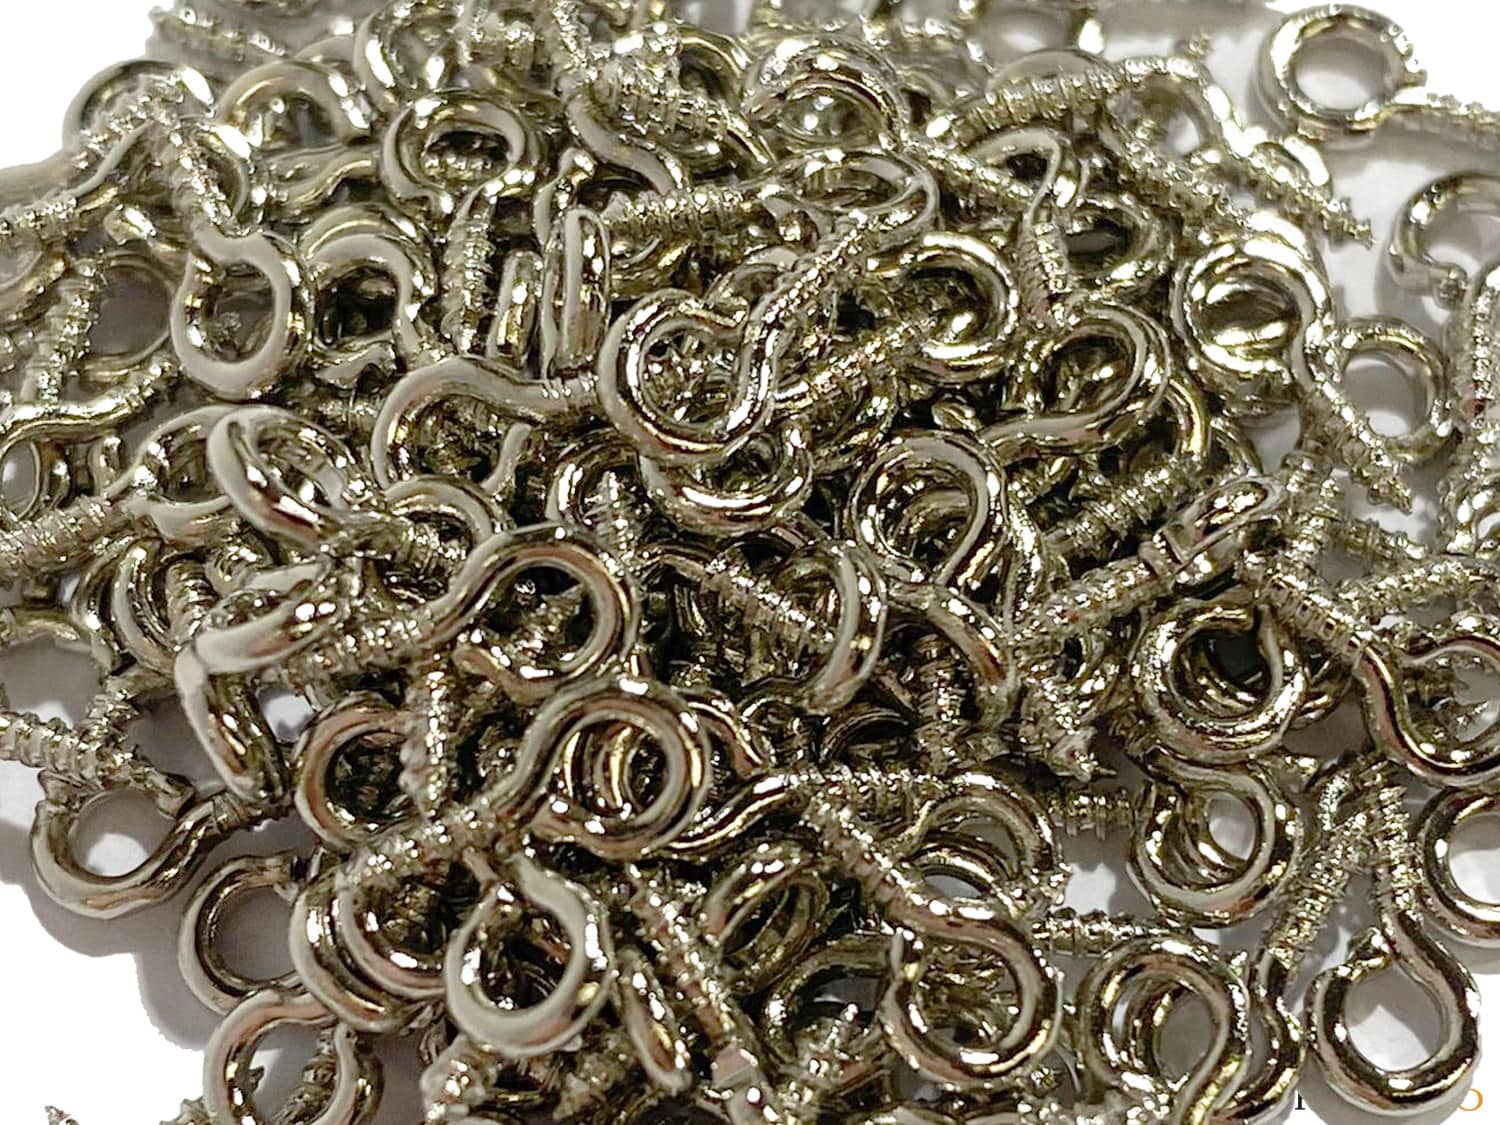
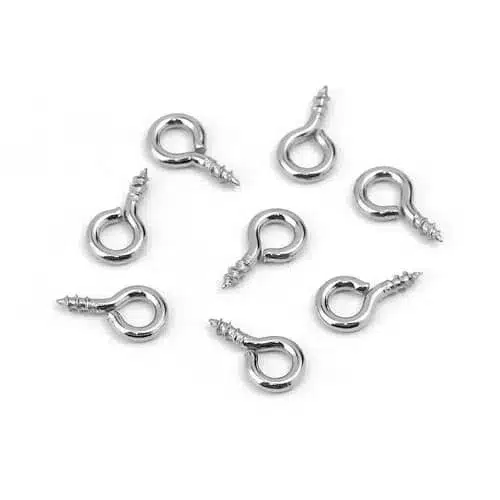
- 7mm Screw Fasteners for Resin Craft, 100pcs: For small resin items, such as pendants or crafts.
- Drill with appropriate bit size
- Adhesive tape and marker
- Screwdriver
- Safety goggles
Watch a Free Step-by-Step Resin Handle Video
See the process in action with a free instructional video lesson: Free Step-by-Step Lesson – “Pomegranate Trays” by Natalia Natirum. The video guides you from initial moulding to drilling and attaching handles, ideal for visual learners or those looking for creative inspiration.
Step 1: Mark and Prepare the Resin Surface
Begin by ensuring your resin piece is completely cured—this minimises the risk of chipping or cracking during drilling. Decide exactly where you want to attach your handle or cover. Place a piece of strong adhesive tape (such as masking tape) over each intended screw location. Mark the precise points with a fine marker. Ensure your resin piece is fully cured before drilling. This preparation helps prevent the drill bit from slipping and keeps your marks in place.

Step 2: Drill Pilot Holes Carefully
With the resin securely taped and marked, select a drill bit sized slightly smaller than your chosen screw. Wearing safety goggles, gently drill at a low speed, allowing the bit to bite into the resin gradually. Do not apply too much pressure; let the drill do the work. Pilot holes help ensure screws glide in cleanly without fracturing the resin. Use tape to mark drill points and avoid slippage. Remove any tape after drilling, and brush away debris.
Step 3: Attach Your Cover, Handle or Hardware
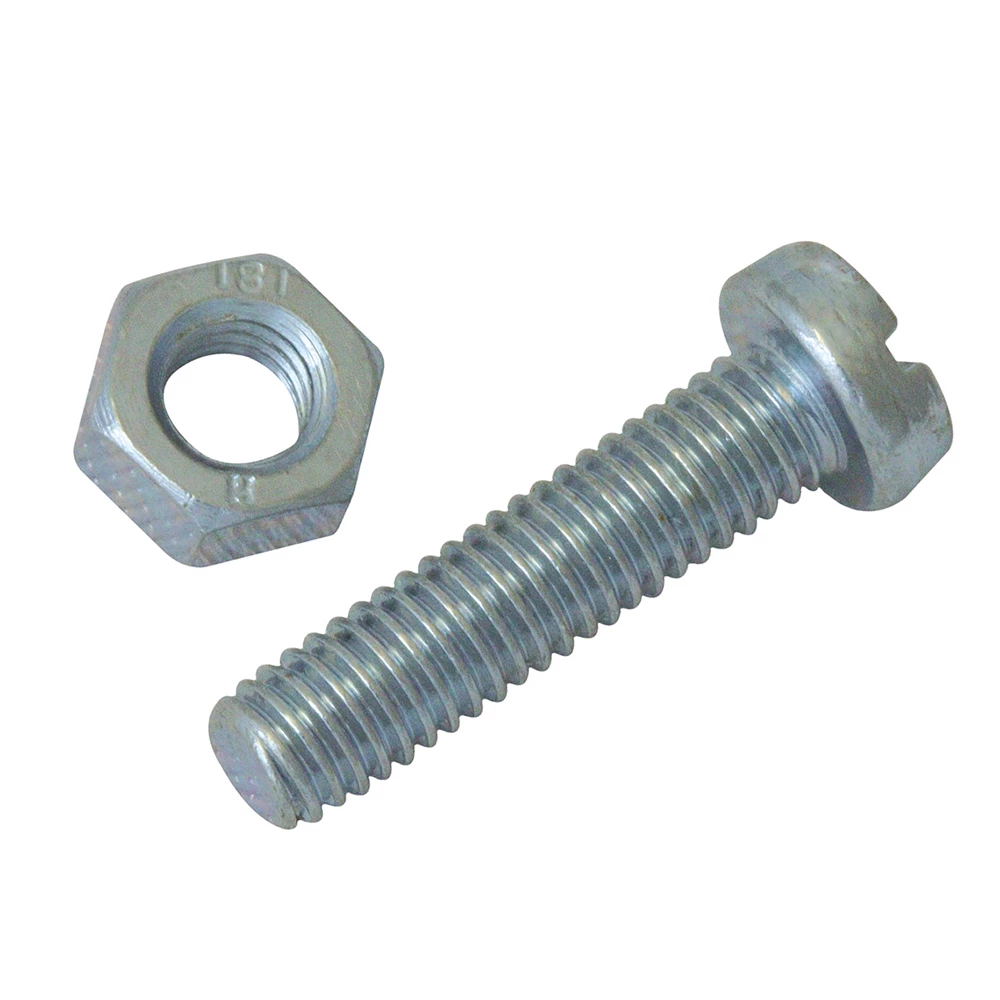
Position your handle, cover, or chosen hardware over the pilot holes. Hold the piece steady and insert your selected fasteners. For most trays, the 105pcs Self-Tapping Screws Pack for DIY Assembly with Storage Case is ideal, as these screws do not require threading and are resistant to corrosion. If you’re working on smaller crafts like pendants, opt for 7mm Screw Fasteners for Resin Craft, 100pcs instead. Tighten the screws until secure—take care not to overtighten as this can crack the resin. Avoid overtightening screws to prevent resin cracks.
Step 4: Check Stability and Finishing Touches
Once all fittings are in place, gently test the cover or handle for firmness. If it moves, remove the screw and start again, checking your pilot hole for possible widening or cracks. For extra stability, you may add a drop of clear-drying adhesive to the screw head if desired, but this is usually optional if your screws fit snugly.
Tips, Common Mistakes and Troubleshooting
Take your time during each step, as resin is less forgiving than timber or plastic. Always allow resin to fully cure (this could be up to 72 hours, depending on the project) before attempting to drill or screw. Using self-tapping screws can eliminate the need for extra tools and help distribute pressure along the hole’s edge. If you crack the resin, stop and assess—filling the area with a clear resin repair can sometimes salvage the piece. For beginners, using a complete resin tray kit with pre-measured handles can simplify the process.
Expert Insights for Resin Assembly Success
Clean tools between stages to minimise transferring dust to the resin surface. Store unused screw fasteners in a sealed box to keep them organised and ready for your next project.
- "Tray" – Complete Resin Tray Kit with Silicone Mould and Colour Dyes£57.95"Tray" kit allows making resin trays with included dyes and handles, suitable for creative resin projects.
- 105pcs Self-Tapping Screws Pack for DIY Assembly with Storage Case£5.45This pack provides self-tapping screws designed for epoxy resin projects and DIY assembly within the theme of screwing on a resin cover.
- 7mm Screw Fasteners for Resin Craft, 100pcs£3.627mm screw fasteners suitable for securing resin crafts like pendants and earrings, designed for craft projects in the given theme.
- Free Step-by-Step Lesson – "Pomegranate Trays" by Natalia NatirumOriginal price was: £99.00.£0.00Current price is: £0.00.Free video tutorial on creating resin pomegranate trays by Natalia Natirum, suitable for how to screw on a resin cover video theme.
Frequently Asked Questions
What tools do I need to screw on a resin cover?
You will need a drill, suitable screws or fasteners, a screwdriver, adhesive tape, and safety goggles. Kits and specially designed screw packs are recommended.
Can I drill and screw directly into resin?
Yes, if the resin is fully cured. Always create a pilot hole and avoid overtightening to prevent cracks.
What are the best screws for resin trays or handles?
Self-tapping screws are best as they eliminate the need for pre-threading and provide solid holds in most resin items.
How do I stop resin from cracking when screwing?
Ensure the resin is fully cured, drill a pilot hole, use tape during drilling, and avoid overtightening the screw.
Can screws hold weight in resin projects?
Yes, if installed with care and using the correct type of screw. Self-tapping or specialised fasteners give strong results.
Can I use normal wood screws in resin?
You can, but self-tapping screws are easier and safer for resin work as they reduce the risk of cracking or splitting.