 Free shipping on orders over £29,85

How to clean epoxy resin containers?
Step-by-step guide for spotless, residue-free resin tools


Maintaining clean epoxy resin containers is essential for successful resin projects. Proper cleaning prevents unwanted residues, preserves the clarity of your work, and extends the life of your tools. Follow this step-by-step guide to effectively and safely clean your mixing buckets, stirrers, and related equipment.
What You’ll Need
- Pure Isopropyl Alcohol 99.9% – 1000ml Bottle for Epoxy Resin Projects & DIY – A high purity solvent ideal for breaking down uncured resin and cleaning surfaces.
- Strong Technical Degreaser for Resin Projects – 100% Natural Formula – Useful for removing oily residues and safe for frequent use.
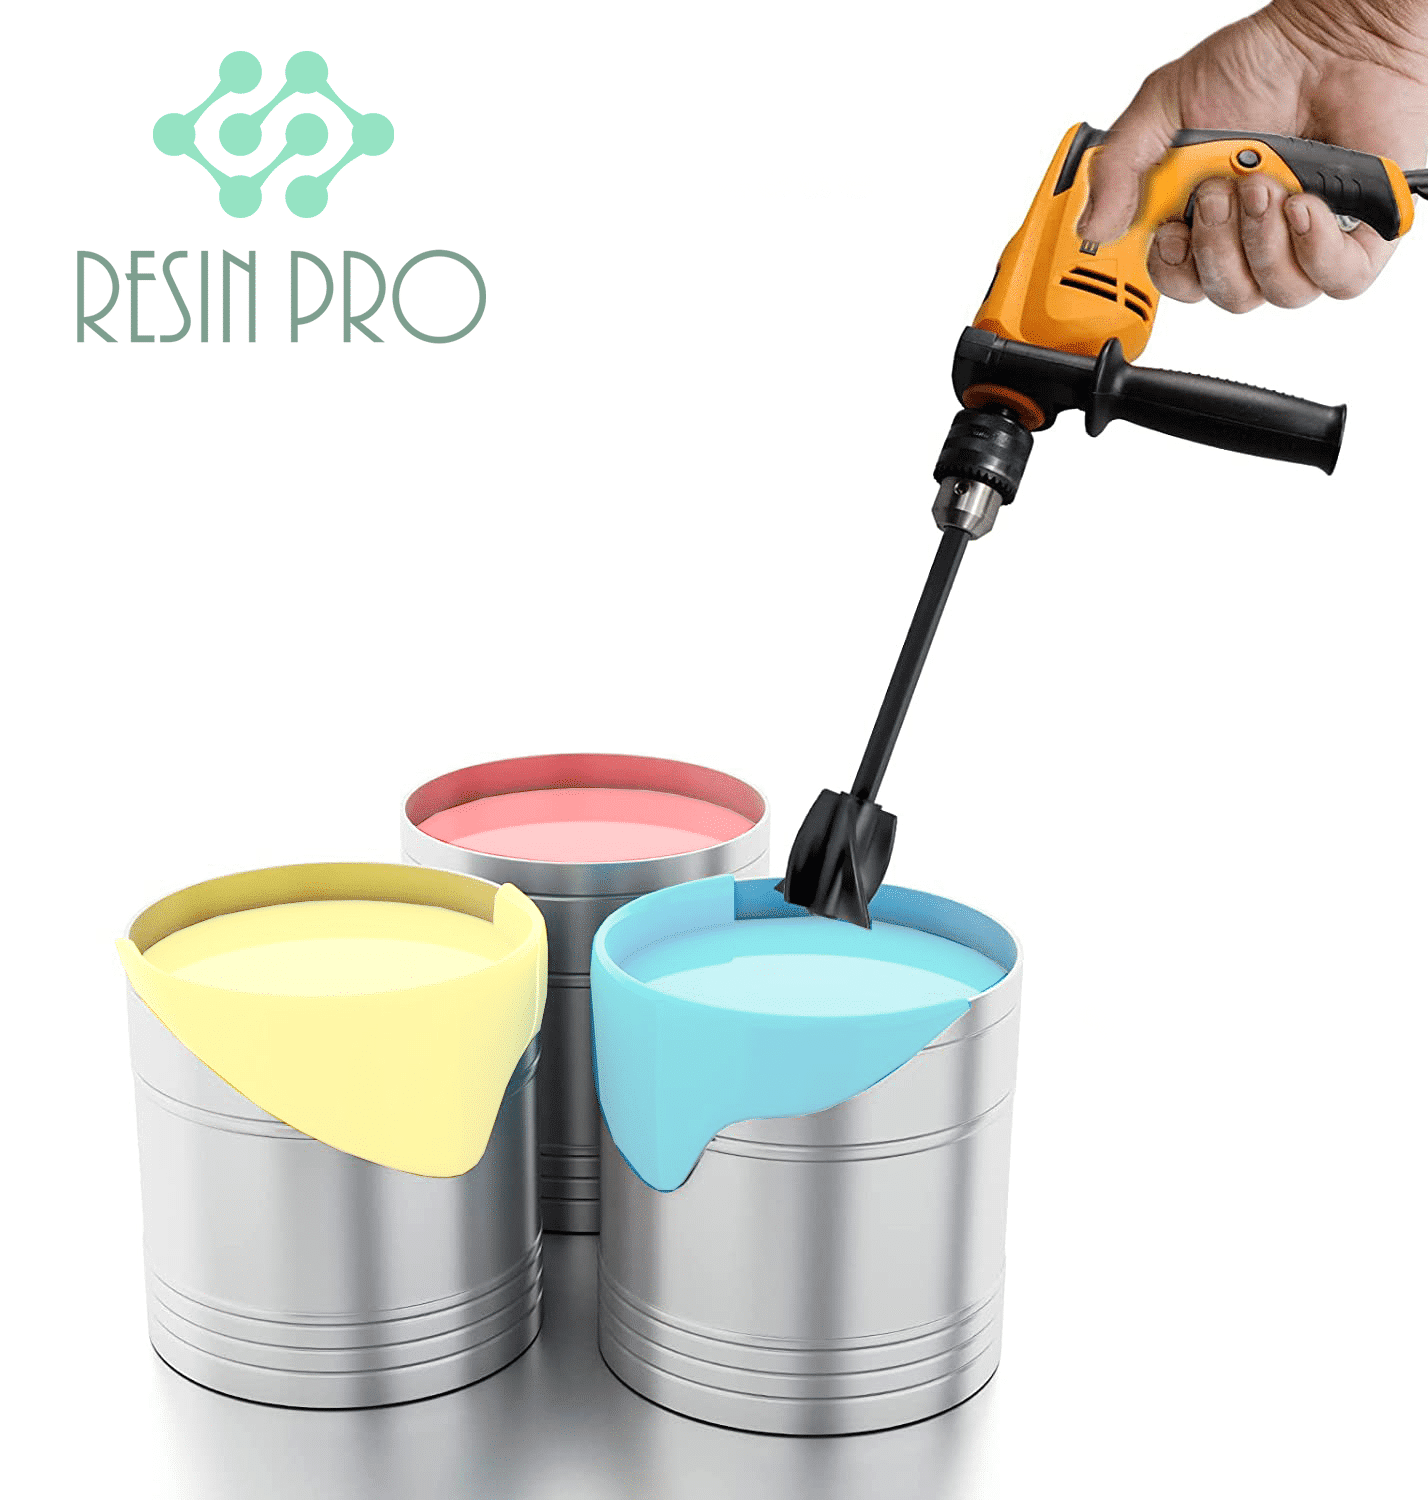
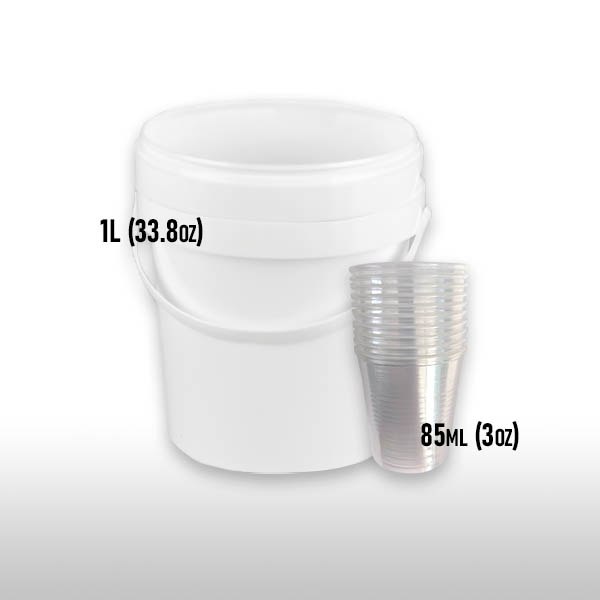
- Mixing Buckets Kit for Epoxy Resin Art – Easy Clean Flexible Design – Flexible containers make cured resin removal simple and improve cleaning results.
- Anti Bubble Mixer for Epoxy Resin – Reusable Mixing Tool – Easy to rinse for repeated, bubble-free resin mixing.
- Paper towels or lint-free cloths
- Protective gloves and goggles
Visual Steps for Cleaning Resin Tools
See the process of cleaning different epoxy resin containers, including wiping uncured surfaces, using isopropyl alcohol, and peeling cured resin from flexible buckets.
Notice the difference clean tools make in finished resin crafts.
Step 1: Empty and Wipe Out Excess Resin
Begin by pouring out any remaining liquid epoxy or hardener from your container. Use a paper towel or lint-free cloth to wipe away as much residue as possible while it is still wet. Removing excess product promptly reduces the amount of effort required later and helps avoid stubborn cured build-up.
Dispose of all waste in accordance with local regulations, especially if the resin has not yet cured. It is advisable to clean your containers as soon as possible after use to make the process easier.
Step 2: Tackle Uncured Resin with Isopropyl Alcohol
If you notice any uncured or sticky resin left in the container, apply a modest amount of Pure Isopropyl Alcohol 99.9% to dissolve the residue. Gently scrub the container with a paper towel or cloth, paying careful attention to crevices and corners.
Wear protective gloves and goggles during this step to prevent direct contact with chemicals. Work in a well-ventilated area, and avoid open flames when using isopropyl alcohol due to its flammability.
Step 3: Remove Stubborn Grease or Residue
Sometimes, greasy marks or residue from pigment additives can remain on your containers. In these cases, a plant-based cleaner such as the Strong Technical Degreaser for Resin Projects can be highly effective. Apply a small amount, allow it to sit briefly, then wipe clean with a damp cloth or rinse under running water.
This degreaser is dermatologically tested and gentle on the skin, making it suitable for repeated use during frequent resin projects.
Step 4: Peel or Flex for Cured Resin Removal
If resin has fully cured and hardened within your mixing bucket, you can often remove it by gently flexing the sides of the container. Choose flexible, easy-to-clean mixing buckets such as the Mixing Buckets Kit for Epoxy Resin Art, as these allow you to simply squeeze and peel away the cured resin, leaving the bucket virtually spotless.
This approach minimises waste and prolongs the usable life of your containers, reducing both cost and environmental impact.
Step 5: Clean and Store Mixing Tools
After use, rinse your mixing tools such as stirrers or paddle mixers under warm water. For tools like the Anti Bubble Mixer for Epoxy Resin, their reusable design makes cleaning straightforward—simply wipe away any uncured residue and rinse thoroughly before storing for your next project.
Never use abrasive tools such as metal scourers, as these can scratch or damage plastic containers, making future cleaning more difficult.
Tips and Common Mistakes
- Always dispose of waste responsibly—check local guidance for disposing of liquid or uncured resin.
- Do not pour leftover resin or cleaning effluent down household drains, as this can lead to blockages or environmental harm.
- Clean containers as soon as possible after use. Cured resin is much harder to remove.
- Avoid mixing containers with sharp tools during clean-up to preserve the bucket’s flexible structure.
- Store your tools and containers dry and away from direct sunlight to prevent warping or degradation.
Care and Maintenance Tips in Action
Watch demonstrations showing flexible buckets in use, degreaser application, and the best storage practices for resin containers and mixing tools.
Keep your workspace organised and your resin projects smooth every time.

- Pure Isopropyl Alcohol 99.9% – 1000ml Bottle for Epoxy Resin Projects & DIYPrice range: £10.45 through £20.95Pure Isopropyl Alcohol (99.9%) is suitable for epoxy resin projects and helps remove bubbles and create effects.
- Strong Technical Degreaser for Resin Projects – 100% Natural FormulaOriginal price was: £10.95.£9.45Current price is: £9.45.Strong Technical Degreaser supports epoxy resin projects with a natural, gentle cleaner that removes grease and silicone.
- Mixing Buckets Kit for Epoxy Resin Art – Easy Clean Flexible DesignPrice range: £2.05 through £8.95Mixing Buckets Kit designed for resin artists to mix epoxy resin easily, featuring a flexible, easy to clean design.
- Anti Bubble Mixer for Epoxy Resin – Reusable Mixing ToolPrice range: £4.95 through £12.45The Anti Bubble Mixer is a reusable tool designed for smooth epoxy resin mixing with minimal bubbles.
Frequently Asked Questions
What is the best method to clean epoxy resin containers?
Wipe away excess resin, dissolve uncured residue with isopropyl alcohol, and peel out cured resin when possible. Clean promptly for easiest results.
Can household cleaners be used on epoxy resin residue?
Some household cleaners may help with minor residue, but isopropyl alcohol and specialised degreasers are most effective for resin clean-up.
How do I remove fully cured resin from a mixing bucket?
Choose a flexible mixing bucket and squeeze or flex the sides—the cured resin should peel away cleanly without damaging the container.
Is it safe to use isopropyl alcohol on resin tools?
Yes, it is safe and highly effective for cleaning uncured resin, but always work in a ventilated space and wear protective gloves.
Can I reuse resin mixing buckets multiple times?
If the buckets are flexible and designed for reuse, you can peel out cured resin and use them again, saving waste and money.
How should I dispose of waste epoxy resin?
Solid cured resin can be disposed of with household waste, but liquid resin should be handled according to local hazardous waste guidelines.
Should I use abrasive tools to clean mixing buckets?
No, abrasive tools can damage the surface of plastic mixing buckets, making future cleaning more challenging.