 Free shipping on orders over £29,85

How can I paint a resin statue?
Step-by-step guide for durable, vibrant painted resin statues


Painting a resin statue is a rewarding way to personalise, protect, and enhance your artwork. This guide covers all the essential steps, tips, and tools you’ll need to achieve a flawless finish on any resin figure—whether for art, home decor, or gifts. No previous experience required!

What You’ll Need
- 12-Piece Artists Paint Brush Set for Epoxy Resin Art & DIY Projects – A selection of versatile synthetic brushes for detail and broad strokes.
- 5-Piece Disposable Paint Brush Set for Art, Crafting & DIY Projects – Perfect for intricate areas or single-use applications.
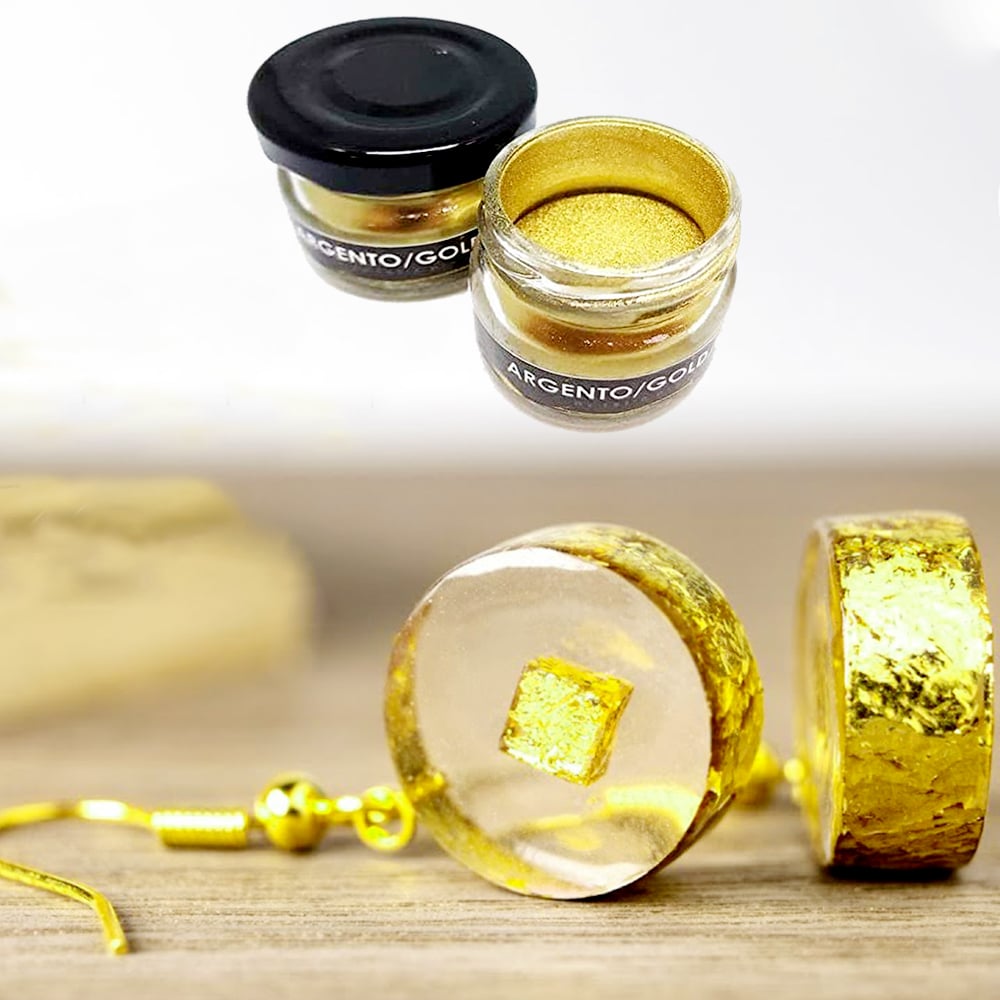
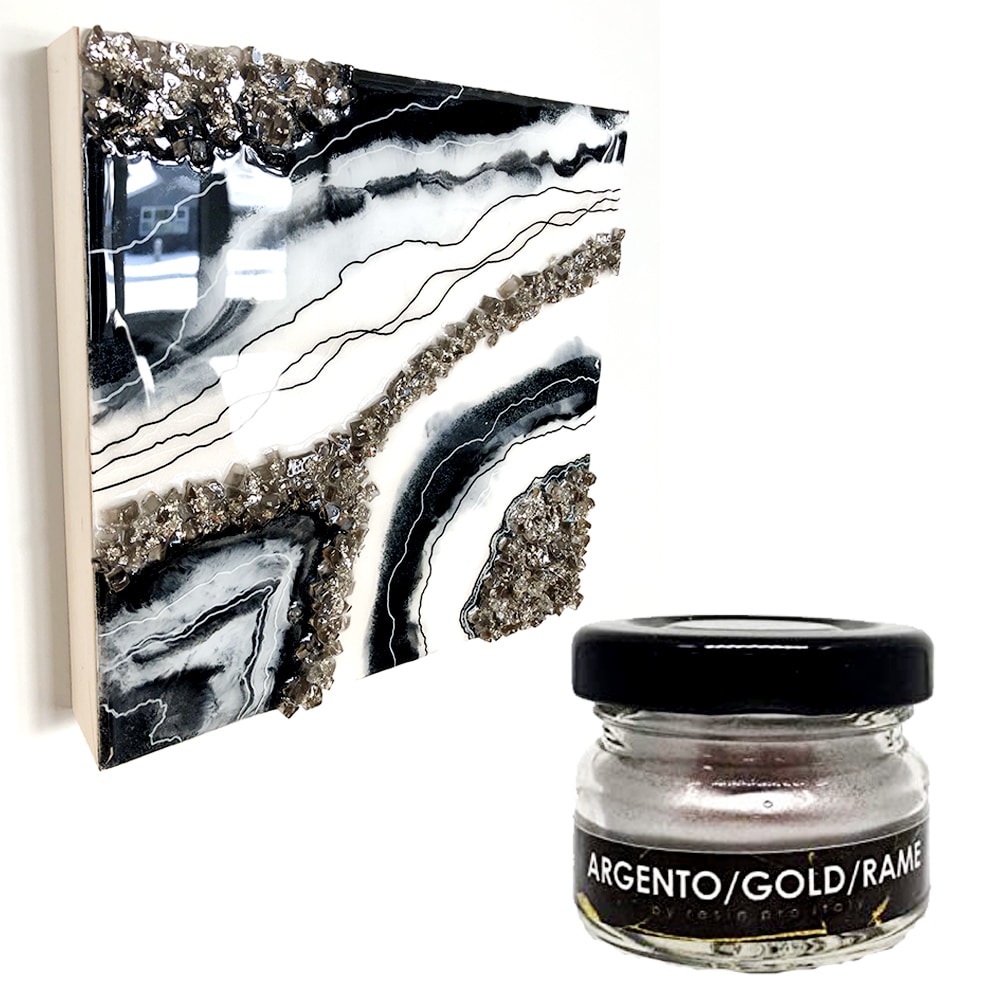
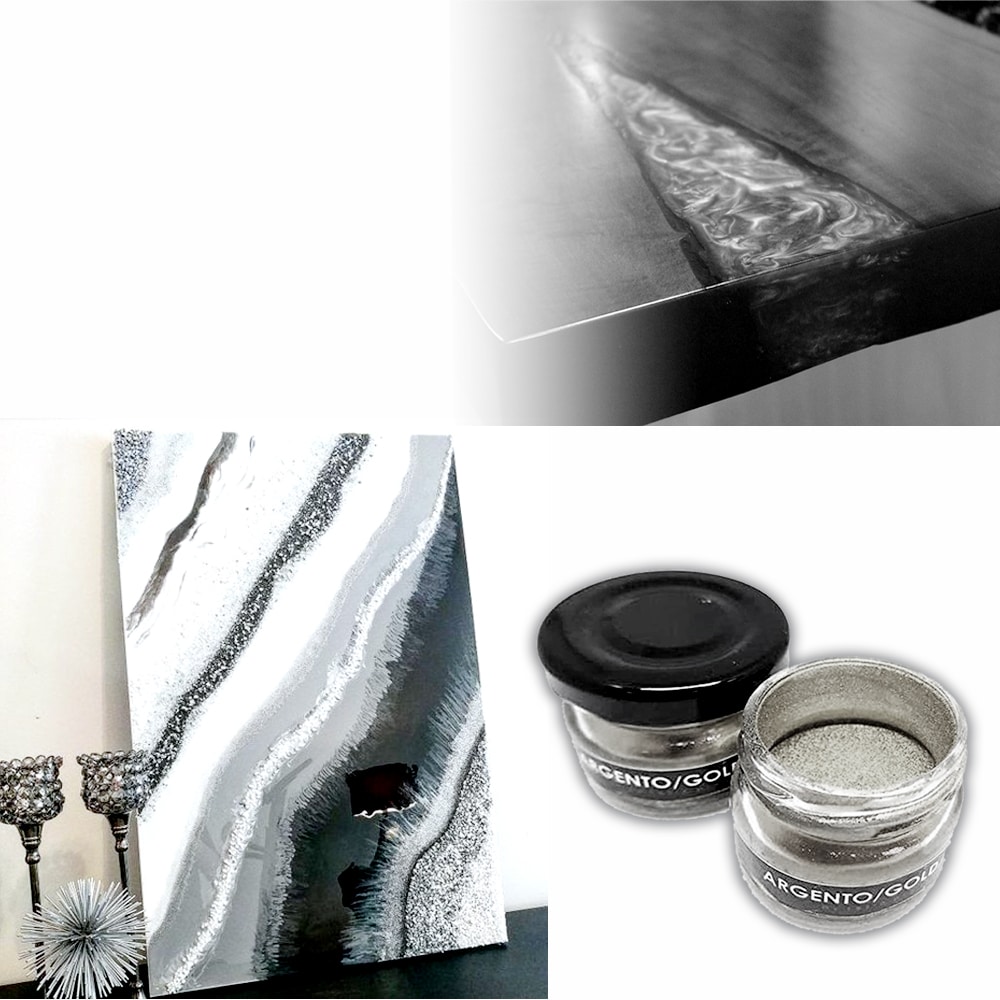
- “Argento/Gold/Rame” – Floating Metallic Pigment – 20ml – To add metallic highlights to your statue.
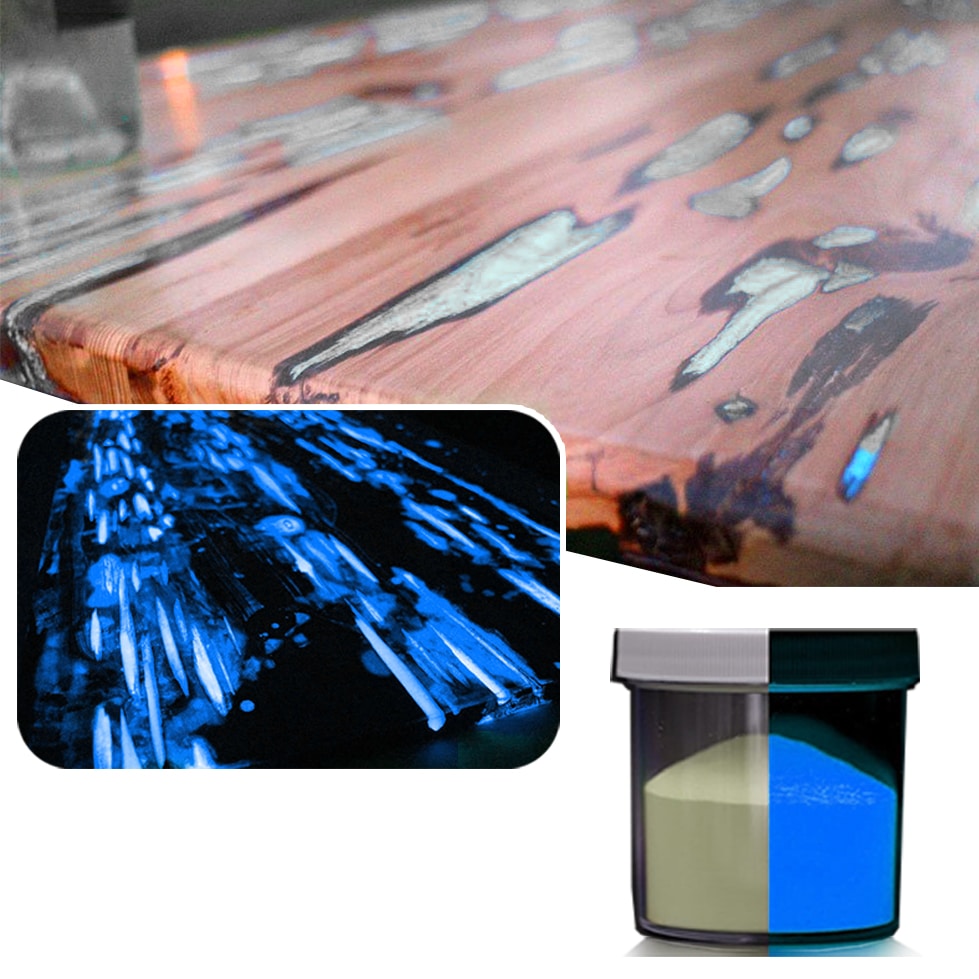
- Phosphorescent Pigment – Glow-in-the-Dark Additive for Resin, Paint, and Varnish – For special glowing effects.
- A clean, dry cloth and some gentle detergent for cleaning the statue
- Fine sandpaper (optional, for smoothing surfaces)
- Protective gloves
- Your choice of acrylic or suitable paint for resin
- Sealant (clear varnish or resin top coat, if desired)

Choosing the Right Brushes and Pigments
For detailed work and reliable coverage, many artists prefer a mix of brush types. The 12-Piece Artists Paint Brush Set for Epoxy Resin Art & DIY Projects provides both detail and broad brushes. If you prefer not to clean your tools after use, opt for the 5-Piece Disposable Paint Brush Set for Art, Crafting & DIY Projects. Floating metallic pigments and glow additives add extra character to your creations.
Step 1: Clean and Prepare the Resin Surface
Before you begin painting, ensure the resin statue is completely clean and dry. Gently wash the surface with mild detergent and warm water to remove any dust, grease, or mould release agents. Allow it to dry fully. If the statue feels rough or has visible seams, a light sanding with fine grit sandpaper can help achieve a smooth finish. Always wipe away any sanding residue with a lint-free cloth.


Step 2: Apply a Suitable Base Layer
A primer or base coat can help your chosen paint adhere better to the resin surface and give you a more even result. If using acrylic paints, a thin base layer of white or grey can neutralise any colour variance in the resin. Make sure to let the base dry thoroughly before moving onto the next step and use light, consistent brushstrokes for best coverage.
Step 3: Paint the Statue with Detail
Begin applying your colour in thin, even layers. For broad areas or general colouring, a product like the 12-Piece Artists Paint Brush Set for Epoxy Resin Art & DIY Projects is ideal, thanks to its mix of brush sizes for both detailed and larger surfaces. For hard-to-reach or small details, a disposable option such as the 5-Piece Disposable Paint Brush Set for Art, Crafting & DIY Projects can be helpful. Always let one layer dry before applying the next to prevent smudging and poor coverage.
Step 4: Add Special Effects or Highlights
If you want to add metallic or glowing details, mix a small amount of “Argento/Gold/Rame” – Floating Metallic Pigment – 20ml or Phosphorescent Pigment – Glow-in-the-Dark Additive for Resin, Paint, and Varnish into your paint or directly layer onto the dried paint areas as required. These pigments create striking surface highlights and glowing features. Use fine-tipped brushes for precise application and avoid overly thick pigment mixes, as this can obscure detail.
Step 5: Seal and Protect Your Finish
Once your painted statue is completely dry, apply a clear sealant or varnish to protect the artwork from scratches, moisture, and UV light. A resin-based clear coat or spray-on acrylic sealer works well for this. Be sure the surface is dust-free before sealing, and always follow the drying instructions for your sealer of choice.
Tips and Troubleshooting
- Use light, consistent brushstrokes for best coverage and minimised streaks.
- Always let one layer dry before applying the next to avoid mixing wet layers and creating smudges.
- Avoid thick paint layers to prevent streaking or brush marks, especially on detailed areas.
- Test your chosen paint and pigment on a small area first to ensure compatibility and desired effect.
- Store statues away from intense sunlight to maintain colour vibrancy long-term.
Helpful Finishing Advice
Seal your statue with a clear coat for durability. Always allow full drying between each step and store your finished piece in a cool, dry environment for best results.

- 12-Piece Artists Paint Brush Set for Epoxy Resin Art & DIY Projects£6.95This 12-piece paint brush set is designed for epoxy resin projects, suitable for artists and DIY enthusiasts working with resin.
- 5-Piece Disposable Paint Brush Set for Art, Crafting & DIY Projects£6.45A set of five disposable brushes suitable for detailed painting and epoxy resin crafting tasks.
- “Argento/Gold/Rame” – Floating Metallic Pigment – 20mlA floating metallic pigment designed to create golden streak effects, suitable for resin art and decorative crafts.
- Phosphorescent Pigment – Glow-in-the-Dark Additive for Resin, Paint, and VarnishPrice range: £8.45 through £13.95Phosphorescent Pigment is an additive designed to highlight details on resin statues and other surfaces by glowing in the dark.
Frequently Asked Questions
How do I prepare a resin statue for painting?
Wash with mild detergent and dry thoroughly. Sand gently if needed for smoothness before painting.
What types of paint work on resin statues?
Acrylic paints are popular due to their adhesion and flexibility. Always check suitability for resin surfaces.
Can I use metallic or glow pigments on resin statues?
Yes, metallic and phosphorescent pigments can be mixed with paint or layered on top for special effects.
Should I seal a painted resin statue?
Yes, sealing protects your artwork from moisture, fading, and scratches, improving longevity.
What common mistakes occur when painting resin statues?
Thick paint layers, not letting coats dry, or skipping cleaning/prep can lead to poor results or peeling.
Can I paint over a sealed resin statue?
To repaint, gently sand the sealed surface and clean it before applying new paint layers.