 Free shipping on orders over £29,85

← Back to How much does a resin sheet cost?
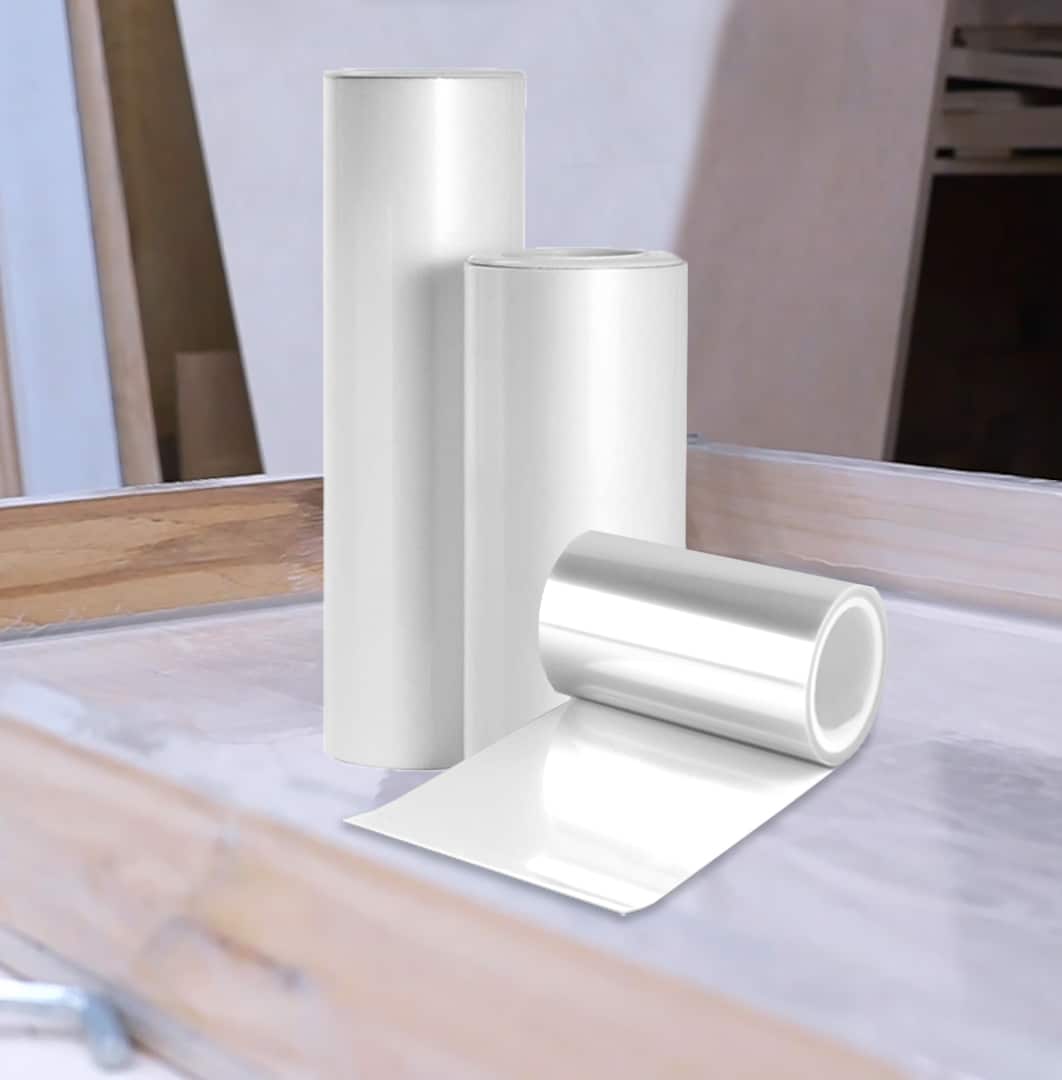
Getting a flawless finish in resin projects often starts with the right release film. Applying release film correctly ensures easy demoulding and a glossy surface with minimal finishing required.
Preparing and Applying Release Film
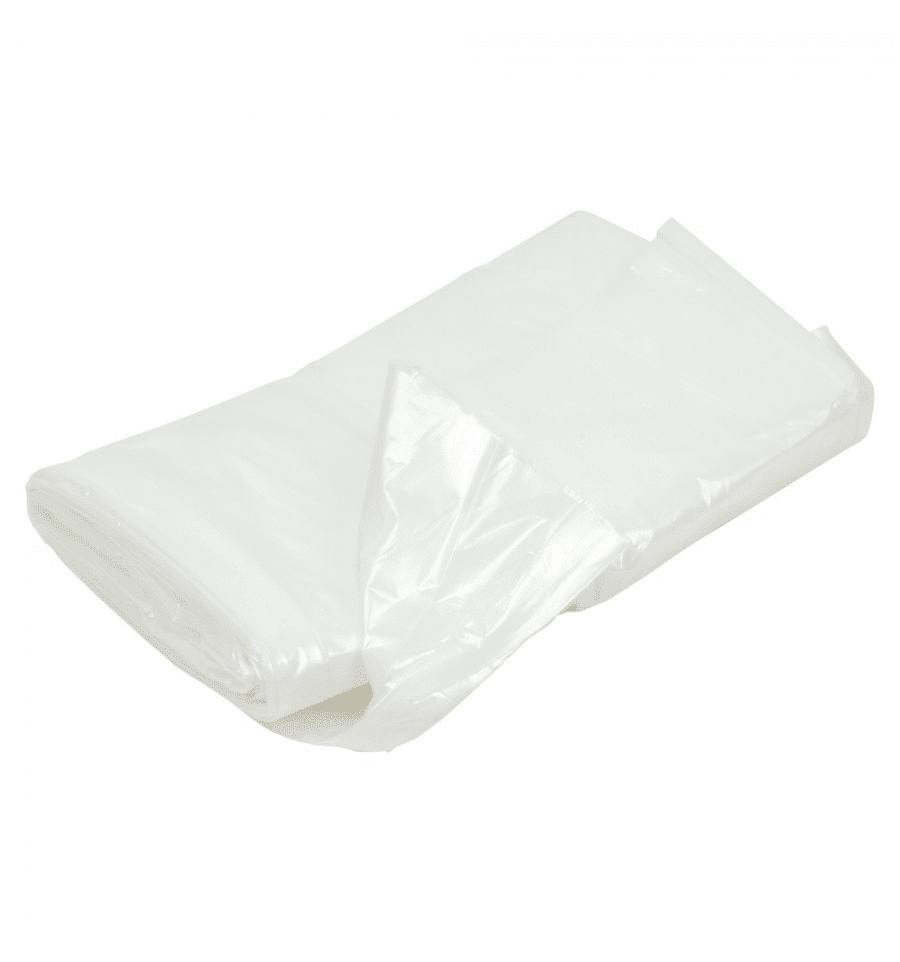
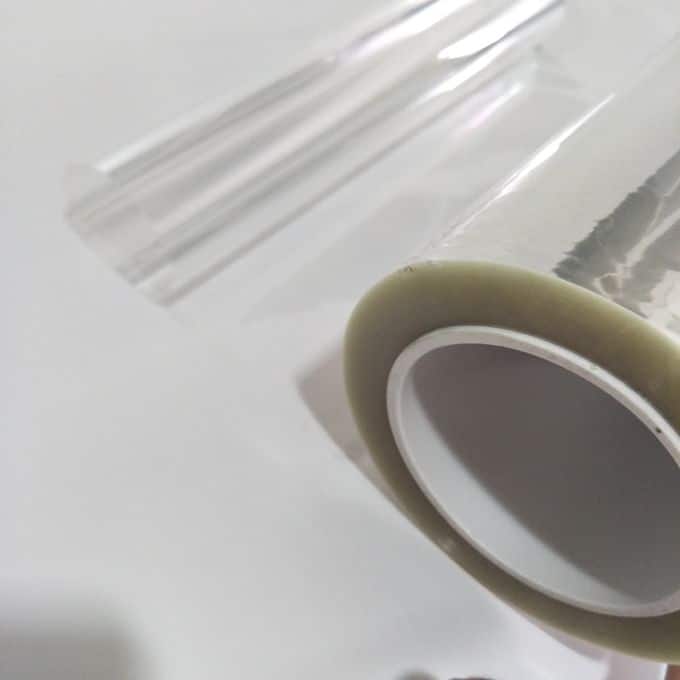
Begin by measuring and cutting your release film to fit the mould or frame. Most quality release films, such as “Shiny Shield” Glossy Release Film, feature a self-adhesive backing. Carefully peel away the protective layer to expose the adhesive side.
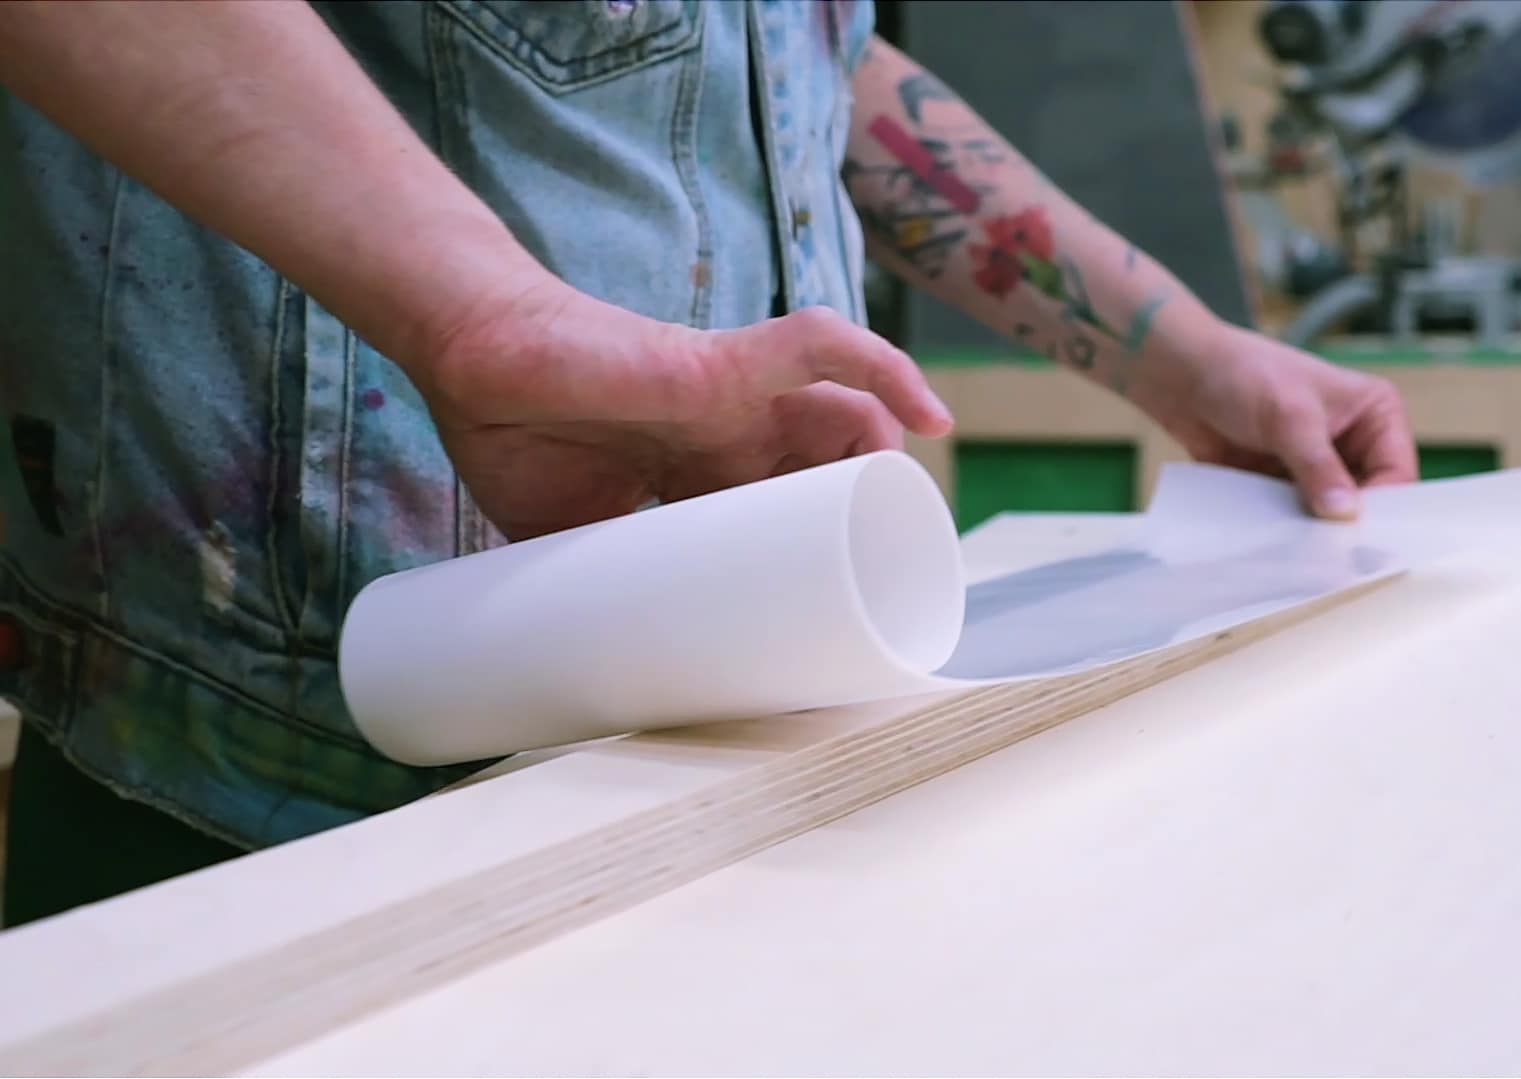
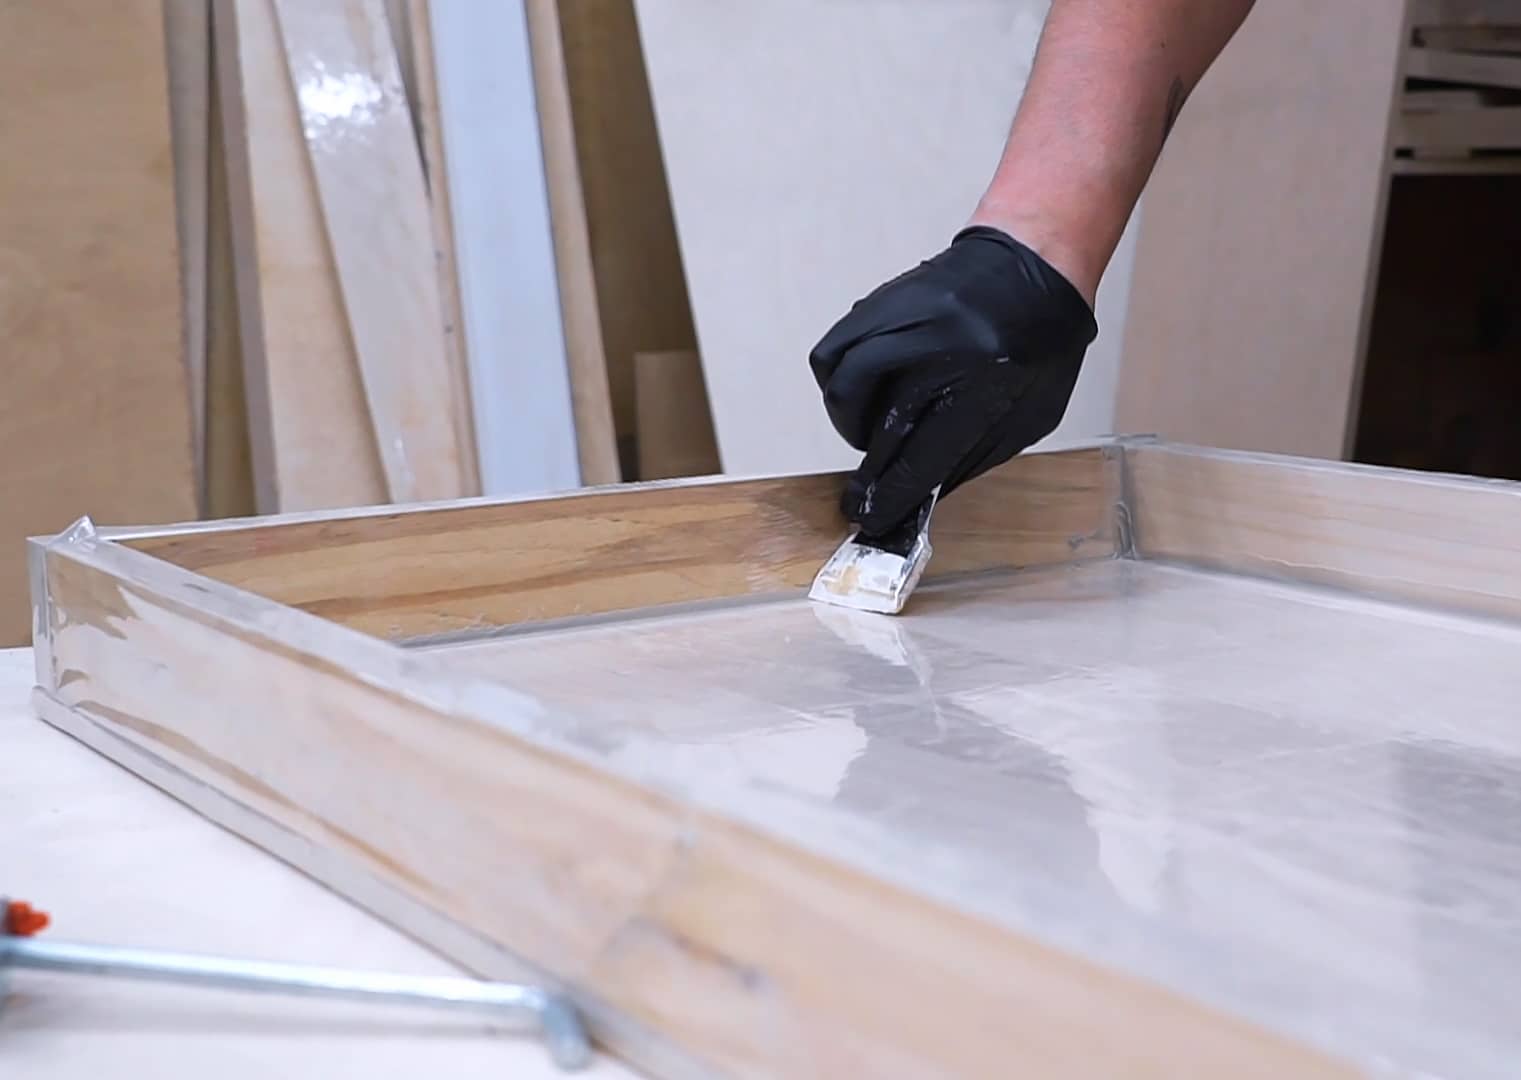
Press the glossy side firmly onto your mould or a supporting frame, smoothing out any bubbles as you apply. Ensure the film is stretched flat for the glossiest, most even finish on your resin work. Once in place, you are ready to pour your resin.
Benefits of Using Release Films
Self-adhesive release films make it simple to achieve a professional sheen on cured resin, reducing or even eliminating the need for sanding or polishing. The film also acts as a barrier, preventing resin sticking and making demoulding straightforward.
- Achieve a smooth, mirror-like finish on resin surfaces
- Bubble-free, seamless application
- Heat-resistant options available for deeper or warmer pours
When This Matters Most
Applying release film is particularly important for projects where a clear, glossy finish is desired or when reusing expensive or custom moulds. It saves time during clean-up and helps preserve your tools for future projects.
Related products
Related guides
Applying release film properly streamlines your resin process and delivers the polished results every enthusiast and professional seeks. To learn more about cost considerations and different sheet options, visit our main guide on how much resin sheets cost.