 Free shipping on orders over £29,85

← Back to How to Create a 3D Effect with Epoxy Resin


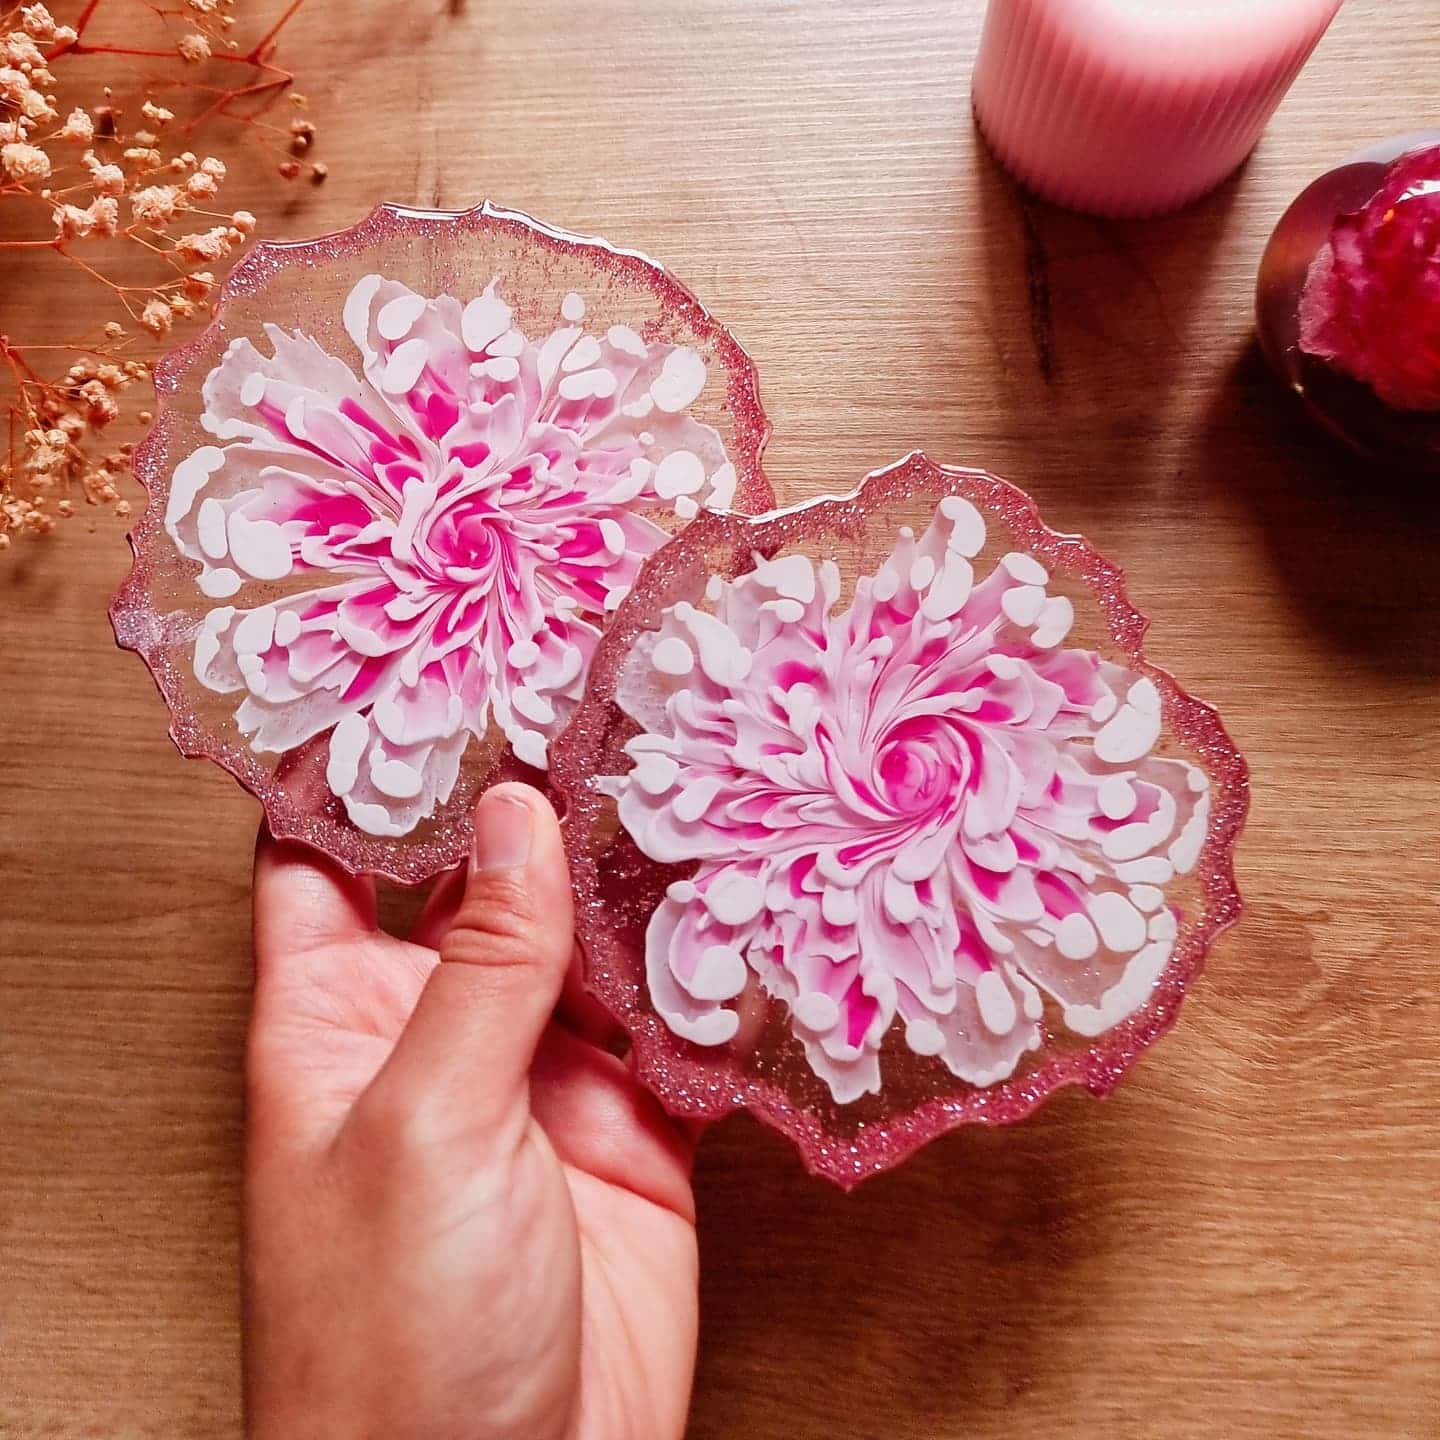
Creating convincing depth and 3D effects in epoxy resin relies on the careful layering of pigments and inclusions. With the right technique, you can achieve clarity and striking visual dimension in your resin art or furniture pieces.
Layering for Maximum Clarity
To enhance depth, pour a clear initial layer and allow it to partially cure. Once this base is firm but still tacky, carefully add pigments or desired inclusions, such as decorative objects or metallic flakes, before pouring subsequent resin layers. This stepwise approach keeps inclusions crisp and distinct, preventing them from sinking or becoming obscured by bubbles.
- Let early layers set before adding items for best separation
- Work in stages—thin layers build up a greater 3D appearance than a single deep pour


Best Practices for Adding Pigments
For a strong 3D look, use varying pigment concentrations in each layer. Begin with subtle or transparent colours at the base and introduce bolder, more opaque pigments in upper layers. Swirl, drip or gently mix pigments for unique effects. High-viscosity resins, such as the Art Pro Deluxe, give you more control over pigment flow and placement, ensuring sharp colour boundaries and defined layered effects.
When to Consider Deep-Pour and Artistic Control
If your project requires thick casting, choose a resin that’s designed for deep pours, like the EpoxyTable 5-Five. For intricate designs or when embedding smaller details, slower-curing and high-viscosity products are especially useful—these allow more time and precision for arranging pigments and elements without rushing.
Related products
Related guides
Mastering the arrangement of pigments and inclusions unlocks stunning 3D effects with epoxy resin. Explore more layering and creative resin tips in our full guide on how to create a 3D effect with epoxy resin.