 Free shipping on orders over £29,85


← Back to How to build a small resin storage shed?
Thinking about putting up a small resin storage shed but only have simple tools on hand? Good news: most modern resin sheds are designed to be assembled with basic hand tools and a little patience.
Essential Tools for Resin Shed Assembly
You won’t need a full workshop to put together a typical resin shed. The process usually calls for a standard Phillips screwdriver (or a power driver for speed), a spirit level, and a measuring tape. Some shed kits may also suggest a rubber mallet to help slot panels together. All of these are common in most home toolkits.
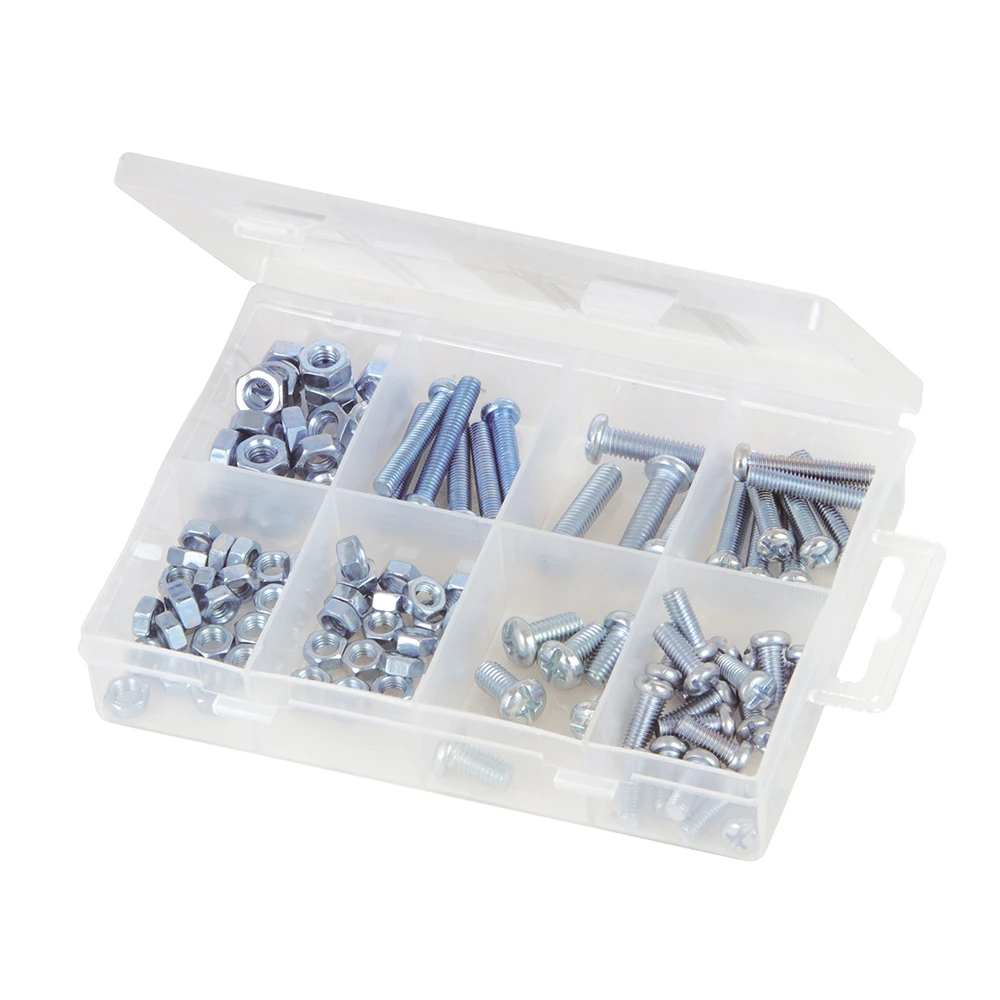
For securing fixings, consider self-tapping screws, such as the 105pcs Self-Tapping Screws Pack for DIY Assembly, which can be used without pre-drilling. Basic safety gear, like protective gloves, is always a good idea when handling panels and hardware.
Assembly Tips for a Smooth Build
Clear an even space before starting and lay out all shed parts and fasteners. Carefully follow the manufacturer’s instructions and double-check each component as you go—accuracy pays off. Having a second person can be helpful, especially for lifting roof sections or aligning panels.
- Organise your hardware before you begin.
- Use a level to keep the shed square and secure on its base.
- Assemble sections loosely at first for adjustments, tightening once aligned.
When Does Tool Choice Matter Most?
Your choice of tools makes the biggest difference if the base or ground isn’t flat, or if you encounter harder materials during anchoring. In these cases, having a quality driver and robust screws becomes crucial. Otherwise, most standard toolkits suffice for assembling compact resin sheds.
Related products
Related guides
With just everyday DIY tools, you can confidently assemble a small resin storage shed—no specialist gear required. For more on step-by-step assembly and preparation, return to our full guide on how to build a resin storage shed.