 Free shipping on orders over £29,85


← Back to How do you make a resin clock?
Choosing the right base is the first step to crafting a reliable and beautiful resin clock. The material beneath your resin layer strongly influences both durability and the success of your finished clock.
Why Base Material Matters
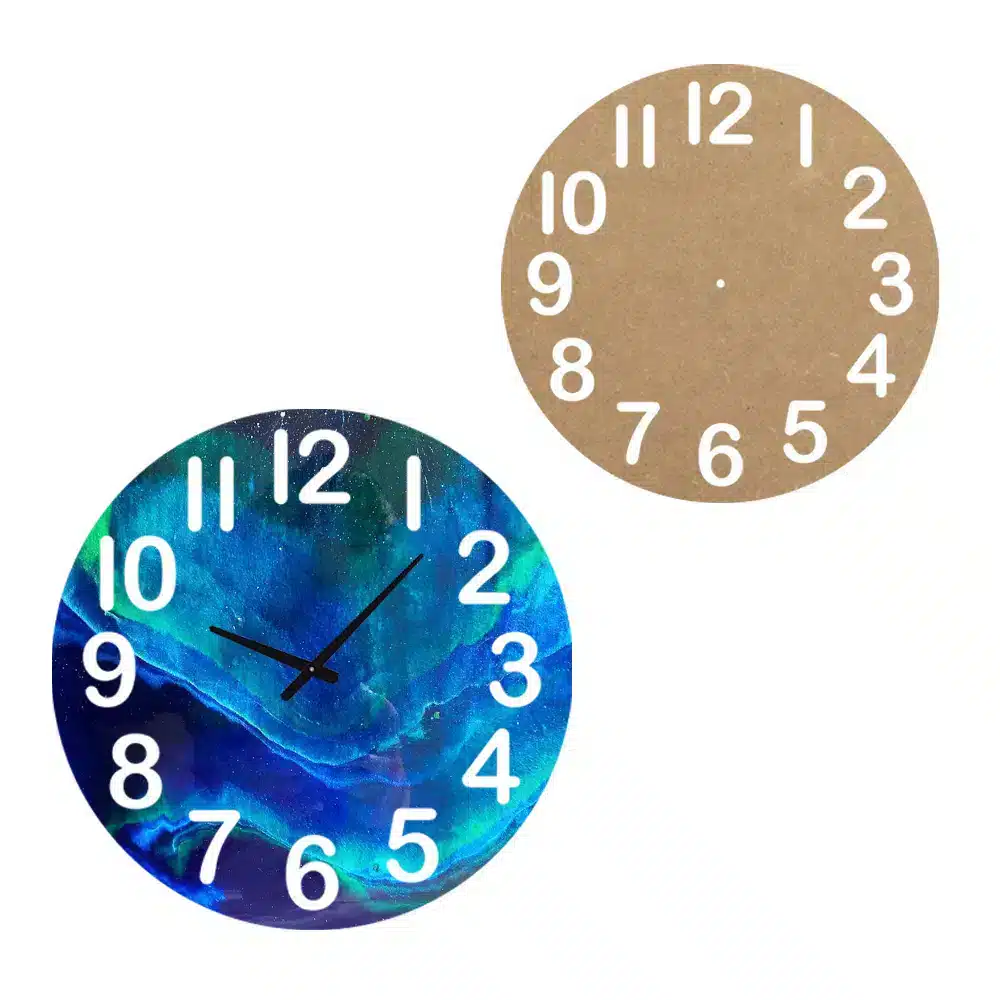
The base provides structure for your resin clock and ensures even resin flow and proper curing. Smooth wooden bases, such as those cut with care and free from roughness, offer a stable surface that does not absorb excessive moisture. This results in optimal resin adhesion and minimises issues like warping or uneven curing.
Wood is favoured for its versatility—it can be left plain, painted, or decorated to complement your clock’s design vision.
Recommended Bases for Resin Clocks
- Smooth wooden bases: Readily available and ideal for beginners and professionals alike, as seen with the “Wall Clocks” wooden base.
- Engineered MDF or plywood: These materials are also suitable, provided they have a sealed and smooth surface to prevent unwanted resin absorption.
- Preparation tips: Always ensure the base is clean and completely dry. For best results, you may prime or seal more porous woods to create a flawless foundation.
When Base Selection Matters Most
If your clock will hang on a wall or function as a statement piece, a sturdy, moisture-resistant base is crucial. Thin or warped materials may cause the clock to buckle over time or result in misaligned mechanisms.
Related products
Related guides
For your best resin clock project results, start with an appropriate smooth wooden base and team it with a quality resin and reliable clock mechanism. For more practical inspiration and tips, see our main guide: How do you make a resin clock?