 Free shipping on orders over £29,85

← Back to How do you remove the film applied with resin?
If you’ve lined a mould or frame with a dedicated release film during your resin project, knowing how to remove it without harming the polished surface is essential. Here we look at simple, practical steps for a flawless release.
How to Safely Remove Release Film
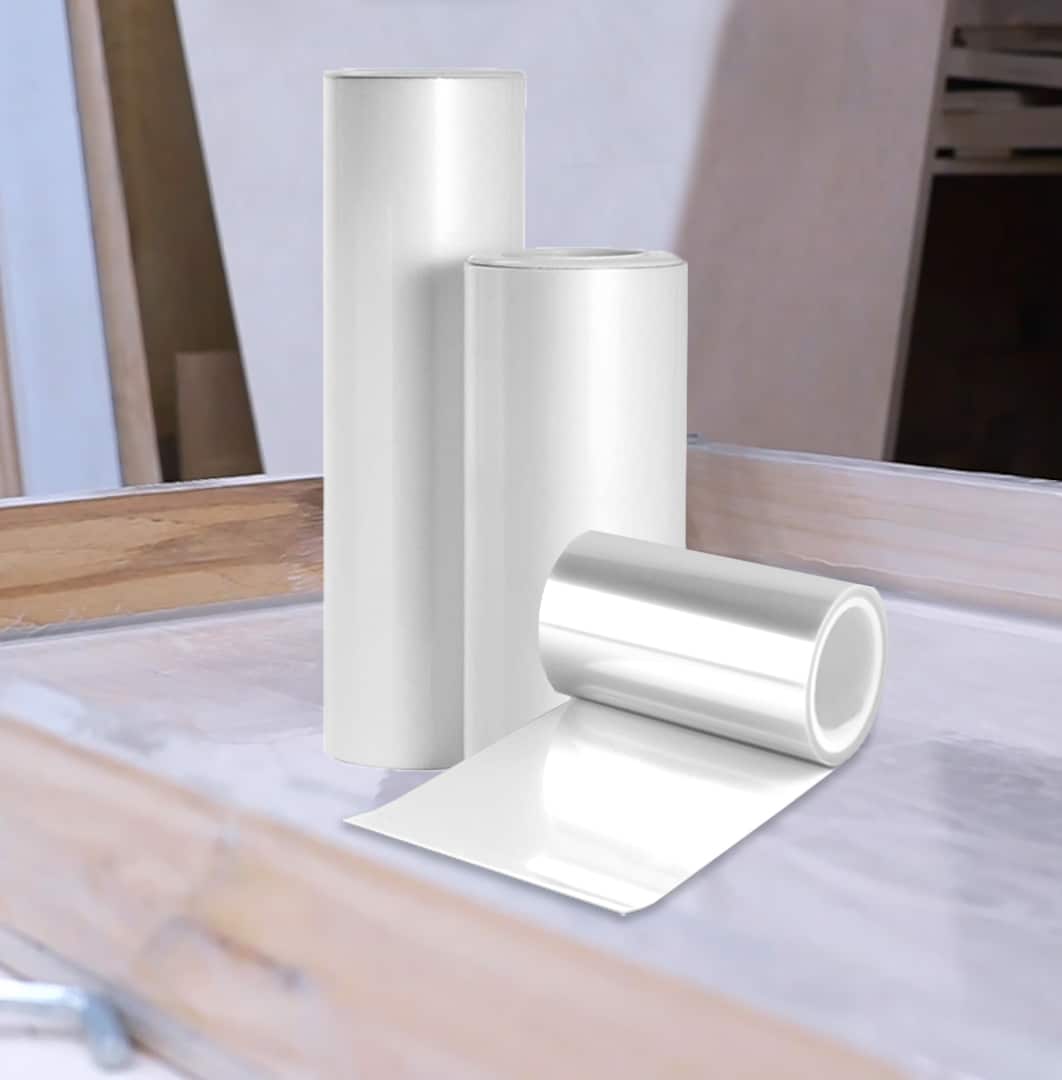
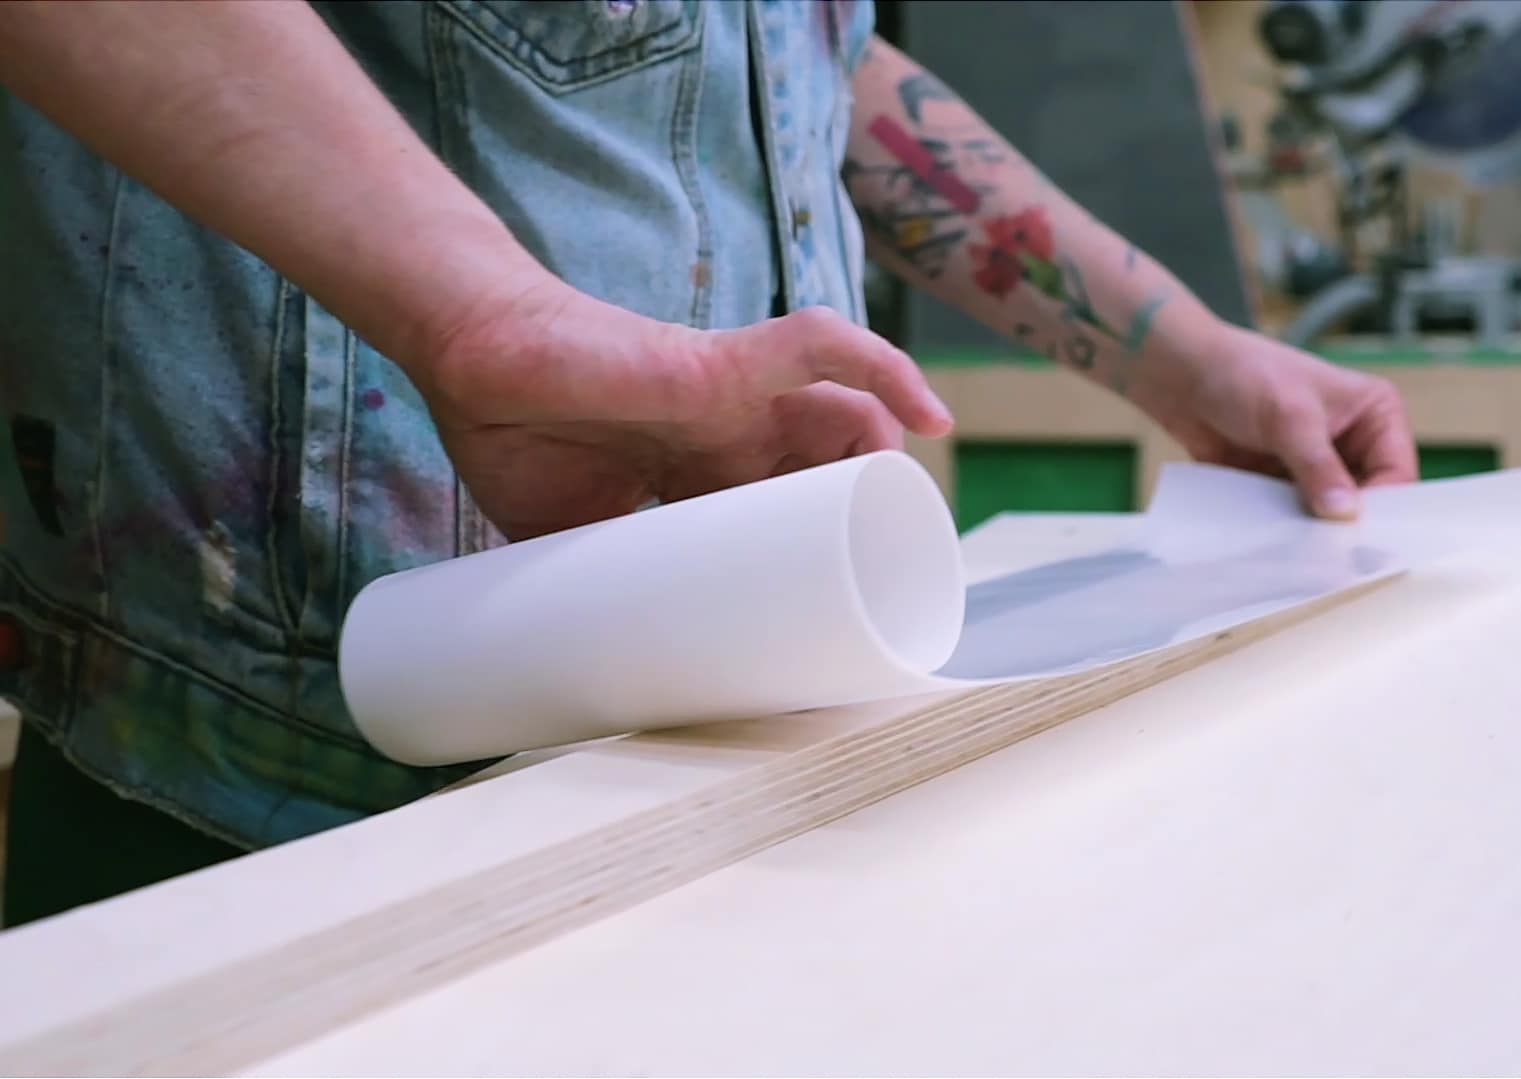
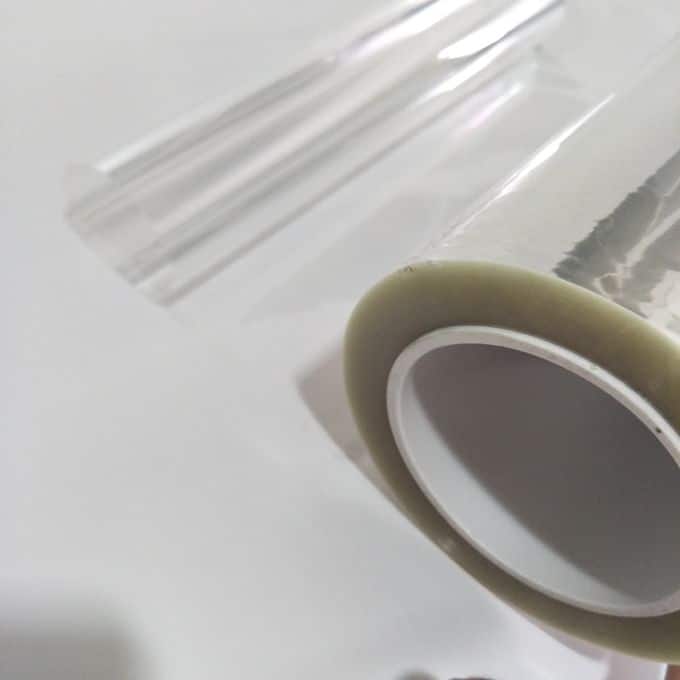
Once your resin project is fully cured, removal is usually straightforward. Start by lifting one edge of the release film gently—if using a product such as “Shiny Shield” – Glossy Release Film for Resin Projects, it is designed to peel away cleanly. Avoid pulling abruptly, as gentle, even pressure minimises any risk of scratching or dulling the high-gloss finish. Most modern release films are specifically engineered to prevent adhesion and leave no residue behind, ensuring your project maintains its smooth appearance.
Tips for a Damage-Free Resin Finish
- Patience is key: Allow the resin to cure completely before removing the film, as premature removal could mar the surface.
- Use high-quality films: Opt for self-adhesive, glossy release films that are reusable and heat-resistant, giving both ease of removal and a polished final result.
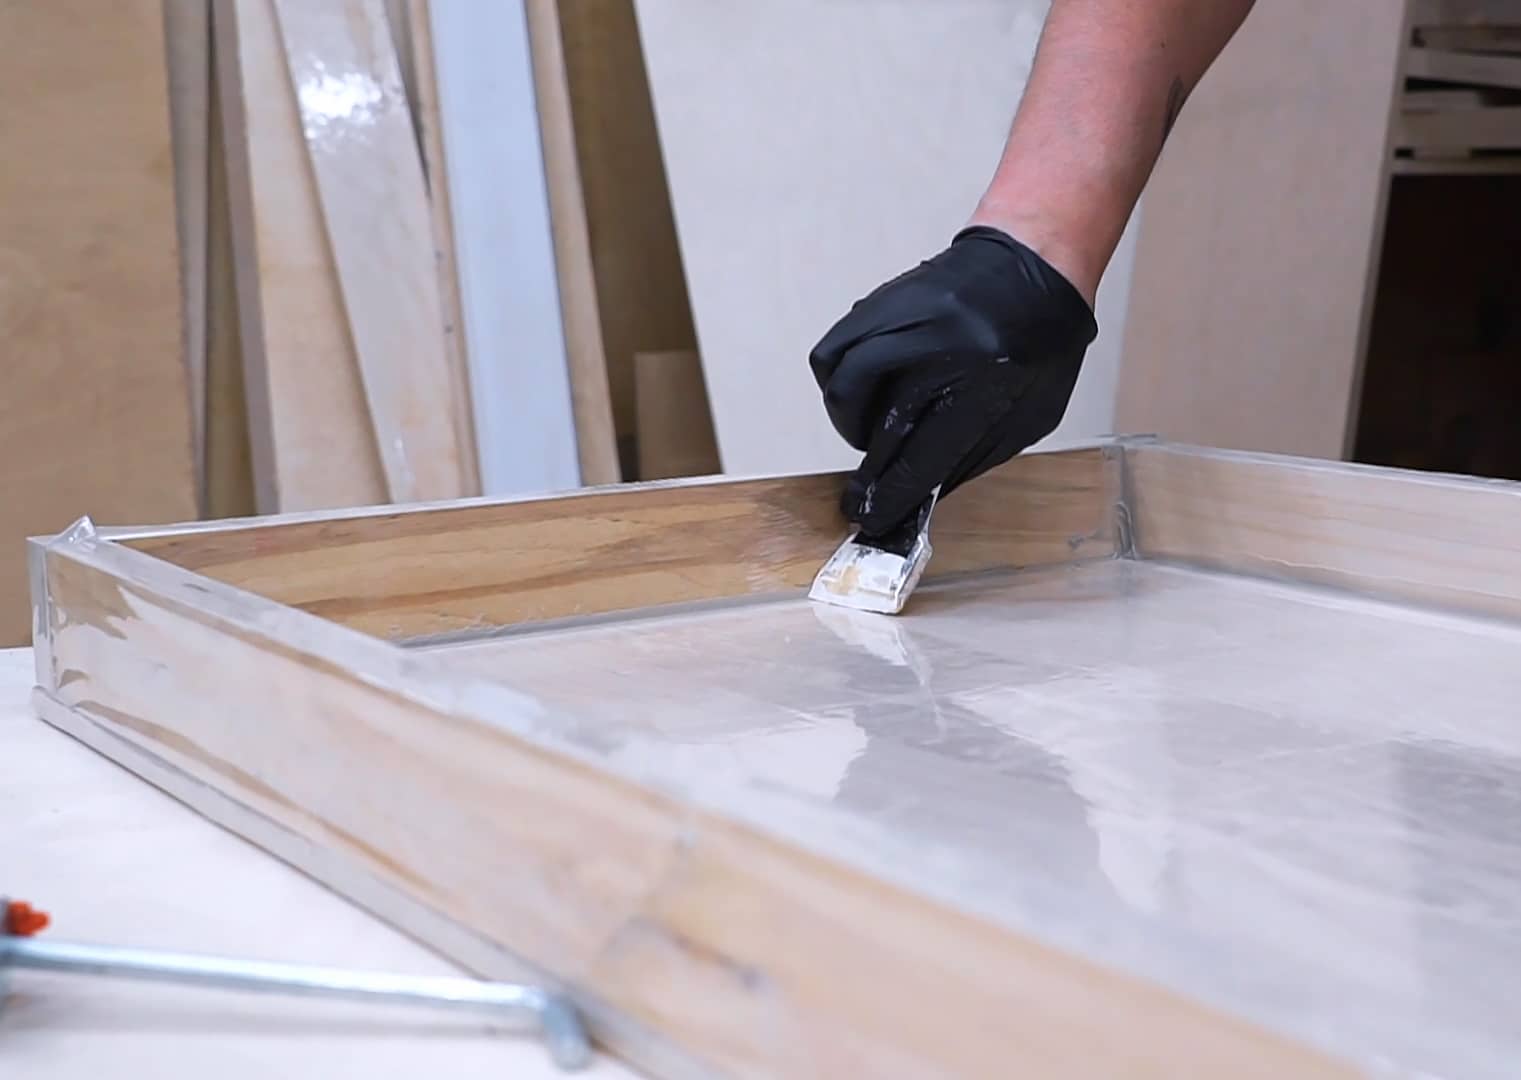
- Clean up after release: If you notice any greasy or sticky residue, a gentle, natural degreaser—such as the Strong Technical Degreaser for Resin Projects—can help clean the area without damaging your resin work.
When This Matters Most
Easy and damage-free film removal is particularly important for table surfaces, clear art pieces, and projects where a flawless, mirror-like gloss is desired. Using proper release films and gentle removal protects the clarity and value of your finished piece.
Related products
Related guides
For the best results in resin film removal, choose your release materials carefully and follow a methodical approach. Discover more on successful resin projects in our main guide on removing film applied with resin.