 Free shipping on orders over £29,85


← Back to how to make resin spheres
Seam lines are a common challenge when casting resin spheres, often appearing where two halves of a mould meet. Luckily, they can be made nearly invisible with the right approach.
Step-by-Step: Smoothing Out Seam Lines
Begin by dry or wet sanding the seam area using very fine-grit sandpaper (such as 600 to 2000 grit). Gently rub just along the ridge, feathering outwards until the seam feels smooth to the touch. Take your time and avoid sanding too aggressively, as this can flatten or mark the sphere’s surface.
Once the seam is levelled, use a soft cloth with a gentle polishing paste or compound designed for plastics or resins. Work in small circles until you achieve the desired shine and clarity.
Choosing the Right Tools and Materials
- Fine-grit sandpaper: The smoother the grit, the less risk of scratching your sphere.
- Polishing paste: Opt for one suitable for resin or plastics to restore gloss after sanding.
- Soft cloth: Use a lint-free, clean cloth for best results when buffing.
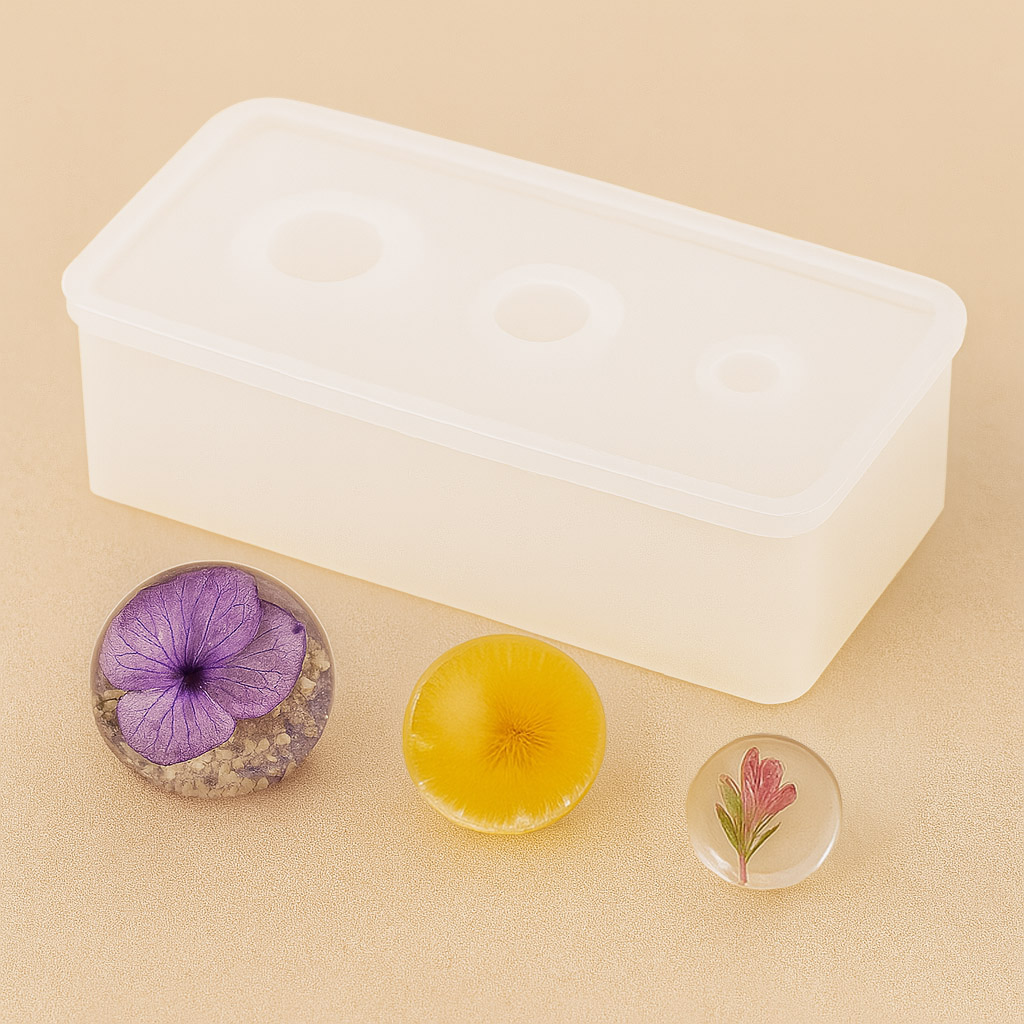
Using a well-made mould like the “3 Sphere” – Silicone Mould for Jewellery and Crafts can also reduce seam depth, making finishing easier.
When Extra Care Matters
If you plan to use your resin spheres for jewellery or display pieces, a flawless, glossy finish enhances their appeal. Spend a little longer on the careful sanding and polishing steps to achieve the most professional result.
Related products
Related guides
Perfecting your sphere’s surface is a rewarding final step in your resin project. For more tips and inspiration, return to our complete guide on making resin spheres.