 Free shipping on orders over £29,85


How do you polish a resin floor?
Step-by-step guide for professional resin floor polishing results


Polishing a resin floor is a key step in unlocking its full visual potential, revealing the extraordinary depth, clarity, and brilliance that makes resin so popular for contemporary spaces. Whether you want to restore worn epoxy, achieve a glass-like gloss, or simply refresh your floor’s shine, this guide will walk you through each stage of the polishing process. The outcome is a durable, beautiful surface that stands up to daily life and showcases your resin installation at its very best.
What You’ll Need
- “Ebonite Abralon” – Sanding Pads 360-4000 Grit for Resin and Wood: For even sanding and progressive scratch removal.
- Polishing Sponge Discs 150mm – 2 Pack: Essential for buffing the surface to a shine.
- “Epoxy Polish” – Epoxy Resin Polishing System: To bring out maximum gloss and clarity.
- “Carbon Polish” – Polishing System for Dark and Black Surfaces, 250ml: For dark or black resin floors, ensures no haze or white residue.
- Rotary polisher or hand pad holder
- Microfibre cloths
- Clean water and spray bottle (for wet sanding)
- Protective equipment (mask, gloves, knee pads)

Visual Guide: Sanding and Polishing Stages
See the difference at each stage of the resin floor polishing process. Spot the changes from matt, sanded resin to a glowing high-gloss finish by comparing progress photos and close-up surface details. A well-sanded floor will have a uniform appearance even before the final polish, setting the stage for maximum clarity and shine. Consistent sanding, clean tools, and even application are vital at every phase for flawless results.

Step 1: Prepare the Floor Surface
Preparation is the foundation of a flawless polished floor. Start by thoroughly cleaning the resin floor, removing all dust, debris, and residues. Any imperfections, such as uneven spots, bubbles, or dirt, should be addressed now. Use a soft broom or vacuum followed by a damp mop to ensure the surface is spotless and dry before proceeding. The better the initial prep, the smoother your results will be.
Take time to inspect the floor under good lighting; masking tape can be used to protect skirting boards or adjacent surfaces if working near walls. Ensure all protective gear is worn before sanding starts.
Step 2: Sand the Resin Floor Smooth
Work methodically through each sanding stage. Begin with a coarser grit (such as 360 or 500) using Ebonite Abralon Sanding Pads to remove scratches, imperfections, or previous dullness. Attach the sanding pad to a rotary polisher or a hand pad holder for control and efficiency. Use a gentle, overlapping motion, keeping the pad flat and moving at a consistent speed.
Gradually progress through finer grit pads (e.g., 1000, 2000, up to 4000 grit) to achieve a surface free from sanding marks. Wet sanding can reduce dust and help prevent clogging—lightly mist the surface with water if desired. After each grit, wipe the floor clean with a microfibre cloth and inspect to ensure a uniform finish before continuing.
Step 3: Polish to a High Gloss or Satin Finish
Once the floor has been sanded to a fine grit, switch to polishing. Apply a small amount of Epoxy Polish (for general use) to the surface or directly onto a clean Polishing Sponge Disc. For resin floors in darker hues, opt for Carbon Polish to avoid light residues.
Work the polish evenly over the floor in manageable sections. Operate the polisher at low-to-medium speed, keeping the pad moving in gentle, overlapping passes. Repeat as necessary until the desired gloss or satin sheen is uniform. Buff each area thoroughly—polishing pads need to be wiped clean between sections to avoid haze or swirl marks.

Step 4: Final Clean and Floor Care
After polishing, remove any excess product with a clean, dry microfibre cloth. Inspect the entire floor for consistency and re-polish or spot-buff any missed areas as needed. To maintain the glossy appearance, clean, dust-free surroundings are essential; avoid walking on the surface with dirty shoes immediately after finishing.
Regular gentle cleaning with a soft mop and pH-neutral detergent is recommended for long-lasting shine. Place floor protectors under furniture and minimise dragging heavy items to keep your polished resin floor scratch-free.

Tips for a Brilliant Finish and Common Mistakes
Always sand thoroughly before polishing; skipping grits or rushing leads to visible scratches under the gloss. Wet sanding helps control dust but avoid over-saturating the floor. Use a fresh pad or cloth for final buffing. If the polish appears cloudy, rebuff the area with a clean disc. Keep all pads and tools free from debris to prevent micro-scratches.
If you experience streaks or uneven gloss levels, ensure each sanded section is completely uniform before moving to finer grits. Patience and thoroughness are key—each step builds upon the previous one for professional results.
Extra Care for Your Polished Resin Floor
Aftercare is crucial to preserve the shine and durability you have worked hard to achieve. Always avoid harsh scrubbing and protect your floor from abrasive debris. Strategic use of soft mats in high-traffic areas keeps the finish pristine. Explore Sanding and Polishing products for tools and maintenance essentials perfectly suited to resin floors.

- "Epoxy Polish" – Epoxy Resin Polishing SystemPrice range: £17.85 through £44.85"Epoxy Polish" is designed for professionals and hobbyists to restore a gloss finish on epoxy resin surfaces with ease.
- "Ebonite Abralon" – Sanding Pads 360-4000 Grit for Resin and Wood£3.95"Ebonite Abralon" Sanding Pads offer versatile polishing for resin and wood with a foam backing ensuring consistent surface pressure.
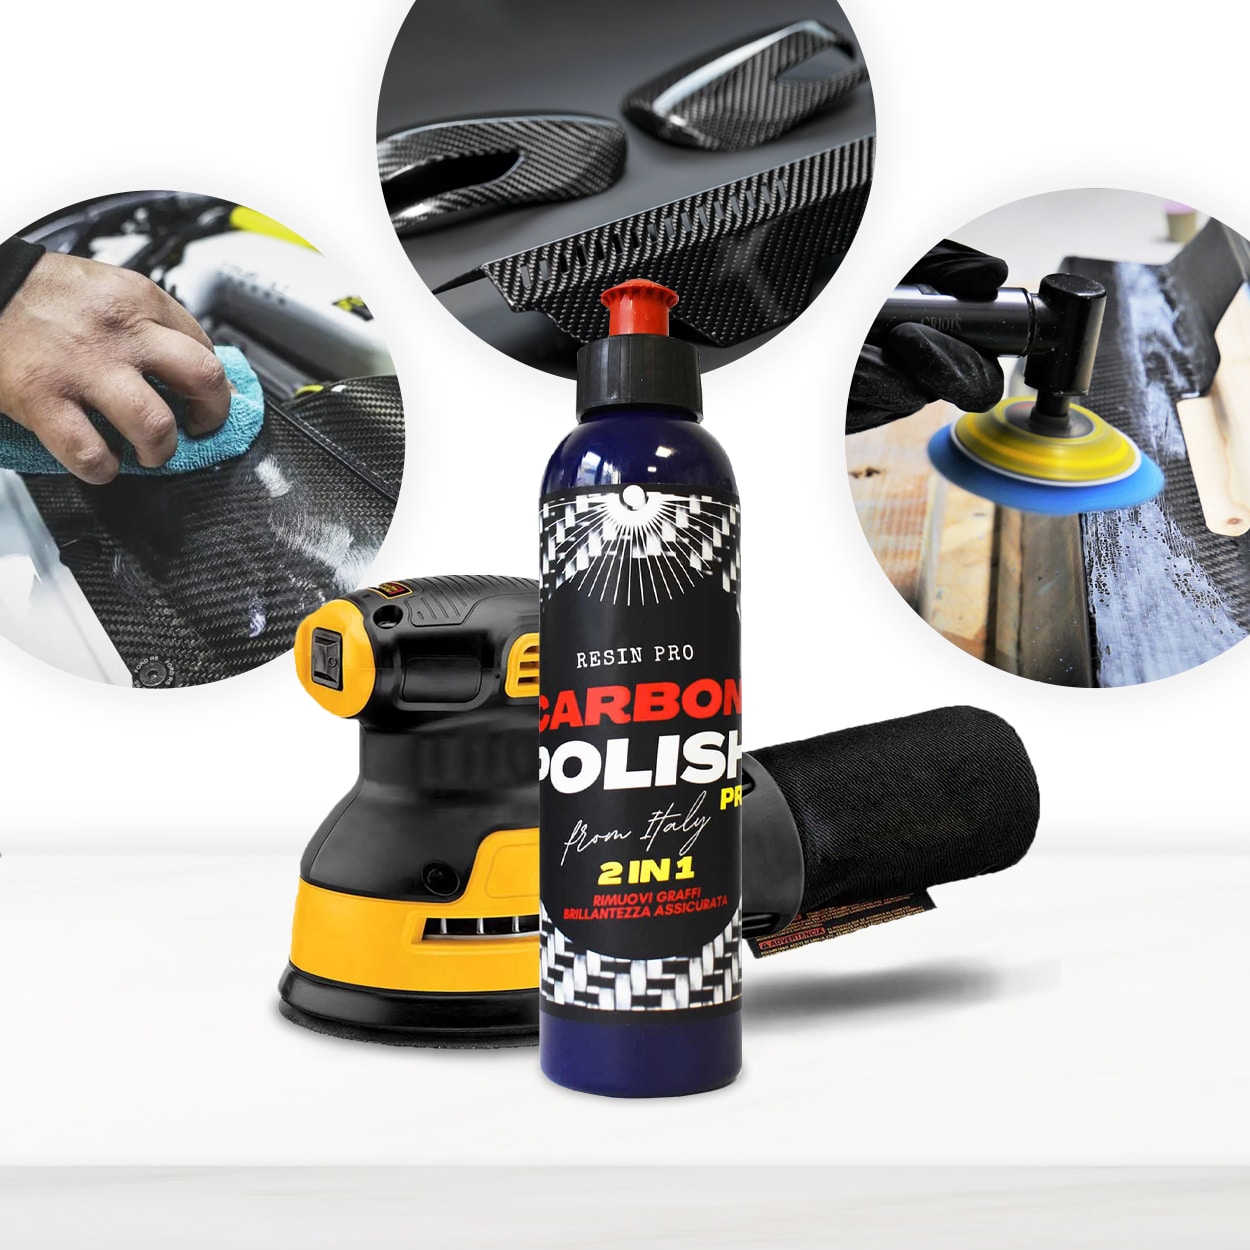 "Carbon Polish" – Polishing System for Dark and Black Surfaces, 250mlPrice range: £17.85 through £44.85"Carbon Polish" is designed for polishing dark and black surfaces including epoxy resin projects, providing a smooth finish without white residues.
 Polishing Sponge Discs 150mm – 2 Pack£7.85Polishing Sponge Discs 150mm are designed for a smooth finish in resin projects following sanding.
Frequently Asked Questions
What is the safest method for polishing resin floors?
Always wear protective equipment, ensure good ventilation, and use products developed for resin surfaces rather than generic abrasive pastes.
Can I polish a resin floor using only hand tools?
Hand tools can be used, but electric polishers produce a more uniform finish and save time on large surface areas.
How do I fix cloudy marks after polishing the floor?
Cloudy marks often result from incomplete buffing. Re-polish those areas with a clean pad or cloth until clarity is restored.
Which polish is best for dark resin floors?
Use a dedicated product such as Carbon Polish, as it avoids white residues and brings out the depth of dark or black resin.
Should I wet sand or dry sand a resin floor?
Wet sanding helps control dust and pad clogging. For final sanding stages or indoor work, wet sanding is often preferable.
How often should a resin floor be re-polished?
Polishing frequency depends on wear, but in most homes, a full polish is only needed every few years with proper care.