 Free shipping on orders over £29,85


How do you pour colour onto floor resin?
Adding colour to floor resin transforms a plain surface into a vibrant, artistic statement. Whether you aim for subtle tinted finishes or bold eye-catching designs, mastering the technique of pouring colour onto floor resin ensures both beauty and durability in every project. This guide explains clear, professional steps to achieve consistent and mesmerising colour effects for any resin floor.
Achieve stunning coloured resin floors with expert pouring tips.


What You’ll Need
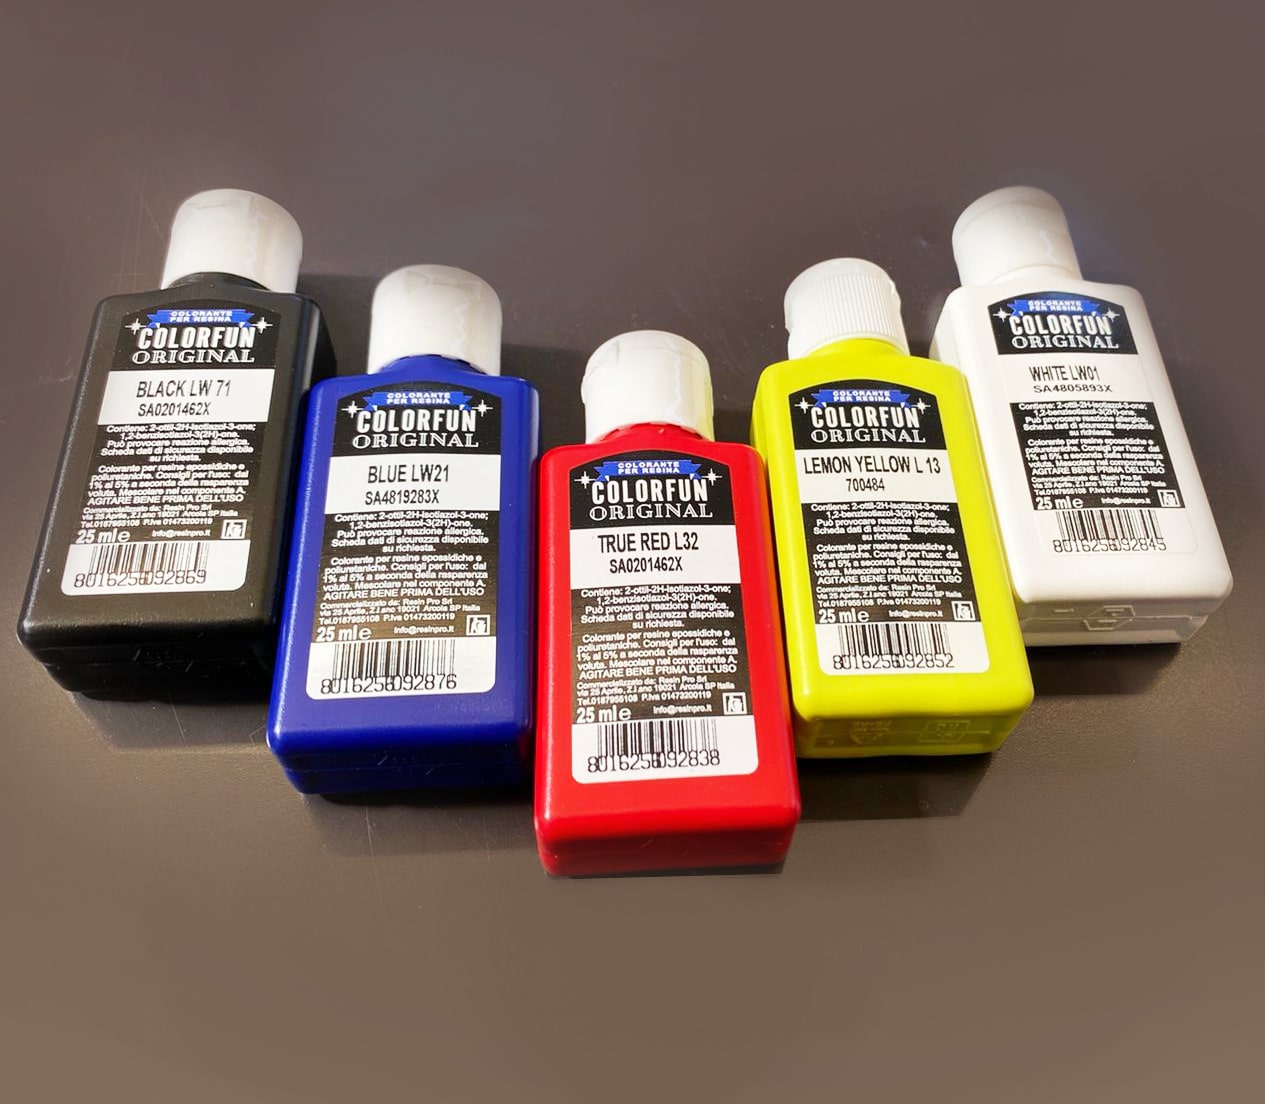
- “Colourfun” – Liquid Epoxy Resin Colourant 25-100ml – High coverage: For vivid coloured effects and precise pigment control.
- “Colourfun Set” – Liquid Epoxy Resin Colourant Set for Solid Colour Effects: Ideal for a range of solid and translucent shades.
- “Magic Crystal” – Transparent Resin Colour 45ml: Designed for clear, gem-like transparent tints.
- “Magic Crystal” – Set of 5 Transparent Colourants, 5 x 45ml: For custom crystal-inspired hues and layering options.
- Clear epoxy resin suitable for flooring
- Mixing containers and stirrers
- Protective gloves and dust mask
- Spirit level (optional for flatness check)

Popular Colour Techniques for Resin Floors
Metallic pours and marbled gradients are trending colour techniques that add unique depth to epoxy resin floors. Using transparent tints can achieve gemstone effects, while high-coverage colourants allow for sharp, vivid motifs. Experiment with small test sections before committing to a full area for best results.
Step 1: Prepare the Surface and Gathering Materials
Start with a clean, dry, and level substrate—the resin floor’s base must be free of dust, grease, and debris to ensure good adhesion. Sand away rough patches if needed, then vacuum and wipe with a damp cloth. Protect nearby walls and fittings with masking tape or sheeting, as coloured resin can be persistent if spilled. Having all mixing tools, colourants, and resins ready before you start allows for smoother working, since resin begins curing quickly.
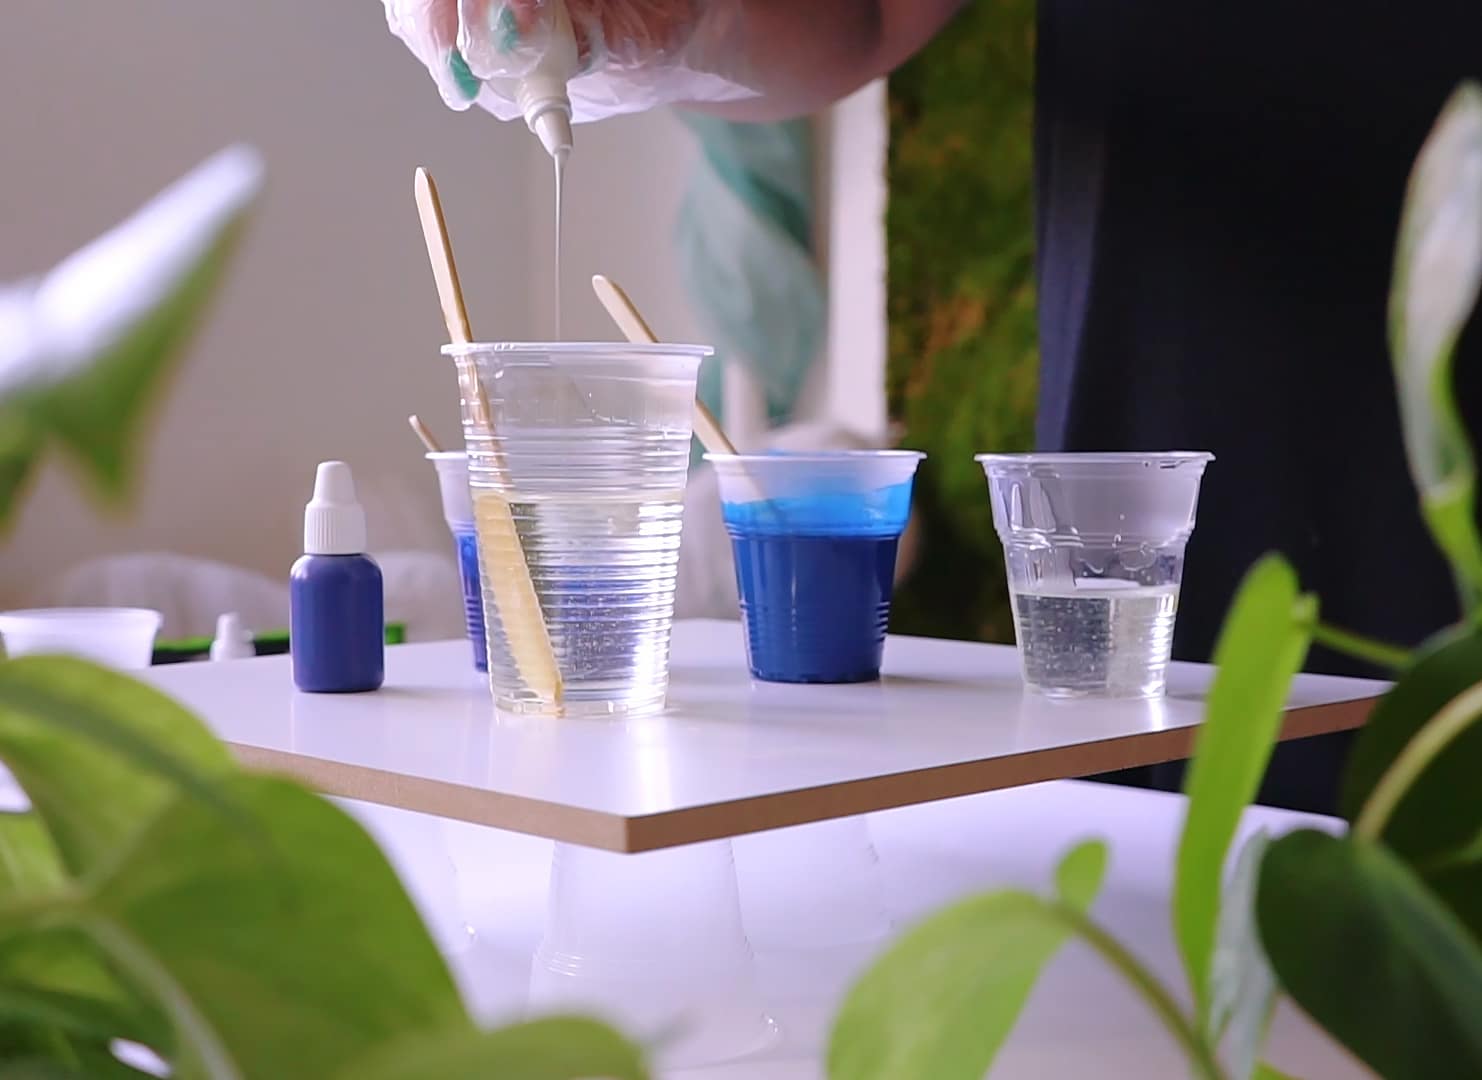
Step 2: Mix the Resin and Colourant
Follow your resin manufacturer’s instructions closely for mixing ratios. Blend the resin and hardener in a clean container, ensuring a smooth and streak-free base. Once combined, it’s time to add your chosen colourant. If a strong, vivid hue is the goal, try “Colourfun” – Liquid Epoxy Resin Colourant, adding it drop by drop to gradually build up your desired tone. For transparent or layered effects, opt for “Magic Crystal” – Transparent Resin Colour 45ml—perfect for clarity and vibrancy. Always add colourant gradually, stirring throughout, to maintain even pigmentation and prevent over-saturation, which may affect curing.
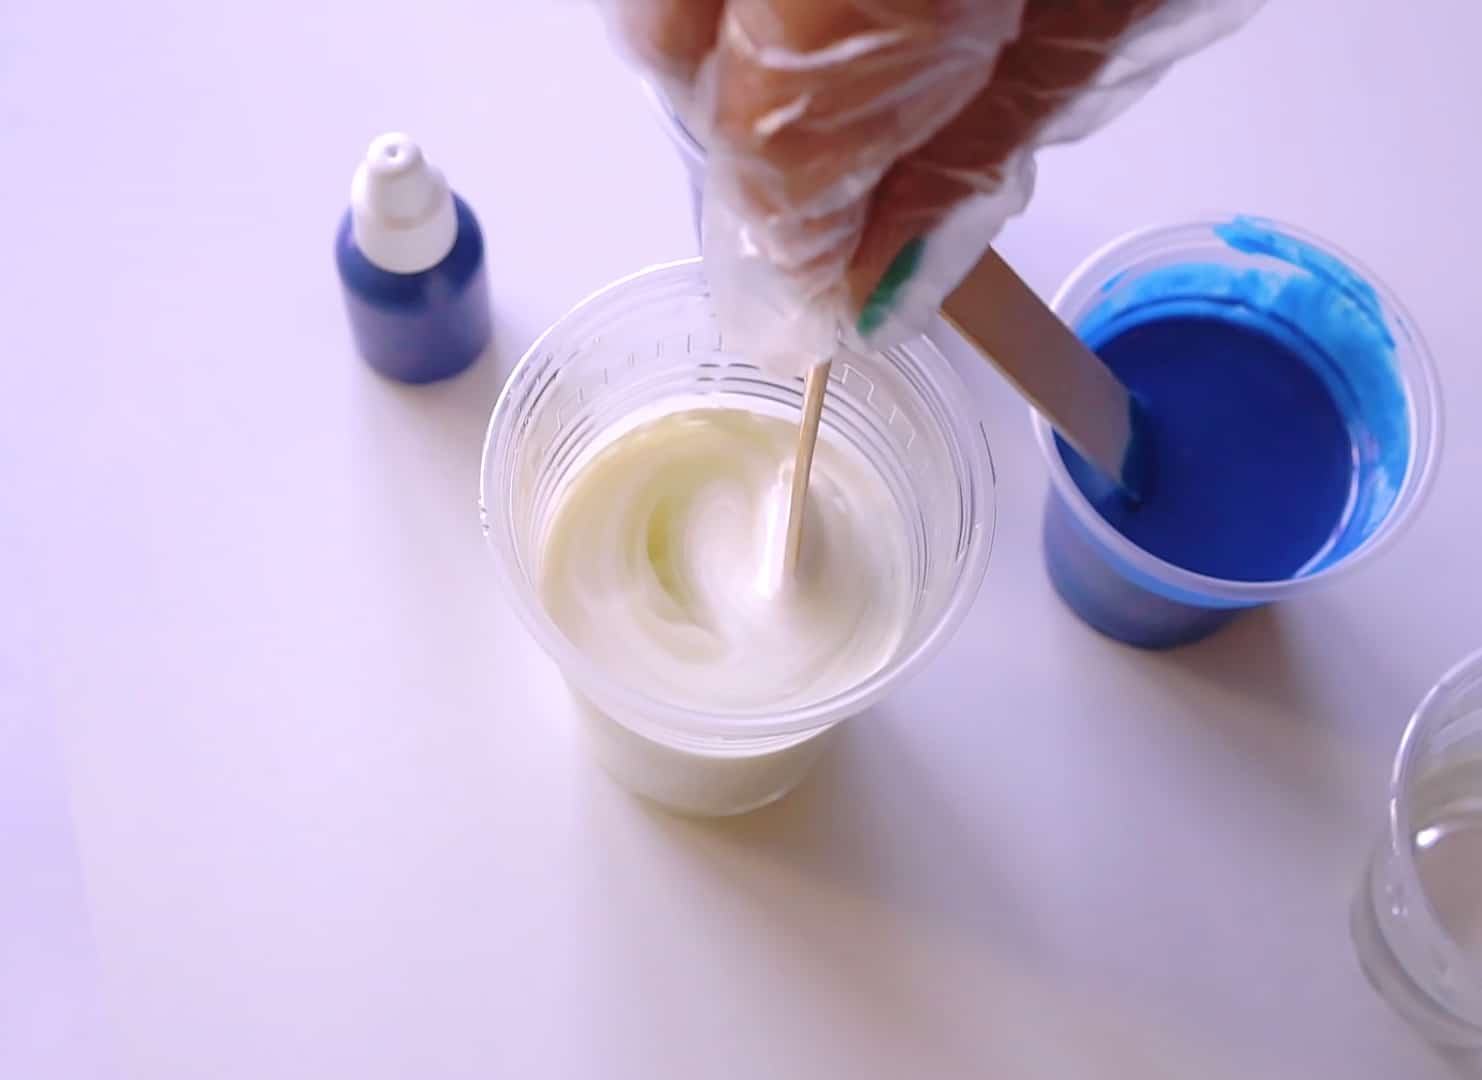
Step 3: Blend Thoroughly for Consistent Colour
After introducing the colourant, mix gently but thoroughly. Scrape the sides and bottom of your container to avoid uneven blotches of colour. Stir slowly and thoroughly to minimise the formation of air bubbles, which can reduce clarity or cause flaws in the cured surface. When blending sets, such as the “Colourfun Set” or “Magic Crystal” – Set of 5 Transparent Colourants, 5 x 45ml, you can mix colours for bespoke shades, ensuring even distribution by blending well at each stage.
Step 4: Pour and Spread the Coloured Resin
Pour the mixed coloured resin onto the floor, starting from one corner and working methodically to cover the area evenly. Use a notched trowel or squeegee for larger spaces, or let the resin self-level for artistic effects and subtle gradients. Work methodically to avoid streaks and avoid overworking the resin, which could induce air bubbles or disrupt existing colour effects. Allow for the resin’s natural flow, and don’t rush—working within the open time of the resin is crucial for a seamless floor finish.

Step 5: Cure and Inspect the Finished Floor
Let the coloured resin cure undisturbed according to manufacturer guidelines—humidity and temperature will affect this process. Avoid stepping onto or disturbing the surface whilst it sets. Once fully cured, inspect for evenness and desired colour intensity. If you are layering effects, ensure each layer is cured before applying the next. For especially bold or custom looks, test your colour blend first on a sample board to preview the cured result.
Tips and Common Mistakes When Colouring Floor Resin
Always measure both resin components and colourants carefully to avoid improper curing or unwanted translucency. Over-saturating with colourant can compromise the resin’s strength and finish, while under-mixing can cause patchy results. Layering is best approached with patience—rushing can lead to unwanted mixing or unclear lines. If you are aiming for a specific tint, conduct a small test mix before tackling the entire floor to reduce surprises with the final colour. Remember, cleanliness throughout every step prevents imperfections and ensures a stunning, long-lasting floor.
Perfecting Your Coloured Resin Floor
Temperature and humidity impact both colour and cure time, so always monitor your working environment. Allow the resin to settle before final levelling for optimal clarity, and correct errors (such as bubbles or smudges) promptly while the resin is still wet for a professional finish.
- "Colourfun" – Liquid Epoxy Resin Colourant 25-100ml – High coveragePrice range: £3.65 through £9.85"Colourfun" is a liquid epoxy resin colourant designed for consistent, vivid pigmentation suited to resin art and professional castings.
- "Colourfun Set" – Liquid Epoxy Resin Colourant Set for Solid Colour EffectsPrice range: £13.45 through £48.15The "Colourfun Set" provides intense translucent colours designed for transparent epoxy resin projects within the theme 'How do you pour colour onto…
 "Magic Crystal" – Transparent Resin Colour 45ml£4.65"Magic Crystal" Transparent Resin Colour offers glass-like vibrant colours designed for clear resin crafting and decorative effects.
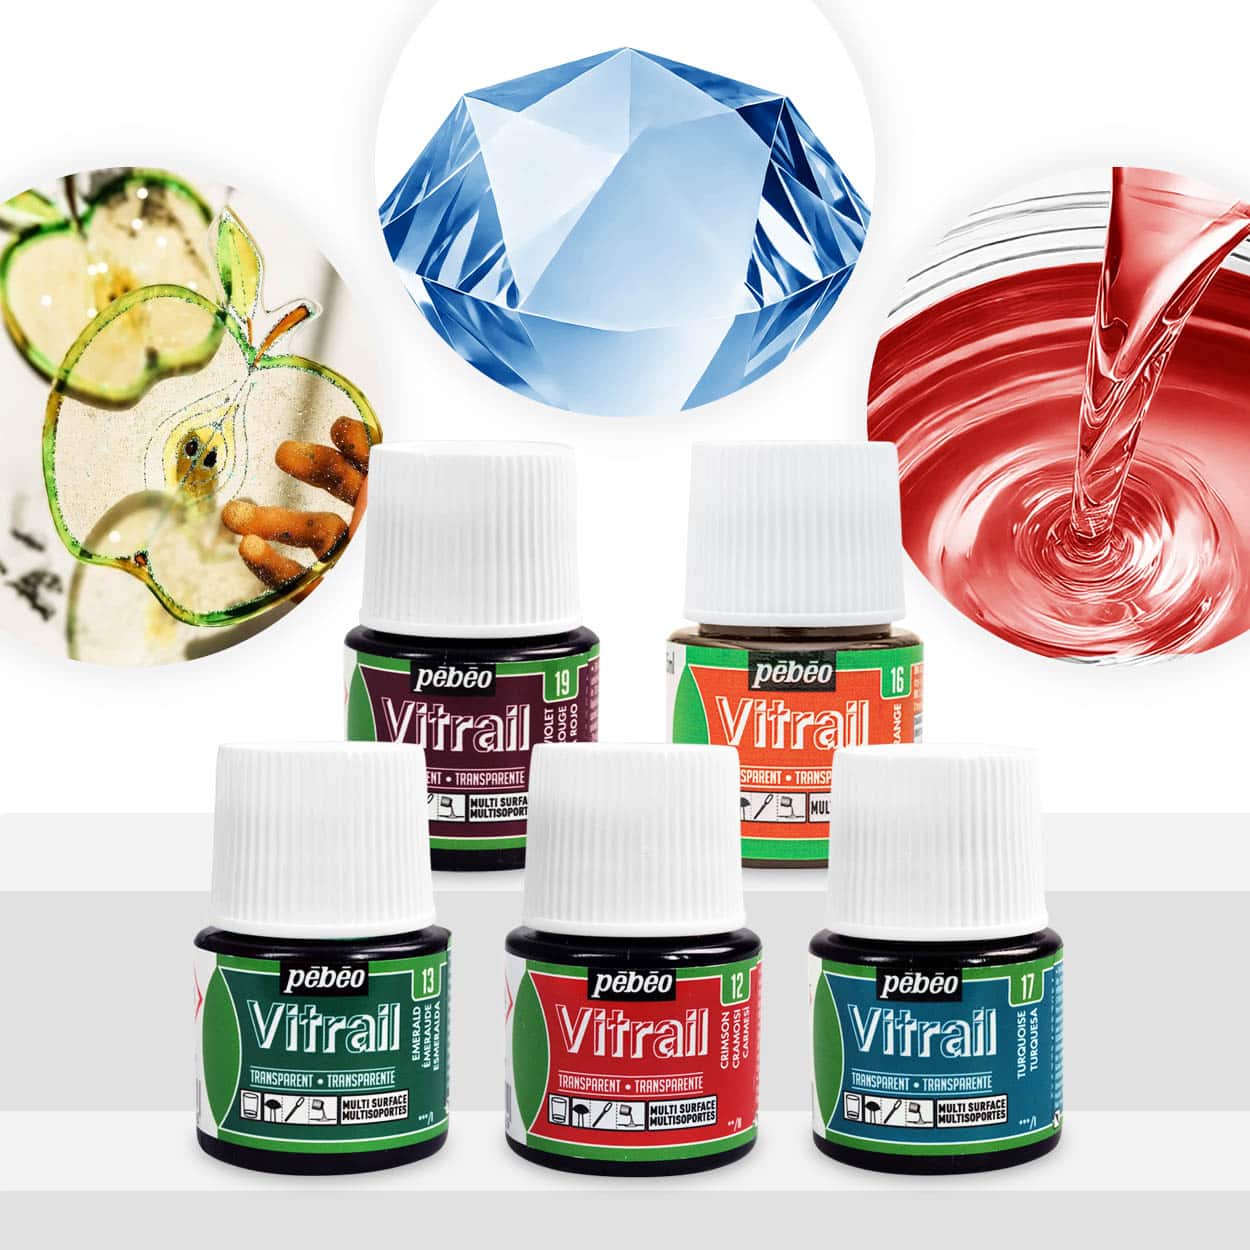 "Magic Crystal" – Set of 5 Transparent Colourants, 5 x 45ml£18.85"Magic Crystal" Set offers transparent colourants for custom resin crystals suitable for colour pouring projects.
Frequently Asked Questions
How much colourant do I add to floor resin?
Generally, do not exceed 5% colourant by mass to resin. Start with a few drops, blend, and increase gradually for stronger colour.
Can I mix different resin colours?
Yes, blending colourants allows you to create unique shades and effects. Mix thoroughly to ensure even distribution.
Can I pour multiple layers with different colours?
Yes, but ensure each layer is fully cured before adding the next to avoid blending or muddying of colours.
What happens if I add too much colourant?
Over-colouring can interfere with resin curing, weaken the floor, and cause discolouration or patchiness.
How do I achieve a transparent tint in floor resin?
Use transparent resin colours such as Magic Crystal and add very small amounts, mixing slowly until the desired tint is reached.
Can I use epoxy resin colourants on polyurethane floors?
Epoxy resin colourants are designed for compatibility with epoxy-based systems and may not be suitable for polyurethane floors.