 Free shipping on orders over £29,85


How do you remove epoxy resin from the floor?
Achieve spotless floors by tackling stubborn epoxy resin safely

Stubborn epoxy resin spills or drips on your floor don’t have to be permanent. Whether you are dealing with a minor spot or a larger hardened area, this guide provides straightforward steps for removing epoxy resin from a variety of floor types safely, with techniques suitable for homeowners, DIYers, or anyone managing resin projects. Here’s how to tackle epoxy messes for residue-free flooring.
What You’ll Need
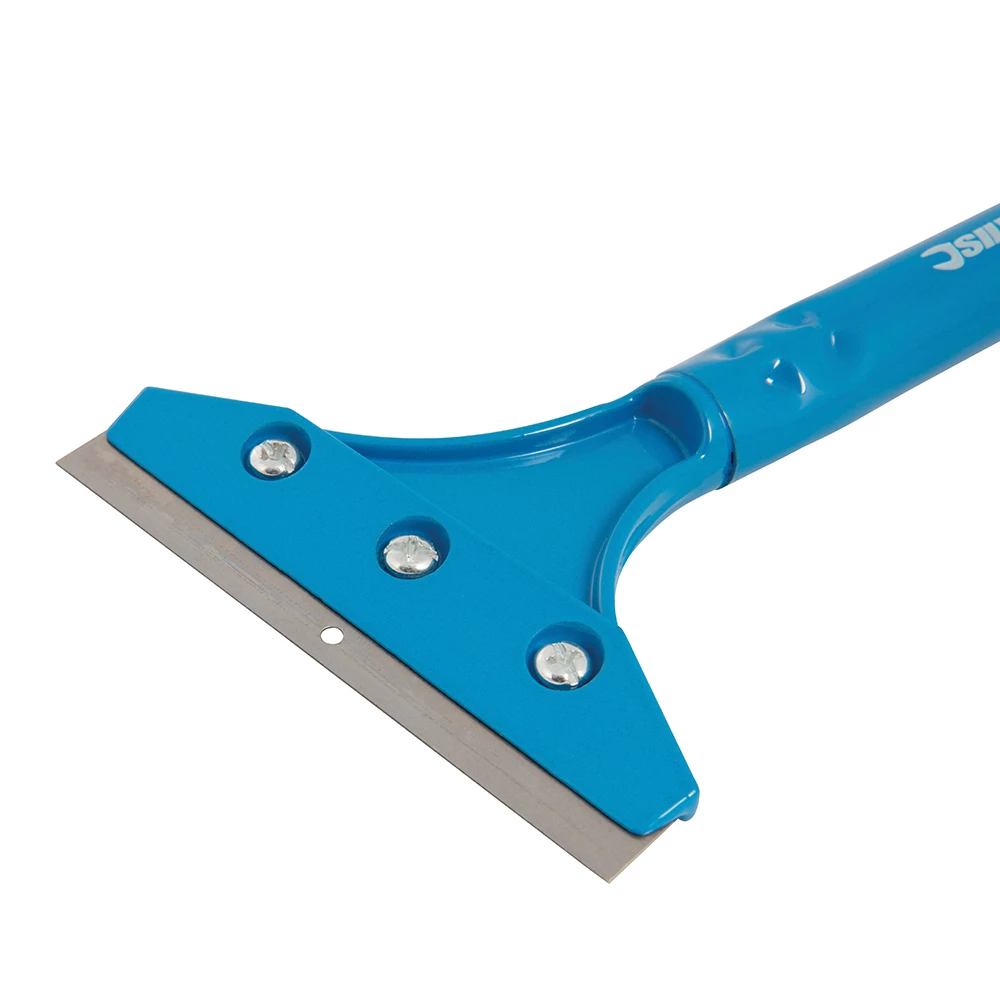
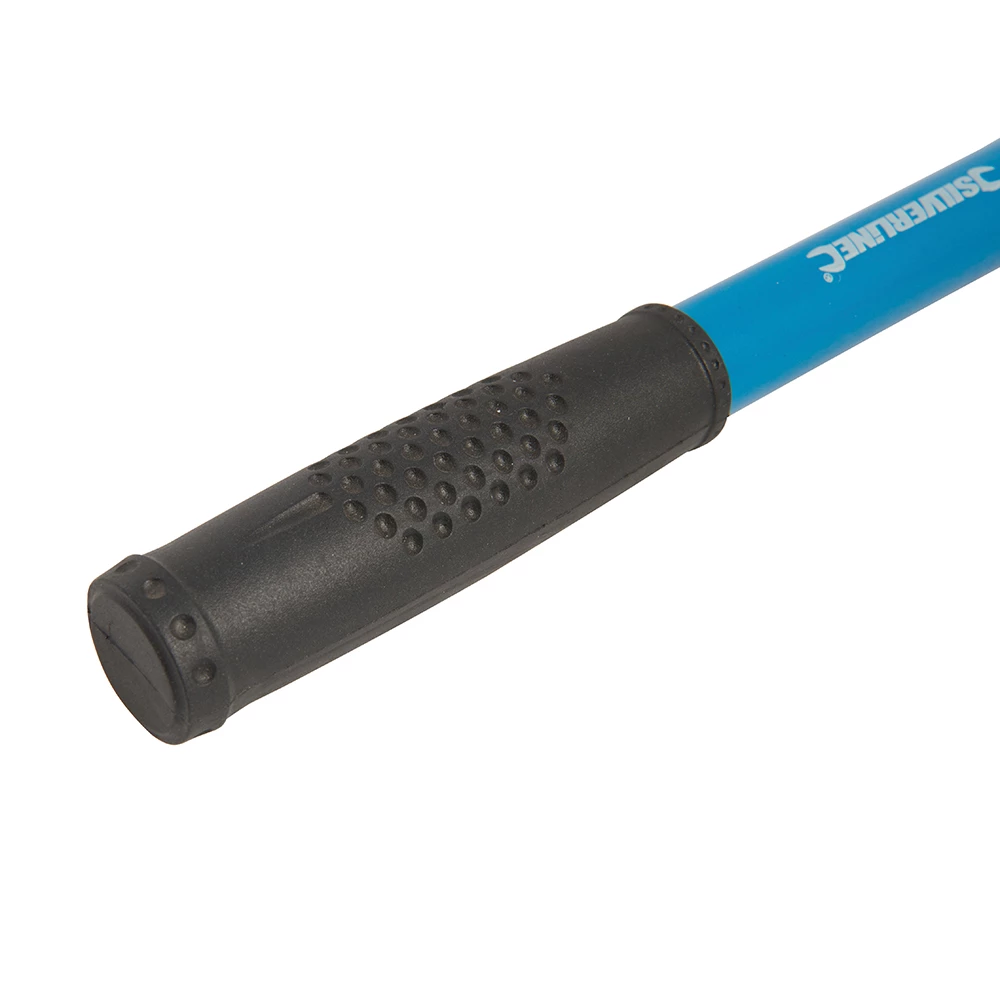
- Heavy Duty Scraper for Paint and Epoxy Resin Removal – allows precise manual removal of thicker resin spots.
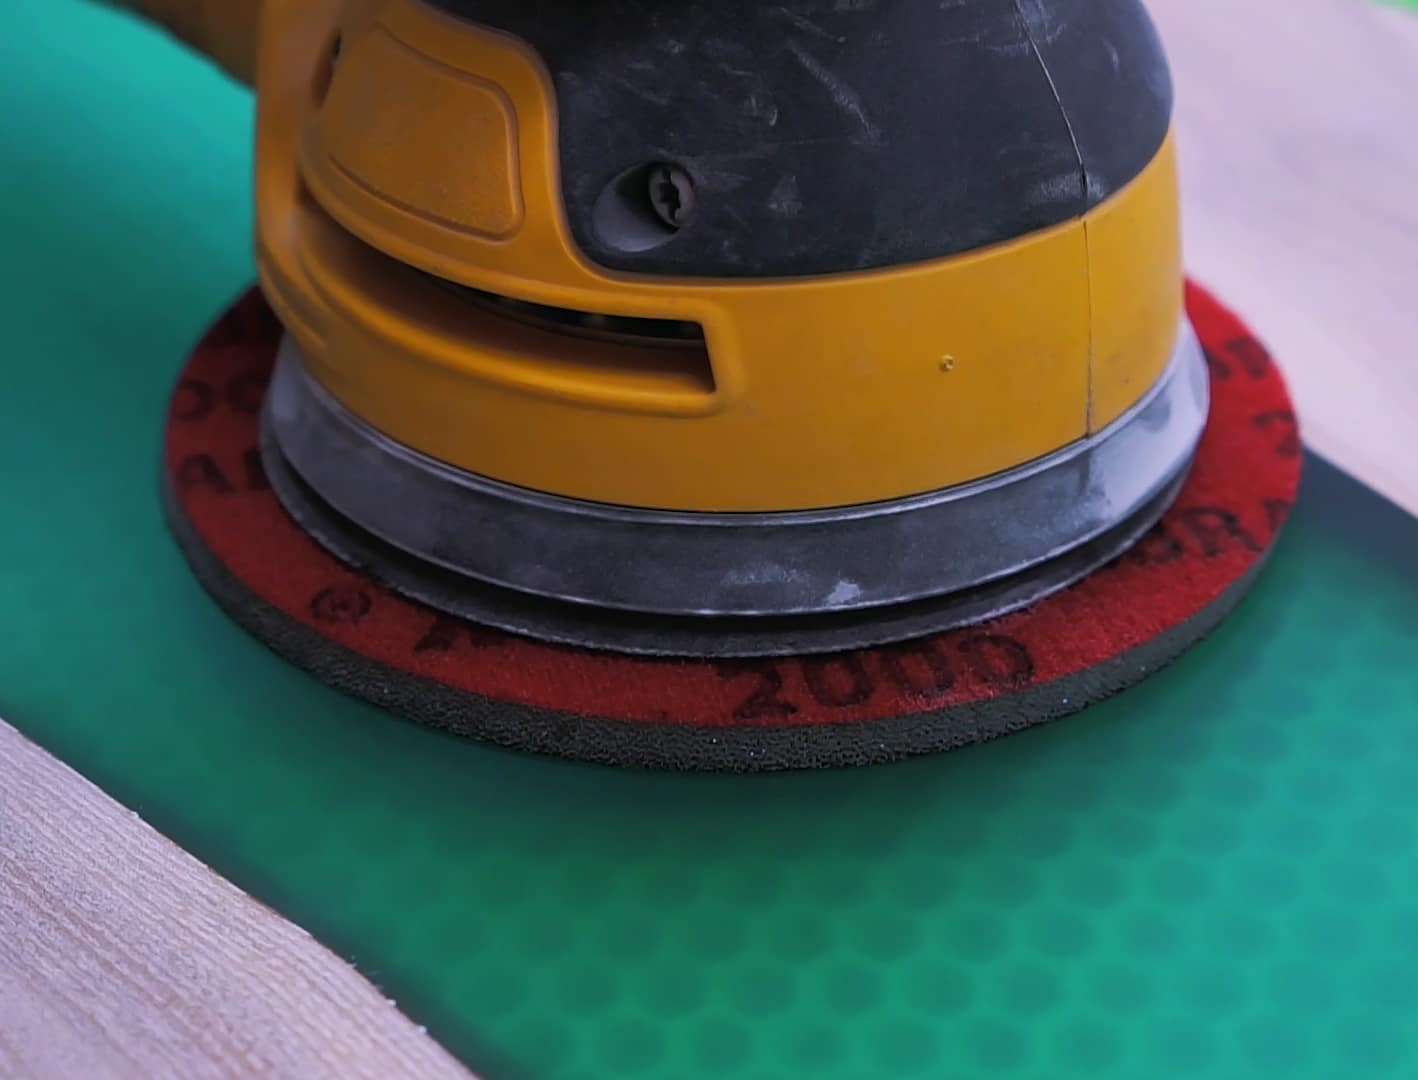
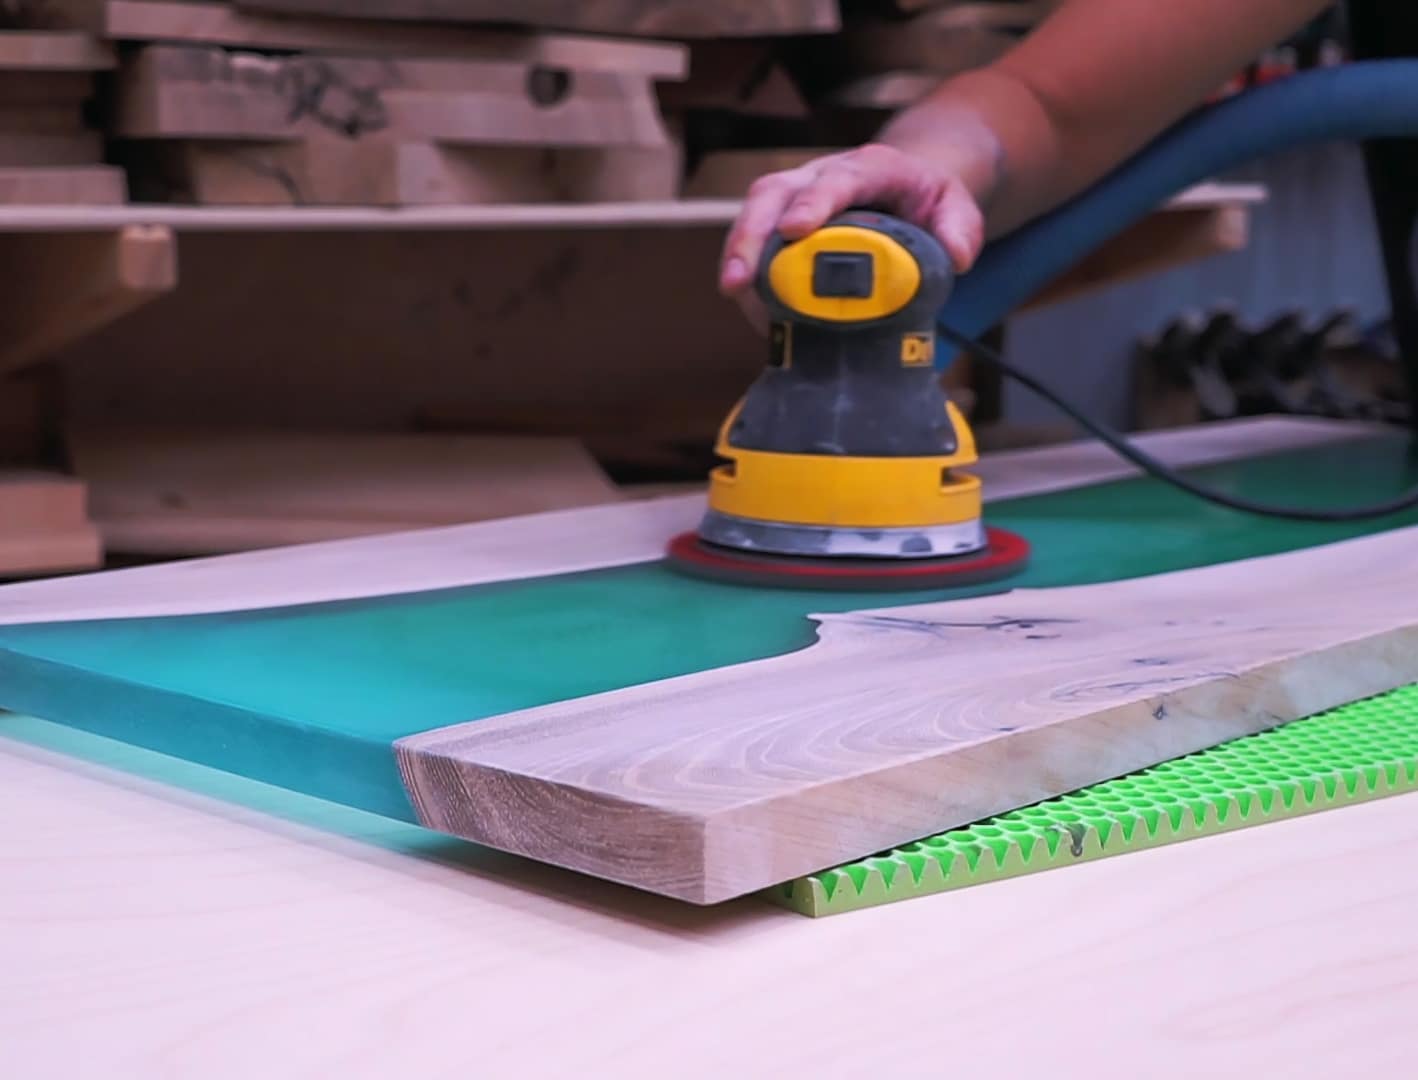
- “Ebonite Abralon” – Sanding Pads 360-4000 Grit for Resin and Wood – ideal for fine sanding and smoothing any remaining residue.
- Strong Technical Degreaser for Resin Projects – 100% Natural Formula – helpful for gentle cleaning after removing the bulk of resin.
- Pure Isopropyl Alcohol 99.9% – 1000ml Bottle for Epoxy Resin Projects & DIY – for final cleaning and removing remaining traces.
- Protective gloves, safety goggles, rags or microfibre cloths
Essential Tools for Epoxy Resin Removal
Safe and effective resin removal is largely down to having the right tools on hand. Professional scrapers, fine sanding pads, and suitable cleaning agents all help achieve cleaner results with less risk to your floors. Always match the tool to the finish and the severity of the resin spill for optimal safety and surface quality.

Step 1: Assess and Prepare the Work Area
Start by identifying all epoxy resin spots and understanding the floor material—methods may vary for tile, wood, or concrete floors. Ensure the area is well-ventilated and wear protective gloves and goggles to guard against accidental contact. Remove furniture or rugs from the affected area so you have clear access. Lay out your materials within easy reach for a smooth work process.
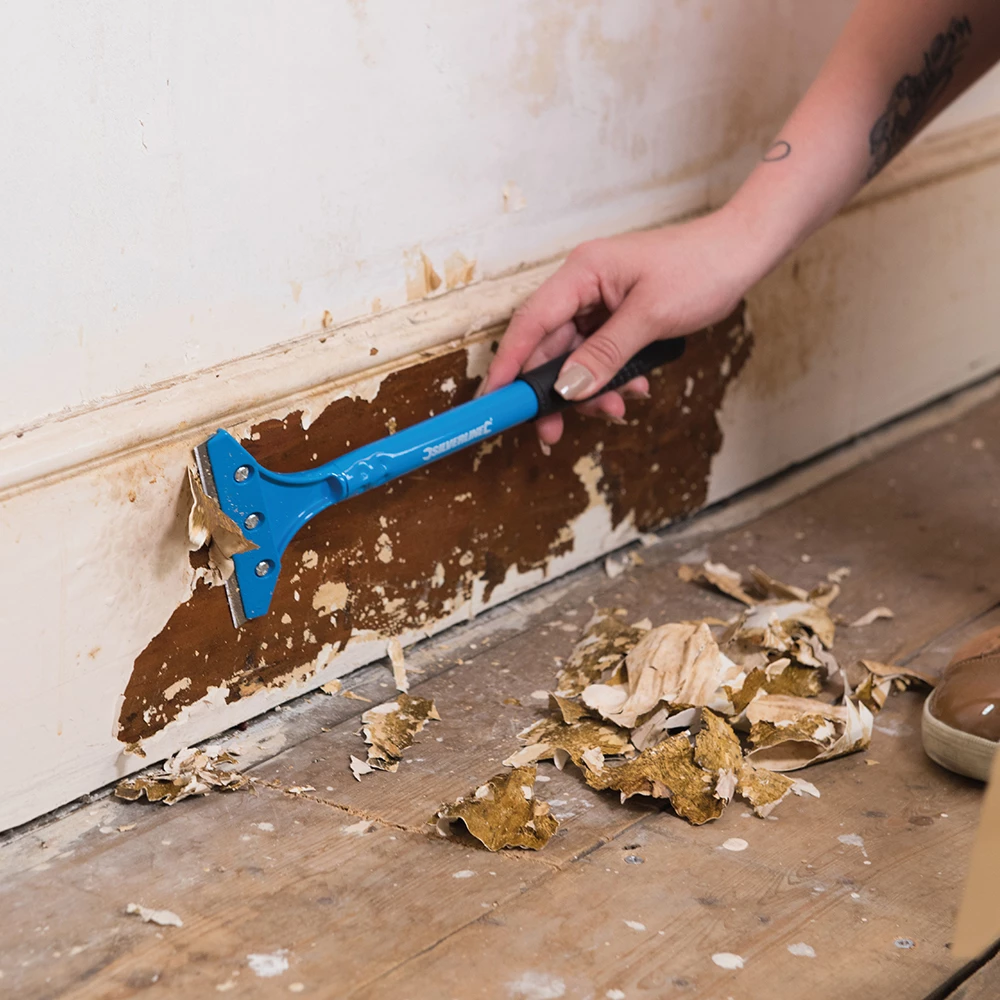
Step 2: Gently Scrape Cured Epoxy Resin
For hardened resin, begin by softly prying at the edge of the epoxy using a manual scraper. Use a scraper carefully for thick resin spots. Angle the blade slightly and apply steady, controlled pressure to lift the resin without gouging or scratching the floor beneath.
If residue is stubborn, avoid forceful chiselling—instead, work in small sections, taking care not to damage delicate surfaces in the process. The Heavy Duty Scraper for Paint and Epoxy Resin Removal is especially suited for this, offering precision and control throughout the task.
Step 3: Sand Residual Epoxy for a Smooth Finish
After the bulk of the resin is gone, check for thin films or small patches left behind. Sanding helps eliminate remaining residue and smooths the surface. Choose an appropriate sanding pad grit—starting with a lower number (such as 360) for more pronounced patches, then finish with a higher grit for polish.
Sanding should be performed using gentle, even strokes. Wet the sanding pad lightly for improved control and reduced dust if needed. The “Ebonite Abralon” – Sanding Pads 360-4000 Grit for Resin and Wood offer flexibility for both wet and dry sanding, ensuring you can match the approach to your floor’s needs.
Step 4: Clean Thoroughly to Remove Residues
The final phase is to clean the area so it’s not only free of epoxy but also free of cleaning products and dust. Clean thoroughly to finish and prevent re-adhesion. Start by using a vacuum or sticky cloth to pick up powder left by sanding.
Apply a suitable degreaser to the cleaned space. The Strong Technical Degreaser for Resin Projects – 100% Natural Formula is dermatologically tested and safe for most floor types. For stubborn streaks or shine, follow up by wiping with Pure Isopropyl Alcohol 99.9% on a clean cloth to ensure the surface remains spotless and ready for reuse.
Tips, Common Mistakes, and Troubleshooting
Never rush removal—using excessive force may damage the floor beneath the resin. If the resin layer is thick, patience and several passes are preferable to aggressive scraping. Always test cleaning products in a small, inconspicuous area first, especially on sensitive flooring. If you encounter particularly large or cured patches, alternate scraping and sanding in stages for best results. Protective equipment (gloves, goggles) is highly recommended throughout for safety and comfort.
Real-World Results and User Experiences
Many DIYers and professionals have found that a methodical approach—scraping, sanding, then cleaning—delivers the best outcomes for epoxy resin removal from all floor types. Patient and careful work preserves surface quality and makes subsequent cleaning easier for a truly spotless finish.
- Heavy Duty Scraper for Paint and Epoxy Resin Removal£8.95Heavy Duty Scraper is a versatile tool designed for effective removal of paint and surface materials matching the theme of resin floor removal.
- "Ebonite Abralon" – Sanding Pads 360-4000 Grit for Resin and Wood£4.15"Ebonite Abralon" sanding pads offer precise grit options and are suitable for polishing epoxy resin and wood surfaces.
 Strong Technical Degreaser for Resin Projects – 100% Natural FormulaOriginal price was: £10.95.£9.45Current price is: £9.45.This natural formula degreaser cleans epoxy resin surfaces and other materials without harsh chemicals, supporting careful cleaning tasks.
 Pure Isopropyl Alcohol 99.9% – 1000ml Bottle for Epoxy Resin Projects & DIYPrice range: £10.45 through £20.95Pure Isopropyl Alcohol 99.9% in 1000ml is suitable for epoxy resin projects to remove bubbles and support creative resin effects.
Frequently Asked Questions
Can I remove epoxy resin without damaging my floors?
Yes, with manual tools and careful technique, you can remove resin with minimal risk to most flooring types.
What’s the best tool for scraping epoxy from floors?
A sharp scraper, such as the Heavy Duty Scraper for Paint and Epoxy Resin Removal, is ideal for breaking away cured resin.
Is sanding necessary after scraping epoxy resin?
Sanding helps remove thin residue and leaves a smooth, clean surface. It’s usually recommended for the best finish.
How do I remove resin from delicate flooring?
Work slowly with a non-abrasive scraper and always test products on a hidden spot before tackling visible areas.
What’s the best way to clean after removing epoxy?
Use a mild degreaser or isopropyl alcohol to remove any oily or sticky residue and restore the surface’s original finish.
Is isopropyl alcohol or degreaser better for cleanup?
Both are effective: a degreaser manages greases and adhesives, while isopropyl alcohol excels at streak-free finishing.