 Free shipping on orders over £29,85


How to colour crystal with epoxy resin?
Master vibrant crystal effects with transparent resin colours

Creating beautifully coloured, crystalline effects with epoxy resin unlocks a world of vibrant possibilities for projects such as jewellery, ornaments, and decorative art. This guide provides all the essential techniques for achieving the clearest, most dazzling crystal colours using epoxy resin while avoiding common mistakes and ensuring professional-quality results.
What You’ll Need
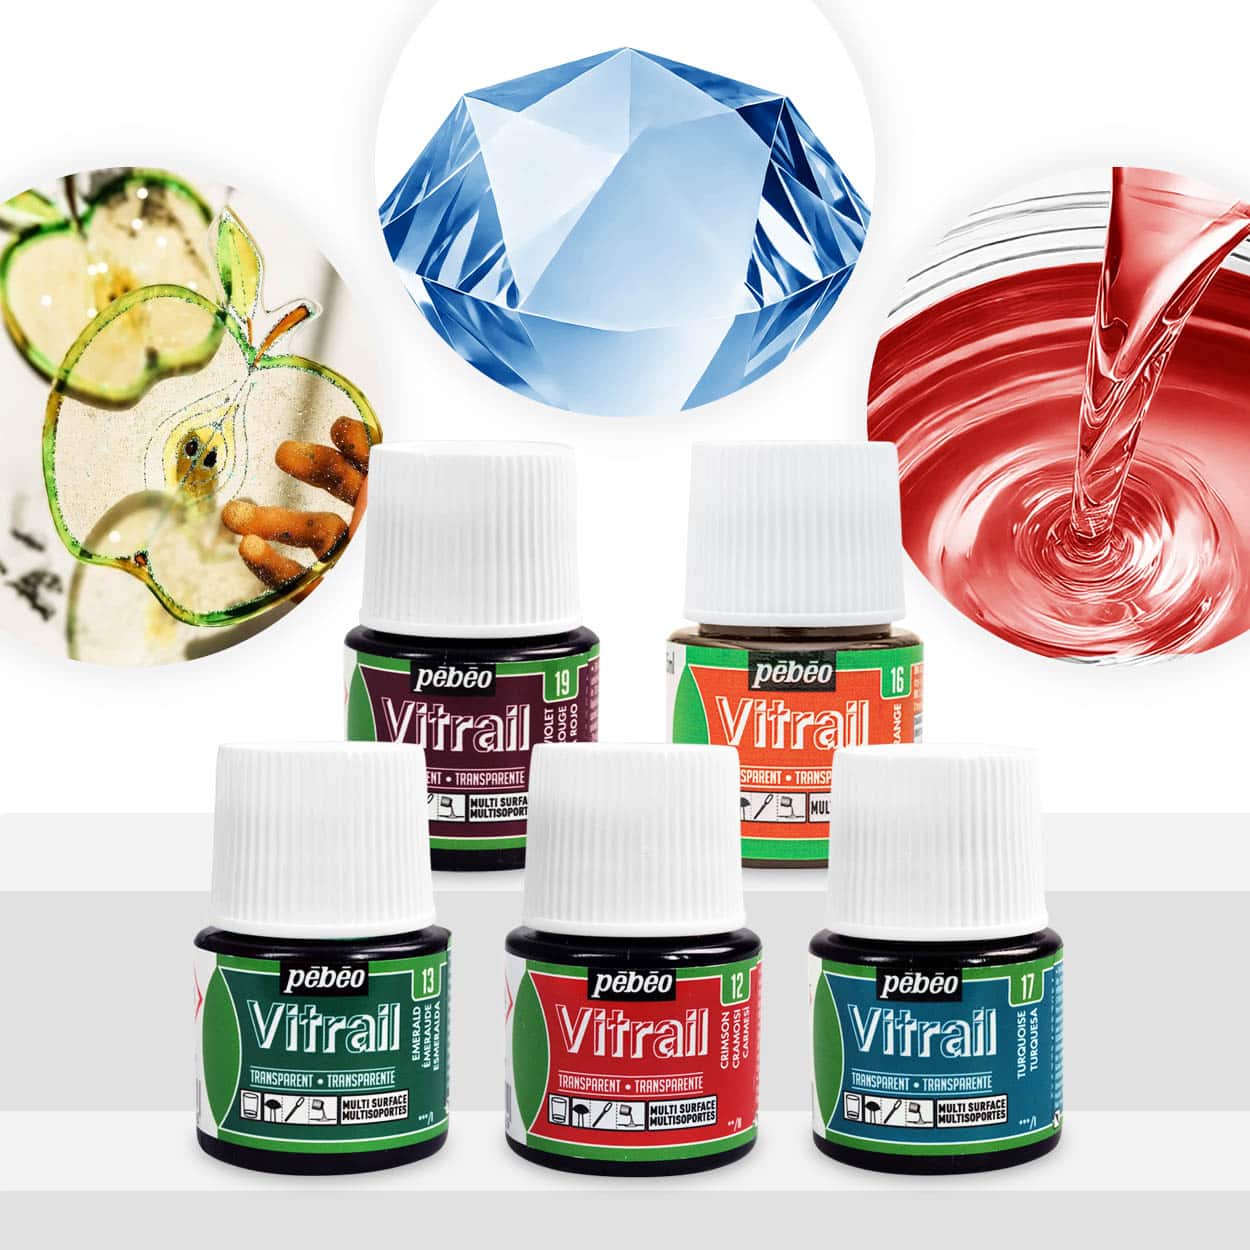
- “Magic Crystal” – Set of 5 Transparent Colourants, 5 x 45ml: A selection of highly transparent colourants perfect for true crystal effects.
- “Magic Crystal” – Transparent Resin Colour 45ml: Liquid dye designed for pure, glass-like crystal colouration.
- “Colourfun Set” – Liquid Epoxy Resin Colourant Set for Solid Colour Effects: Paste colourants to enhance vibrancy and translucency, ideal for deep or bold tones.
- “Colourfun” – Liquid Epoxy Resin Colourant 25-100ml – High coverage: Customisable liquid pigment for controlled colour intensity.
- Transparent casting epoxy resin
- Mixing cups and sticks
- Protective gloves and apron
- Silicone moulds for crystals or desired shapes

See What Crystal Colour Resin Can Achieve
Transparent resin colourants create effortless, vivid effects for jewellery, ornaments, and geode art. Your coloured crystals will capture and reflect light with stunning intensity.

Step 1: Choose and Prepare Your Colourants
Begin by selecting a resin colourant specifically formulated for crystal-clear effects. Choose transparent colourants for crystal clarity—opaque or regular dyes will cloud the resin and diminish its brilliance. Prepare your workspace by laying out your materials and putting on protective gloves to avoid skin contact with resin or pigments.
It’s best to work with a clean, dust-free environment to ensure a flawless finish. Have your silicone moulds ready for pouring as soon as the resin is mixed, since working time is limited after mixing the components.
Step 2: Mix the Resin and Hardener
Add the epoxy resin and hardener to a mixing cup according to the manufacturer’s recommended ratios. Mix resin and hardener thoroughly, stirring slowly and scraping the sides of the container to prevent unblended components that may cause soft or uncured spots. Mixing for two to three minutes helps achieve a consistent solution.
Take care not to introduce bubbles during stirring, as trapped air reduces clarity and can be difficult to remove in crystal-clear projects.
Step 3: Add the Colourant
Once the resin and hardener are blended, introduce the transparent colourant. Add colourant gradually for desired intensity—start with one drop or a small amount of paste, then gently stir to disperse the pigment completely. Continue adding colour in small increments until you reach your preferred shade. This approach gives maximum control over translucency and prevents oversaturation.
If using “Magic Crystal” – Transparent Resin Colour 45ml, just a few drops can create intense yet clear results. Over-colouring may cause the resin to become opaque, so less is often more for crystal effects.

Step 4: Pour and Cure with Care
Slowly pour the coloured resin into your silicone moulds, filling them to the desired level. Pour and cure in a dust-free environment to ensure clarity. Allow the resin to settle and, if needed, use a toothpick or heat tool lightly to remove any surface bubbles.
Follow the recommended curing times. Avoid moving or disturbing the moulds during curing, as vibrations can cause air bubbles or uneven finishes. Once fully cured, demould carefully to reveal your crystal-like coloured creations.

Tips and Troubleshooting for Crystal Clarity
- Avoid over-pigmenting the resin: Excess pigment reduces transparency. Add colourant slowly.
- Test colours on a small sample first: This helps perfect your process before committing to large pours.
- Keep tools clean for best results: Residual pigment from previous projects may contaminate your resin, leading to unwanted tints.
- Be mindful of working times—pour the resin soon after mixing to prevent premature thickening.
Crystal Clarity in Action
Professional results depend on technique and premium materials. The Magic Crystal Set lets your creativity shine with every pour.

- "Magic Crystal" – Set of 5 Transparent Colourants, 5 x 45ml£18.85This set provides five transparent colourants for use with resin, suitable for creating custom coloured crystals.
- "Magic Crystal" – Transparent Resin Colour 45ml£4.65"Magic Crystal" Transparent Resin Colour is designed for use with epoxy resin to create vibrant, glass-like crystal effects.
 "Colourfun Set" – Liquid Epoxy Resin Colourant Set for Solid Colour EffectsPrice range: £13.45 through £48.15The Colourfun Set provides intense translucent colours for epoxy resin projects, designed for even mixing and versatile uses.
 "Colourfun" – Liquid Epoxy Resin Colourant 25-100ml – High coveragePrice range: £3.65 through £9.85"Colourfun" liquid colourant offers vibrant pigments for epoxy resin with easy blending and high coverage.
Frequently Asked Questions
What colourants are best for crystal effects in epoxy resin?
Transparent resin colourants are ideal, such as the Magic Crystal Set or liquid Magic Crystal colourant, to maintain clarity.
How much colourant should I add to epoxy resin?
Add colourant gradually, starting with one drop. Use minimal pigment to keep the resin transparent and crystalline.
How do I prevent cloudy or dull coloured crystals?
Avoid overmixing, use only compatible transparent colourants, and keep your tools clean to maintain clarity.
Can I mix multiple colourants for custom crystal shades?
Yes, you can blend transparent colourants to achieve unique crystal tones without losing clarity.
How can I remove bubbles from clear, coloured resin?
Stir resin slowly, allow to settle, and use a heat tool lightly to release surface bubbles before curing.
Can I use regular pigment for crystal effects?
Regular pigments often make resin opaque. Use only colourants labelled as transparent for crystal-like results.