 Free shipping on orders over £29,85


How to colour transparent resin?
Colouring transparent resin unlocks a world of creative potential, allowing artists and crafters to replicate gemstone effects, create vividly tinted river tables, and design bespoke jewellery with clear, consistent results. This guide explains how to achieve beautifully coloured transparent resin while keeping its clarity intact, covering correct colouring techniques, safety tips, and pitfalls to avoid.
Techniques to achieve flawless, vivid transparent resin effects


What You’ll Need
- “Magic Crystal” – Transparent Resin Colour 45ml: Specially formulated for glass-like transparent finishes.
- “Colourfun Set” – Liquid Epoxy Resin Colourant Set for Solid Colour Effects: Concentrated pastes ideal for gradients or intense translucent tints.
- “Colourfun” – Liquid Epoxy Resin Colourant 25-100ml – High coverage: Highly concentrated liquid pigment for stained-glass and opaque effects.
- “Magic Crystal” – Set of 5 Transparent Colourants, 5 x 45ml: A range of colours for crystal, gemstone, and layered effects.
- Clear transparent epoxy or UV resin (as suitable for your project)
- Disposable mixing cups and stirrers
- Protective gloves and workspace covering
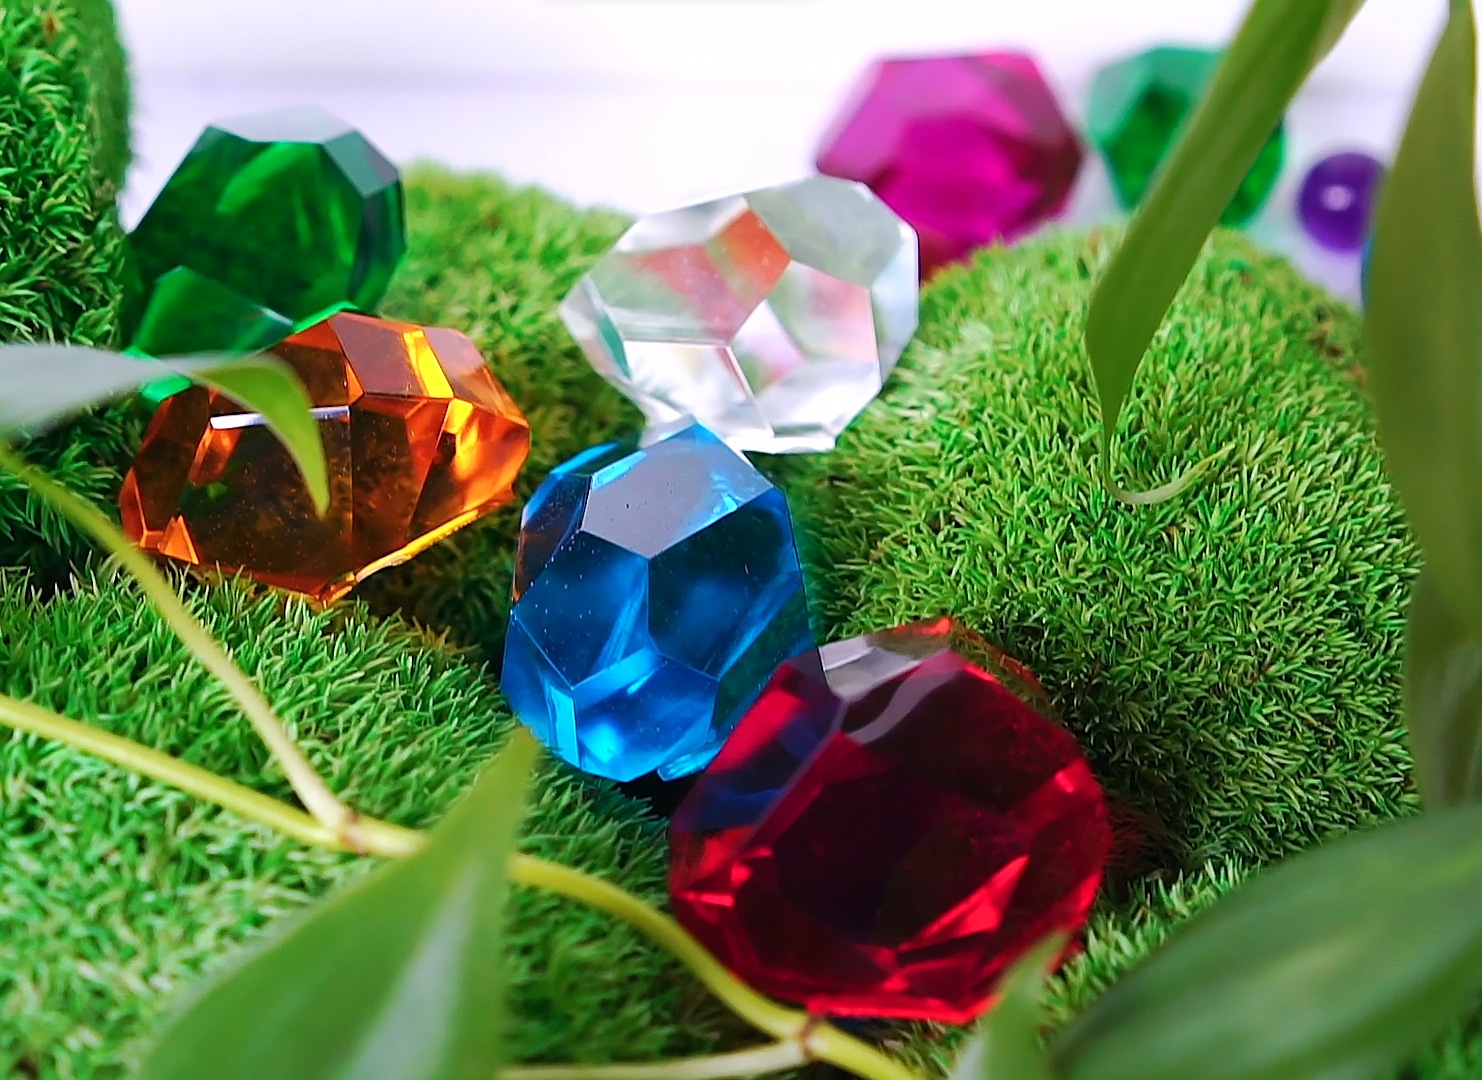
Visual Inspiration: Transparent Resin Colour Effects
Explore a gallery of stunning resin projects featuring crystal-clear finishes and vibrant tints. See how varying pigment type and concentration can create effects from subtle gemstone glows to striking river table gradients. Notice the clarity, depth, and luminosity possible with quality transparent resin colourants.
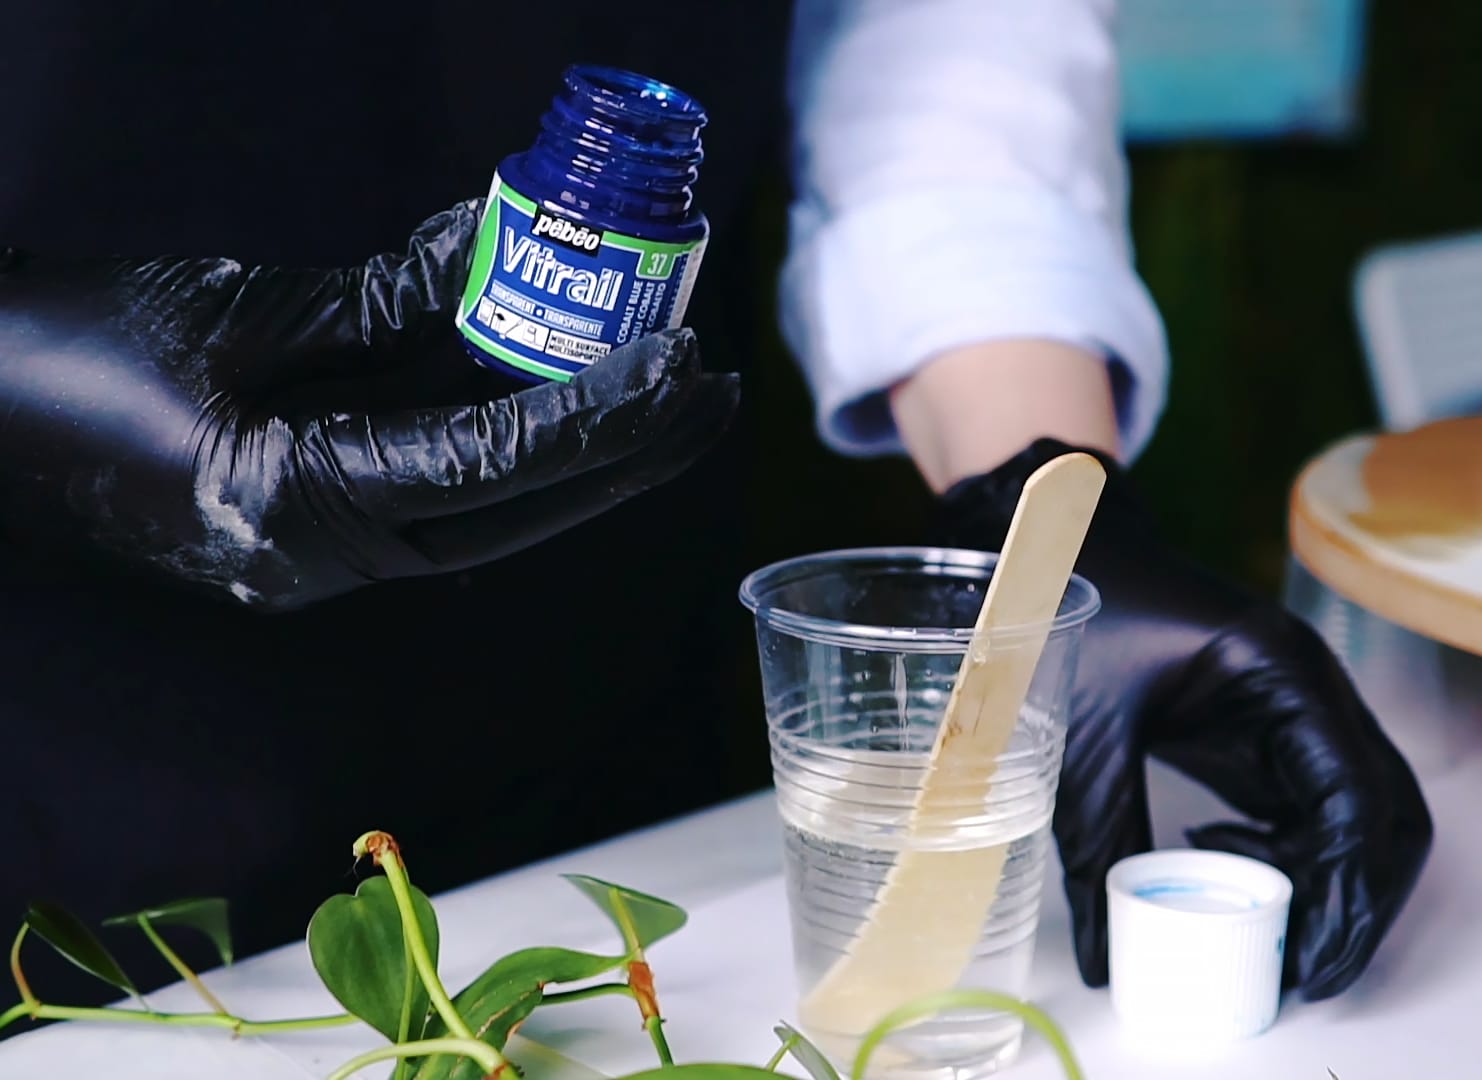
Step 1: Prepare Your Workspace and Resin
Begin by setting up a clean, dust-free workspace. Transparent resins are prone to showing every imperfection, so cleanliness is crucial. Make sure your protective gloves are on and all surfaces are protected from pigment stains or resin spills. Before mixing any colour, read your resin manufacturer’s instructions regarding mixing ratios and appropriate working times.
When preparing transparent resin for tinting, measure out the volume you’ll need for your casting or coating. This gives you control over the intensity of the colour and minimises waste. For best results, ensure your clear resin is thoroughly mixed before introducing any pigment.
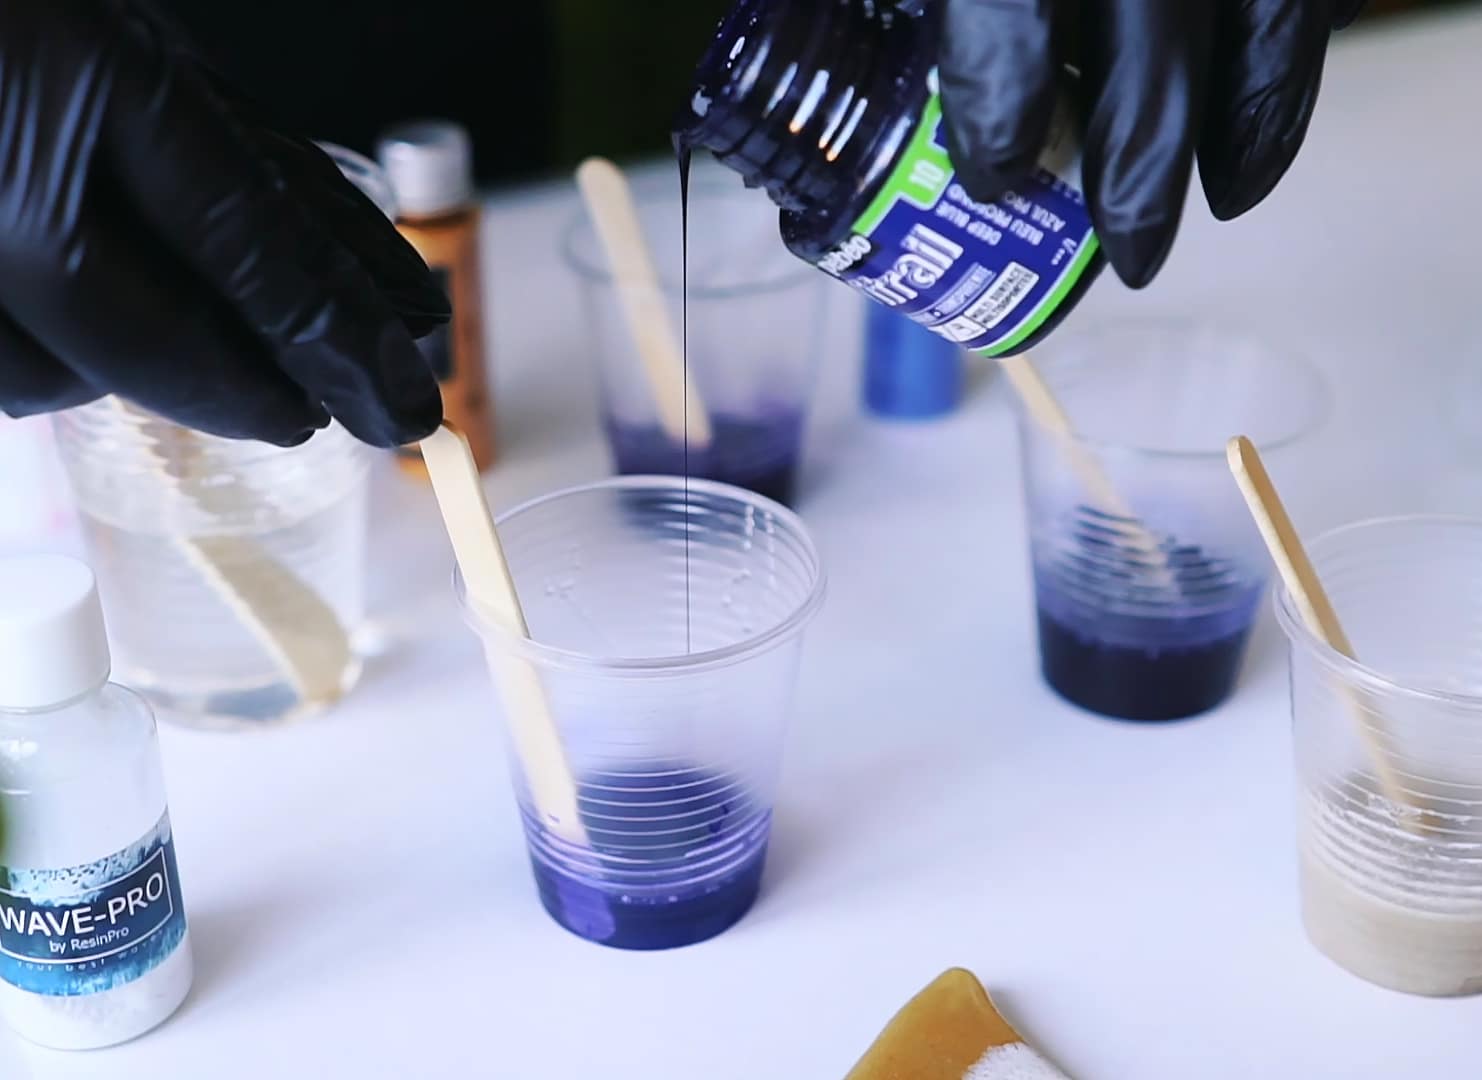
Step 2: Add the Colourant and Mix Carefully
Add your selected transparent colourant drop by drop into the pre-mixed resin. Start with a tiny amount — even concentrated pigment can alter the clarity if overused. Blend gently with a stirrer to avoid introducing air bubbles, keeping the motion slow and steady until the tint is completely uniform.
If aiming for pure transparency and vibrant hues, “Magic Crystal” – Transparent Resin Colour 45ml is specially formulated for glass-like results without cloudiness or settling. For layered or sea gradient effects, you might opt for the “Colourfun Set”, combining drops to achieve custom translucent shades.
Step 3: Test and Adjust Your Colour Depth
After initial mixing, test your resin’s colour by letting a small drop fall onto a white surface or a scrap piece of acetate. This gives you a clear preview of the final transparency and hue once the resin cures. Add more pigment in the smallest increments necessary, mixing thoroughly each time. The goal is to build up colour gradually without overpowering the resin’s natural clarity.
For deeper or more distinct shades, “Colourfun” – Liquid Epoxy Resin Colourant enables both translucent and stained-glass effects with minimal addition. Always check the manufacturer’s recommended maximum pigment ratio (typically around 2–5%) to avoid inhibiting resin curing.
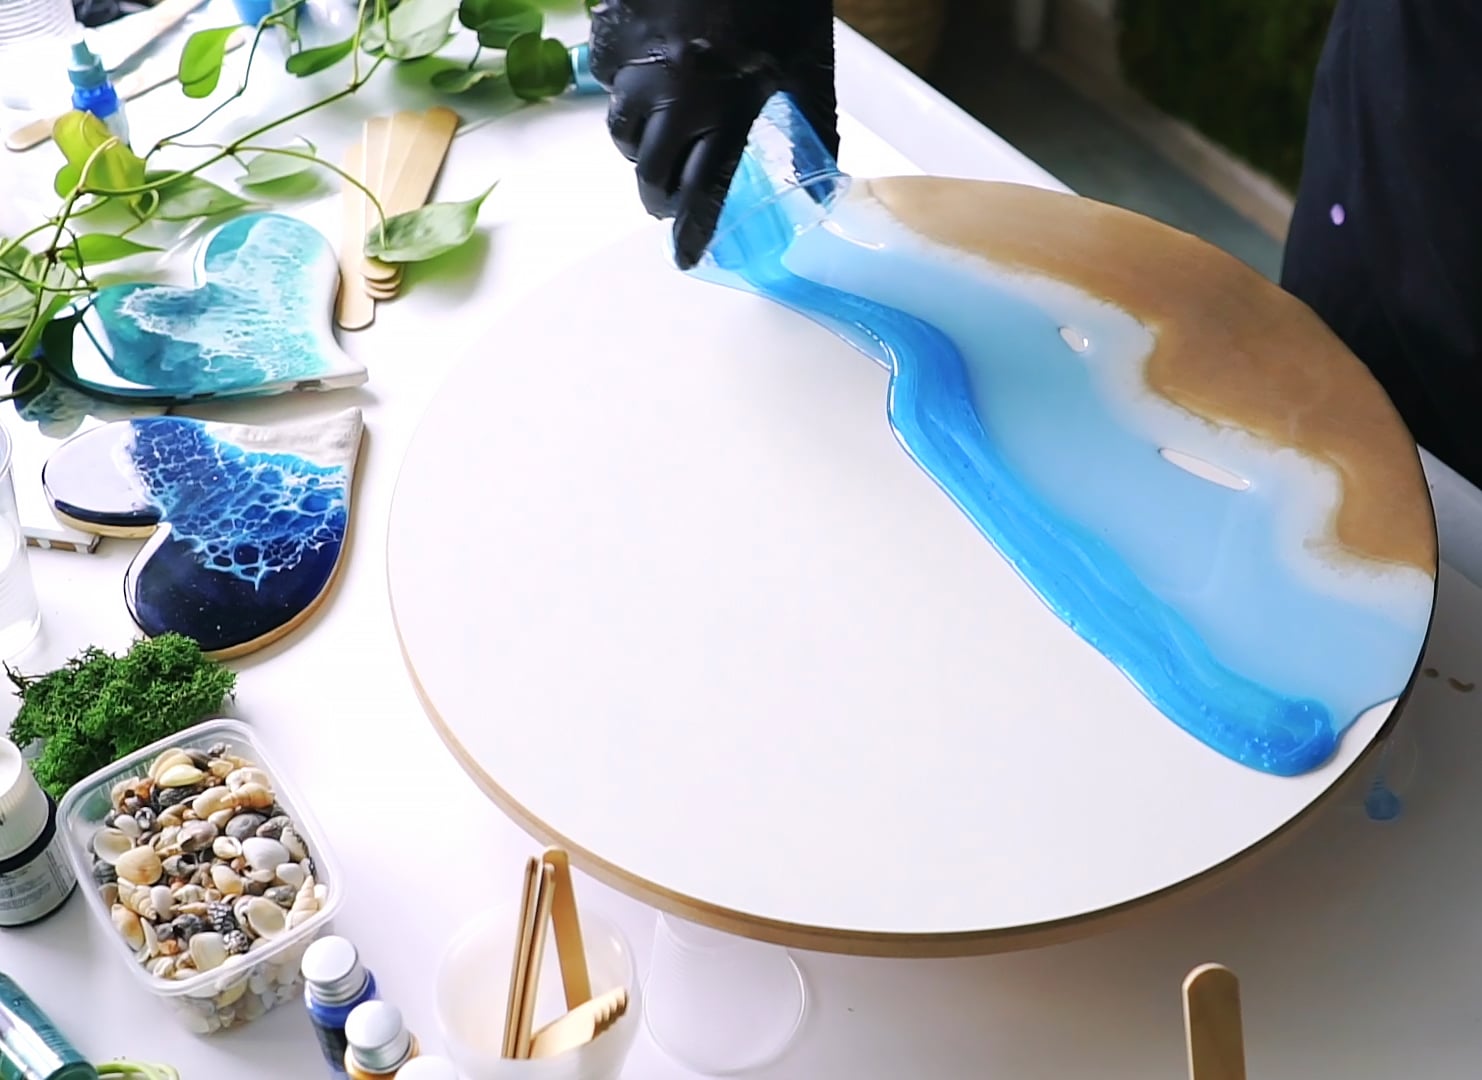
Step 4: Cast, Cure, and Protect the Finish
Once you’ve achieved the perfect coloured transparency, pour the resin slowly into your prepared mould or onto your project surface. Avoid sudden movements to minimise air entrapment or pigment streaks. Transparent resins accentuate even minor inclusions or bubbles, so a gentle torching or passing a heat gun briefly above the surface can help release them.
Once cured as per your resin system’s instructions, keep your tinted resin piece out of direct sunlight to preserve vibrancy and prevent yellowing—a common issue with clear resin art.

Tips, Pitfalls, and Troubleshooting
- Always test pigment compatibility on a small batch first. This ensures your chosen colourant will not react adversely with your resin type.
- Avoid adding more than the recommended pigment ratio. Excess pigment can cause cloudiness and may impede resin hardening.
- Mix gently to prevent air bubbles and cloudiness. Vigorous mixing introduces bubbles that are hard to remove in clear resin.
- Store coloured resin in a covered container until use. Keeping the resin covered helps protect clarity if there are delays before pouring.
- If your result appears streaky or not fully mixed, remix slowly and allow bubbles to rise before casting.
- Do not mix different types of colourants (powders, pastes, liquids) unless recommended, as incompatibility can affect transparency.
Examples of Pigment Blending and Results
From layered jewellery to decorative homeware, blending transparent colourants creates endless possibilities. Experiment with Magic Crystal Colours for glass-like vibrancy or combine pastes from the Colourfun Set to craft unique gradient and ombré resin effects. Small changes in pigment ratio produce radically different looks—try multiple tests for your ideal result.
- "Magic Crystal" – Transparent Resin Colour 45ml£4.65"Magic Crystal" Transparent Resin Colour offers a glass-like transparent effect suitable for vibrant resin creations with clear, intense colours.
- "Colourfun Set" – Liquid Epoxy Resin Colourant Set for Solid Colour EffectsPrice range: £13.45 through £48.15This liquid epoxy resin colourant set offers intense, translucent pastes suitable for mixing to create distinctive shades.
 "Colourfun" – Liquid Epoxy Resin Colourant 25-100ml – High coveragePrice range: £3.65 through £9.85"Colourfun" Epoxy Resin Colourant provides versatile liquid colour pigments compatible with Resin Pro products suitable for resin art and casting.
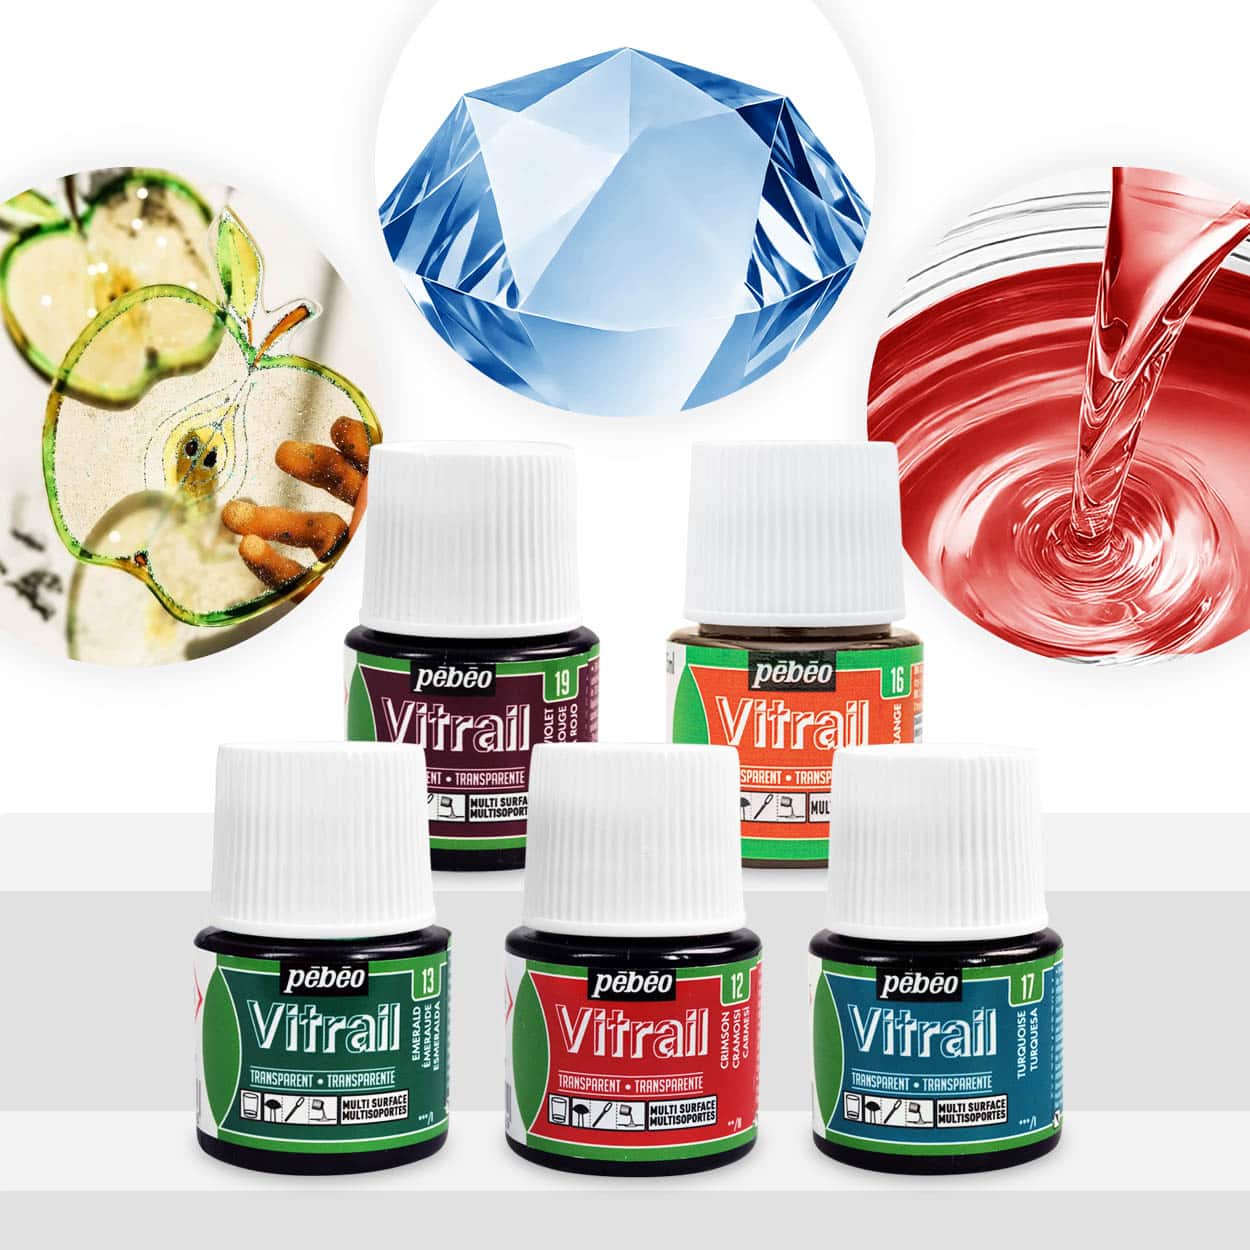 "Magic Crystal" – Set of 5 Transparent Colourants, 5 x 45ml£18.85"Magic Crystal" Set provides transparent colourants for use with resin, suitable for creating coloured transparent crystals.
Frequently Asked Questions
What is the best transparent dye for resin art projects?
'Magic Crystal' Transparent Resin Colour is specifically designed for vibrant, glass-like transparency in art and jewellery.
How much pigment should I add to maintain resin clarity?
Add only a few drops at a time, not exceeding the manufacturer’s maximum ratio—usually between 2–5% pigment by mass.
How do I fix cloudiness in my coloured transparent resin?
Reduce pigment amount and mix gently to avoid trapped air. Excess pigment or rapid mixing is the most common cause.
Can I use any pigment with transparent resin?
Use only pigments formulated for transparent resin; other types may cause settling, haziness, or improper curing.
Can I mix several pigment types in the same batch?
Mixing products designed to be compatible, such as Colourfun with Magic Crystal, allows custom shades. Avoid combining pigment types unless advised.
How can I choose between opaque and transparent effects in resin?
Opaque effects require more concentrated pigment or paste, while transparent dyes keep the resin clear and glass-like.
How can I prevent yellowing in my coloured transparent resin?
Choose a UV-resistant resin and keep finished pieces out of direct sunlight for optimal colour stability.