 Free shipping on orders over £29,85


← Back to How to make a silicone-free eraser?
Customising your homemade eraser allows you to express your creativity while making something that suits your personal style or practical needs. Here’s how to make your erasers unique in shape and colour.
Choosing the Right Moulds
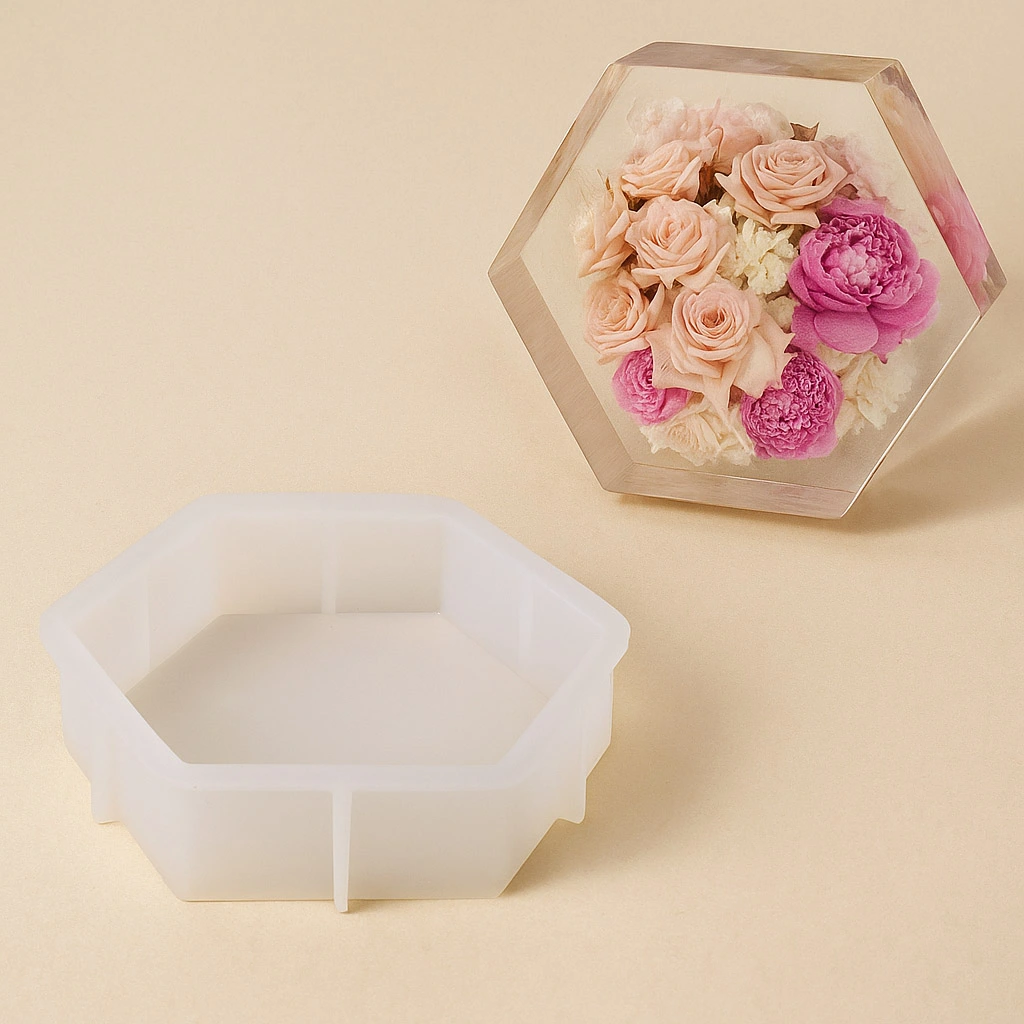
The easiest way to achieve interesting eraser shapes is by using flexible moulds designed for craft projects. You can select from geometric, novelty or custom shapes to suit your preferences. For instance, the Silicone Hexagons Mould gives crisp edges and can be reused for multiple erasers. Make sure the moulds are compatible with your chosen eraser material, and always clean them thoroughly between uses for best results.
Adding Colour Safely
Personalising colour is simple by mixing in non-toxic pigments compatible with your base eraser recipe. Use powder or gel-based pigments for an even tint. Start with a small amount and increase gradually until the desired vibrancy is reached. Gently fold the pigment into the mixed material just before pouring into your mould to ensure a uniform look. Always check that any additives you use are suitable and safe for the intended end-use.
Tips for a Professional Finish
- Lightly coat the inside of your mould with a release agent if needed.
- Pour or press your mixture evenly to avoid air bubbles and ensure sharp detail.
- If you want multi-colour effects or layered designs, add each colour in steps, allowing slight setting between layers.
Using a tool such as a reusable silicone brush can help distribute material for a smooth finish.
When Customising Matters
Custom shapes and colours are ideal for personalised gifts, themed classroom supplies, or easily identifying your own eraser among others.
Related products
Related guides
Exploring shape and colour opens up countless creative possibilities for your homemade erasers. For more inspiration and guidance, visit our main page on making silicone-free erasers.