 Free shipping on orders over £29,85


How to Insert Fresh Flowers into Resin
Capture real blooms in resin with clarity and long-lasting beauty.


Preserving the natural beauty of flowers in resin is a creative way to make stunning jewellery, keepsakes, and decorative pieces. This guide will walk you through the essential steps needed to insert fresh flowers into resin and ensure your results are eye-catching and durable. Whether you’re a beginner or an experienced crafter, following the right process is the secret to crisp, vibrant floral encapsulations that truly last.
What You’ll Need
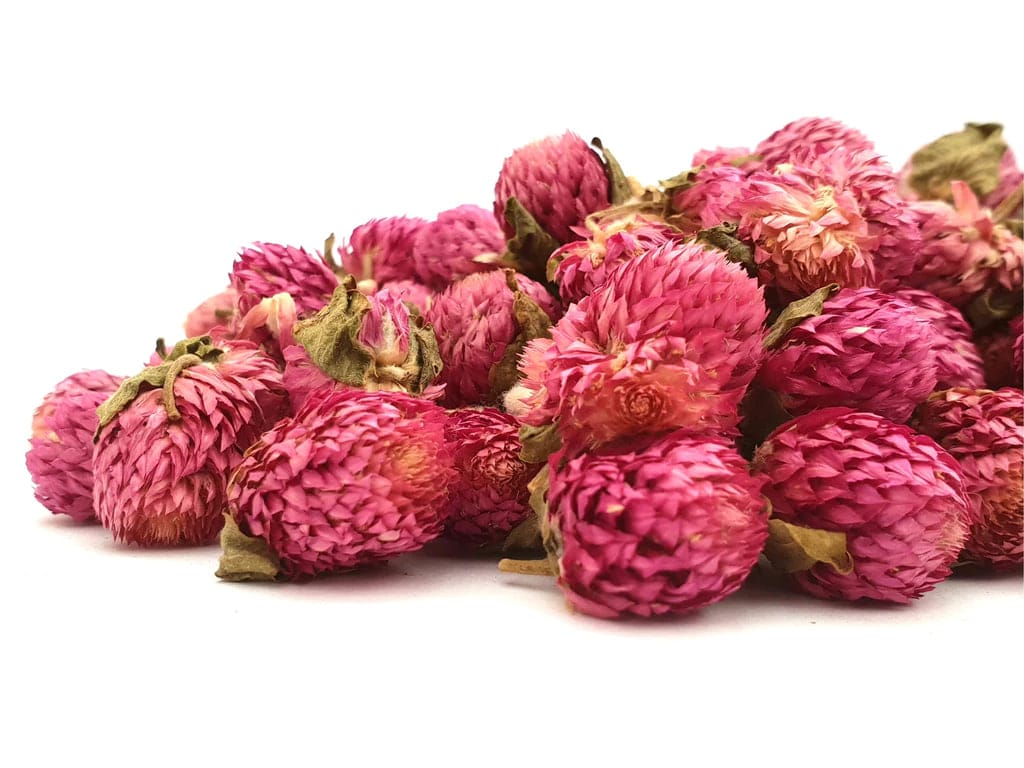
- Natural Dried Flowers for Art Projects and Epoxy Resin Casting – For best results, always use properly dried blooms.
- “Evershine Collection” – Artisan Jewellery Epoxy Resin Kit with 100+ Accessories – Includes clear resin, mixing tools, and accessories for easy resin casting.
- Gloves, mixing cups, and stirring tools
- Silicone moulds or bezels
- Sealant (optional, for flower protection)
- Toothpicks or tweezers for placement

Essential Materials for Success
Investing in pre-dried, resin-ready blooms and reliable, clear craft resin are the true cornerstones of beautiful botanical art. Using a dedicated product like Natural Dried Flowers for Art Projects and Epoxy Resin Casting eliminates drying guesswork and maximises charm in your finished piece.

Step 1: Prepare and Dry Your Flowers
To ensure your preserved flowers look their finest in resin, drying is non-negotiable. Moisture from fresh flowers can cause cloudiness or discolouration once sealed in resin. Press or air-dry your blooms completely to maintain structure and vibrancy. Even if your intent is to use fresh-looking flowers, always eliminate excess water first.
Start with thoroughly dried flowers—not straight from the garden. This prevents unwanted reactions during the curing process. If you want a hassle-free start, Natural Dried Flowers for Art Projects and Epoxy Resin Casting offer a convenient, ready-to-use option.
Step 2: Set Up Moulds and Initial Resin Layer
Clean your chosen silicone moulds or bezels and prepare them on a flat, dust-free surface. Mix the resin according to the instructions of your chosen kit — the “Evershine Collection” – Artisan Jewellery Epoxy Resin Kit with 100+ Accessories simplifies this with a reliable 1:1 ratio. Pour a thin layer of resin into the mould, just enough to cover the base.
This base layer helps anchor your arrangement. Allow it to sit for a short period so it thickens slightly, helping prevent your flower from floating when placed later.
Step 3: Position and Seal Your Flowers
Using tweezers, gently place your dried (never moist) flowers onto the partially cured resin layer. Take time with your layout, as the flowers can’t be moved once fully embedded. For extra colour protection, you may lightly mist or brush the flowers with a resin-compatible sealant before this step, especially with delicate petals.
Pour resin in layers to avoid trapping air and prevent flower float. Layering gives you precision and reduces the risk of air bubbles around the natural elements.
Step 4: Pour Successive Resin Layers and Cure
Once the flowers are positioned, carefully pour the remaining resin in intervals, allowing each layer to settle. This controls heat build-up and minimises bubble formation. Ensure your workspace remains undisturbed to avoid dust settling onto your project.
If working with deep moulds or complex floral pieces, layering is even more critical for clarity and structure.

Step 5: Demould and Finish Your Resin Art
After the final curing period, gently remove your resin piece from the mould. Any sharp edges can be softened with a fine sandpaper. If adding jewellery findings, a small drill (included in some kits like the “Evershine Collection”) is ideal.
Your preserved flower artwork is now ready to be cherished or gifted as a unique, natural keepsake.
Top Tips for Flawless Floral Encapsulation
- Seal the flowers before embedding to maintain colour vibrancy.
- Avoid overmixing the resin, which traps air bubbles.
- Cover your work while it cures to keep out dust and debris.
- Work in a dust-free environment for the clearest finish.
- Practice with small pieces before attempting large or sentimental flowers.
Troubleshooting Common Flower-in-Resin Issues
Cloudy resin, trapped bubbles, or faded flowers? These are often the result of moisture in your blooms, fast curing, or skipping sealant. Take steps to fully dry, seal, and pour in layers. Start with small test pieces to build confidence and perfect your process before moving onto precious flowers.

- Natural Dried Flowers for Art Projects and Epoxy Resin CastingPrice range: £5.45 through £7.85Dried flowers prepared for immediate use, suitable for resin art projects and crafts within the 'How to Insert Fresh Flowers into Resin' theme.
- Free Step-by-Step Lesson – "Pomegranate Trays" by Natalia NatirumOriginal price was: £99.00.£0.00Current price is: £0.00.A free video tutorial on creating resin pomegranate trays, suited for those following the theme of inserting fresh flowers into resin.
- "Evershine Collection" – Artisan Jewellery Epoxy Resin Kit with 100+ Accessories£20.85The "Evershine Collection" kit provides a complete set with high-transparency resin and accessories, suitable for jewellery making with floral…
 Free Step-by-Step Lesson "Kiwi Coasters" by Natalia NatirumOriginal price was: £99.00.£0.00Current price is: £0.00.Free video tutorial by Natalia Natirum guides on creating resin trays and coasters resembling real kiwi.
Frequently Asked Questions
Do I need to dry flowers before using them in resin?
Yes, flowers must be thoroughly dried before embedding in resin. Any moisture can cause discolouration, cloudiness, or even prevent proper curing.
How do I prevent bubbles when adding flowers to resin?
Work in layers, place flowers carefully, and go slow with pouring. Using pre-dried flowers and gentle stirring also helps reduce trapped air.
Can I use fresh flowers instead of dried ones?
No—fresh flowers contain moisture, which can lead to resin cloudiness, fading, and may affect the curing process. Always dry flowers completely first.
How do I keep flower colours bright in resin?
Seal flowers with a resin-compatible spray or brush-on sealant before embedding. Avoid excess UV exposure and use slow, careful pouring techniques.
Which resin type is best for flower art projects?
Clear, two-part epoxy resin is ideal for floral embedding as it provides transparency and reliable curing in jewellery and art pieces.
Can I drill resin with flowers inside after curing?
Yes, once fully cured, you can carefully drill resin for jewellery findings or attachments. Use a small, sharp drill bit for best results.