 Free shipping on orders over £29,85


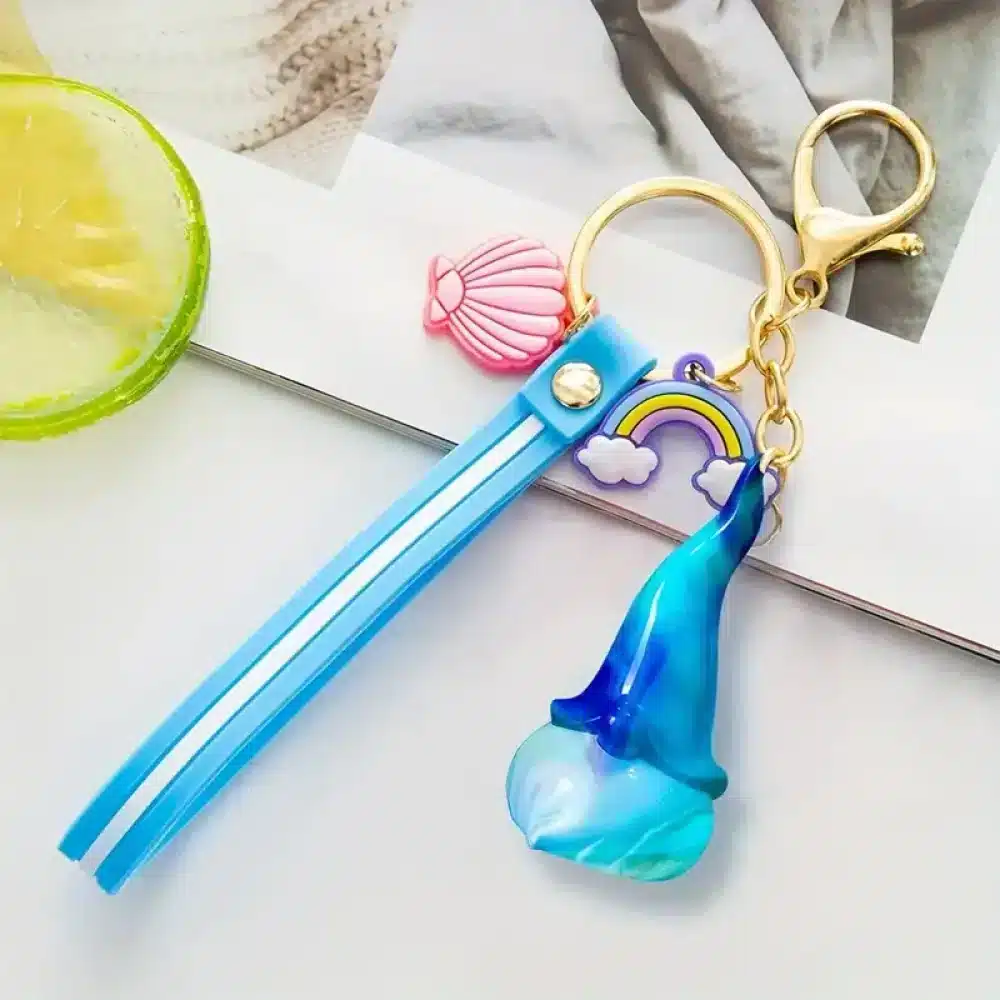
How to Make Little Dolls with Resin?
Step-by-step guide for doll casting, colour, and detail options


If you’re looking to create charming miniature dolls with brilliant clarity and custom detail, this guide will walk you through each step. Whether you’re crafting for fun, gifts, or small decorative pieces, making resin dolls is accessible for beginners and satisfying for experienced crafters alike. We’ll cover the materials, essential techniques, safety considerations, and tips to ensure your dolls come out perfectly every time.
What You’ll Need
- “Gnome” – Silicone Mould for Resin, Plaster, Wax, or Polymer Clay, 9.7cm: A detailed flexible mould for casting resin shapes.
- “Fairy Wings” – UV Resin for Volumetric Reliefs, Dual Colour, 30ml: Ideal for intricate features and surface reliefs.
- “Evershine Collection” – Artisan Jewellery Epoxy Resin Kit with 100+ Accessories: Provides clear epoxy resin and creative tools.
- DIY Kit Naturesin Resin Complete Set: For one-component resin and dye options.
- Mixing tools, gloves, mixing cups, disposable stirrers, toothpicks, UV lamp for UV resin, and a flat work surface.
Creative Possibilities with Resin Doll Making
Resin offers exceptional clarity and detail for miniature doll casting, letting you create expressive features and personalise every piece with bespoke colours and inclusions. Trying different casting techniques with unique shapes can bring your designs to life, especially with flexible silicone moulds.

Step 1: Prepare Your Workspace and Mould
Before you begin, ensure your work surface is covered and that all tools and moulds are clean and dry. Always wear gloves and work in a well-ventilated area to avoid skin contact and inhalation of fumes. Prepare your Gnome silicone mould by cleaning it gently and, if desired, lightly dusting with a suitable mould release to prolong its life and make demoulding easier.
Organise pigments, dyes, and tiny decorative elements (if using), ensuring everything is within reach so you can mix and pour without delays.
Step 2: Mix and Colour the Resin
Depending on your chosen system, follow the mixing instructions precisely. For example, if using the Evershine Collection, measure equal parts of resin and hardener in clean cups, mixing slowly to reduce bubbles. If opting for a one-component system like the DIY Kit Naturesin Resin Complete Set, pour it directly according to the product guidance.
Add pigment or dye in small amounts, stirring thoroughly to distribute colour evenly but avoid excessive mixing that can introduce air. Use gentle tapping or toothpicks to remove trapped air bubbles before pouring, as bubbles can mar the finish of your dolls.
Step 3: Pour Resin into the Mould and Cure
Slowly pour the mixed resin into the silicone mould, starting from one corner and letting it flow to fill intricate details. For creating dimensional highlights (for example, glistening wings or a raised accent), use a specialist product such as Fairy Wings UV Resin in thin layers, curing each under a UV lamp as per instructions (usually 3–5 minutes per layer).
Allow the main resin to cure fully—this can range from 5 hours to overnight depending on climate and product used. Do not overfill the mould or rush the curing process; patience helps avoid resin overflow and incomplete hardening.

Step 4: Demould and Finish Your Doll
Once the resin is cured solid, gently peel the silicone mould away from the casting, flexing the mould if necessary for tricky parts. If your piece includes any small holes, such as for keyrings or hanging hooks, use the included tools from the Evershine Collection for precise drilling.
Inspect your doll for sharp edges or minor surface flaws. These can be trimmed with a craft blade or lightly sanded. Add final touches—like additional painted details, metallic relief, or accessories—after the doll has fully hardened.

Tips and Troubleshooting for Resin Doll Making
Success in resin doll making depends on attention to temperature, mixing ratios, colouring technique, and patience during curing. Experiment with pigments in small batches before committing to a full pour to avoid colour surprises. Avoid direct sunlight and dust while curing. If you see surface tackiness, extend curing or use a UV lamp if working with UV resin. Store your silicone moulds flat and clean them between projects to retain definition and flexibility.
Finishing Touches and Display Ideas
Decorate your finished dolls with paint, metallic details, or tiny ornaments to give them character. These resin figures can be made into keyrings, decorations, or small gifts. Try displaying them in themed dioramas or as unique party favours for an added element of charm.

- "Gnome" – Silicone Mould for Resin, Plaster, Wax, or Polymer Clay, 9.7cmOriginal price was: £9.45.£8.15Current price is: £8.15."Gnome" silicone mould suitable for resin, plaster, wax, or polymer clay for small festive decorations and craft projects.
- "Fairy Wings" – UV Resin for Volumetric Reliefs, Dual Colour, 30mlOriginal price was: £15.15.£2.85Current price is: £2.85."Fairy Wings" is a ready-to-use UV resin designed for detailed 3D reliefs and decorations, suitable for artists and crafters.
 "Evershine Collection" – Artisan Jewellery Epoxy Resin Kit with 100+ Accessories£21.95The Evershine Collection kit features 500g crystal-clear 1:1 epoxy resin with over 100 accessories, suitable for beginners making jewellery and…
 DIY Kit Naturesin Resin Complete SetPrice range: £12.45 through £17.85DIY Kit Naturesin Resin Complete Set includes a one-component resin and dyes, suitable for creative projects under the theme How to Make Little Dolls…
Frequently Asked Questions
What is the best type of resin for making little dolls?
Clear casting epoxy or single-component resin works best, enabling precise features and ease of demoulding.
Can I add colour to my resin dolls?
Yes, pigments or dyes can be mixed into your resin before pouring for custom shades and effects.
How long should resin cure before demoulding?
Wait until the resin is fully hardened as per the product's instructions, usually several hours or overnight.
How do I remove air bubbles when casting resin dolls?
Tap the filled mould lightly and use a toothpick for trapped bubbles. Mixing slowly helps reduce air incorporation.
What tools do I need for miniature resin dolls?
You need a silicone mould, accurate mixing tools, gloves, and optional decorative finishes to complete the project.
Can I use UV resin for adding details?
Yes, UV resin is perfect for raised or fine surfaces and cures rapidly under a UV lamp.