 Free shipping on orders over £29,85


How to make rings with olive wood and resin?
Bringing together the organic charm of olive wood and the illuminating clarity of resin creates truly unique rings, perfect for gifting or expressing your personal style. This guide will take you through the entire process of making olive wood and resin rings from planning and preparation to finishing for stunning, durable results.
A step-by-step guide for unique handmade jewellery


What You’ll Need
- “Evershine Collection” – Artisan Jewellery Epoxy Resin Kit with 100+ Accessories: A complete kit with clear epoxy resin and essential jewellery making tools.
- Olive wood blanks: Sourced and pre-cut to ring size, sanded and dried.
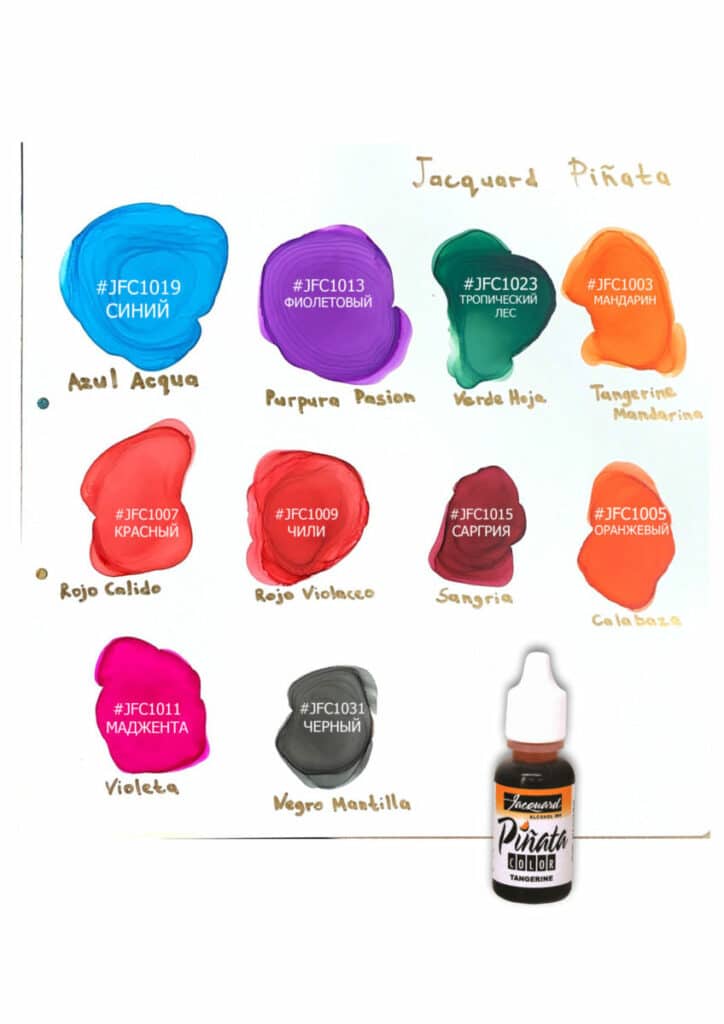
- “Jacquard Pinata” – Alcohol Ink Blast Effect 14ml: For adding vibrant colour effects to your resin.
- “Three Drops” – Silicone Mould for Jewellery and Decorations, 28x20mm: Suitable for initial casting shapes, if you prefer using a mould approach.
- Gloves, safety glasses, and mask: Essential for safe handling of resin and wood dust.
- Sanding and polishing equipment: Abrasive paper (various grits), polishing wheels, microfibre cloths.

Visual Inspiration: Olive Wood Resin Ring Details
Notice how wood grain and transparent resin combine for a harmonious, modern look. Experiment with colour, inclusion, or natural finishes to create truly one-of-a-kind rings that highlight both materials.
Step 1: Prepare Your Olive Wood Blank
Begin with a dry, seasoned piece of olive wood, cut it to size for your ring. Drill a hole matching the desired ring size and sand down the interior and exterior to remove splinters. Olive wood’s natural beauty pairs harmoniously with resin, so take care to showcase its grain by sanding up to a fine grit. Ensure the blank is fully dust-free before proceeding to avoid imperfections in the resin.
Step 2: Set Up Your Mould and Plan the Design
If you are using a silicone ring mould such as the “Three Drops” – Silicone Mould for Jewellery and Decorations, 28x20mm, insert the prepared olive wood blank into the mould cavity. This helps keep your design centred during the resin casting. If you choose not to use a mould, prepare a dam with tape or modelling clay around the ring blank to create a pouring area.
Step 3: Mix and Pour Your Resin
Use high-quality epoxy resin for a flawless finish. The “Evershine Collection” – Artisan Jewellery Epoxy Resin Kit with 100+ Accessories features a straightforward 1:1 mix ratio, ideal for beginners. Wearing gloves, carefully combine the resin and hardener in a clean container and mix thoroughly, scraping the sides and bottom for consistency. If desired, incorporate a few drops of “Jacquard Pinata” – Alcohol Ink Blast Effect 14ml to create vibrant, transparent colour effects. Pour slowly to minimise bubbles, ensuring even coverage over the olive wood. Pop any surface bubbles with a toothpick or gentle heat.

Step 4: Cure, Demould and Shape the Ring
Allow the resin to cure for the full recommended time, typically 24–48 hours depending on your resin’s instructions. Avoid disturbing the piece to prevent dust and imperfections from settling in. Once fully cured, carefully remove the ring from the mould or dam. The piece will require shaping: trim excess resin using a jeweller’s saw or files, then sand the ring in stages from coarse to very fine grit for a seamless blend of wood and resin.
Step 5: Sand, Polish and Finish
Carefully shape and sand your ring for a smooth finish, progressing through finer grades to reduce visible scratches. Polish using a microfibre cloth or buffing wheel; resin polishes can be used to achieve an almost glass-like clarity. Ensure you finish the inside edge for comfortable wear. Finally, clean any residue and inspect your ring for flaws before wearing or gifting.
Tips and Common Mistakes
Wear gloves and work in a well-ventilated area to avoid inhaling fumes or creating skin irritation from resin or wood dust. Do not rush the resin mixing and curing process; any shortcuts may introduce bubbles or prevent a full cure. Slow-cure epoxy resins can reduce bubble formation. Take your time with sanding to avoid uneven blends between wood and resin. If adding pigment, don’t overdo it, as too much can prevent proper curing and lose resin clarity.
Finishing Touches: Photographic Examples
Polished resin can rival real glass for clarity. Well-sanded rings blend the transition between wood and resin, producing a smooth, wearable surface and elevating your jewellery presentation.

- "Evershine Collection" – Artisan Jewellery Epoxy Resin Kit with 100+ Accessories£20.85"Evershine Collection" is a comprehensive jewellery resin kit, designed to provide a complete crafting solution with clear epoxy and numerous…
- Set of 10 Open Metal Bezels for Jewellery Making and UV Resin ProjectsOriginal price was: £8.45.£6.85Current price is: £6.85.Set of 10 open metal bezels designed for festive jewellery making with UV resin, suitable for creative resin craft projects.
- "Jacquard Pinata" – Alcohol Ink Blast Effect 14ml£4.85"Jacquard Pinata" Alcohol Ink 14ml provides fast-drying, vibrant colour for resin and other non-porous surfaces within the theme of olive wood and…
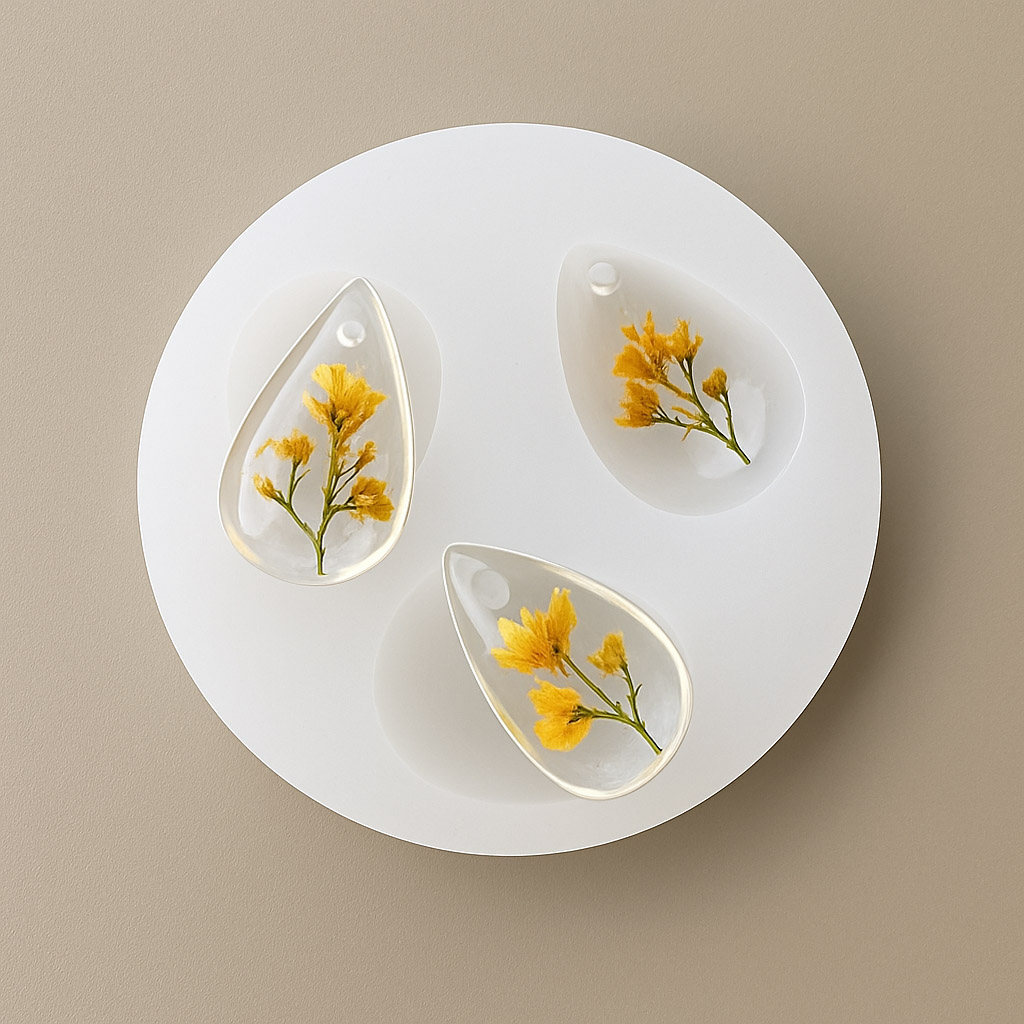 "Three Drops" – Silicone Mould for Jewellery and Decorations, 28x20mm£7.45"Three Drops" silicone mould is suitable for creating jewellery and decorations with various casting materials.
Frequently Asked Questions
Can I use any wood for resin rings?
Hardwoods like olive, walnut or maple are best. Use only well-seasoned, completely dry wood to prevent moisture issues during casting.
Do I need special resin for jewellery?
Jewellery-grade epoxy resins offer greater clarity, lower viscosity, and safer handling for detailed work, making them ideal for ring making.
Why does my resin have bubbles?
Bubbles often form during mixing or pouring. Mix slowly, pour gently, and use a toothpick or heat to remove surface bubbles before curing.
Is alcohol ink safe for resin rings?
Yes, alcohol inks are compatible with epoxy resin. Use sparingly—excess pigment can affect curing and ring strength.
How do I get a shiny finish on my ring?
Polish carefully with fine abrasives and resin polish. Buff the surface with a microfibre cloth for extra shine.
Can I use these rings daily?
Yes, but avoid prolonged water or chemical exposure. Well-polished resin and finished wood are robust for regular wear.
How long should resin cure for rings?
Cure times vary by product; allow at least 24–48 hours before handling. Full hardness may require more time for sanding and finishing.