 Free shipping on orders over £29,85


How to Measure ResinPro Epoxy Resin?
Step-by-step guide for accurate epoxy dosing and mixing


Mastering the correct measurement of ResinPro epoxy resin ensures a strong cure, clear finish, and reliable project outcomes. Whether you’re a seasoned resin artist or just starting out, understanding how to measure resin components precisely prevents common mixing problems and helps you achieve your desired results every time.
What You’ll Need
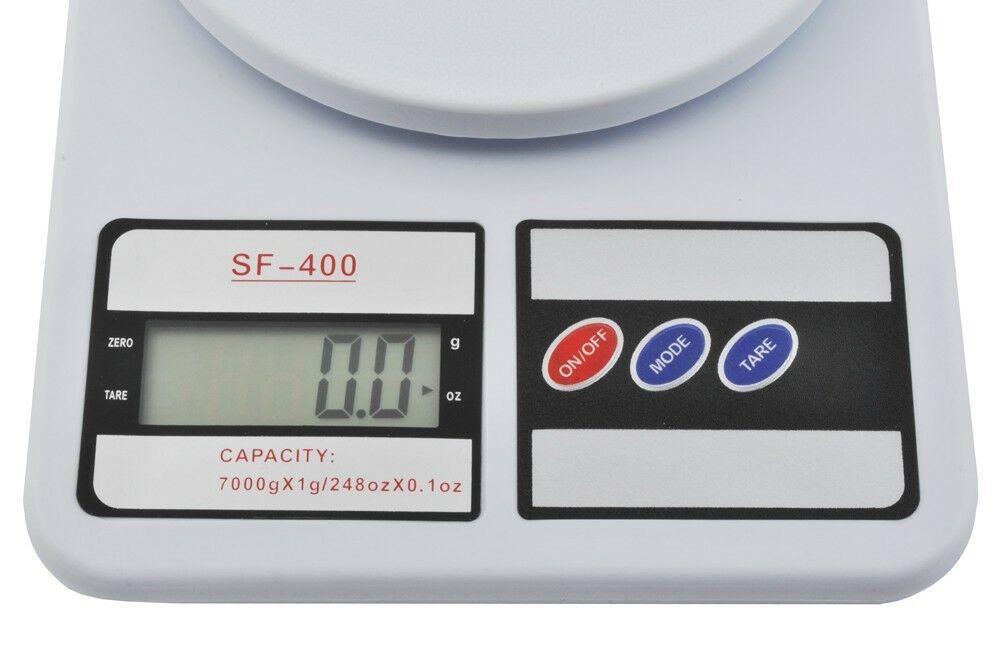
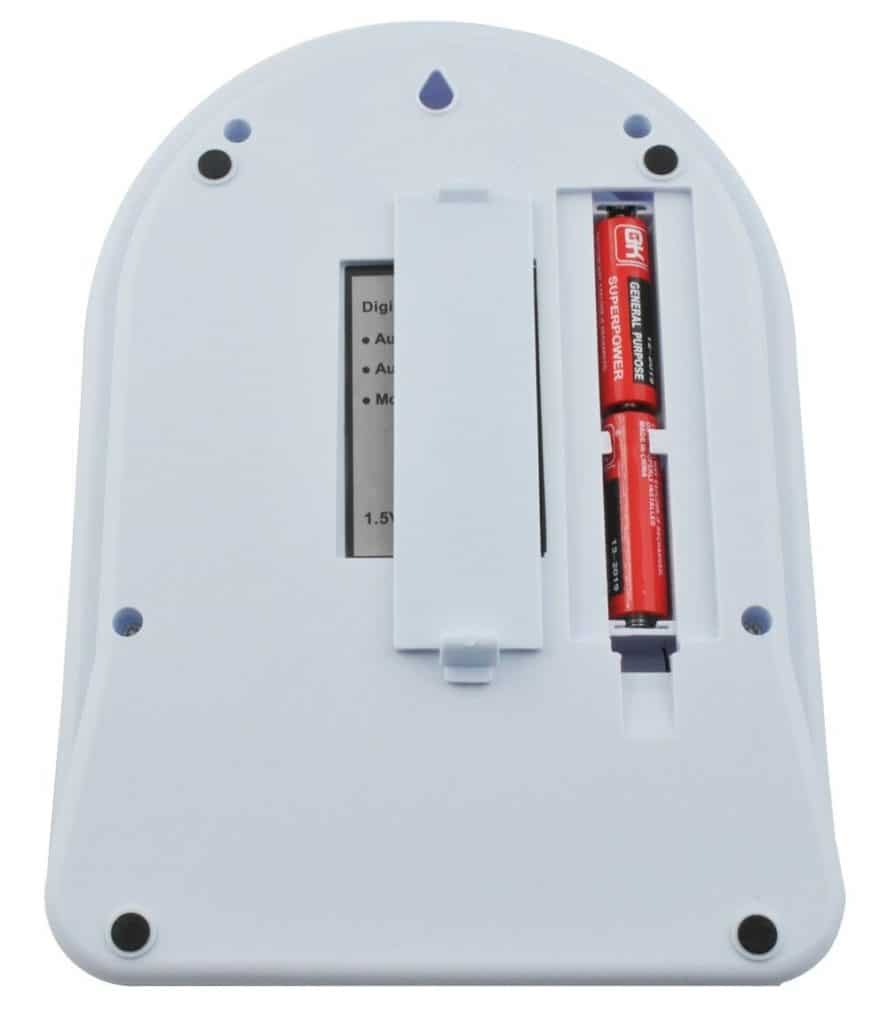
- Precision Digital Scales for Resin and Crafting, 1g–7kg – for weighing components accurately
- 2L Graduated Measuring Cup for Resin – Precise Epoxy Dosing Tool – for measuring and pouring liquids easily
- Clean mixing container
- Protective gloves and safety equipment
Visual Guide to Accurate Resin Measurement
See how to set up your workspace, position containers on your scale, and use a Precision Digital Scales for Resin and Crafting, 1g–7kg or 2L Graduated Measuring Cup for Resin – Precise Epoxy Dosing Tool for best accuracy. Follow each action step visually from pre-measurement through mixing to a bubble-free pour.
Step 1: Determine Your Mixing Ratio and Batch Size
Every epoxy resin system has a specific mixing ratio, usually given by weight. Check the instructions on your ResinPro product; for example, some deep pour epoxies use a 100:55 ratio (resin to hardener by weight). Decide how much resin you actually need for your project, allowing a little extra to account for any spillage or surface losses.
Accurate measurement is essential for ResinPro Epoxy Resin projects. Incorrect ratios can result in softness, incomplete curing, or surface defects, so always refer to the product label before proceeding.
Step 2: Weigh Each Component Accurately
Place your clean mixing container on your scales and reset (tare) the display to zero. Pour the resin part (A) first, aiming for your calculated amount. After adding resin, carefully add the hardener (B) in the correct ratio by weight.
Use the right tools for reliable results – a digital scale like the Precision Digital Scales for Resin and Crafting, 1g–7kg ensures you can achieve the necessary accuracy, especially for small or large batches. Avoid measuring by volume unless your specific product instructions say it’s acceptable.
Step 3: Pour and Mix with Care
Once both components are weighed, gently pour them into a larger mixing container if needed. Use your 2L Graduated Measuring Cup for Resin – Precise Epoxy Dosing Tool if you need to move or mix larger quantities and want to pour with precision.
Stir thoroughly, scraping the sides and bottom for at least three minutes or according to product guidelines. Incomplete mixing is a frequent cause of tacky spots or poor curing. Work at a comfortable pace—many ResinPro formulations provide a long working time.

Step 4: Final Checks and Pour
Double-check your calculations before mixing and review your batch for any missed steps. Pour the mixed resin into your mould or project area in a steady stream.
Allow the resin to self-level after pouring, and avoid overhandling to prevent air bubbles. Trouble spots and imperfections often arise from hasty or uneven mixing and pouring.

Tips and Common Mistakes
Avoid common measurement errors like skipping the taring process, mixing by volume when weight is required, or estimating ratios by eye. Always avoid using contaminated containers or non-calibrated tools. Work in a clean, dust-free workspace and wear gloves for protection.
Check the product’s recommended temperature range before measuring and mixing, as working in overly cold or hot conditions can affect the resin’s behaviour and cure time.
Troubleshooting Epoxy Measurement
If in doubt, repeat your measurements before mixing. Double-checking helps prevent costly errors and wasted material. Use reliable equipment and check for product-specific tips to refine your measuring process on each ResinPro project.
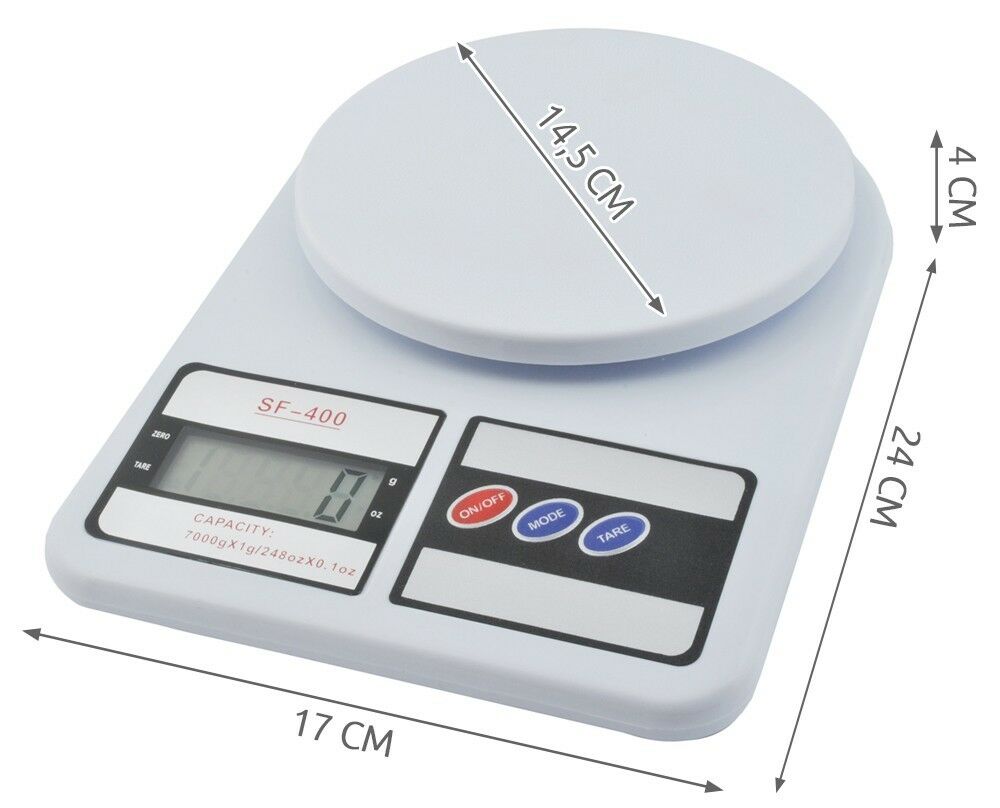
- Precision Digital Scales for Resin and Crafting, 1g–7kgPrice range: £7.85 through £22.85Digital scales designed for precise resin weighing with a compact design for craft spaces.
- 2L Graduated Measuring Cup for Resin – Precise Epoxy Dosing Tool£3.85This 2L measuring cup offers precise graduations from 100ml, designed for accurate epoxy resin dosing.
- “Epoxytable 10-Ten” – Deep Pour Epoxy Resin for Tables, Up to 10cm CastingPrice range: £33.85 through £334.85“Epoxytable 10-Ten” is suitable for creating tables and deep casts up to 10cm with low viscosity facilitating a bubble-free finish.
 "EpoxyTable 5-Five" – Deep Pour Epoxy Resin for Tables and Large Projects – Up to 5cmPrice range: £16.85 through £1,099.85"EpoxyTable 5-Five" is a deep pour epoxy resin designed for tables and large projects up to 5 cm thick, suitable for creative and decorative uses.
Frequently Asked Questions
What mixing ratio should I use for ResinPro epoxy?
Always refer to your ResinPro product instructions. Many deep-pour resins use a weight-based ratio such as 100:55; this can vary depending on the formulation.
Do I need digital scales or can I use measuring cups?
Digital scales are recommended for accuracy with most ResinPro epoxy systems. Measuring cups are suitable only if specifically stated in the instructions.
What’s the biggest mistake when measuring epoxy?
The most common error is using incorrect ratios or measuring by volume instead of weight, which can lead to improper curing.
Why does my epoxy stay tacky or soft?
This is usually due to inaccurate measurement or incomplete mixing of the resin and hardener.
How big can my batch be when mixing epoxy?
Never mix more resin than specified in the product’s instructions. For thick pours or large batches, pour in layers to avoid overheating.
How do I clean up after measuring resin?
Clean measuring tools immediately with suitable cleaning agents and dispose of any uncured resin safely.