 Free shipping on orders over £29,85


← Back to How to Get Perfect Spheres with Resin?
Achieving crystal clear resin spheres is an attainable goal with the right approach to minimising air bubbles. Careful technique makes all the difference, ensuring beautifully finished results for your crafts or jewellery projects.
Careful Mixing and Pouring Techniques
The way you mix and pour your resin has a direct impact on bubble formation. Stir the resin and hardener gently, avoiding any brisk or whipping motions that can trap air. A slow, methodical mix keeps the resin clear. When pouring into your sphere mould, let the resin run in slowly along the side rather than dumping it directly into the centre—this helps discourage bubbles from forming.
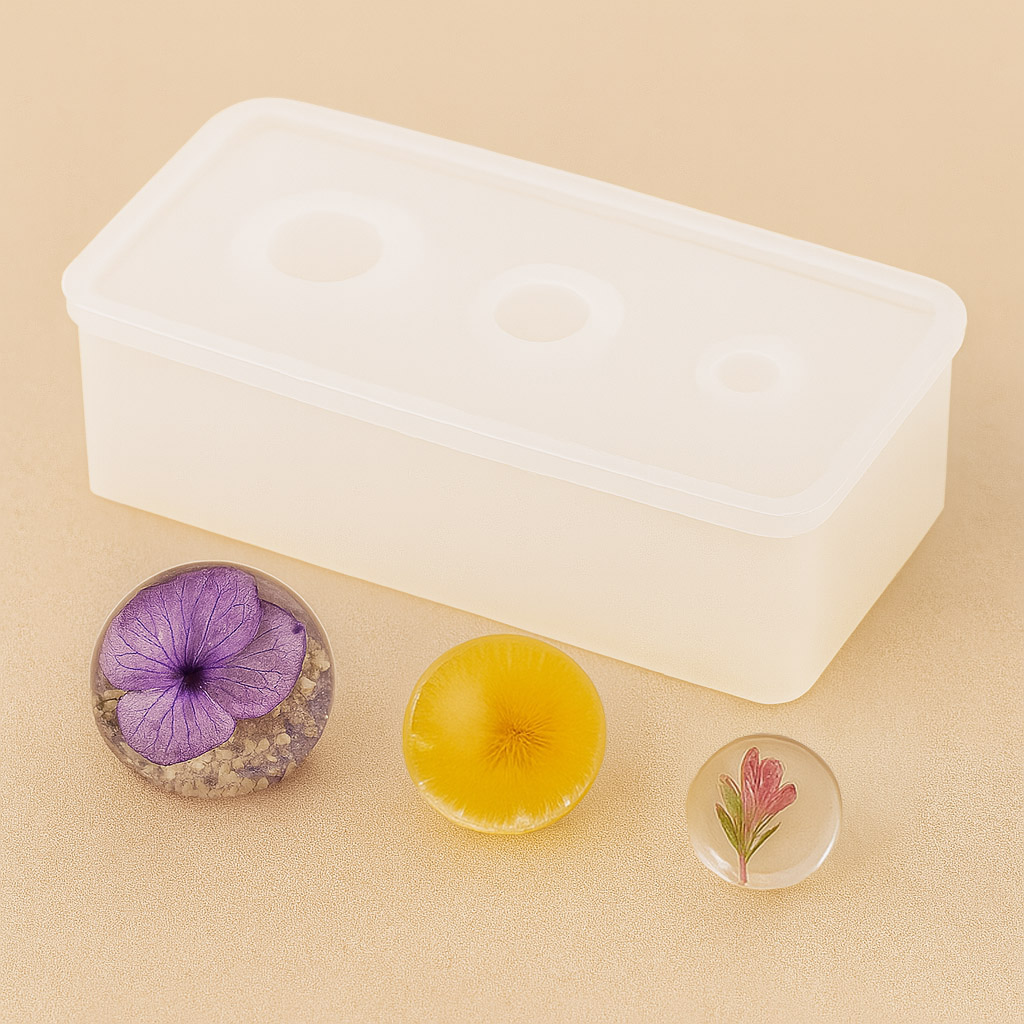
Consider using a high-quality, bubble-resistant mould such as the “3 Sphere” Silicone Mould, specifically designed to offer a smooth surface for clearer castings.
Releasing Trapped Air in the Mould
After pouring, a simple way to release trapped air is to lightly tap or flex the filled mould. This helps any stubborn bubbles rise to the surface. Applying gentle warmth—such as waving a hair dryer or heat gun on a low setting over the mould—can also encourage smaller air pockets to escape, reducing visible imperfections in your finished sphere.
When Bubble Reduction Matters Most
Air bubbles are particularly noticeable in projects where clarity is the focus—jewellery making, embedded objects, or spheres intended as display items. Choosing a mould with a polished interior or a resin formulated for bubble control makes a visible difference in these settings.
Related products
Related guides
Minimising bubbles ensures your resin spheres look professional and flawless. For more advice on achieving perfectly rounded, polished results, see our main guide on how to get perfect spheres with resin.