 Free shipping on orders over £29,85


How to paint a used resin dog house?
Transform an old resin kennel with a durable, refreshed finish


Giving new life to a used resin dog house can extend its service while improving its appearance. This guide will show you step-by-step how to clean, prepare, and repaint a resin kennel so it both looks better and lasts longer outdoors. Whether you’re aiming to match your garden décor or cover up weathered areas, you’ll find practical instructions here for a smooth and professional paint result.
What You’ll Need
- Scraper for Paint & Dry Resin Removal – 10 Double-Sided Blades – useful for removing old paint or detritus from smooth resin areas
- Heavy Duty Scraper for Paint and Epoxy Resin Removal – ideal for tackling stubborn residues or thick paint
- Resin & Paint Application Rollers – Short-Pile, Large, and Sponge Types – for applying paint smoothly over the dog house surfaces
- 12-Piece Artists Paint Brush Set for Epoxy Resin Art & DIY Projects – handy for detail work or hard-to-reach edges
- Mild detergent, soft cloths, water, fine sandpaper, exterior paint suitable for plastics/resin, masking tape, gloves, dust mask

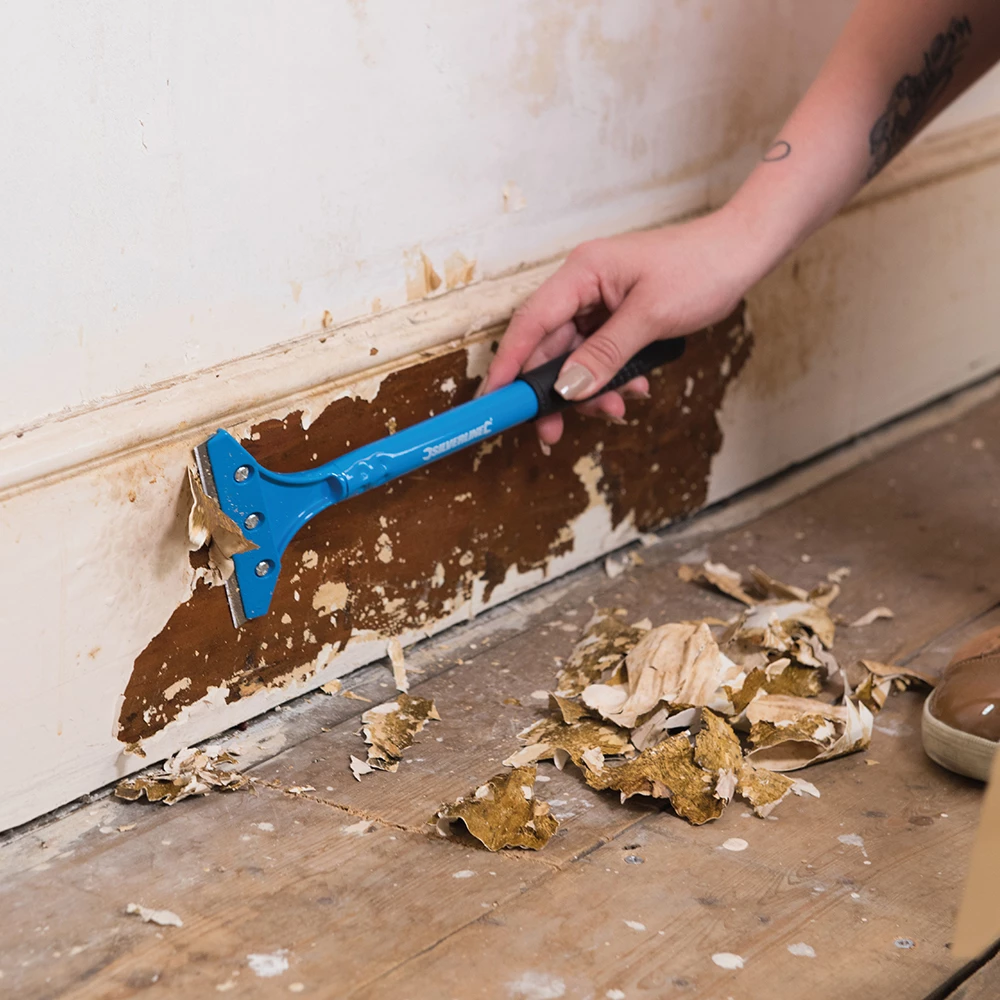
See proper surface preparation in action
Watch how careful cleaning and scraping makes repainting easier. Starting with a well-prepared, residue-free resin surface helps your new paint adhere better and ensures a smooth, long-lasting finish. Proper prep is the foundation for great results.

Step 1: Clean and Prepare the Surface
Start by thoroughly cleaning the resin dog house to remove dirt, debris, or mould. Use a soft cloth and mild detergent, rinsing well to ensure no soap residue remains. Allow the kennel to dry completely before moving on. If old paint or surface contaminants persist, use a scraper such as the Scraper for Paint & Dry Resin Removal – 10 Double-Sided Blades for smaller areas or the Heavy Duty Scraper for Paint and Epoxy Resin Removal for more stubborn layers, taking care not to gouge the resin underneath.
Step 2: Sand and Mask
Once clean, lightly sand the resin surface with fine sandpaper (220–400 grit). This critical step helps the new paint adhere securely, especially on the smooth finish typical of resin dog houses. Dust the surface with a dry cloth afterwards, ensuring all sanding residue is removed. Use masking tape to protect any features you don’t wish to paint, such as windows or hinges.
Step 3: Apply the Paint
With the surface fully prepared, you’re ready to paint. For efficient coverage on broad areas, a roller such as the Resin & Paint Application Rollers – Short-Pile, Large, and Sponge Types enables even application and a smooth finish. When dealing with intricate details, trim edges, or tight spots, the 12-Piece Artists Paint Brush Set for Epoxy Resin Art & DIY Projects offers a range of brush sizes suited for careful work. Apply paint in thin, even coats; avoid overworking it, and follow the paint manufacturer’s drying times between coats for the best durability.

Step 4: Inspect and Finish
Once fully dry, check your work for any missed areas or imperfections. Touch up as needed, using brushes for small fixes and rollers for larger sections. Carefully remove masking tape, then allow the kennel to cure in a dust-free location before returning it to outdoor use.
Tips and Common Mistakes to Avoid
Thorough preparation is essential—skipping cleaning or sanding can cause the paint to peel. Choose the right application method for each part—rollers are best for flat areas, while brushes handle edges and textures. Allow each coat to dry fully—applying too thick a layer or not allowing adequate drying time can compromise the finish. Lastly, always use paints formulated for plastic or resin for the most resilient results.
Achieve flawless resprays with simple techniques
Maintain a consistent hand and never rush. Using rollers on large surfaces and brushes for details, combined with cure time between coats, leads to a beautiful, durable effect on your dog’s home that will last through every season.

- Scraper for Paint & Dry Resin Removal – 10 Double-Sided Blades£4.95The scraper is designed for removing paint from smooth surfaces, suitable for professionals and DIY enthusiasts under the theme 'How to paint a used…
- Heavy Duty Scraper for Paint and Epoxy Resin Removal£8.95Heavy Duty Scraper is designed for effective removal of paint and coatings, suitable for DIY and professional use.
 Resin & Paint Application Rollers – Short-Pile, Large, and Sponge TypesPrice range: £3.62 through £5.09Rollers designed for precise and uniform application of epoxy resin surfaces, suitable for various resin projects.
 12-Piece Artists Paint Brush Set for Epoxy Resin Art & DIY Projects£6.95This 12-piece brush set offers versatile synthetic brushes designed for use with epoxy resin and suited to related art and DIY projects.
Frequently Asked Questions
Can you paint a resin dog house?
Yes, as long as you use paint suitable for plastic or resin surfaces and follow the correct preparation steps.
What are the best tools for painting a used resin dog house?
Use a combination of scrapers, rollers, and various paint brushes to achieve both broad and detailed coverage.
What type of paint should be used on a resin dog house?
Opt for exterior paints formulated for use on plastic or resin materials for the best adhesion and weather resistance.
Should you sand a resin dog house before painting?
Light sanding helps paint stick and creates a smoother surface for consistent coverage.
How long should you wait between paint coats?
Always follow the paint manufacturer’s guidelines, but generally, 2–4 hours between coats is recommended.
Can I paint outdoors in cold or humid weather?
Painting in mild, dry weather gives the best results; cold or damp conditions may affect drying and adhesion.