 Free shipping on orders over £29,85

How to pour colour onto resin?
Step-by-step guide for vivid, flawless resin colouring


Pouring colour onto resin is a skill that unlocks a spectrum of artistic and decorative possibilities. Whether you want subtle tints, swirling effects, or intense opaque finishes, understanding how to mix and apply colour with resin is key to professional results. This practical guide covers technique, timing, and safety considerations for anyone working with resin art, jewellery, crafts, or larger creative projects.
What You’ll Need
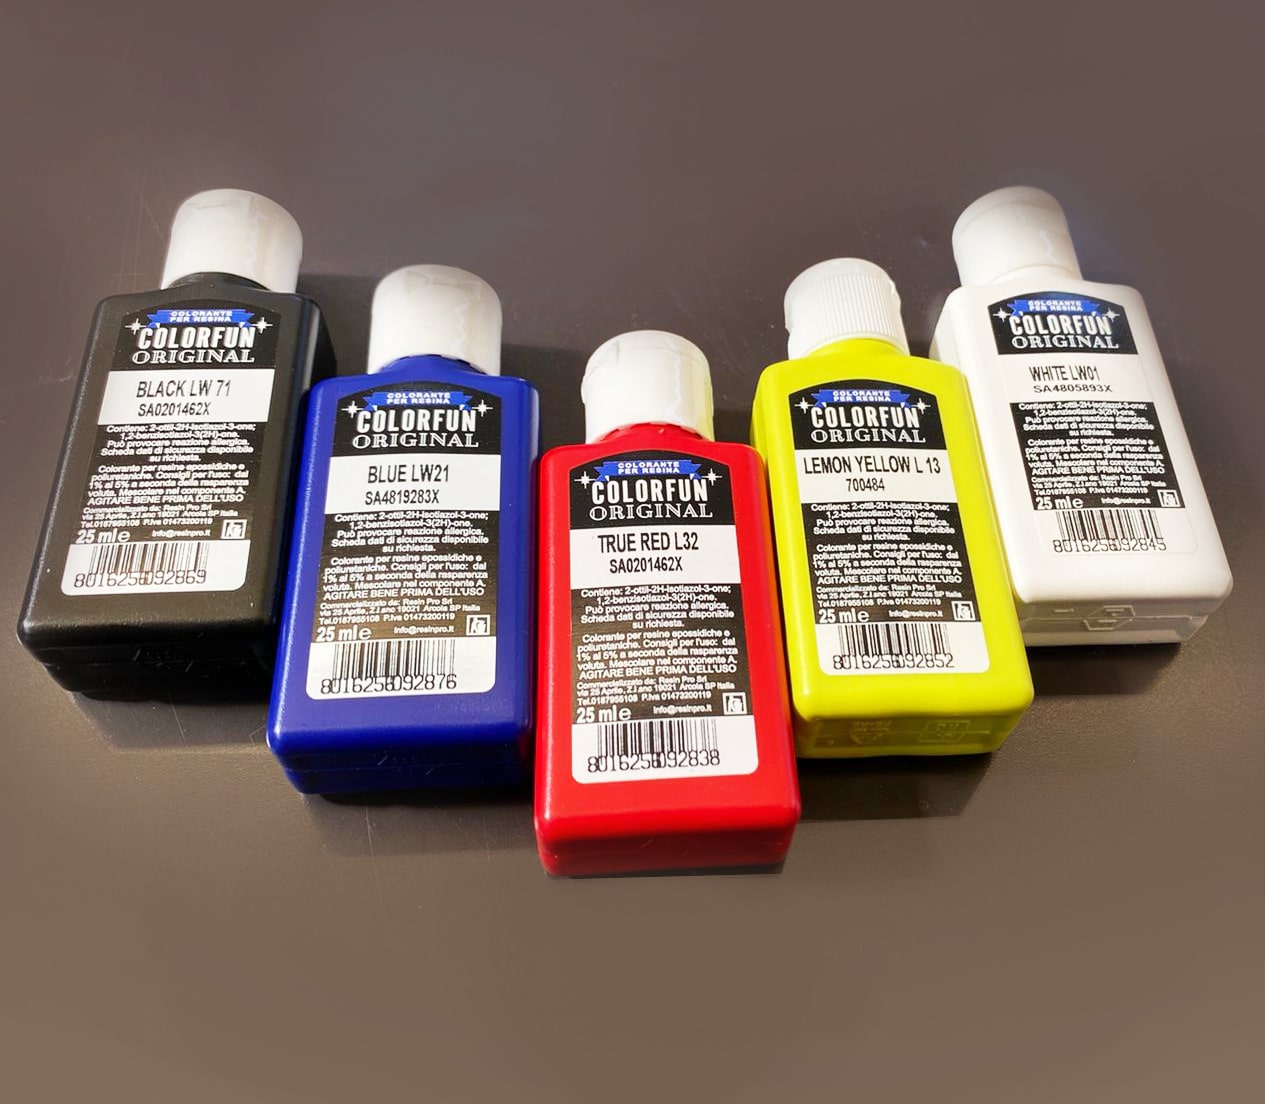
- “Colourfun” – Liquid Epoxy Resin Colourant 25-100ml – High coverage – For rich, vibrant, and customisable colouring.
- “Colourfun Set” – Liquid Epoxy Resin Colourant Set for Solid Colour Effects – Paste set for mixing precise shades or achieving strong, even coverage.
- “Magic Crystal” – Transparent Resin Colour 45ml – Ideal for glass-like, translucent or gemstone effects.
- “Petri Art” – Set of Alcohol Ink – For creating flowing, Petri-style colour patterns.
- Measuring scales and mixing cups
- Stir sticks or spatulas (wooden or silicone)
- Nitrile gloves, goggles, and protective clothing
- Covered, dust-free workspace

Essential Tools and Colour Choices for Vibrant Resin Art
Selecting the right colouring agent is just as important as technique. Colourfun colourants, Magic Crystal Transparent Resin Colour, and Petri Art inks each offer distinct effects for your resin art, letting you tailor transparency, vibrancy, and style. Ensure you work with clean tools and work surfaces for best results.
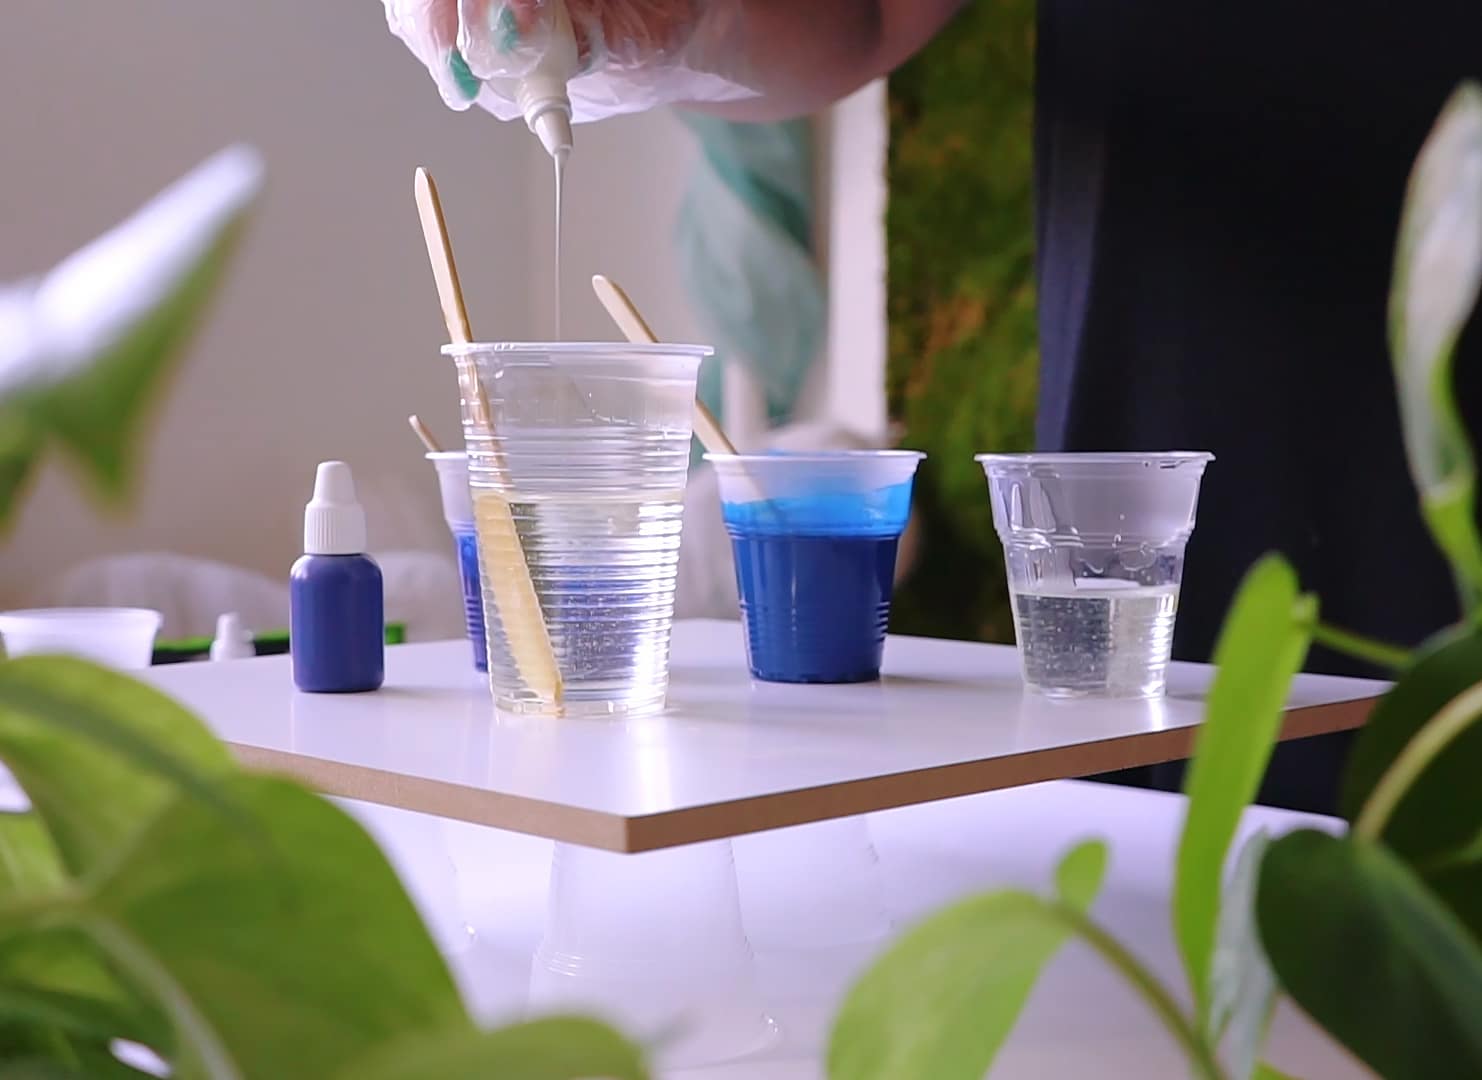
Step 1: Prepare Your Workspace and Materials
Begin by gathering all your tools and materials. Set up your workspace on a flat, protected surface, free from dust and direct sunlight. Safety is paramount—Use gloves, goggles, and work in a ventilated area to minimise contact with resin and solvents. Ensure all containers and utensils are clean and dry for best results.
Step 2: Mix the Resin Carefully
Measure the resin and hardener according to the manufacturer’s instructions, combining them in a clean mixing cup. Stir thoroughly for several minutes, scraping the sides and bottom to ensure an even blend. Inadequate mixing can result in soft spots or incomplete curing. Thorough mixing prevents streaks and cloudy spots, setting a strong foundation for colour addition.
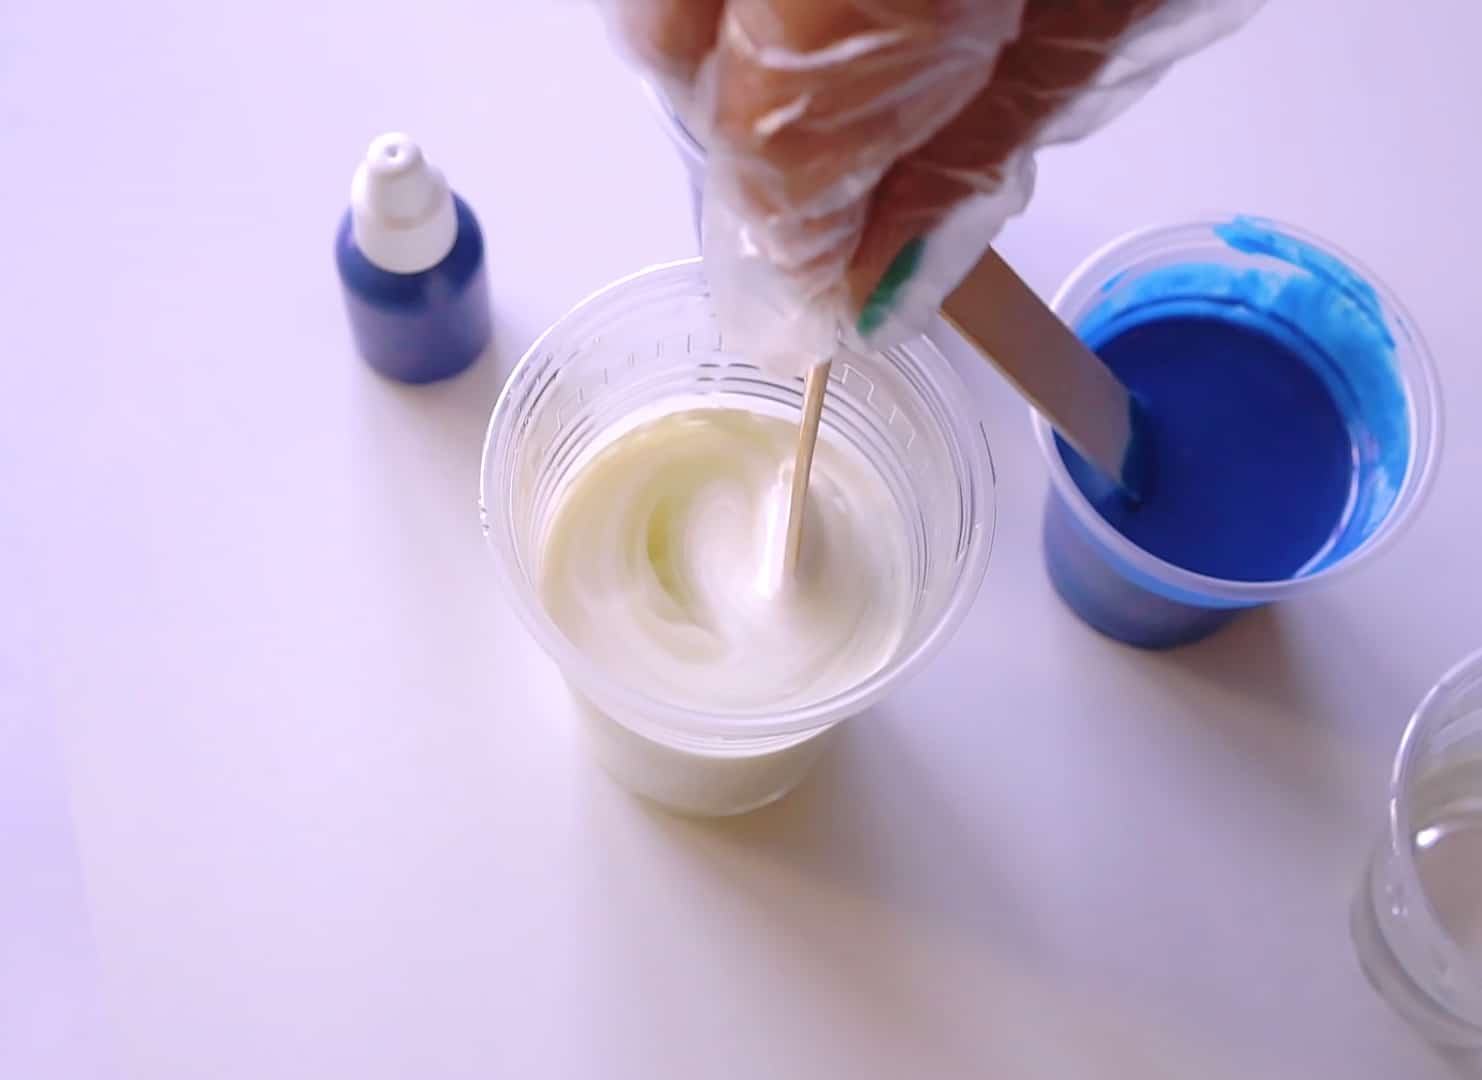
Step 3: Add and Blend Your Colour
Select the colourant based on the effect you want. For opaque, vibrant colour, use the Colourfun liquid colourant or opt for a specific shade from the Colourfun Set. If you prefer glass-like transparency, the Magic Crystal Transparent Resin Colour is designed for gemstone or water effects. For Petri or drop-in art, choose the Petri Art Alcohol Ink to create flowing patterns.
Start with a small amount; even a few drops can have a strong impact. Blend the colourant into the resin slowly, stirring evenly until you reach your desired intensity. Different colourants produce varying effects – test opacity or translucency with a small sample before colouring your entire batch.
Step 4: Pour and Manipulate the Resin
Once the colour is evenly distributed, pour the resin onto your surface, into a mould, or over your chosen project. Adjust your pouring style to create swirls, layers, or gradients. For techniques like Petri Art, wait 20–30 minutes after mixing so the resin thickens, then apply alcohol inks for controlled blooming.
Timing is crucial when adding colour and pouring. Pour too early, and colours will blend uncontrolled; too late, and you risk premature curing. Follow recommendations for your specific resin system, and always pour within the workable window noted by the manufacturer.

Step 5: Allow to Cure and Finish the Piece
Let the resin cure in a dust-free environment. Avoid moving the piece during initial curing, as this can cause surface imperfections. Cure times vary—consult your resin’s instructions for exact durations. Once hardened, you can sand edges or finish surfaces if necessary. For best clarity, keep the project covered and undisturbed until fully set.
Tips and Common Mistakes in Colouring Resin
- Test on a small sample before committing to your main piece. This helps achieve the exact colour effect you want.
- Do not exceed recommended colourant concentration—typically 5% of the resin’s weight—to preserve clarity and strength.
- Mix colourants thoroughly to avoid streaks.
- Beware of air bubbles; mix slowly and use a heat gun if needed to release trapped bubbles after pouring.
- For Petri or ink effects, avoid using low-viscosity resin immediately; allow it to partially thicken first.
Mastering Colour Layering and Special Effects
The way you pour, swirl, and layer coloured resin shapes the final look of your piece. For ocean or gemstone effects, blend transparent and opaque colourants in separate pours. Timing resin viscosity for Petri Art yields distinct blooming patterns, while slow mixing and careful pouring reduce bubbles and enhance finish quality.
- "Colourfun" – Liquid Epoxy Resin Colourant 25-100ml – High coveragePrice range: £3.65 through £9.85"Colourfun" liquid colourant provides vivid pigments for epoxy resin art, supporting a range of translucent to opaque effects.
- "Colourfun Set" – Liquid Epoxy Resin Colourant Set for Solid Colour EffectsPrice range: £13.45 through £48.15"Colourfun Set" offers intense colour pastes designed for transparent epoxy resin projects, suitable for creative resin colouring effects.
 "Magic Crystal" – Transparent Resin Colour 45ml£4.65"Magic Crystal" Transparent Resin Colour is designed for achieving glass-like clear colour effects in resin crafting.
 "Petri Art" – Set of Alcohol InkPrice range: £13.85 through £18.85Alcohol inks for Petri Art technique are designed to add colour to resin with simple creative effects.
Frequently Asked Questions
What products can I use to colour epoxy resin?
You can choose between liquid colourants, colour pastes, transparent dyes, and alcohol inks for varied resin colouring effects.
Can I mix different types of colourant in one project?
It's possible, but test compatibility as some colourant combinations may affect resin clarity or curing.
How do I achieve transparent or opaque resin colours?
Use transparent dyes for see-through effects and colour pastes or liquid colourants for opaque results.
When should I add alcohol ink for the Petri Art effect?
Allow resin to thicken slightly, usually 20–30 minutes after mixing, before adding alcohol ink for clear patterns.
How much colourant should I add to my resin?
Typically, 1–5% of resin's weight is ideal. Using more may affect curing or final finish.
How can I ensure my resin colour mixes evenly?
Slow, consistent stirring and scraping the sides of the cup ensures even blending of colourant.