 Free shipping on orders over £29,85

how to remove bubbles from epoxy resin
Achieve flawless resin finishes with easy bubble removal techniques

Dealing with bubbles in epoxy resin can be a frustrating part of any creative or functional resin project. Whether you are crafting jewellery, coating tables, or making art, a smooth, bubble-free finish is essential for a professional look and optimal durability. This guide will walk you through practical techniques to prevent and remove bubbles from epoxy resin, ensuring your creations always look their best.
What You’ll Need
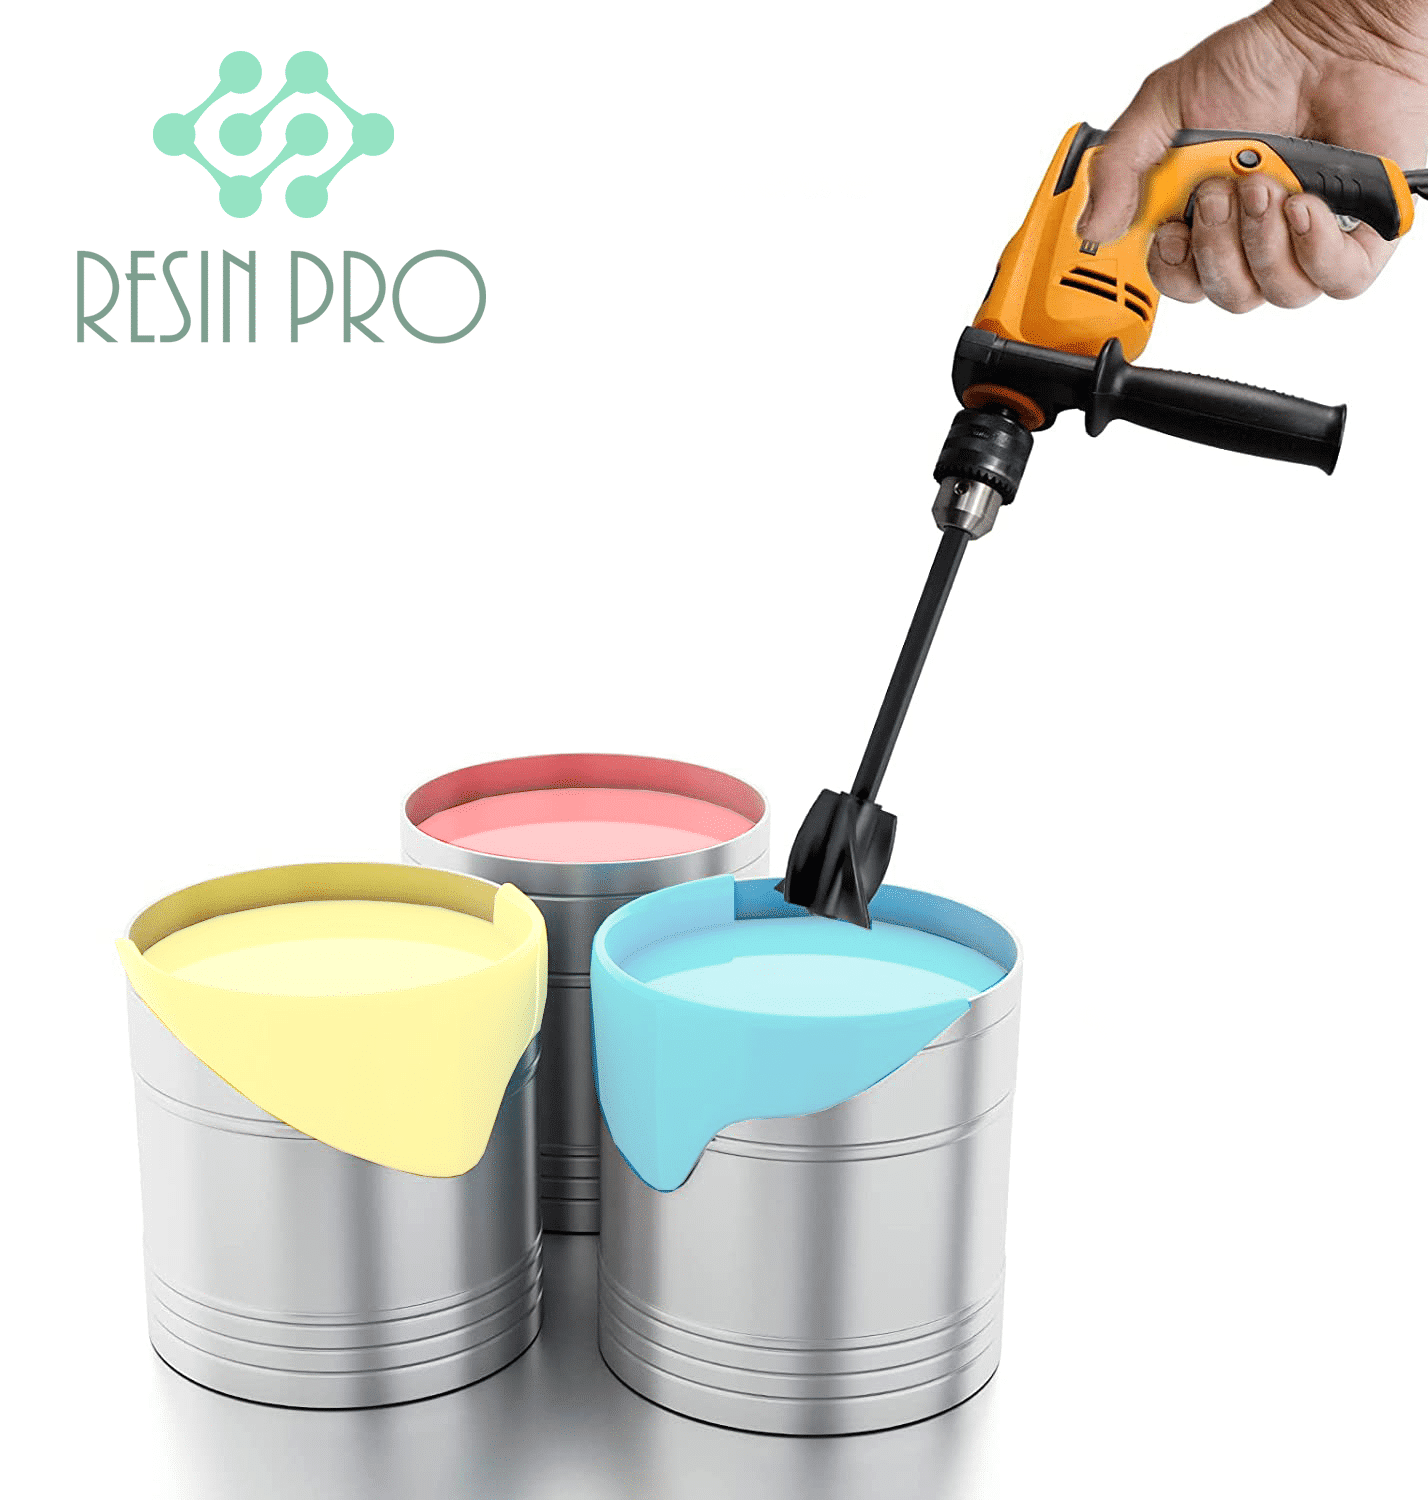
- Anti Bubble Mixer for Epoxy Resin – Reusable Mixing Tool – Gently stirs resin with minimal bubble formation.
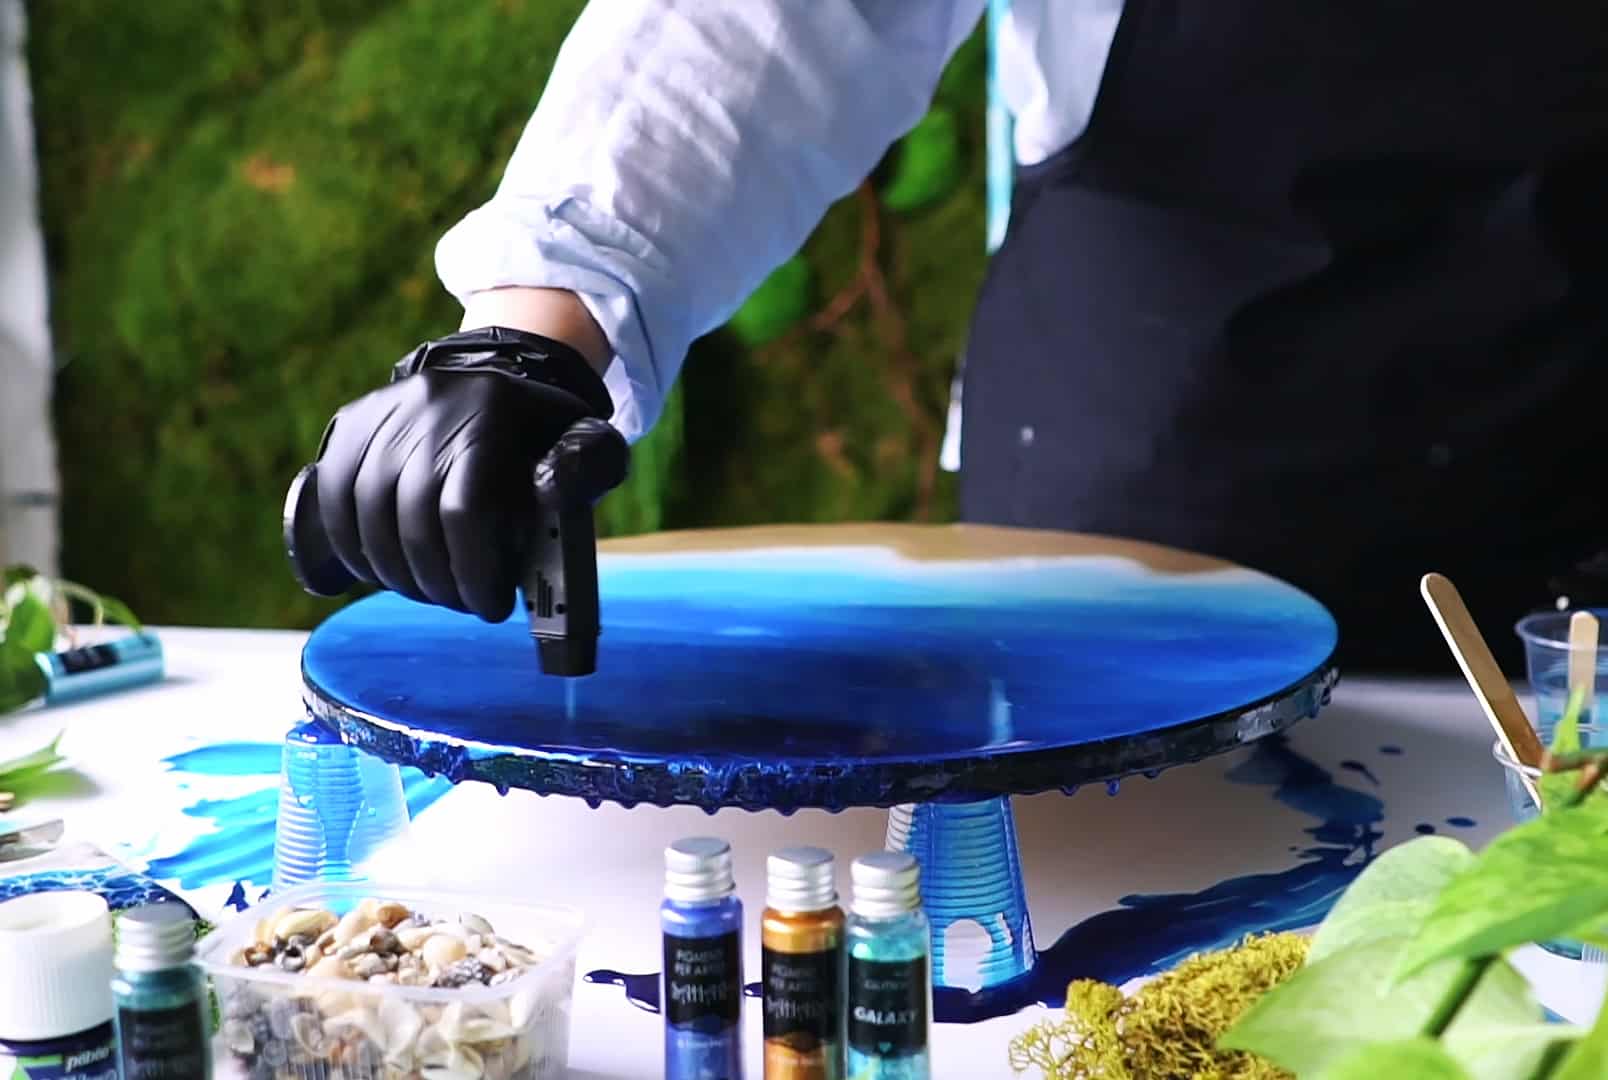
- Pure Isopropyl Alcohol 99.9% – 1000ml Bottle for Epoxy Resin Projects & DIY – Removes surface bubbles and cleans tools.
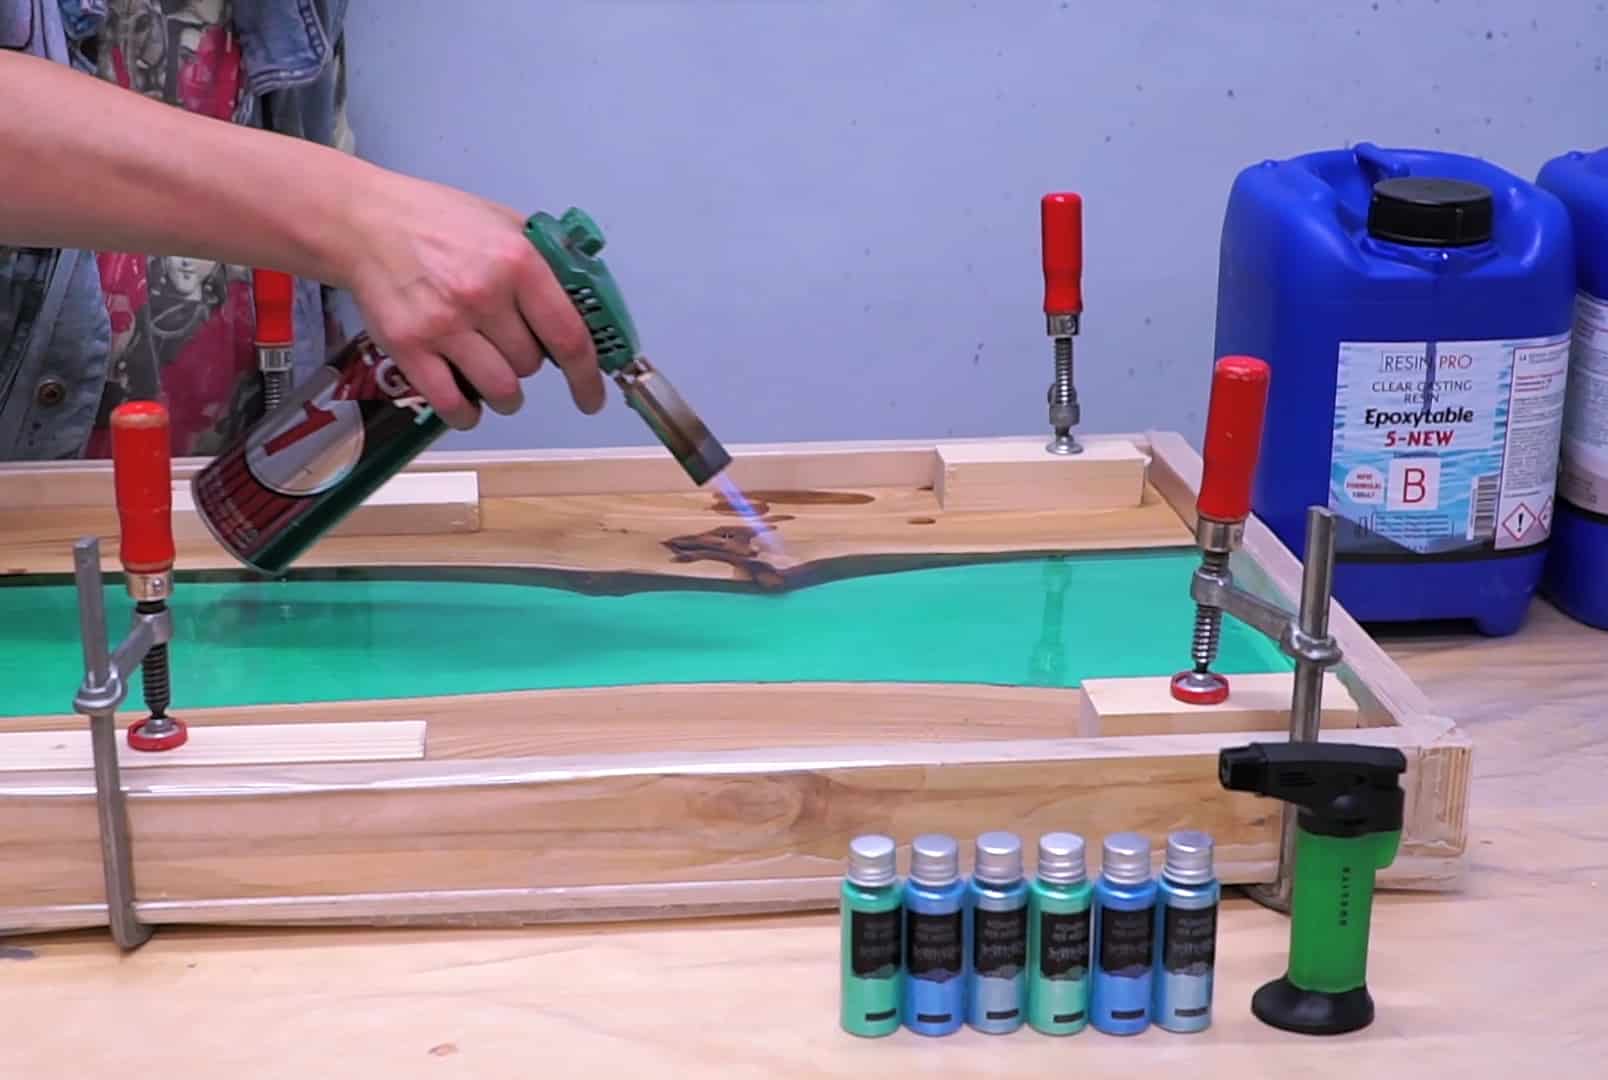
- Gas Heat Gun for Epoxy Resin – Precision Tool for Bubble Removal and Finishing – Applies gentle heat to eliminate trapped bubbles.
- Suitable containers and stirring sticks
- Nitrile gloves for safety
- A clean, dust-free workspace

Quick Guide: Essential Tools for Bubble-Free Resin
Removing bubbles from epoxy resin is much easier when you have the right tools at hand. A gentle stirring mixer helps you start with fewer bubbles, while a heat gun ensures trapped air escapes after pouring. High-purity isopropyl alcohol lets you finish the job with a flawless surface every time.
Step 1: Mix Your Epoxy Resin Carefully
Always mix resin slowly and steadily. Rapid or vigorous mixing introduces more air, causing excess bubbles. Use a purposeful, folding motion around the sides and base of your mixing vessel to incorporate both components thoroughly. If possible, let the mixed resin stand for a minute; some bubbles may naturally rise to the surface and pop.
For best results, consider using the Anti Bubble Mixer for Epoxy Resin – Reusable Mixing Tool, which is specifically designed to minimise bubble formation during this crucial step.
Step 2: Pour the Resin in Thin Layers
Pours should be done in thin, even layers wherever possible. Thick pours trap more air, while thinner applications allow bubbles to escape more freely. Pour your epoxy slowly and close to the surface to avoid introducing additional air as the resin settles.
Expect some small bubbles to rise after pouring, especially if your workspace is cool or the resin is thick. Allow a few moments before moving on to the next step so trapped air can surface.
Step 3: Apply Gentle Heat to the Surface
Once poured, heat is highly effective at removing surface bubbles. Move your heat gun, such as the Gas Heat Gun for Epoxy Resin – Precision Tool for Bubble Removal and Finishing, in steady, sweeping motions roughly 10–15cm above the resin surface. The warmth causes bubbles to rise and burst without scorching or disturbing the resin below.
Avoid holding the heat source in one spot for too long, which can overheat the resin and cause streaks or burns. Repeat short passes as necessary until the bubbles disappear.
Step 4: Use Isopropyl Alcohol for Surface Bubbles
For stubborn surface bubbles, lightly mist or drop Pure Isopropyl Alcohol 99.9% – 1000ml Bottle for Epoxy Resin Projects & DIY over the resin using a sprayer or pipette. The alcohol lowers surface tension, helping bubbles pop naturally while evaporating without residue.
Do not add alcohol before initial curing, and avoid over-application, as this may affect the resin finish or clarity. Allow the alcohol to fully evaporate before further handling.
Tips, Common Mistakes, and Troubleshooting
- Always mix resin slowly and steadily – rushing leads to more bubbles.
- Work in a clean, controlled environment – dust and moisture encourage imperfections.
- Avoid over-mixing or shaking the resin, as this can trap excess air.
- If bubbles persist, re-pass with gentle heat once tack-free.
- Ensure your pouring temperature is neither too cold nor too warm, which affects viscosity and bubble escape.
- Apply heat in controlled bursts to avoid scorching the resin or creating divots.
- Do not add alcohol before initial curing, as it may interfere with resin setting.
Expert Advice: Troubleshooting Typical Bubble Issues
If bubbles are stubborn, review your mixing and pouring methods. Be patient and allow extra time for the resin to settle and for gentle heating to work. Small adjustments—such as slightly warming the resin beforehand or using a dedicated bubble mixer—can make a significant difference in your results.

- Anti Bubble Mixer for Epoxy Resin – Reusable Mixing Tool£4.45The Anti Bubble Mixer provides gentle stirring for bubble-free epoxy resin mixing, reusable and eco-friendly.
- Pure Isopropyl Alcohol 99.9% – 1000ml Bottle for Epoxy Resin Projects & DIYPrice range: £9.85 through £19.85Pure Isopropyl Alcohol 99.9% is suitable for removing bubbles and creating effects in epoxy resin projects.
- Gas Heat Gun for Epoxy Resin – Precision Tool for Bubble Removal and FinishingPrice range: £4.15 through £13.85The Gas Heat Gun supports precise heating to reduce bubbles and help finish epoxy resin projects smoothly.
Frequently Asked Questions
What is the best way to remove bubbles from epoxy resin?
The combination of slow mixing, thin pouring, and gentle heat application effectively minimises bubbles in most epoxy resin projects.
Can I fix bubbles after the resin has cured?
If small bubbles remain after curing, you can sand and recoat the area or fill them with a small amount of fresh resin.
Is a heat gun or torch better for removing resin bubbles?
A heat gun is safer for beginners and provides controlled heat, while a torch can be effective but must be used carefully to avoid scorching.
Can I use alcohol to remove bubbles in epoxy resin?
Yes, misting isopropyl alcohol over the resin surface helps release trapped bubbles, but do not overuse or add before initial curing.
How do I stop getting bubbles in my resin mix?
Mix slowly, avoid whisking or shaking, and use a bubble-minimising stirring tool whenever possible.
Why are there still bubbles in my cured resin?
Bubbles can remain if the resin was mixed or poured too quickly, or if it was too cold for trapped air to escape before setting.