 Free shipping on orders over £29,85


How to Remove Bubbles from Epoxy Resins?
Achieve smooth, clear epoxy projects with these expert steps

Removing bubbles from epoxy resin is crucial for achieving that flawless, crystal-clear finish in your art, jewellery, or functional projects. Whether you’re pouring river tables or casting decorative pieces, understanding bubble removal techniques will dramatically improve the quality and look of your work. This guide walks you through proven methods for preventing and eliminating bubbles, ensuring your resin projects remain smooth and professional every time.
What You’ll Need
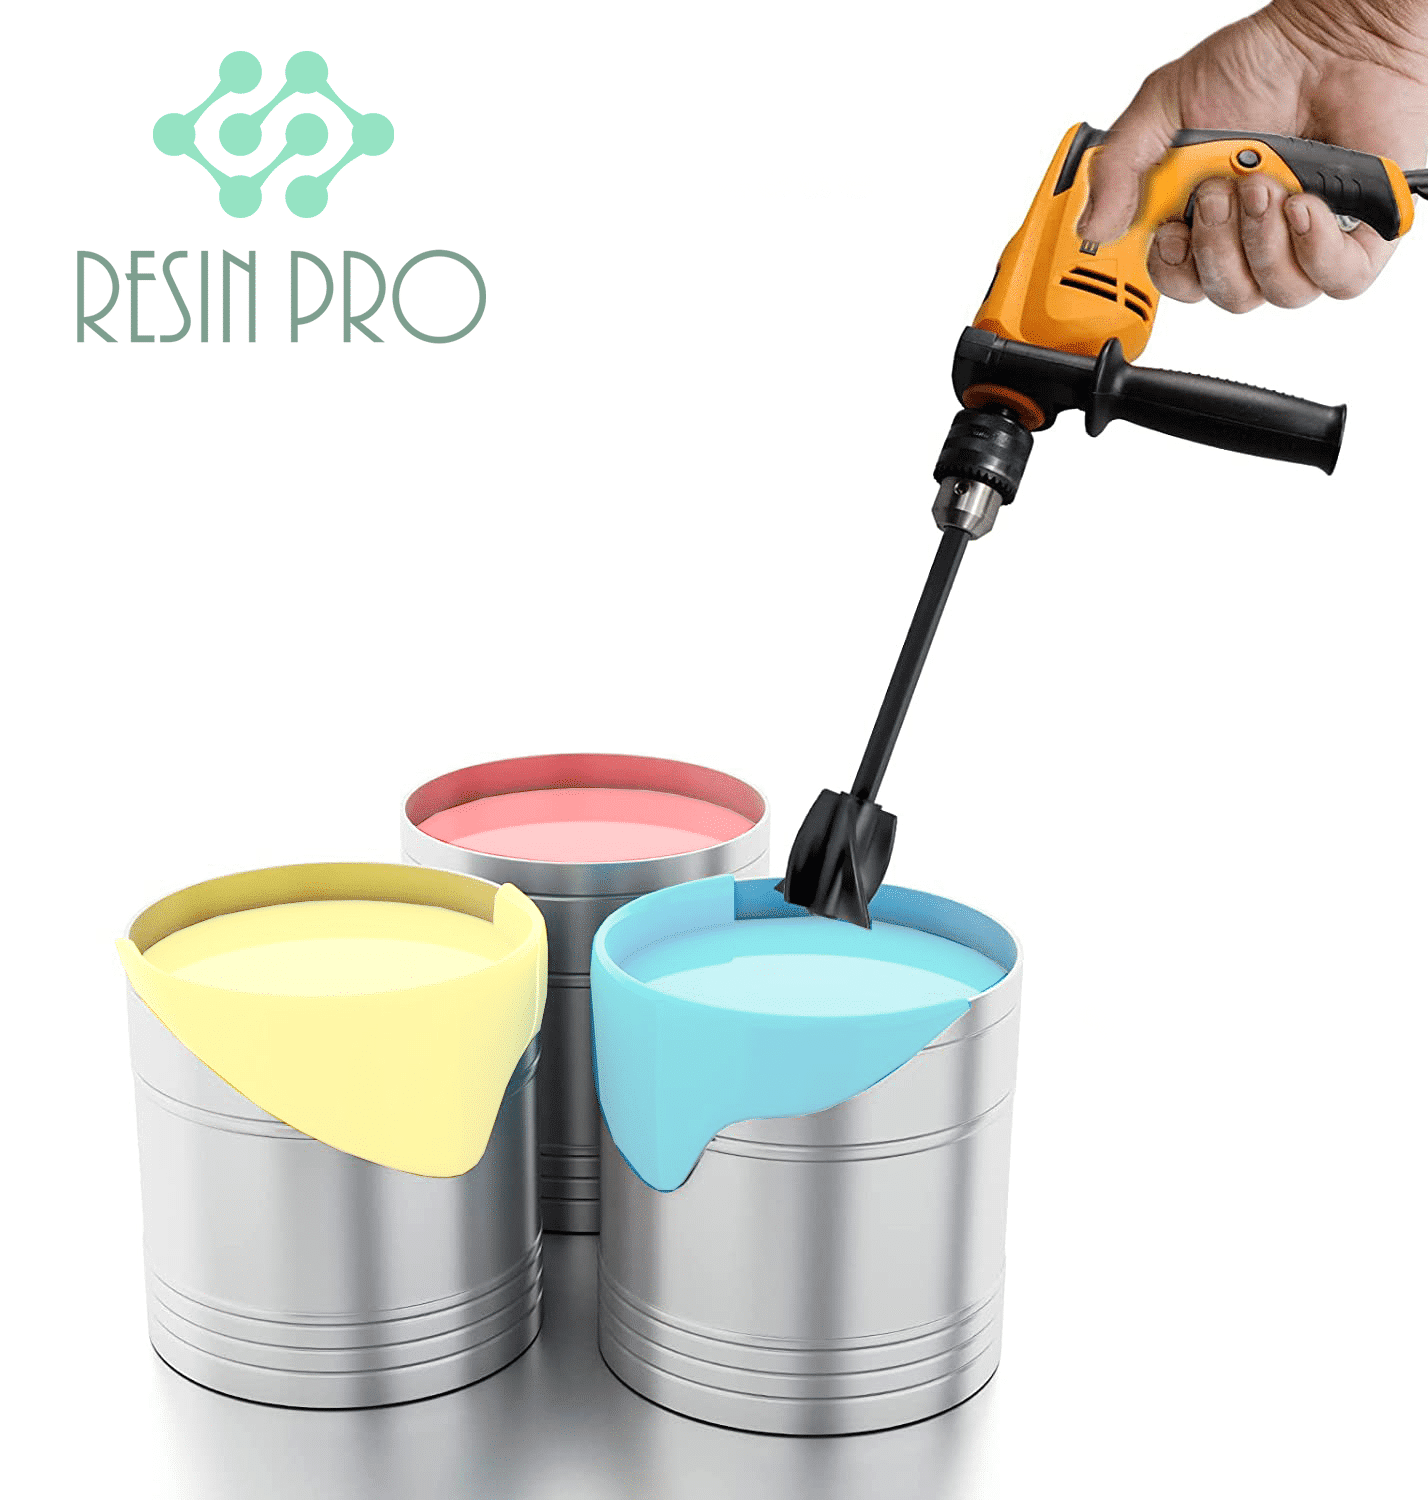
- Anti Bubble Mixer for Epoxy Resin – Reusable Mixing Tool: A gentle mixer to reduce bubble formation during the blending stage.
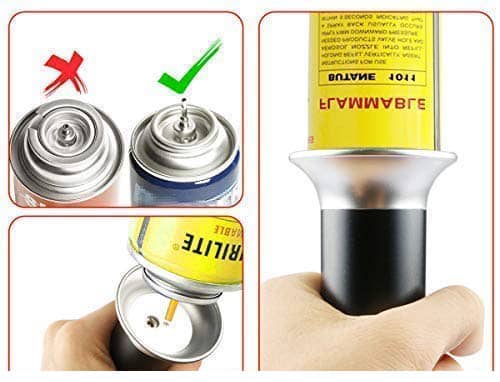
- Gas Heat Gun for Epoxy Resin – Precision Tool for Bubble Removal and Finishing: For targeted heating to eliminate bubbles after pouring.
- 1500W Heat Gun for Crafting and Epoxy Resin Projects – Two Heat Settings: Ideal for larger pours needing consistent, controlled airflow to remove bubbles.
- Pure Isopropyl Alcohol 99.9% – 1000ml Bottle for Epoxy Resin Projects & DIY: Use sparingly for popping surface bubbles and creating artistic effects.
- Protective gloves and a well-ventilated workspace.

Visual Steps to Bubble-Free Resin
See close-up examples of resin mixed correctly, slow pouring methods, and controlled heat application for perfect, clear results. Visual guides reinforce each tip for flawless resin pours.
Step 1: Mix Epoxy Resin Correctly to Minimise Bubbles
Thorough mixing is the first and most crucial step to prevent excess bubbles from appearing in your epoxy resin. Always combine resin and hardener slowly, moving in a figure-eight pattern while gently scraping the sides and bottom of your mixing container. Rapid or aggressive stirring will introduce unwanted air, increasing the number of bubbles in your final piece. Take care not to remove your mixing stick from the resin too quickly, which can also cause additional air to be trapped.
For best results, consider using an Anti Bubble Mixer for Epoxy Resin – Reusable Mixing Tool, designed to blend resin with minimal air entrapment, helping set you up for a clearer finish from the start.
Step 2: Pour Resin Carefully and Strategically
Once your resin is mixed, allow it to rest for one to three minutes to let bubbles rise naturally to the surface. When pouring into your mould or onto your project surface, pour slowly in a thin stream held close to the target. This technique gives air bubbles a chance to escape before settling into the resin layer. If you’re working with deep moulds or layers, pour gradually and avoid sudden movements that could trap extra air.
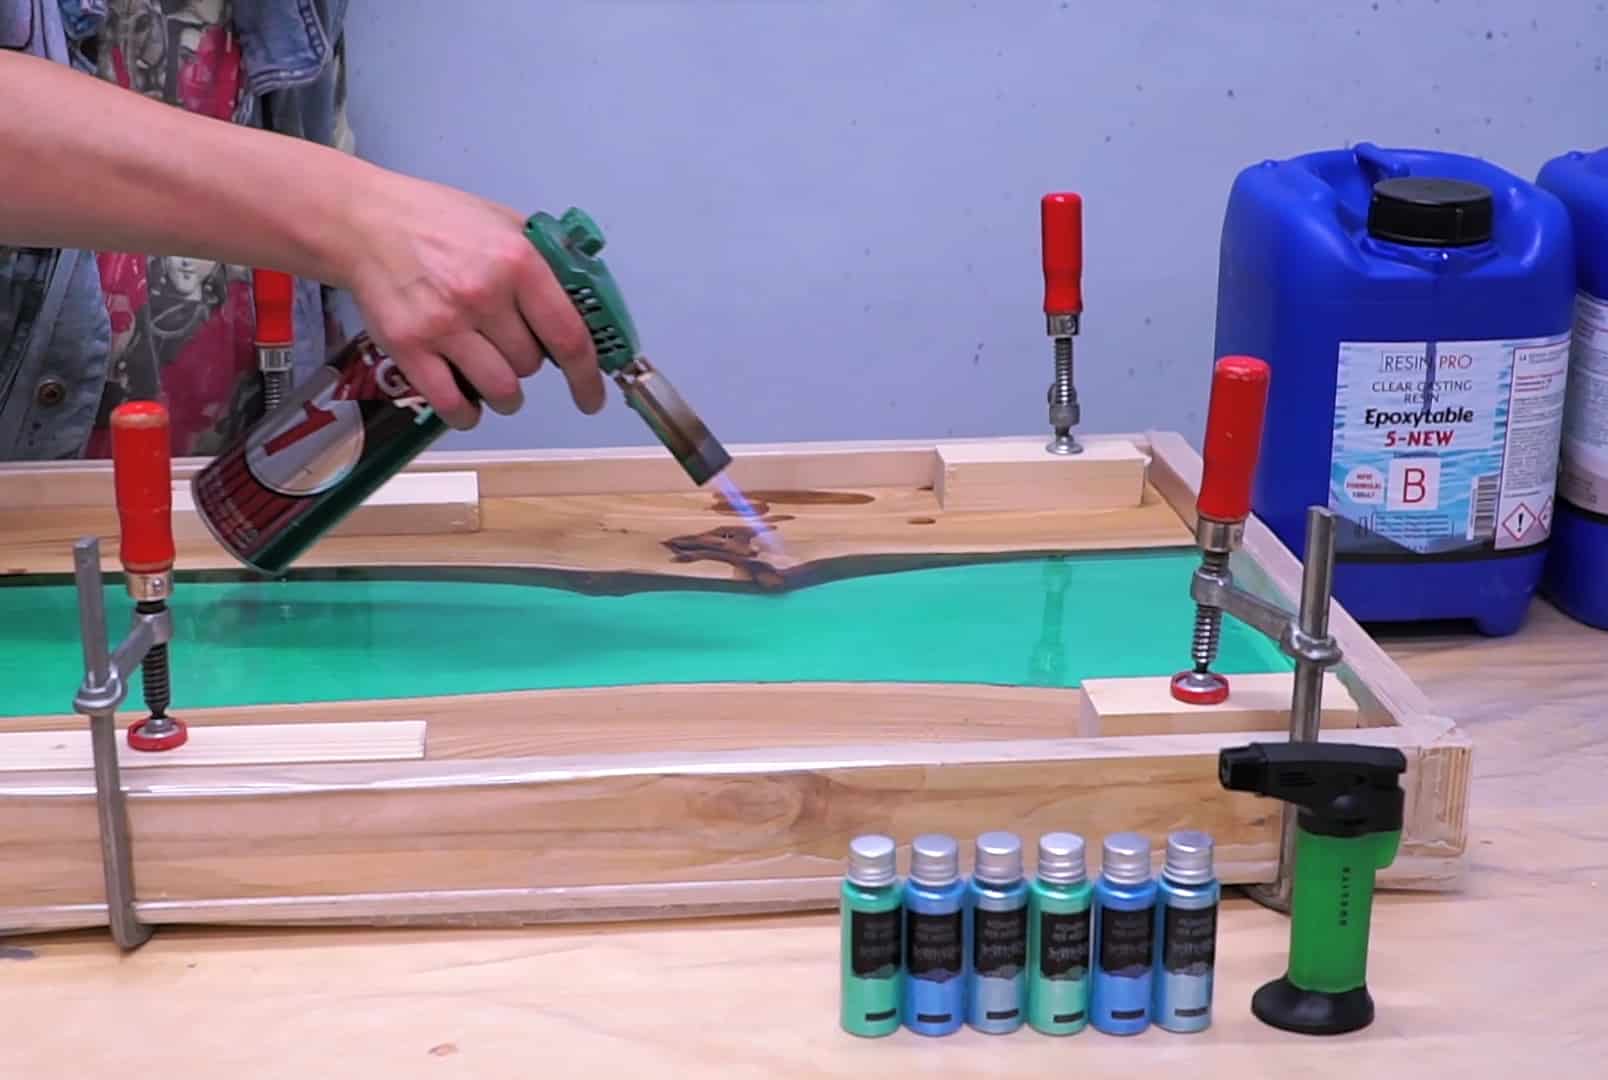
Step 3: Use Heat to Remove Surface Bubbles
After pouring, immediate attention with controlled heat helps pop surface bubbles before they cure in place. Hold a heat tool, such as the Gas Heat Gun for Epoxy Resin – Precision Tool for Bubble Removal and Finishing, a few centimetres above the resin surface, moving it steadily and never lingering in one spot. The warmth draws bubbles to the top and pops them rapidly, producing a smooth, glassy effect.
For larger projects, the 1500W Heat Gun for Crafting and Epoxy Resin Projects – Two Heat Settings provides wider coverage with adjustable heat for safe, even bubble removal. Avoid using open flames, and take care not to overheat the resin, which can cause yellowing or uneven curing.
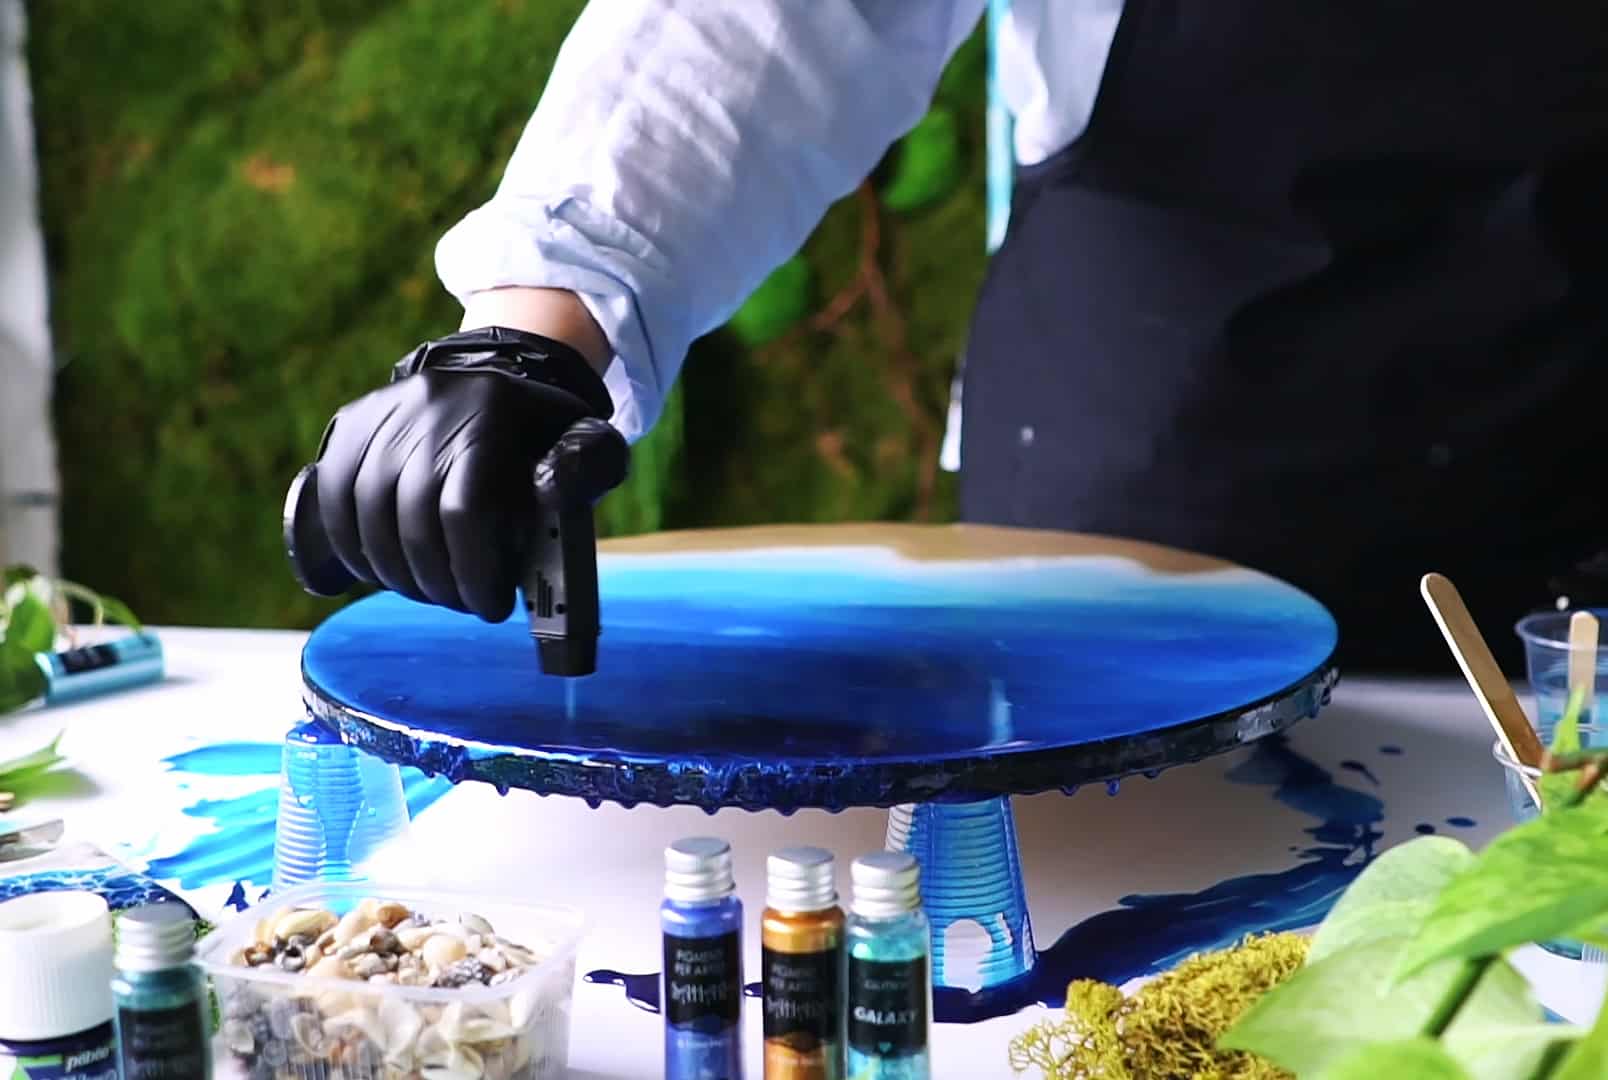
Step 4: Finishing Touches with Isopropyl Alcohol
For stubborn or tiny surface bubbles, lightly misting the epoxy surface with 99.9% pure isopropyl alcohol can help. The alcohol bursts microbubbles and smoothes out the finish when used sparingly and only on the surface. Mist from a fine spray bottle, keeping your hand moving for an even coat. Use this method as a finishing touch rather than a substitute for good mixing and pouring habits.
Refer to Pure Isopropyl Alcohol 99.9% – 1000ml Bottle for Epoxy Resin Projects & DIY for bubble removal and creating marble or cell effects in your resin art.

Tips, Common Mistakes, and Troubleshooting
- Always pour resin slowly to minimise air entrapment.
- Use heat carefully and avoid overheating your resin.
- Never mix epoxy resin too quickly; slow and steady achieves best results.
- Apply isopropyl alcohol lightly and only when necessary.
- Maintain proper ventilation when using heat guns or alcohol.
Should bubbles persist, review each step of your process for areas that might introduce extra air, such as rapid mixing, pouring from height, or working in a cold environment. Adjust your technique as needed for consistently smooth outcomes.
Project Demonstrations and Safety in Action
Watch project snippets showing heat guns in use on curing resin, and the subtle use of alcohol mist for final surface clarity. Includes reminders for safe handling and workspace preparation.
- Anti Bubble Mixer for Epoxy Resin – Reusable Mixing ToolPrice range: £4.95 through £12.45Anti Bubble Mixer designed for epoxy resin projects offers a simple tool for mixing with reduced bubbles.
- Gas Heat Gun for Epoxy Resin – Precision Tool for Bubble Removal and FinishingPrice range: £4.45 through £14.95The Gas Heat Gun offers precision heating designed to reduce bubbles in epoxy resin projects for a smooth finish.
- Pure Isopropyl Alcohol 99.9% – 1000ml Bottle for Epoxy Resin Projects & DIYPrice range: £10.45 through £20.95Pure Isopropyl Alcohol 99.9% is used to remove bubbles and enhance resin art effects, suitable for epoxy resin projects in bubble removal theme.
 1500W Heat Gun for Crafting and Epoxy Resin Projects – Two Heat Settings£29.45A heat gun designed for bubble removal in epoxy resin projects with two heat settings and a lightweight design.
Frequently Asked Questions
What is the most effective way to remove bubbles from epoxy resin?
A combination of slow mixing, careful pouring, and application of heat with a heat gun gives the smoothest, bubble-free finishes.
Can isopropyl alcohol remove bubbles in epoxy resin?
Yes, lightly misting the resin surface with isopropyl alcohol helps pop microbubbles as a finishing step.
How can I prevent bubbles while mixing epoxy resin?
Mix slowly and use a dedicated anti-bubble tool to reduce air inclusion during the blending stage.
Is it safe to use a heat gun on curing epoxy resin?
Yes, when used carefully on the lowest setting and kept moving, heat guns are safe and effective for bubble removal.
Should I use a flame or a heat gun to remove bubbles from epoxy resin?
A heat gun is preferred as it offers better control and reduces fire risk compared to open flames.
Why am I still getting bubbles in my epoxy resin?
Cold workspaces, contaminated moulds, or pouring from a height can lead to excess bubbles. Adjust your technique or environment.
How much isopropyl alcohol should I use for bubble removal?
Use only a light mist on the surface; excessive alcohol can cause surface imperfections or compromise resin curing.