 Free shipping on orders over £29,85


How to remove epoxy grout residue?
Step-by-step process for restoring surfaces after epoxy grouting

Removing epoxy grout residue from tiled surfaces is crucial for achieving a clean, professional result after grouting. This guide will help you eliminate stubborn residue while protecting tiles and joints, whether you are an experienced tiler or tackling a DIY job at home.
What You’ll Need
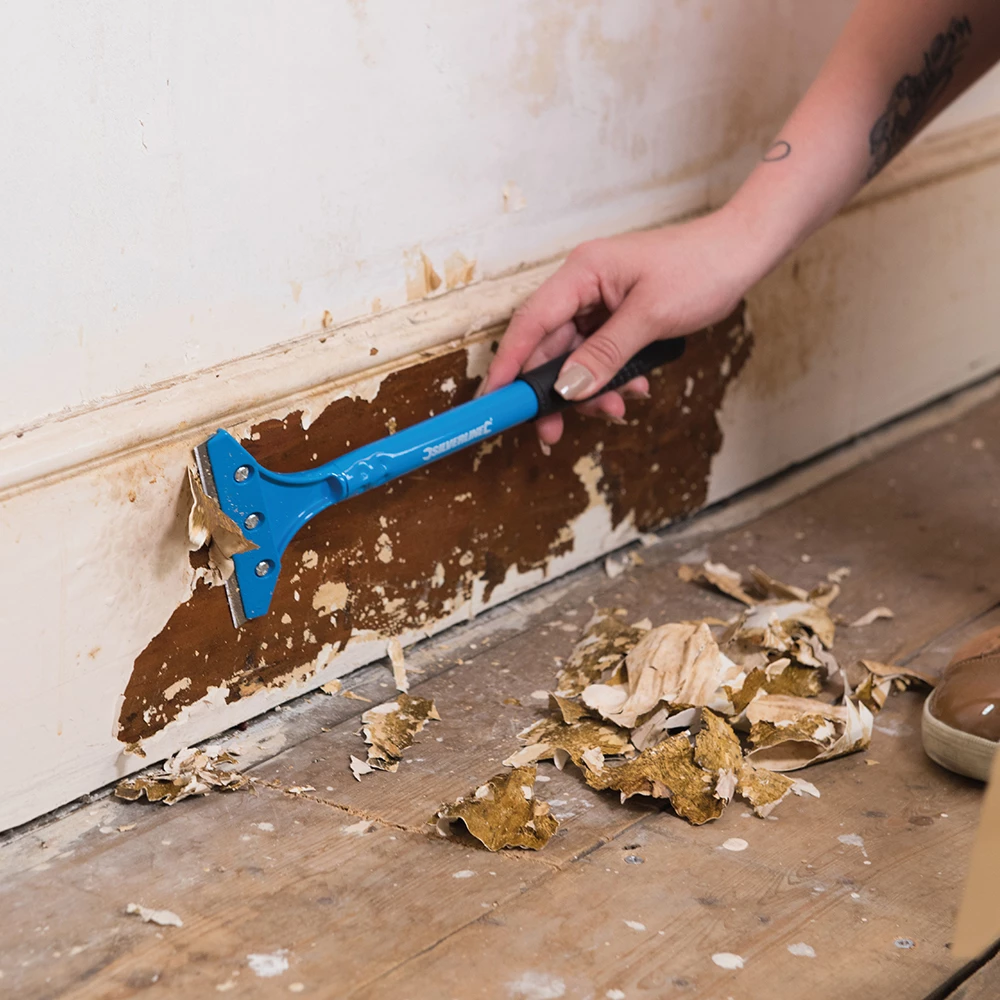
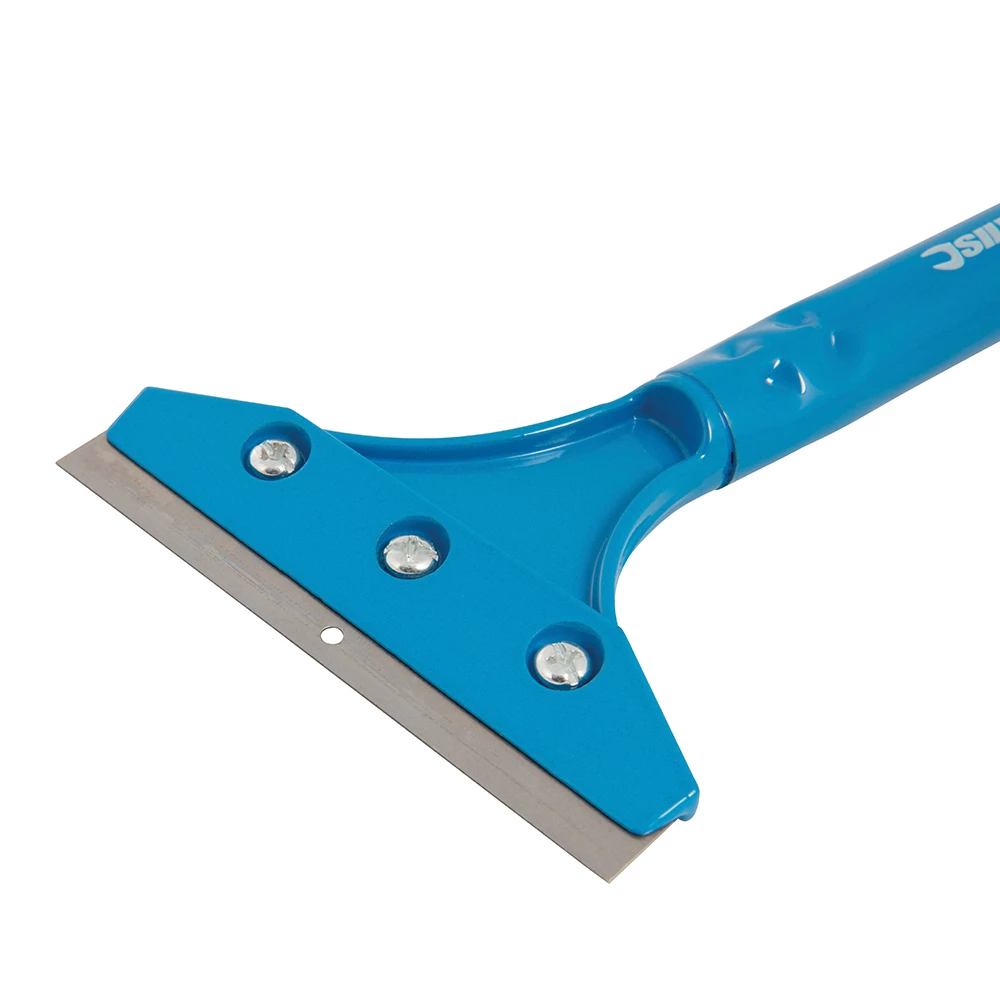
- Heavy Duty Scraper for Paint and Epoxy Resin Removal – for lifting hardened residue from surfaces.
- Pure Isopropyl Alcohol 99.9% – 1000ml Bottle for Epoxy Resin Projects & DIY – aids softening and cleaning for light films.
- Strong Technical Degreaser for Resin Projects – 100% Natural Formula – for safe and natural residue removal.
- “Epoxy Polish” – Epoxy Resin Polishing System – to restore gloss to any dulled or marked area after cleaning.
- Clean sponges and microfibre cloths
- Protective gloves and eye protection
Essential Tools for Safe Epoxy Grout Removal
Choosing the right tools and cleaning agents helps prevent tile damage and makes removal quicker and easier. Personal protective equipment is always advisable when working with hardened epoxy residue or chemical cleaners.

Step 1: Assess the Surface and Prepare the Area
Begin by carefully inspecting the surface to understand the extent and hardness of the epoxy grout residue. Remove furniture and other objects from the working area to prevent accidental damage. Always protect your hands with gloves and open windows for proper ventilation. Identifying whether the residue is fresh, slightly cured, or fully hardened helps you select the right removal method and avoid unnecessary scratching of tiles.
Step 2: Loosen and Remove Hardened Epoxy Grout Residue
For residue that has set, use a mechanical tool to gently lift material from the surface. Use a mechanical scraper for stubborn residue such as the Heavy Duty Scraper for Paint and Epoxy Resin Removal. Hold the tool at a shallow angle and apply light, consistent pressure to avoid damaging tile surfaces. Work in short, controlled motions, focusing on affected areas only.
Take care to choose a scraper with a sharp blade and comfortable handle. If you encounter any resistance, avoid excessive force—patience will prevent chipping or scratching the tiles. Remove larger deposits first before proceeding to general cleaning.
Step 3: Clean Remaining Films and Residue with Chemical Agents
After most of the grout has been scraped away, light films or smears can be addressed with a suitable cleaning solution. Apply a suitable chemical cleaner for thorough removal. Dampen a clean sponge or cloth with Pure Isopropyl Alcohol 99.9% to soften and dissolve light residue—work in small sections and wipe in circular motions, swapping cloths frequently.
Alternatively, a gentle degreaser such as the Strong Technical Degreaser for Resin Projects – 100% Natural Formula is recommended for those seeking a plant-based, dermatologically tested option. Always follow safety instructions and test any cleaning solution on a small, hidden area first.

Step 4: Rinse, Inspect and Polish the Surface
Once you have removed visible residue, wipe the area with clean water to strip away any lingering chemicals. Dry with a clean microfibre cloth and thoroughly inspect the tiles under good light, checking for any haze, streaks or small marks. For optimal results, polish the surface with a dedicated resin polishing system such as “Epoxy Polish” – Epoxy Resin Polishing System, especially if the clean-up has left the surface with a dull finish. Use gentle, circular motions to restore lustre and achieve a uniform appearance.

Tips and Common Mistakes to Avoid
- Always wear gloves and ensure good ventilation when using scraping tools or chemical agents.
- Do not use abrasive materials that may scratch the surface—avoid steel wool and rough scouring pads on tiles.
- Address epoxy grout residue as soon as possible; the longer it cures, the more difficult removal becomes.
- Check manufacturers’ recommendations for both grout and surface to avoid reactions with cleaning products.
- Work patiently in small sections for best results.
Surface Finishing After Grout Residue Removal
Final polishing restores original tile gloss and prevents dull patches. Using a dedicated polishing system after cleaning helps achieve a professional, spotless finish.
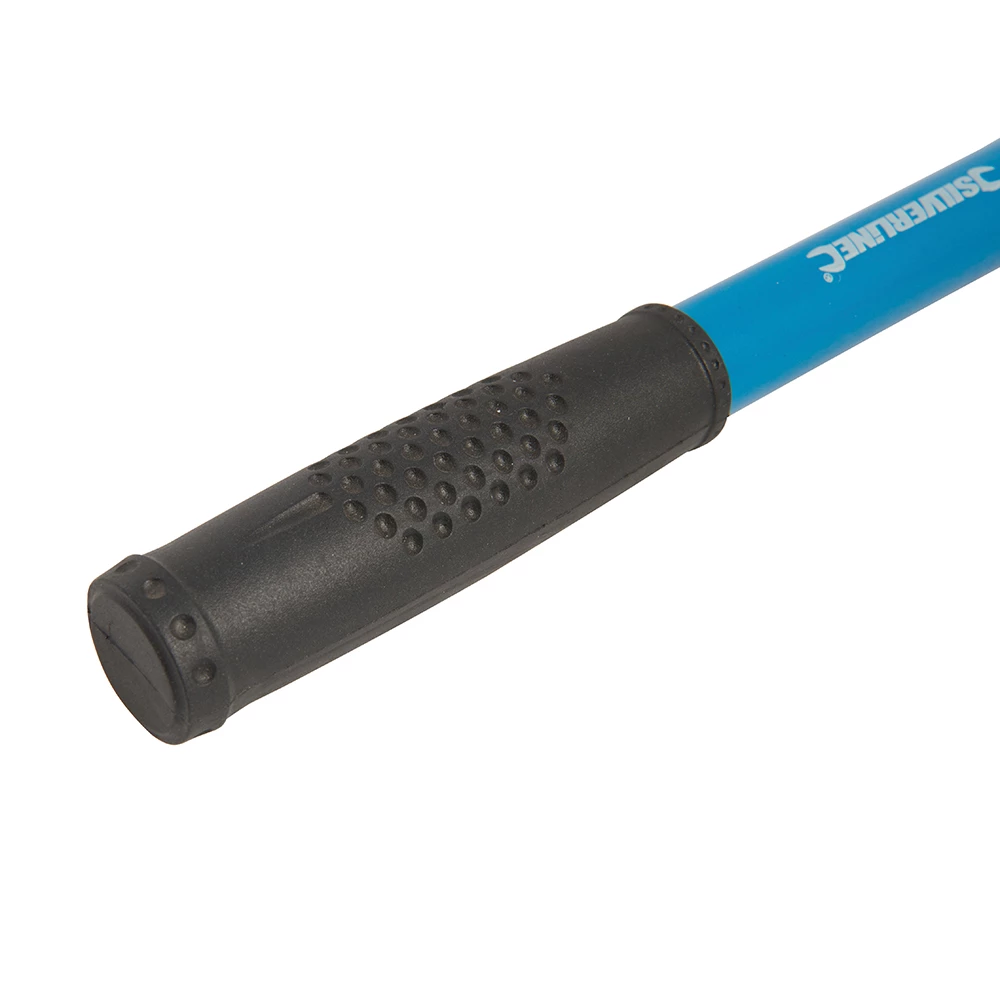
- Heavy Duty Scraper for Paint and Epoxy Resin Removal£8.95Heavy Duty Scraper designed for effective removal of wall coverings and paint with a lightweight handle and sharp blade.
- Pure Isopropyl Alcohol 99.9% – 1000ml Bottle for Epoxy Resin Projects & DIYPrice range: £10.45 through £20.95Pure Isopropyl Alcohol 99.9% is suitable for epoxy resin projects, aiding bubble removal and creative resin effects.
- Strong Technical Degreaser for Resin Projects – 100% Natural FormulaOriginal price was: £10.95.£9.45Current price is: £9.45.Strong Technical Degreaser offers a natural, gentle clean suitable for various surfaces, supporting effective epoxy resin project maintenance.
- "Epoxy Polish" – Epoxy Resin Polishing SystemPrice range: £18.95 through £47.45"Epoxy Polish" is an epoxy resin polishing system designed to rejuvenate surfaces to a mirror-like shine, suitable for resin projects under the theme…
Frequently Asked Questions
What is the best tool for removing epoxy grout residue?
A mechanical scraper with a sharp, precise blade is most effective for removing hardened epoxy grout residue from tiles.
Can isopropyl alcohol be used to remove epoxy grout residue?
Yes, 99.9% pure isopropyl alcohol helps dissolve light films and smears after mechanical removal of residue.
Is a natural degreaser safe to use on tiles and grout?
Natural degreasers designed for epoxy are safe on most tile types and effective at removing sticky or greasy residue.
Should I polish tiles after removing epoxy grout residue?
Polishing restores the original tile gloss and removes minor imperfections left from cleaning, resulting in a flawless appearance.
Why should I avoid abrasive cleaners on tile surfaces?
Abrasive materials can cause scratching and dullness, especially on glossy tiles or delicate finishes.
How can I protect myself when using epoxy cleaning chemicals?
Always wear gloves, ensure good ventilation, and follow all safety instructions printed on the product labels.