 Free shipping on orders over £29,85


How to remove resin from outdoor flooring?
Clear spills and restore patios and terraces using safe, effective methods


Spills and mishaps can leave unsightly epoxy or resin residue on garden patios, balconies, and other outdoor floors. Whether it’s from a DIY project or accidental drops, this guide will show you how to clear resin from outdoor surfaces and restore their natural appearance. From physical removal to the safest cleaning solutions, follow these proven methods for hassle-free resin removal outdoors.
What You’ll Need
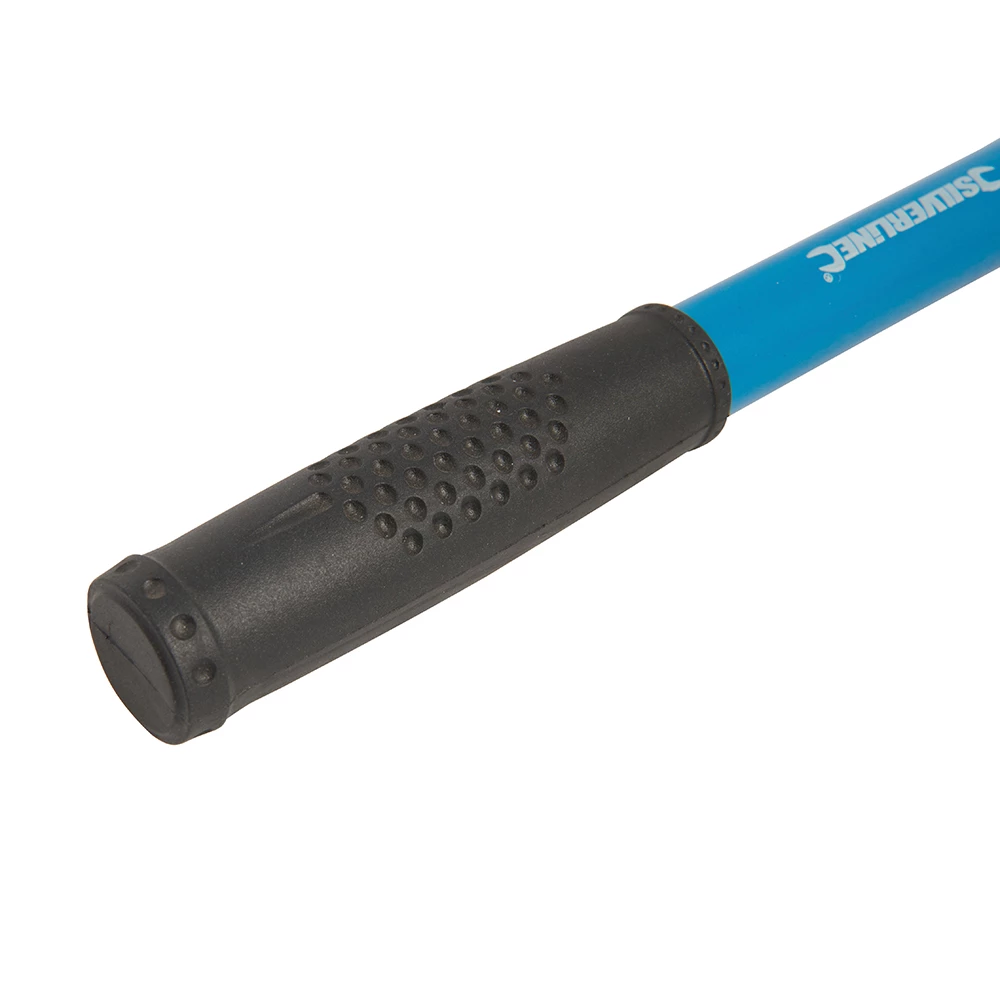
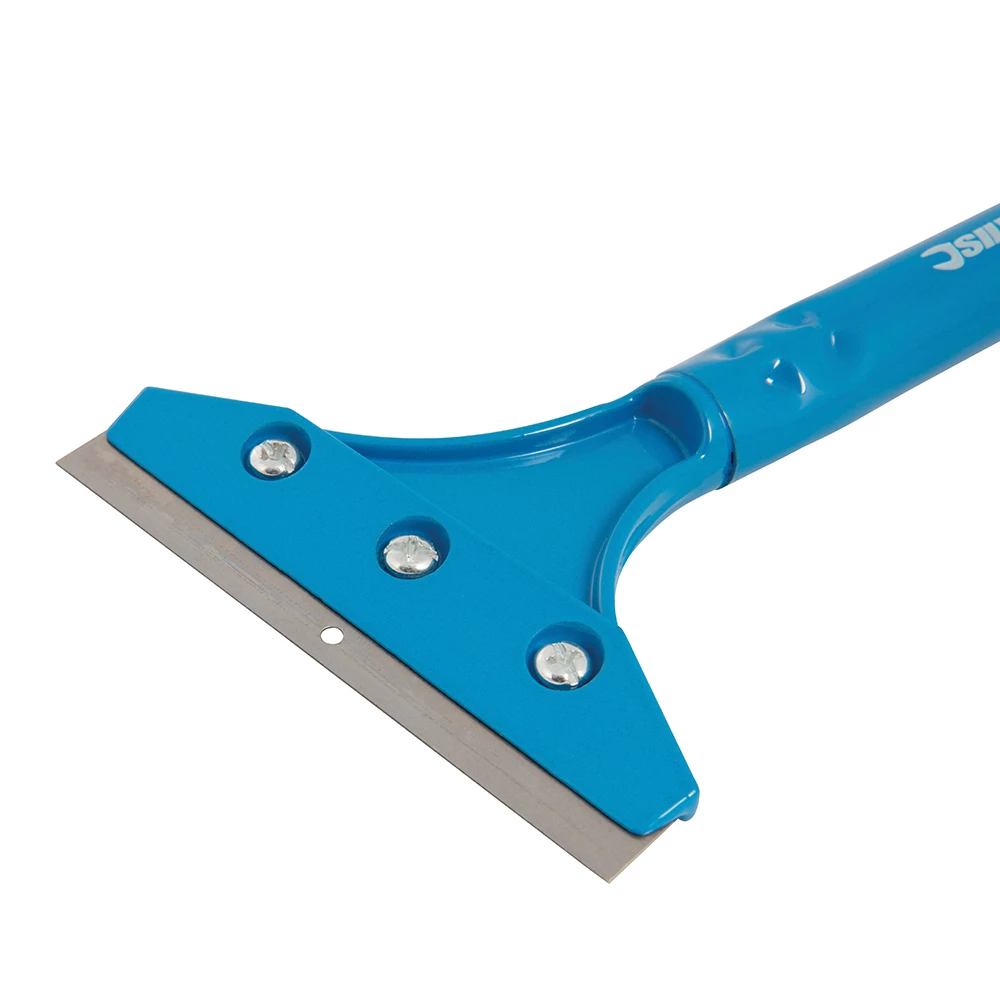
- Heavy Duty Scraper for Paint and Epoxy Resin Removal: A must for gently lifting hardened resin off most outdoor flooring types.
- Strong Technical Degreaser for Resin Projects – 100% Natural Formula: Effective for breaking down sticky or greasy resin residues before and after scraping.
- Pure Isopropyl Alcohol 99.9% – 1000ml Bottle for Epoxy Resin Projects & DIY: Useful for dissolving and cleaning fine resin film left behind.
- Protective gloves and goggles
- Soft cloths or absorbent rags
- Plastic sheeting or dustpan (to collect scraped resin)
See the Tools and Results in Action
Watch how professional tools and cleaners safely remove resin from varied outdoor flooring. Notice the difference that a sharp scraper and eco-friendly degreaser can make, ensuring your surfaces look their best with minimal effort.
Step 1: Assess and Prepare the Outdoor Area
Before starting, examine the type and condition of your outdoor flooring. Resin is easiest to remove from smooth non-porous materials like tiles and much more challenging on textured or porous stone. Remove any loose debris and sweep the area thoroughly. Wear suitable protective gloves and eye protection. Make sure pets and children are kept away from the workspace while you’re removing resin.
Check weather conditions: work when it’s dry to ensure safety and efficiency. Work in a well-ventilated outdoor space.
Step 2: Mechanically Remove Hardened Resin
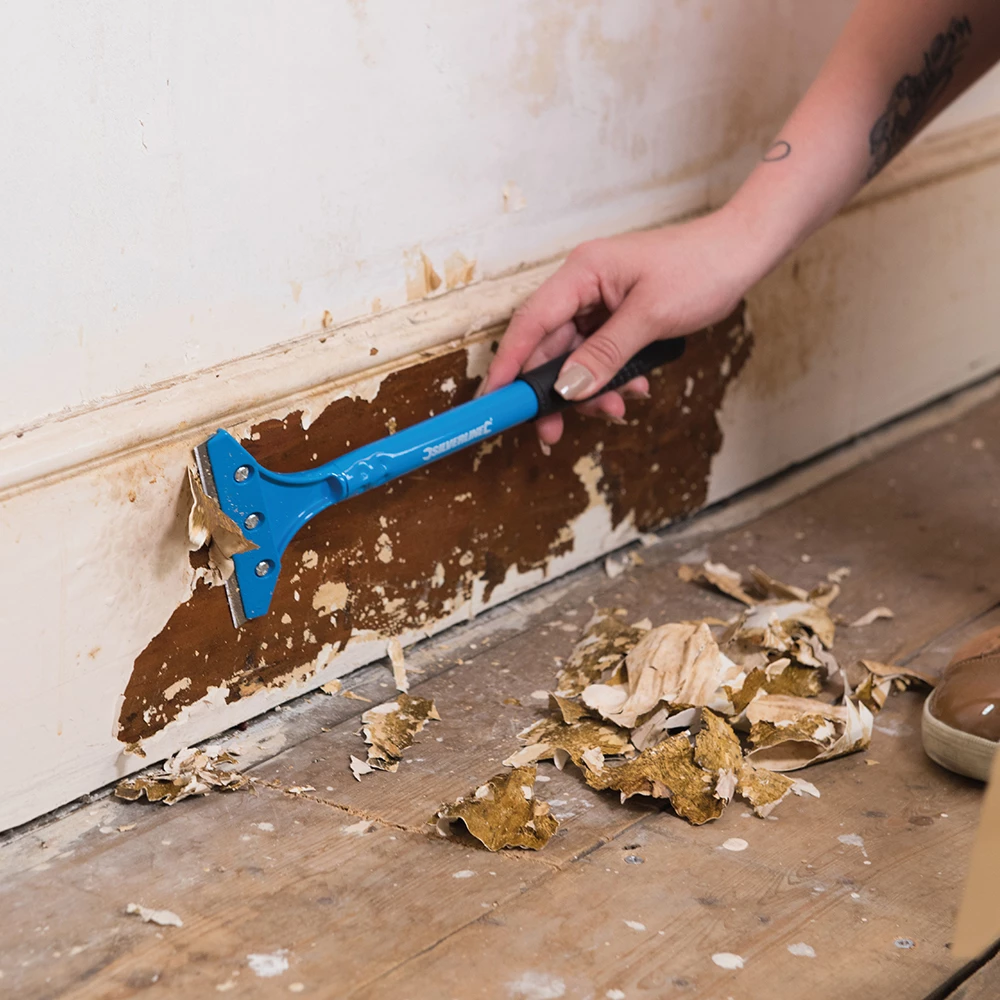
Start by attempting gentle removal with manual tools. Use a scraper with a sharpened edge to lift and peel away as much hardened resin as possible. A product like the Heavy Duty Scraper for Paint and Epoxy Resin Removal provides good leverage and minimises the risk of deep scratches.
Hold the scraper at a shallow angle and work in short, controlled strokes for best results. Avoid gouging the underlying surface. Test any cleaner or solvent on an inconspicuous area first. Dispose of resin fragments promptly to prevent them from re-adhering or staining other areas.
Step 3: Treat Sticky or Residual Resin Stains
Once most of the resin is scraped off, some sticky patches or glossy film may remain. Apply a natural degreaser such as Strong Technical Degreaser for Resin Projects – 100% Natural Formula directly onto the affected spots. Allow it to soak for a few minutes to break down the resin’s greasy bonds before wiping clean with a soft cloth.
Repeat the application if stubborn residue persists. Let stubborn residue soak before re-scraping. Always blot, rather than rub, when cleaning to limit damage to the flooring’s finish.

Step 4: Final Cleaning and Finishing Touches
If a slight resin sheen remains, dampen a cloth with Pure Isopropyl Alcohol 99.9% – 1000ml Bottle for Epoxy Resin Projects & DIY. Gently wipe the area, being mindful that isopropyl alcohol is highly flammable and must not be used near any open flames or electrical tools.
Once clean, rinse the area with water if the flooring material is compatible. Allow to air dry thoroughly before regular use. If any odour lingers, ventilate the area as resin and cleaner smells dissipate.
Tips, Mistakes, and Troubleshooting
- Avoid using harsh abrasives which might scratch your flooring. Stick to purpose-designed scrapers and non-abrasive cloths.
- Keep all flammable solvents away from heat or flames. Isopropyl alcohol is effective but needs careful handling.
- Dispose of resin waste and cleaning materials responsibly. Resin and strong cleaners shouldn’t enter drains or soil.
For old, deeply cured resin, patience is key. Several treatment rounds may be needed, especially with textured tiles or stone. If unsure about compatibility, always test on a small patch. For extensive damage, consult a professional cleaner who specialises in outdoor surfaces.
Outdoor Resin Removal: Cleaning in Progress
Real-world resin spills being cleaned with recommended products. See step-by-step progress, compare before-and-after areas, and get inspired by successful resin removal on patios, paths, and outdoor tiling.
- Strong Technical Degreaser for Resin Projects – 100% Natural FormulaOriginal price was: £10.95.£9.45Current price is: £9.45.Strong Technical Degreaser offers a natural, multi-surface cleaning solution suitable for resin projects within the 'How to remove resin from outdoor…
- Heavy Duty Scraper for Paint and Epoxy Resin Removal£8.95Heavy Duty Scraper offers precision and comfort for removing coatings and paint in outdoor and indoor renovation projects.
- Pure Isopropyl Alcohol 99.9% – 1000ml Bottle for Epoxy Resin Projects & DIYPrice range: £10.45 through £20.95Pure Isopropyl Alcohol 99.9% in 1000ml is suitable for epoxy resin projects to remove bubbles and enhance resin effects.
Frequently Asked Questions
Can I remove fully cured resin from concrete?
Yes, but it may require mechanical scraping, soaking with degreaser, and patience. Deep stains could be more challenging on porous surfaces.
Is DIY resin removal safe for my patio?
If you use the correct tools and gentle solvents, most resin can be removed safely from patios with minimal risk of surface damage.
Can I use isopropyl alcohol outdoors?
Yes, but only in well-ventilated, open spaces away from open flames and electrical sources, as it is highly flammable.
Do natural degreasers work on epoxy resin?
Natural degreasers help soften and remove greasy or sticky resin residues, especially when combined with scraping for best results.
Should I use a wire brush on outdoor tiling?
No, wire brushes may scratch tiles or stone. Use scrapers and soft cloths to avoid surface damage.
How do I handle resin cleanup safely?
Wear gloves and goggles, ventilate the area, and avoid breathing vapours. Dispose of waste responsibly and wash hands after cleaning.