 Free shipping on orders over £29,85

How to remove scratches from resin flooring?
Expert guide to restoring resin floors to a flawless finish


Scratches on resin flooring can dull its stunning appearance and compromise longevity. This guide will show you a step-by-step method to safely remove surface scratches, restore a smooth finish, and extend the lifespan of your resin floor—ideal for both home and light commercial spaces seeking a flawless look.

What You’ll Need
- “Ebonite Abralon” – Sanding Pads 360-4000 Grit for Resin and Wood: Sand gently across different grits to remove and refine scratches.
- “Epoxy Polish” – Epoxy Resin Polishing System: Achieve a high-gloss, scratch-free finish.
- “Carbon Polish” – Polishing System for Dark and Black Surfaces, 250ml: For dark-toned or black resin floors, use to prevent whiting during polishing.
- Strong Technical Degreaser for Resin Projects – 100% Natural Formula: Clean and prepare the surface without aggressive chemicals.
- Soft lint-free cloths
- A mop with clean warm water (for removing dust)
- Rotary polisher or hand-held polishing pad (for large areas)

Choosing the Right Tools for Resin Scratch Removal
Selecting the right grit sequence and polish is vital for smooth, professional results. Use high-quality sanding pads and polishers designed specifically for epoxy and resin surfaces. These tools help avoid further scratching or dulling, especially on large flooring areas. Always check whether your floor is tinted or clear before final polishing to ensure perfect clarity and colour consistency.
Step 1: Clean and Prepare the Floor
Begin by thoroughly cleaning the resin flooring to eliminate all dust, debris, grease, and wax that could interfere with sanding and polishing. Sweep and mop the area with warm water. For stubborn marks or residues, apply the Strong Technical Degreaser for Resin Projects – 100% Natural Formula, ensuring the surface is contaminant-free and fully dry before moving to the next step.


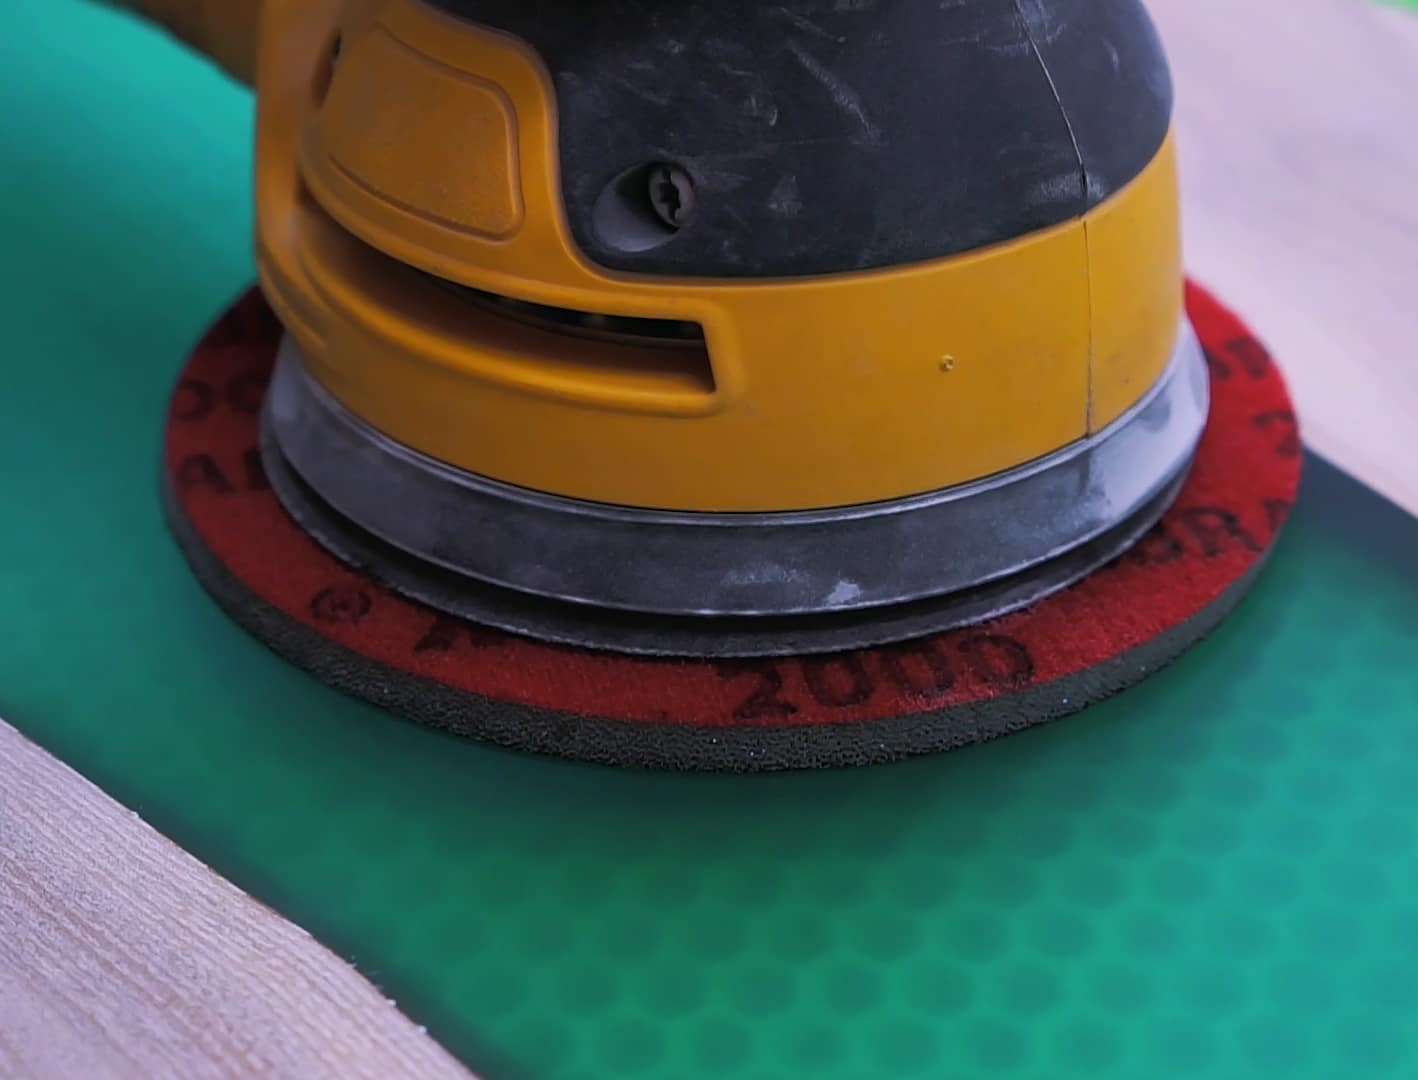
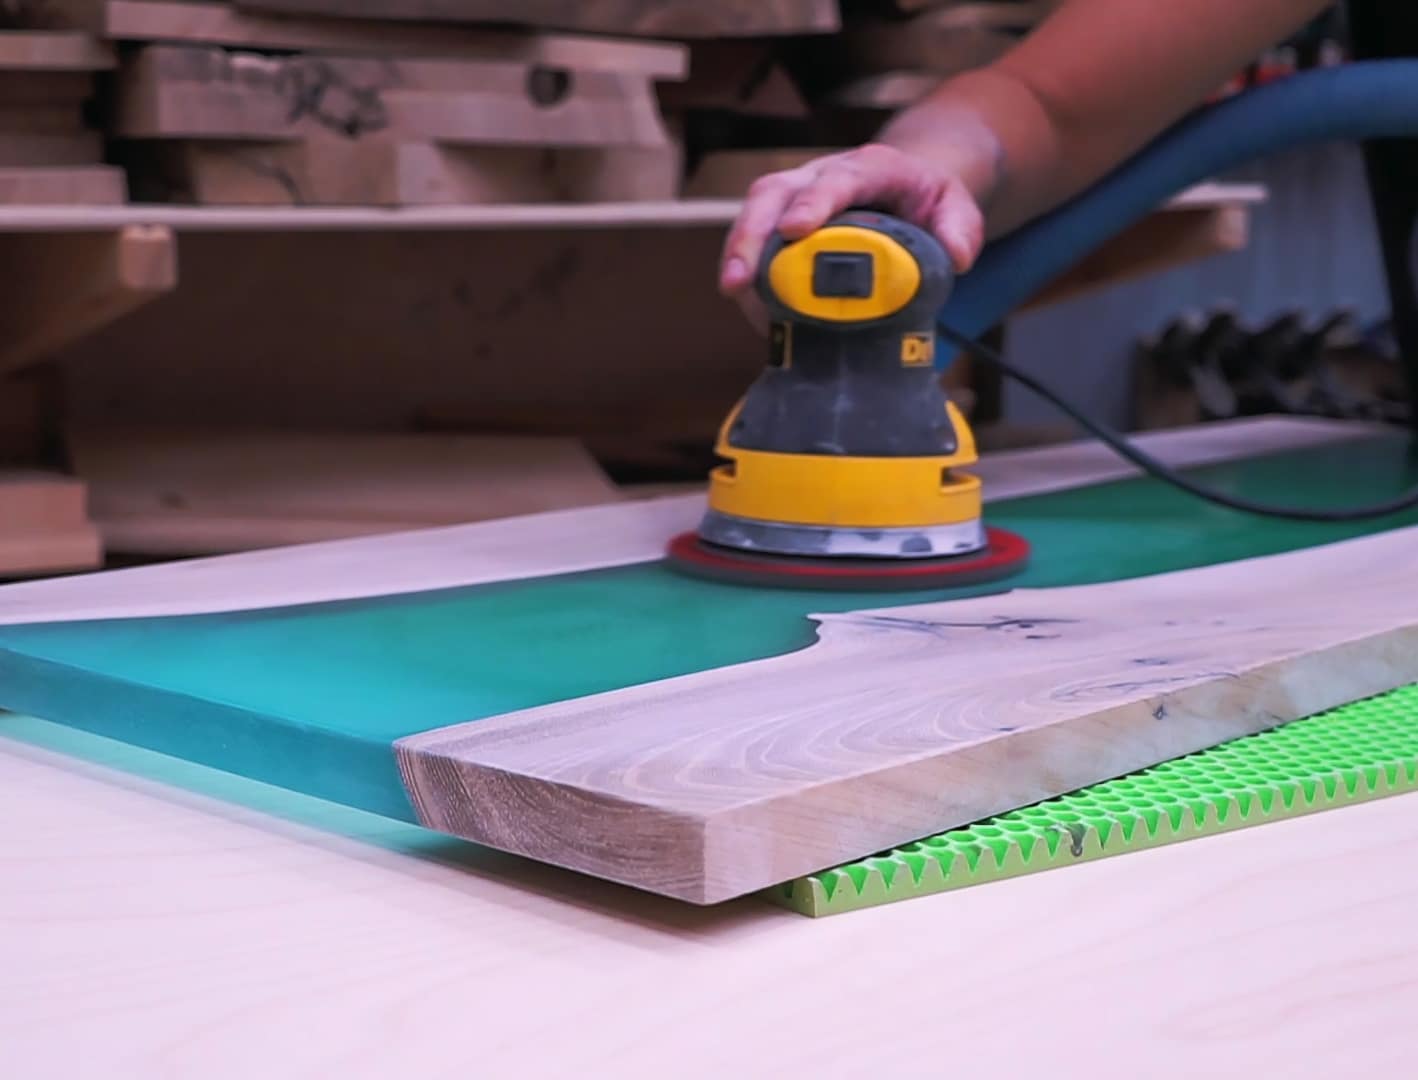
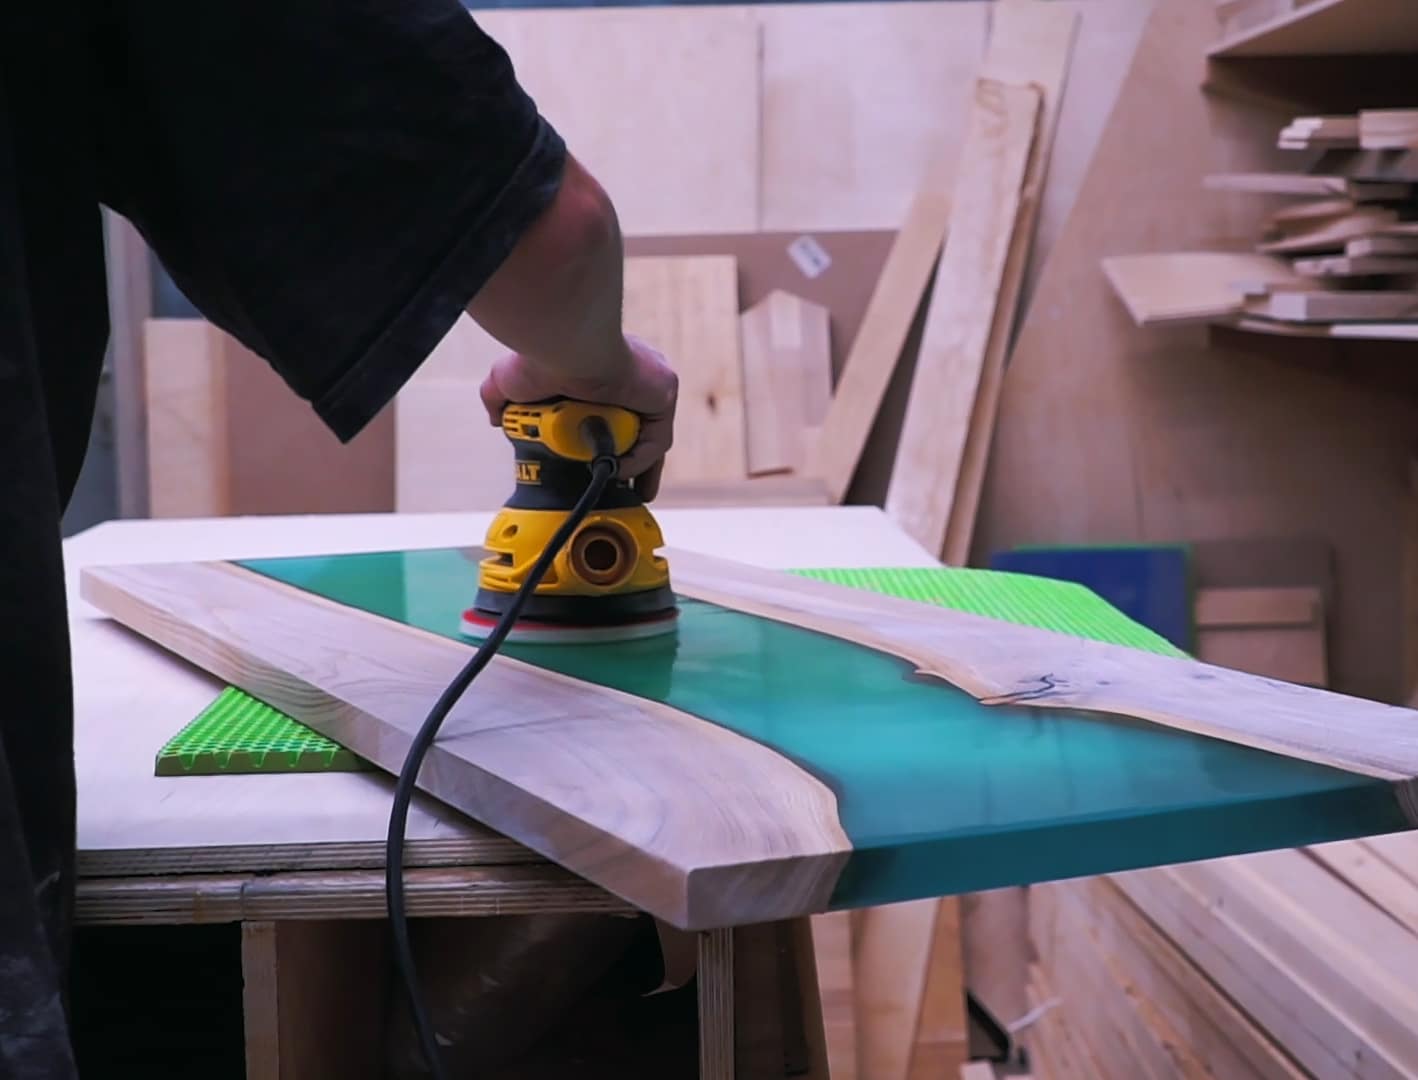
Step 2: Sand Away Surface Scratches
Light to moderate scratches can often be removed by progressive sanding. Start with a medium-grit sanding pad (such as 360 or 500 grit) and gently sand the scratched area in a circular motion, keeping even pressure across the surface. Always use a sanding pad like “Ebonite Abralon” – Sanding Pads 360-4000 Grit for Resin and Wood, which allows for both wet and dry sanding.
Gradually move to finer grits (1000, 2000, up to 4000 as needed) to refine the surface and eliminate any sanding marks. Dampen the pad slightly for wet sanding—this reduces heat and scratch risk. Wipe dust away with a damp cloth between each grit. Always sand gradually with finer grits to avoid uneven results or creating new swirl marks.
Step 3: Polish for a Glossy, Uniform Finish
Once the scratches are no longer visible and the surface is even, use a dedicated polishing system to restore full clarity and gloss. For standard or light-toned floors, apply “Epoxy Polish” – Epoxy Resin Polishing System with a rotary polisher or hand-held polishing pad, following the manufacturer’s instructions for optimal gloss and anti-hologram protection. For dark, black, or carbon-effect resin floors, switch to “Carbon Polish” – Polishing System for Dark and Black Surfaces to ensure a non-whitening, streak-free finish tailored to deep colours.
Work in small sections and buff evenly until the entire surface gleams. Remove any remaining residue with a clean, soft cloth. Use a dedicated resin polish for final gloss—generic abrasive or metal polishes may not provide the desired clarity and could leave marks.
Step 4: Final Cleaning and Ongoing Care
After polishing, gently mop the floor with a slightly damp, clean cloth to remove any fine powder or residue. Let the surface air dry completely before walking on it. For continued maintenance, clean regularly with non-abrasive products and microfibre mops to prevent future scratches and keep the gloss intact.
Tips and Common Mistakes When Repairing Resin Floors
Avoid harsh chemical cleaners—these can dull the resin or cause clouding. Instead, always opt for pH-neutral, gentle cleaning solutions. Never use steel wool or overly coarse sanding pads, which may cause permanent scratches or matte areas. Do not skip cleaning between steps: leftover dust or grit can leave micro-scratches during sanding and polishing. If in doubt, always test your sanding and polish approach on a small, inconspicuous area first to ensure compatibility with your specific resin floor.
Smooth, Shiny Results Every Time
Proper care and patience reward you with resin flooring that looks new again. Allow time for careful sanding and thorough cleaning. For best results, polish in soft, overlapping passes and use only products developed for resin. This keeps your floors brilliant and long-lasting.

- "Epoxy Polish" – Epoxy Resin Polishing SystemPrice range: £18.95 through £47.45Epoxy Polish is a resin polishing system designed for restoring surface shine and removing scratches in resin projects.
- "Ebonite Abralon" – Sanding Pads 360-4000 Grit for Resin and Wood£4.15Ebonite Abralon Pads offer versatile sanding for resin and wood, suitable for detailed finishing within scratch removal processes.
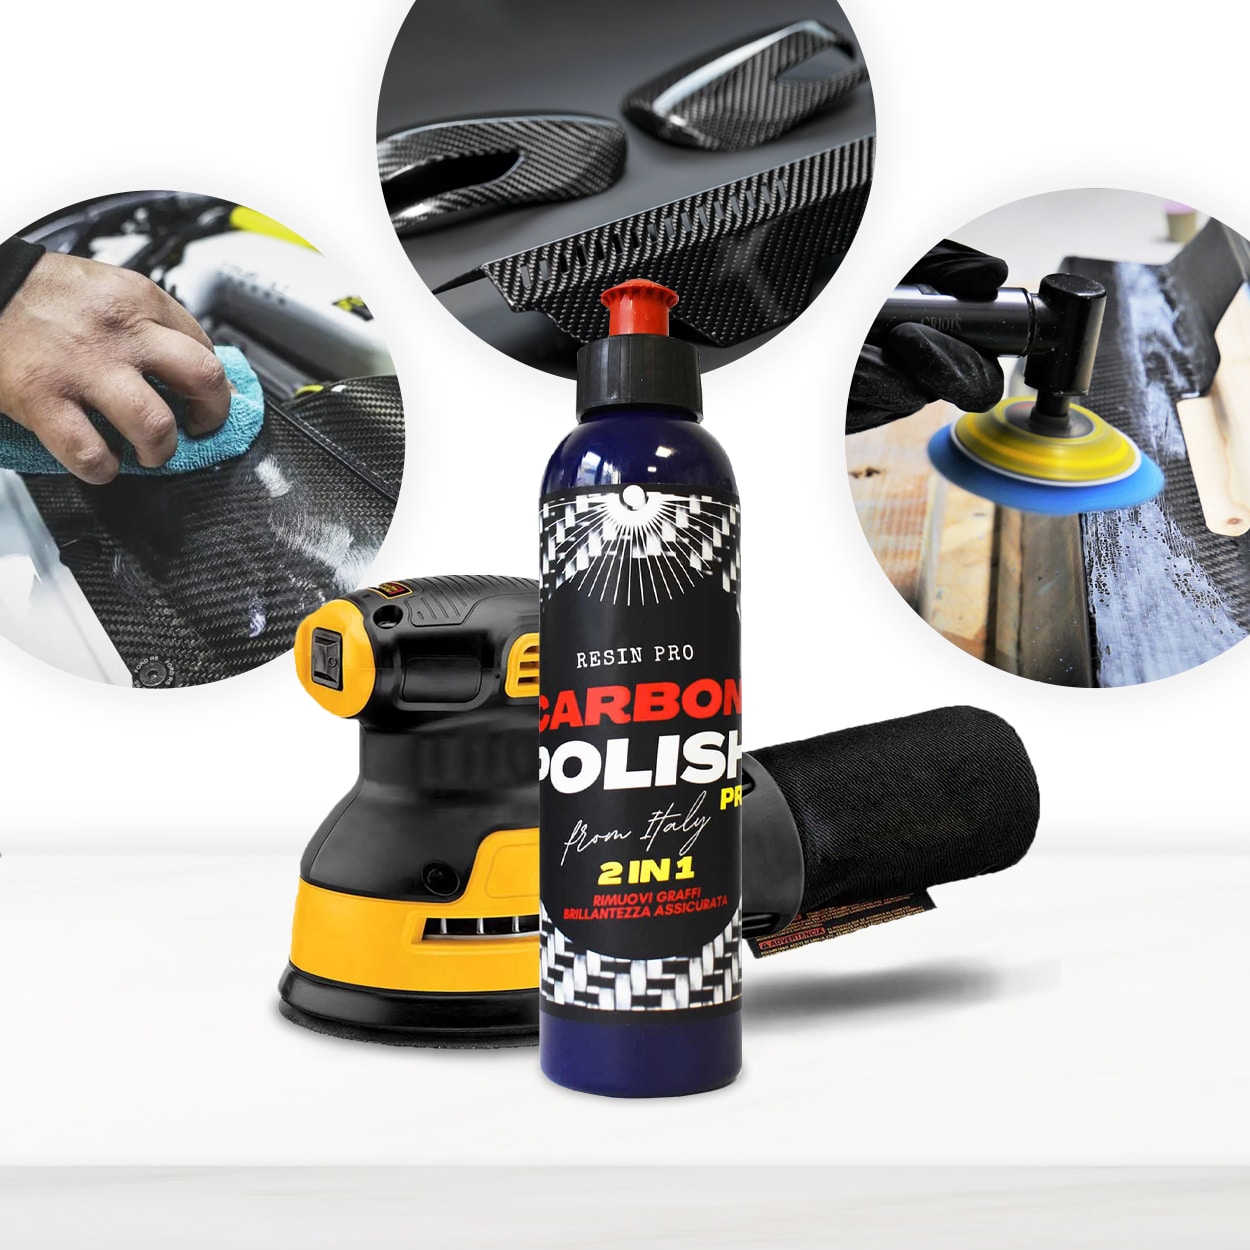 "Carbon Polish" – Polishing System for Dark and Black Surfaces, 250mlPrice range: £18.95 through £47.45Carbon Polish is designed for polishing dark and black surfaces including epoxy resin, suitable for removing scratches and enhancing finish.
 Strong Technical Degreaser for Resin Projects – 100% Natural FormulaOriginal price was: £10.95.£9.45Current price is: £9.45.Strong Technical Degreaser is a gentle, natural cleaner suitable for epoxy resin projects and a variety of other surfaces.
Frequently Asked Questions
Can you sand out scratches from resin floors yourself?
Yes, with the correct sanding pads and careful technique, DIY scratch removal is possible for most light-to-moderate marks.
What products work best for removing fine scratches from resin flooring?
A sequence of sanding pads followed by a dedicated epoxy resin polish delivers the best scratch removal and gloss restoration.
How do you polish dark-coloured epoxy resin floors?
Choose a specialist polish made for dark surfaces to avoid white streaks and enhance colour depth.
How can I prevent future scratches on my resin floor?
Use soft cleaning tools, avoid dragging heavy objects, and clean up debris promptly to minimise new scratches.
Can I use regular floor cleaners on resin surfaces?
Avoid harsh or abrasive chemicals; stick with mild, pH-neutral cleaners to preserve your floor’s shine.
What is the difference between wet and dry sanding for resins?
Wet sanding controls heat and dust, producing a smoother finish with less risk of extra scratches.