 Free shipping on orders over £29,85


How to remove the vent from a resin drum?
Techniques and tool tips for safe, residue-free vent removal


Removing the vent from a resin drum is an essential maintenance task for resin crafters and professionals handling bulk materials. This process helps ensure smooth decanting, prevents contamination, and allows reuse or recycling of empty containers. This guide outlines a safe, effective method for vent removal and cleaning, emphasising proper technique and the right tools for the job.

What You’ll Need
- Scraper for Paint & Dry Resin Removal – 10 Double-Sided Blades: A practical tool for lifting and scraping away hardened resin or sealants around the vent.
- Pure Isopropyl Alcohol 99.9% – 1000ml Bottle for Epoxy Resin Projects & DIY: Essential for final cleaning of residues after vent removal.
- Gas Heat Gun for Epoxy Resin – Precision Tool for Bubble Removal and Finishing: Useful for softening stubborn sealant or resin build-up around the vent area.
- Strong Technical Degreaser for Resin Projects – 100% Natural Formula: Ideal for gently cleaning greasy or sticky patches on the drum after vent removal.
- Protective gloves, goggles, and work surface covering.

Essential Safety for Drum Vent Removal
Protective gear is essential for this step. Always use gloves and eye protection when handling resin drums or chemical cleaning agents. Work in a well-ventilated area and keep a clean workspace to reduce risks from spills or fumes.
Step 1: Prepare the Work Area and Drum
Start by moving the resin drum to a clean, stable surface with plenty of ventilation. Ensure there is ample light and that the drum is secured to prevent tipping. Protective gear is essential for this step—always wear gloves and goggles to avoid direct skin or eye contact with resin residues or cleaning agents.
Clear any loose dust or packaging material from the drum lid. Place a protective covering, such as cardboard or plastic, beneath the drum to catch any drips or debris during vent removal.


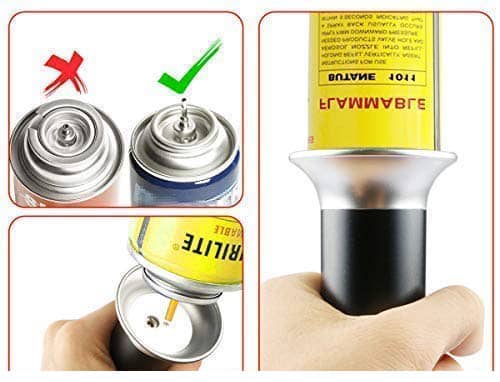
Step 2: Loosen and Lift the Vent
Carefully inspect the vent area for hardened resin, glue, or sealant that might be securing the vent in place. If the vent is stuck, use the Scraper for Paint & Dry Resin Removal – 10 Double-Sided Blades to gently score and lift away dry residue from around the vent perimeter. Work slowly and do not force the vent; excessive pressure can crack the lid or send resin splattering.
If needed, gently wiggle the vent using the scraper’s edge or a blunt tool to break any remaining seal. Take care to avoid damaging the drum’s surface, as this could compromise resealing or future use.
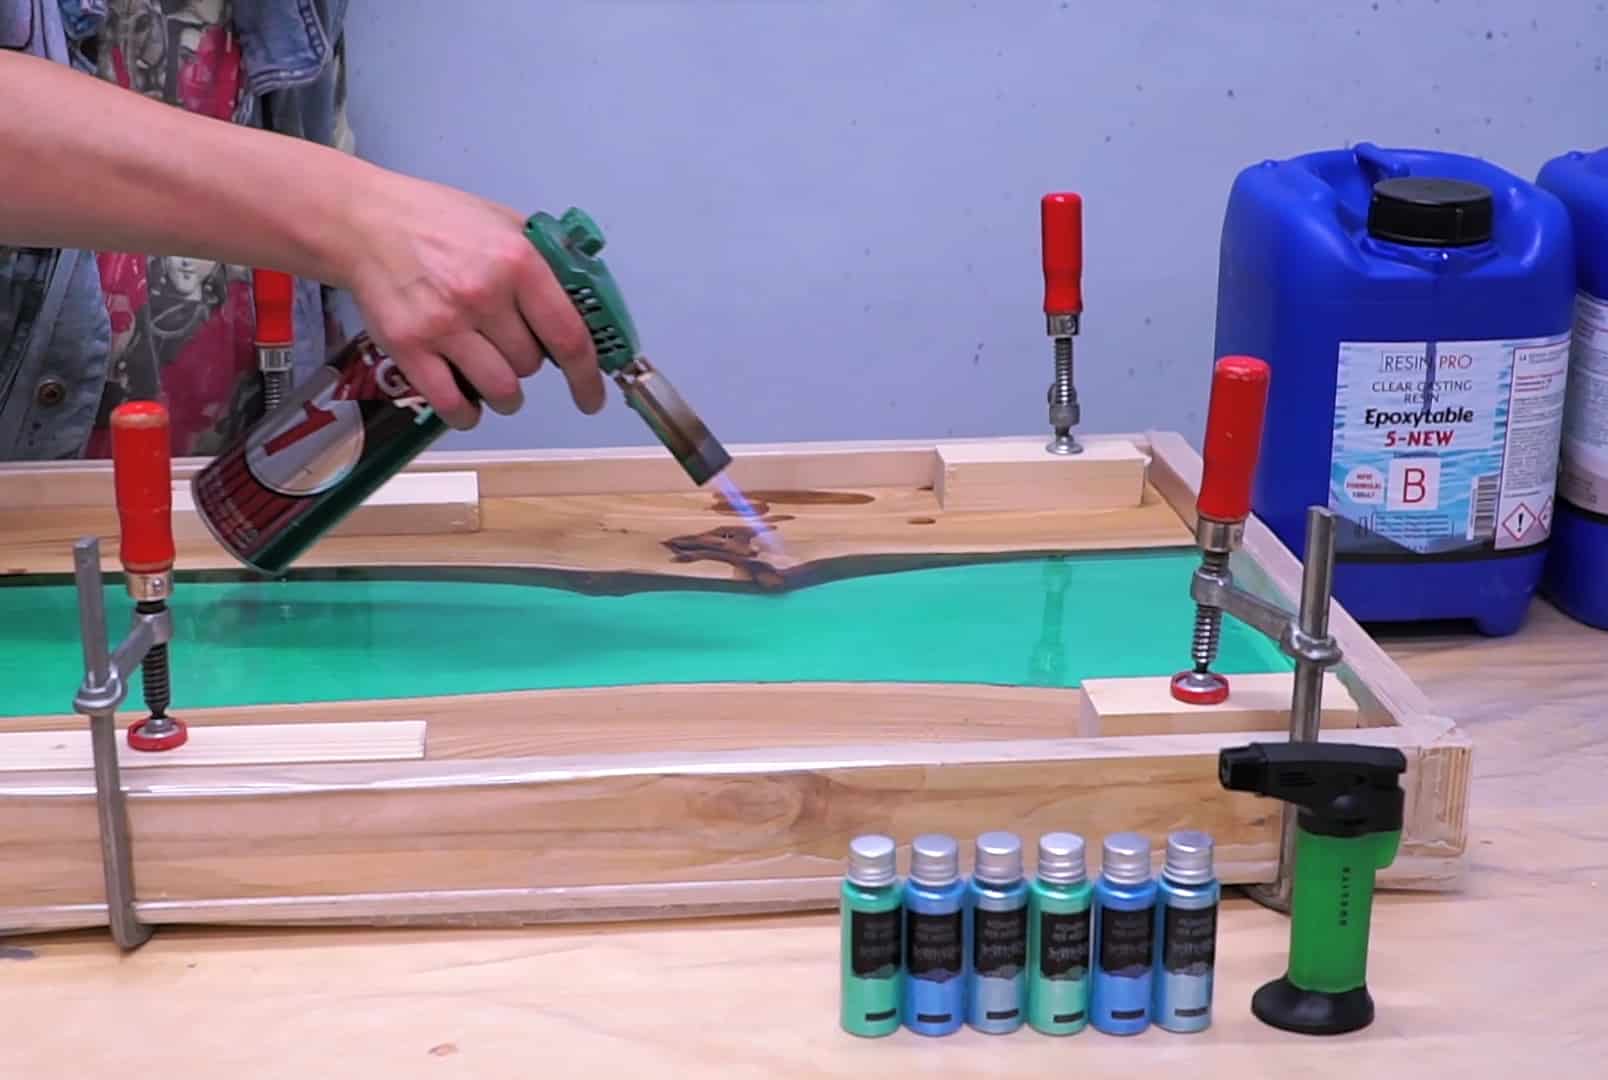
Step 3: Loosen Stubborn Vents with Controlled Heat
For vents that remain stuck due to cured resin or strong sealant, you can loosen stubborn or stuck vents with gentle heat. Direct a Gas Heat Gun for Epoxy Resin – Precision Tool for Bubble Removal and Finishing at a low setting around the vent area. The aim is to soften—not melt—the surrounding resin, making it easier to pry the vent loose.
Keep the heat gun moving and avoid overheating one spot, as excessive heat could deform plastic drums. Always follow the manufacturer’s guidelines for heat application and maintain a safe distance to prevent accidents.
Step 4: Clean and Finish the Drum Opening
Once the vent is removed, there may be residual resin, grease, or adhesive around the opening. Wipe away loose bits with a paper towel. For sticky spots, apply a small amount of Pure Isopropyl Alcohol 99.9% or use the Strong Technical Degreaser for Resin Projects to dissolve and lift residues. Use a cloth to gently polish the affected area until clean.
Dispose of waste responsibly, following all local requirements for chemical and drum disposal. Check the drum opening and surrounding area for cracks or damage before reusing or discarding the container.
Tips, Common Mistakes, and Troubleshooting
Work slowly and do not force the vent—patience prevents damage to both the drum and yourself. If heat is used, watch for signs of melting or warping. Always follow the manufacturer’s guidelines for both resin products and cleaning chemicals. Avoid using sharp knives or screwdrivers, which are more likely to slip and cause injury or damage.
Ensure all tools are clean and dry before use, especially if reassembling the drum. If persistent residues remain, reapply the degreaser and let it dwell for several minutes. Repeat the cleaning process as necessary, and never mix cleaning chemicals.
Sustainable Handling and Chemical Safety
Dispose of waste responsibly after removing and cleaning the vent. Use proper containers for resin or chemical residues and follow local regulations for recycling or discarding drums and cleaning materials. Responsible disposal maintains safety and minimises environmental impact.

- Scraper for Paint & Dry Resin Removal – 10 Double-Sided Blades£4.95This scraper is designed for removing paint and dry resin from smooth surfaces, suitable for tradespeople and DIY users.
- Pure Isopropyl Alcohol 99.9% – 1000ml Bottle for Epoxy Resin Projects & DIYPrice range: £10.45 through £20.95Pure Isopropyl Alcohol (99.9%) is suitable for use in epoxy resin projects, helping with bubble removal and resin art effects.
- Gas Heat Gun for Epoxy Resin – Precision Tool for Bubble Removal and FinishingPrice range: £4.45 through £14.95The Gas Heat Gun is designed for precision heating to help achieve a smooth epoxy resin finish, suitable for beginners and pros.
 Strong Technical Degreaser for Resin Projects – 100% Natural FormulaOriginal price was: £10.95.£9.45Current price is: £9.45.A gentle, natural degreaser designed for cleaning surfaces encountered in epoxy resin projects and various other materials.
Frequently Asked Questions
Can you reuse a resin drum after vent removal?
Drums can be reused if thoroughly cleaned and structurally sound, and provided local regulations allow it.
Is it safe to use a heat gun on resin drums?
Yes, use a gentle setting and keep the heat gun moving to avoid overheating or deforming the drum.
What type of scraper is best for vent removal?
A metal scraper with a sharp, double-sided blade is effective for removing residue from smooth surfaces around drum vents.
How do you clean a resin drum after vent removal?
Use isopropyl alcohol or a technical degreaser for sticky residue; always follow with a dry wipe and allow to air dry.
What are common mistakes when removing resin drum vents?
Rushing, using too much force, or applying heat inaccurately can cause injuries or damage the drum.
What protective gear should be used when removing a drum vent?
Gloves and eye protection are necessary, along with working in a ventilated area to reduce exposure to fumes.