 Free shipping on orders over £29,85

How to renew resin paint?
Achieve a flawless, glossy finish on tired or faded resin layers


Renewing resin paint is an excellent way to revive lacklustre surfaces, remove scratches, and reintroduce a brilliant glossy finish. Whether your resin art, tabletops, or decorative pieces have grown dull or scratched, following the correct renewal steps helps maintain their beauty and extend their lifespan. This comprehensive guide explains each stage of resurfacing old or worn resin paint, addressing everything from surface preparation to polishing for a sparkling, like-new result.

What You’ll Need
- “Epoxy Polish” – Epoxy Resin Polishing System: A reliable polishing system for removing surface dullness and restoring shine.
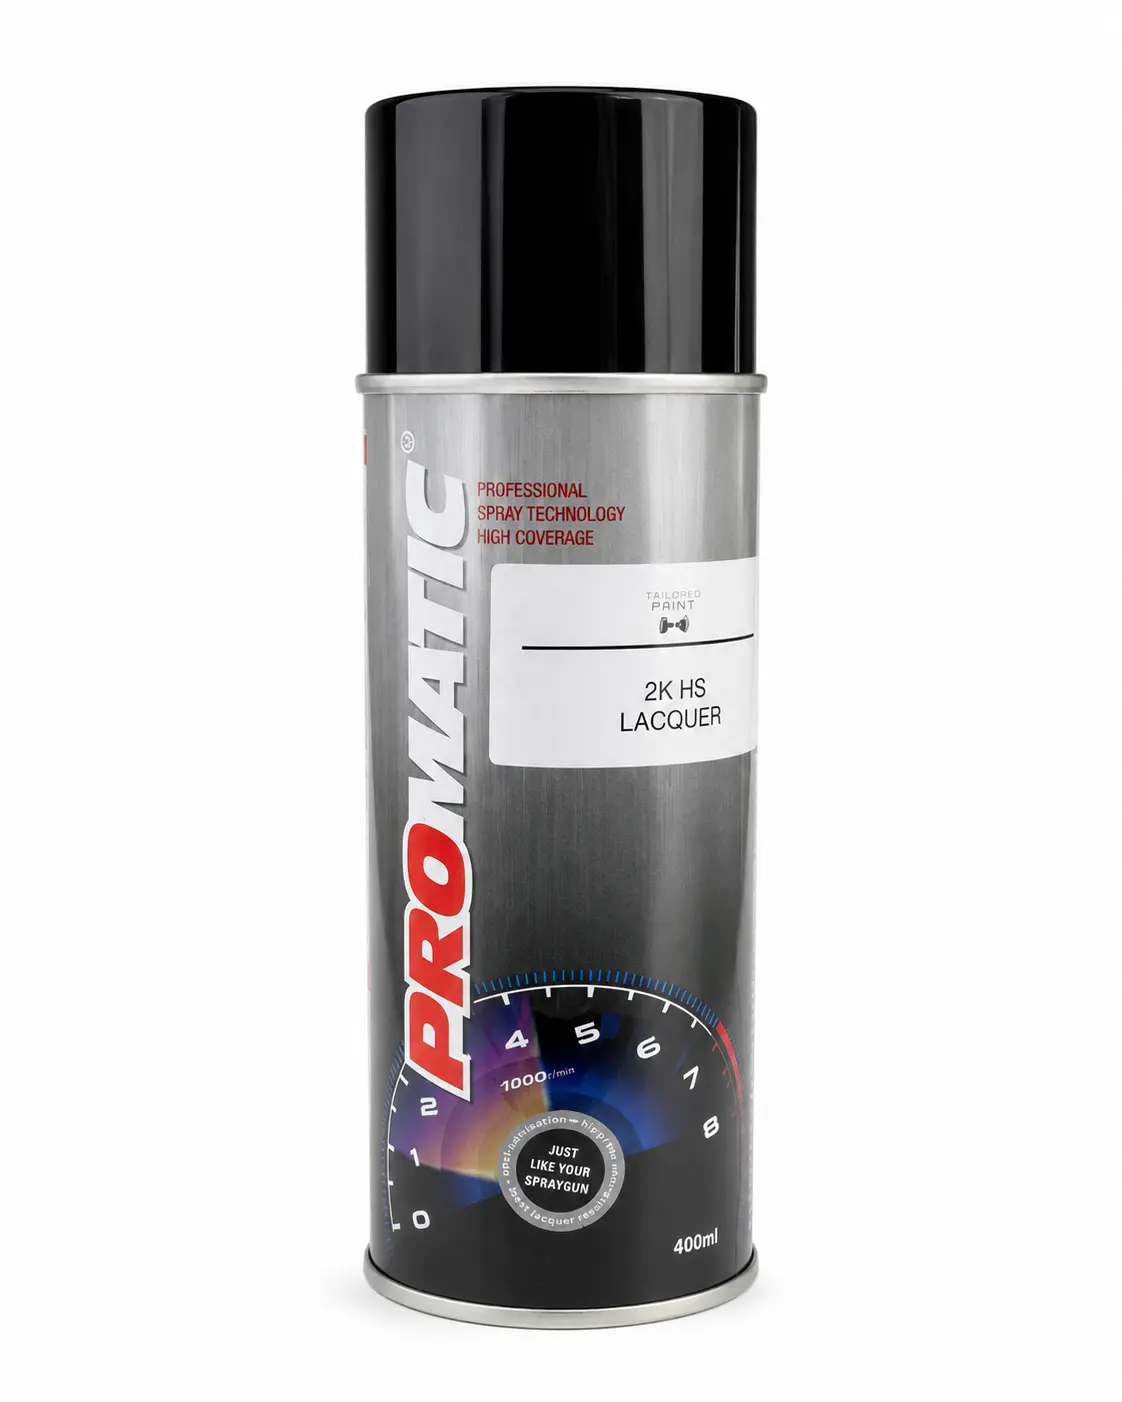
- 2K Clear Coat Lacquer Aerosol Spray – 400ml High Gloss Finish: Suitable for adding a protective, high-gloss finish to renewed surfaces.
- “Art Pro” – Clear Epoxy Resin for Artists and Surface Coating: Ideal for pouring a new, clear coat over existing resin artwork.
- “Trasparente” – Multipurpose Clear Epoxy Resin for Casting – Up to 2cm: Suited for thicker resin renewal layers or casting repairs.
- Clean lint-free cloths, abrasive pads or sandpaper (various grits), safety gloves, and a dust mask.
- Optional: Rotary polisher or hand pad holder for professional-grade polishing.

Essential Tools for Resin Paint Renewal
Resurfacing resin paint requires the right combination of cleaning agents, quality abrasive pads, suitable resin or lacquer, and a dedicated polishing kit for flawless results. Choose each tool to match your project’s needs: thin layers benefit from artist resins, while polishing systems ensure a lasting glossy finish. Consult product guides for safety tips and detailed usage instructions.
Step 1: Clean and Prepare the Surface
Thorough cleaning removes hidden residue that would otherwise spoil the renewal process. Start by wiping the surface using a lint-free cloth dampened with warm water and a drop of mild detergent. Remove all dust, oils, and debris, paying close attention to edges and crevices where dust collects. Allow the surface to dry completely before moving forward—this is crucial to avoid trapping moisture underneath any new resin or topcoat.
Take care to remove stubborn spots using isopropyl alcohol if necessary. Avoid using harsh abrasives at this stage, as these might introduce new scratches before you’re ready to sand the surface properly.

Step 2: Sand Lightly to Level and Key the Resin
Sand lightly to level imperfections such as minor scratches, drips, or dents in the resin paint. Begin with a fine-grit abrasive pad or sandpaper (typically 800–1200 grit), and gently sand in a circular motion. Regularly wipe away dust to monitor your progress and avoid over-sanding, especially on thin resin layers. The surface should appear uniformly matt with no glossy patches remaining.
This stage is vital if you plan to apply a fresh resin coat or polish—the microscopic roughness helps new layers adhere more reliably. Always wear gloves and a dust mask when sanding resin to protect your skin and lungs from fine particles.
Step 3: Recoat with a Suitable Resin if Needed
If the original surface is deeply damaged, yellowed, or has lost its transparency, applying a new, clear resin layer restores depth and clarity. Choose a resin suitable for your project’s thickness. For thin, decorative surfaces or artwork, “Art Pro” – Clear Epoxy Resin for Artists and Surface Coating offers a non-drip formula, easy mixing, and a robust, glass-like finish. For thicker layers (up to 2cm), consider “Trasparente” – Multipurpose Clear Epoxy Resin for Casting – Up to 2cm, which provides both clarity and scratch resistance.
Apply clear resin for a fresh surface: After mixing per the product instructions, pour slowly to avoid introducing air bubbles. Use a spreader or silicone brush for even coverage. Allow the resin to cure undisturbed as specified on its label—typically 12 to 24 hours for most projects.


Step 4: Polish and Finish for Gloss
Once fully cured, polishing gives your resin surface the ultimate shine and removes any residual cloudiness. For professional-level results, use the “Epoxy Polish” – Epoxy Resin Polishing System, which reliably removes fine scratches and restores a brilliant gloss. Work in small sections using the supplied pad and polish; repeat as needed for a mirror-like finish.
If you want additional protection or exceptional gloss, apply a clear lacquer such as 2K Clear Coat Lacquer Aerosol Spray – 400ml High Gloss Finish. This fast-drying spray adds a tough, durable finish and helps lock in your hard work.
Polish to restore the shine and always follow safety instructions, especially if using mechanical buffers or aerosol sprays.
Tips, Common Mistakes & Troubleshooting
- Always ensure thorough cleaning before any sanding or recoating to stop invisible residue from ruining adhesion.
- Avoid rushing resin cure times—premature handling leads to imprints or damaging surface marks.
- Check compatibility when recoating—using a resin with similar hardness and chemical resistance avoids cracking or delamination.
- Work in a dust-free environment, as airborne particles easily get trapped in wet resin or topcoats.
- Test your chosen polish or lacquer on a small, inconspicuous area before treating the full surface.

Expert Advice for Seamless Resin Restoration
Preparation and patience are key to a successful project. Allow each coat to cure fully before the next step, and work systematically to avoid streaks or trapped dust. If repair is your goal, select products best suited to your resin’s thickness and intended use. Review our category guides for deeper insight into resin types and advanced techniques.

- "Epoxy Polish" – Epoxy Resin Polishing SystemPrice range: £18.95 through £47.45"Epoxy Polish" is designed for use in renewing resin surfaces to a glossy finish. It suits users aiming for scratch removal and surface rejuvenation.
- 2K Clear Coat Lacquer Aerosol Spray – 400ml High Gloss Finish£20.952K Clear Coat Lacquer offers a fast-drying high gloss finish in a convenient aerosol spray for resin projects.
- "Art Pro" – Clear Epoxy Resin for Artists and Surface CoatingPrice range: £19.95 through £267.95Art Pro clear epoxy resin is suitable for artists and crafters seeking a durable, clear finish for coasters, trays, and decorative surfaces.
 "Trasparente" – Multipurpose Clear Epoxy Resin for Casting – Up to 2cmPrice range: £8.95 through £397.95Clear, multipurpose epoxy resin designed for casting up to 2cm with a glossy, self-levelling finish suitable for woodworking and restoration projects.
Frequently Asked Questions
Can polishing renew cloudy resin surfaces?
Yes, polishing with a suitable kit can restore clarity to lightly clouded resin, but for severe yellowing, a full recoating may be needed.
Do I need to sand before recoating resin?
Light sanding ensures the new resin layer bonds securely and levels out small imperfections, promoting a smooth, even surface.
Which resin should I use for thick vs. thin renewal layers?
Use 'Art Pro' for thin surface renewals and 'Trasparente' for thicker castings up to 2cm for best results.
Is clear lacquer necessary after renewing resin?
A lacquer topcoat provides extra protection and gloss, but is optional if you are satisfied with your resin's finish.
Can I use Epoxy Polish without a machine?
You can polish by hand using a pad, but mechanical polishers achieve a quicker, more even high-gloss finish.
Why does my renewed resin feel sticky?
Sticky resin indicates incomplete curing or incorrect mixing ratios. Ensure accurate measurement and full curing before use.
Should I use UV resin for renewal tasks?
UV resin is suitable for very small repairs but longer-cure epoxies provide sturdier, clearer results for larger surfaces.