 Free shipping on orders over £29,85


How to repaint a resin statue?
Step-by-step guide for restoring and updating resin statues


Revitalising an old resin statue or bringing a fresh look to a cherished figure is entirely possible with the right approach. Repainting a resin statue allows you to restore vibrant detail, update its finish, or repair damage sustained over the years. In this guide, we will walk you through the safest and most effective way to repaint a resin statue—from initial preparation to the final protective coat—ensuring your effort results in a flawless, durable finish worthy of display indoors or outdoors.
What You’ll Need
- Cleaning supplies (mild soap, water, lint-free cloths, soft brush)
- Sandpaper (fine grit: P400–P800), sanding block or pad
- Protective gloves, mask, and eye protection
- Artist’s or model primer suitable for plastics
- Quality paints (acrylics, urethane, or specialty resin paints)
- Clear protective finish or resin-based sealer, such as “Art Pro” – Clear Epoxy Resin for Artists and Surface Coating

Cleaning and Surface Prep Essentials
Proper cleaning and gentle sanding lay the foundation for a flawless, long-lasting repaint of your resin statue. Take extra care with detailed areas and allow every stage to dry fully before continuing.
Step 1: Thoroughly clean the statue
Dirt, dust and oils can prevent paint from adhering properly to a resin statue. Begin by gently cleaning the entire surface with a mild soap solution and warm water. Use a soft brush to reach crevices and fine details, then rinse thoroughly. Allow the statue to dry completely before proceeding. Ensure there are no residues left, as these could compromise the repainting.

Step 2: Lightly sand the surface
For paint to adhere well, the surface must be slightly roughened. Lightly sand the statue with fine-grit sandpaper (between P400 and P800), taking care not to remove or blur intricate details. Focus on areas prone to handling or wear. Once satisfied, wipe the statue with a damp lint-free cloth to remove dust from sanding.
Step 3: Apply a suitable primer
Priming is crucial for achieving an even, long-lasting paint finish. Select an artist’s or model primer that is compatible with plastics and resins for best results. Apply a thin, even layer using gentle spray or brush techniques, ensuring all surfaces are coated. Allow the primer to dry as advised by the manufacturer before moving to the next stage.
Step 4: Choose the right paints or coatings
Use quality acrylic, urethane, or resin-compatible paints for vibrant, flexible and durable results. Apply paint in multiple thin layers, allowing each to dry fully to avoid drips and blotching. For adding raised details or 3D embellishments during the repaint, a UV-curable gel like “Fairy Wings” – UV Resin for Volumetric Reliefs, Dual Colour allows fine volumetric patterns at this stage. Take your time with fine details and shading for best realism.

Step 5: Seal and finish for durability
To enhance longevity, protect against UV and weather, and achieve a professional result, seal your repainted statue. For glossy, scratch-resistant, and durable protection, a clear resin coating such as “Art Pro” – Clear Epoxy Resin for Artists and Surface Coating is ideal. Apply in a thin, even layer and allow to cure fully as directed. Alternatively, choose a matte or satin finish sealant if glossy is not desired.
Tips and Common Mistakes
Work in a dust-free, well-ventilated area to prevent debris from landing on wet surfaces. Avoid thick coats of paint or resin, as these can obscure fine features or lead to uneven curing and finish. Always allow each layer—whether primer, paint, or sealer—to dry or cure thoroughly before proceeding to the next. Patience in preparation and between steps is key to avoiding fingerprints, surface bubbles, or tackiness in the final result.
Expert Tips for a Perfect Finish
Thin, even layers of paint and sealer provide the best results. Never rush the curing process—patience ensures each stage sets perfectly, leaving your statue smooth and beautiful.

- "Fairy Wings" – UV Resin for Volumetric Reliefs, Dual Colour, 30mlOriginal price was: £15.15.£2.85Current price is: £2.85."Fairy Wings" UV Resin offers ready-to-use acrylic gel suitable for intricate volumetric reliefs with quick UV curing.
- “IWhite” – Polyurethane Casting Resin – White, Fast-Curing Two-Part SystemPrice range: £24.00 through £36.95IWHITE is a fast-curing polyurethane resin suitable for model making and crafting, designed for rapid, detailed casting projects.
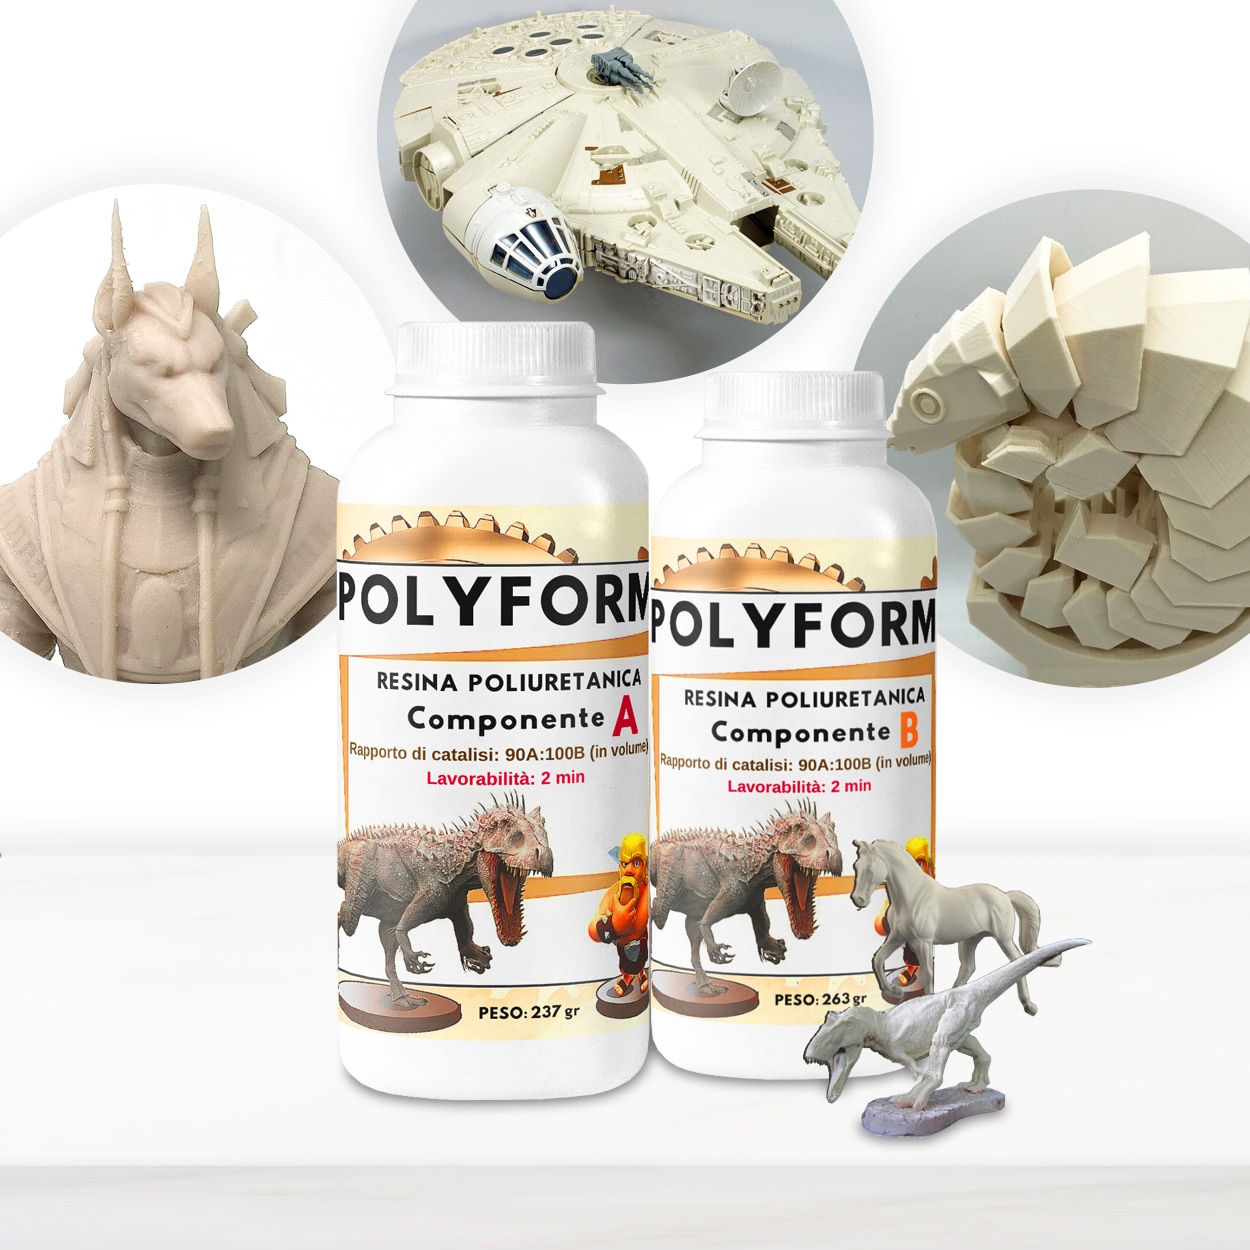 “Polyform” – Polyurethane Casting Resin, Beige, Fast-Setting for PrototypingPrice range: £15.95 through £141.95Polyform is a beige polyurethane resin designed for fast-setting and detailed castings, suitable for rapid prototyping and small batch projects.
 "Art Pro" – Clear Epoxy Resin for Artists and Surface CoatingPrice range: £19.95 through £267.95Art Pro clear epoxy resin suits those seeking durable, high-gloss finishes with UV protection on coasters and trays in artistic projects.
Frequently Asked Questions
Can you paint directly onto a resin statue?
Direct painting on unprepared resin is not recommended, as paint may not adhere well. Always clean, sand, and prime before painting.
Which paints are best for resin statues?
Acrylic or urethane paints, as well as speciality resin paints, offer good adhesion and flexibility for resin statues.
Do you need to sand before repainting?
Light sanding is essential to promote adhesion of primers and paints without damaging surface details.
How do you protect repainted resin statues?
Apply a clear resin coating or suitable sealant after painting to guard against scratches, UV exposure, and moisture.
Can you add raised details during repainting?
Raised decorative reliefs can be added using UV resin gels before the final sealing and finishing stages.
Should you use gloss or matte finish?
The choice is personal: glossy resin gives a high-shine look and robust protection, while matte sealers provide a subtler finish.
Can repainted resin statues be used outdoors?
Yes, but use UV-resistant primers, paints, and sealers for the best weatherproof durability.