 Free shipping on orders over £29,85


How to resin flowers?
Step-by-step guide to preserving flowers in resin crafts


Preserving flowers in resin is a rewarding way to transform delicate blooms into everlasting keepsakes or truly unique decorative items. Whether you are capturing the beauty of a special bouquet or experimenting with botanical jewellery, learning to embed flowers in epoxy resin provides a beautiful, timeless outcome for novices and crafters alike. This guide explains how to resin flowers, covering everything from preparation to finishing touches to help you achieve clear, long-lasting results.
What You’ll Need
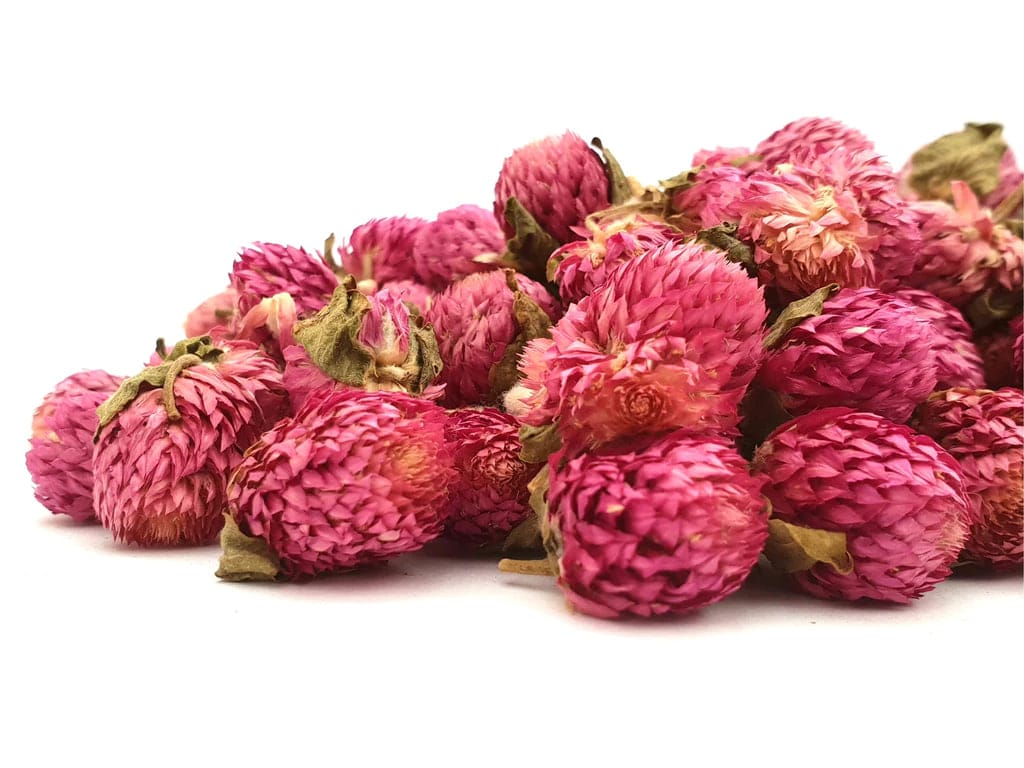
- Natural Dried Flowers for Art Projects and Epoxy Resin Casting – for accessible, prepped floral elements.
- Natural Dried Flower Kit for Epoxy Resin Art and Décor Crafts – a kit option for a ready mix of suitable dried flowers.
- Resin Memory Box Complete Epoxy Resin Kit with Silicone Moulds – 3kg – for complete resin projects with included deep pour resin and moulds.
- Moulds (silicone recommended for ease of demoulding – included in some kits).
- Nitrile gloves, eye protection, and apron for safety.
- Cups or scales for precisely measuring and mixing resin components.
- Disposable spatula or wooden stirrer.
- Toothpicks or tweezers for detailed placement and bubble removal.
- A flat, dust-free workspace.

Flower resin art in action
See how crafters use dried flowers and resin to create beautiful jewellery, home décor, and keepsake projects. Capture nature’s beauty in clear, lasting resin with accessible DIY techniques and creativity.

Step 1: Prepare Your Flowers
The first and most crucial step is ensuring your flowers are thoroughly dried. Moisture trapped inside blooms can cause cloudiness, bubbles, or even mould growth once encased. Use silica gel or air drying over weeks for best results. If you choose not to dry your flowers personally, consider selecting Natural Dried Flowers for Art Projects and Epoxy Resin Casting or a Natural Dried Flower Kit for Epoxy Resin Art and Décor Crafts—both provide prepped, ready-to-use dried florals ideal for resin work.
Completely dry your flowers before embedding—even slight moisture can degrade clarity or spoil the finished piece. If you wish, lightly seal dried flowers with a clear spray to further reduce trapped air or prevent colour bleeding.
Step 2: Prepare the Mould and Workspace
Choose a silicone mould suitable for your project size and shape. Ensure the mould is clean, free of lint, and dry. Organise your working area, ensuring it remains dust-free as airborne particles easily settle in resin. Lay down a protective sheet or mat, and set all tools within easy reach.
If you are using a kit such as the Resin Memory Box Complete Epoxy Resin Kit with Silicone Moulds – 3kg, take a moment to review any included step-by-step instructions for the best possible results.
Step 3: Mix and Pour the Resin
Carefully measure the resin and hardener in accordance with your product’s directions. Pour both parts into a mixing cup, then gently stir with a spatula or wooden stick for at least two to three minutes, scraping the sides and base. Mix slowly to minimise air bubbles. Let the mixture rest briefly to allow any bubbles to surface.
Pour a thin layer of resin into your mould first. This base coat ensures a smooth surface for your flowers and reduces the risk of bubbles forming around them.
Work in thin resin layers for the best results; deeper pieces are best built in stages, allowing for proper curing between pours to reduce heat build-up and prevent warping.
Step 4: Place and Embed the Flowers
Delicately position your dried flowers onto the partially cured resin base using tweezers or toothpicks for precision. Press the flowers gently so they make full contact with the surface. Pour another thin layer of resin over the blooms, taking care not to dislodge or submerge them too quickly.
Use a toothpick to remove any visible bubbles from between the petals and resin. Cover and let each layer cure as recommended (refer to your specific resin’s cure times). This progressive layering method allows you to achieve depth and preserve clarity in your design.
Arrange flowers carefully to avoid bubbles and movement. Check regularly and adjust any shifted petals before the resin fully sets for a flawless finish.

Step 5: Demould and Finish
Once fully cured (this may take between 24–72 hours depending on resin depth and brand), gently remove the completed piece from the mould. Inspect for sharp edges or stray resin build-up and use fine sandpaper or a nail file to smooth if needed.
Avoid handling your finished piece roughly during the first week to allow for complete hardening. Optionally, apply a thin topcoat of resin for high-gloss shine or use a dedicated resin finishing product for professional polish.
Tips & Troubleshooting for Resin Flower Art
Seal flowers to reduce trapped air and moisture; clear acrylic sprays or brush-on sealants can help avoid unwanted blooming or discolouration inside resin.
Always use fully dried blooms, as even minimal moisture not only leads to clarity issues but can impact long-term preservation. Work in a warm, humidity-controlled space, as high humidity can hinder proper curing and promote haze.
If embedding larger bouquets or layered florals, allow each resin pour to become tacky but not fully cured before layering additional flowers to avoid line marks between layers.
Expert advice for flawless results
Good lighting and patience are key when arranging flowers for resin. Practice with spare flowers before working on sentimental or irreplaceable blooms. Experiment with mould shapes and layer depths to add extra dimension to your creations.

- Natural Dried Flowers for Art Projects and Epoxy Resin CastingPrice range: £5.95 through £8.45Natural Dried Flowers designed for creative resin flower applications and crafts with a natural aesthetic.
 Natural Dried Flower Kit for Epoxy Resin Art and Décor Crafts£8.95The Natural Dried Flower Kit provides prepped flowers for immediate use in resin crafts, suitable for adding natural elements to your projects.
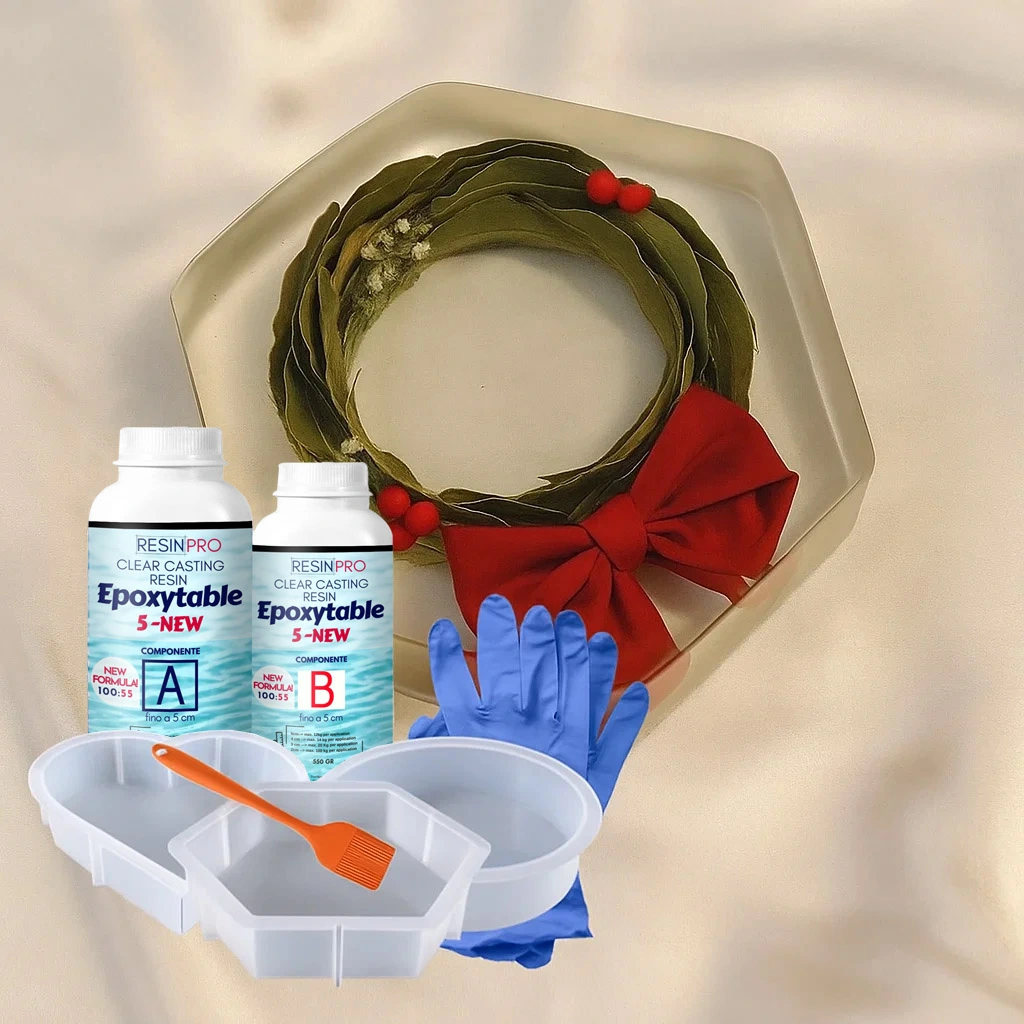 Resin Memory Box Complete Epoxy Resin Kit with Silicone Moulds – 3kg£65.95The Resin Memory Box Kit includes epoxy resin and silicone moulds designed for preserving dried flower arrangements with clear deep castings.
- Online Video Course – Christmas Tree Decorations Masterclass (Instagram Access)£20.95An online video course teaching techniques for making Christmas tree decorations with resin following detailed steps.
Frequently Asked Questions
Can you put fresh flowers in resin?
No, always use fully dried flowers. Fresh flowers trap moisture that causes bubbles, mould, or decay inside cured resin.
How do you prevent bubbles when embedding flowers in resin?
Use dried, sealed flowers and pour resin in thin layers. Remove bubbles with a toothpick or gently pop them as they rise.
Should you seal flowers before putting them in resin?
Sealing dried flowers with a clear spray can reduce trapped air and prevent colour bleeding in your finished piece.
Which moulds are best for flower resin crafts?
Silicone moulds are ideal, as they flex for easy removal and come in various shapes for creative designs.
How long does resin take to cure with flowers inside?
Cure times depend on your resin; most pieces cure in 24–72 hours. Deeper pours or cool conditions may take longer.
What to do if your resin goes cloudy with flowers?
Cloudy resin typically results from moisture. Always use completely dried flowers and work in a moisture-free environment.
Can you layer flowers inside resin projects?
Yes, layer flowers between multiple pours for depth. Allow each resin layer to partially cure before adding the next.