 Free shipping on orders over £29,85

How to Restore a Resin Sink?
Bring shine and life back to your worn resin sink at home


Is your resin sink looking dull, scratched, or faded from daily use? Restoring a resin sink can rejuvenate its appearance, making it look nearly new without the cost of replacement. This detailed guide covers every step you need to confidently tackle resin sink restoration, ensuring safety, optimal results, and a glossy, long-lasting finish in any kitchen or bathroom.

What You’ll Need
- “Epoxy Polish” – Epoxy Resin Polishing System – for removing scratches and restoring gloss
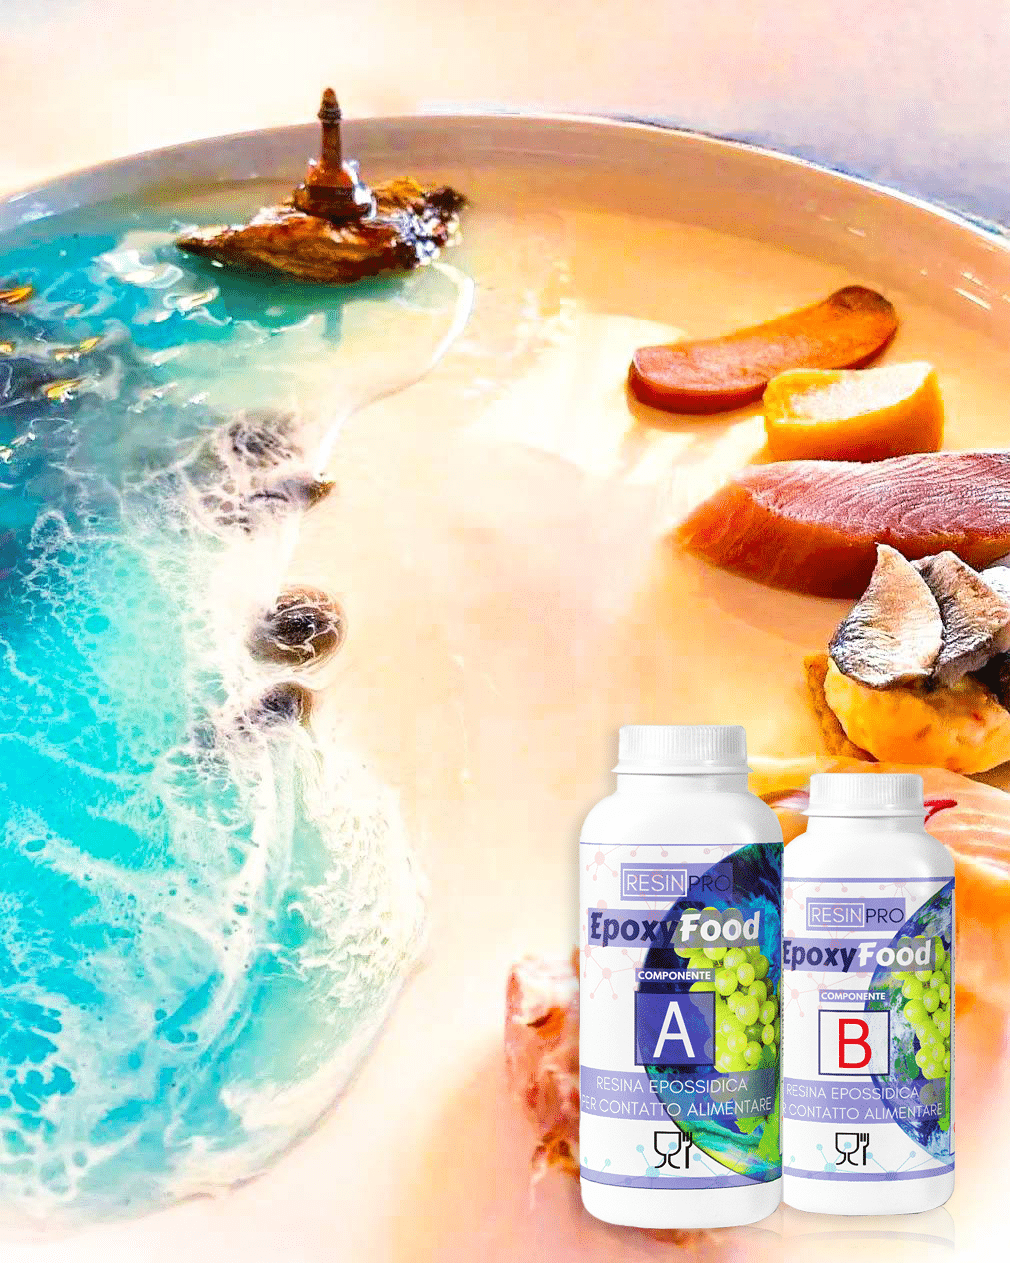
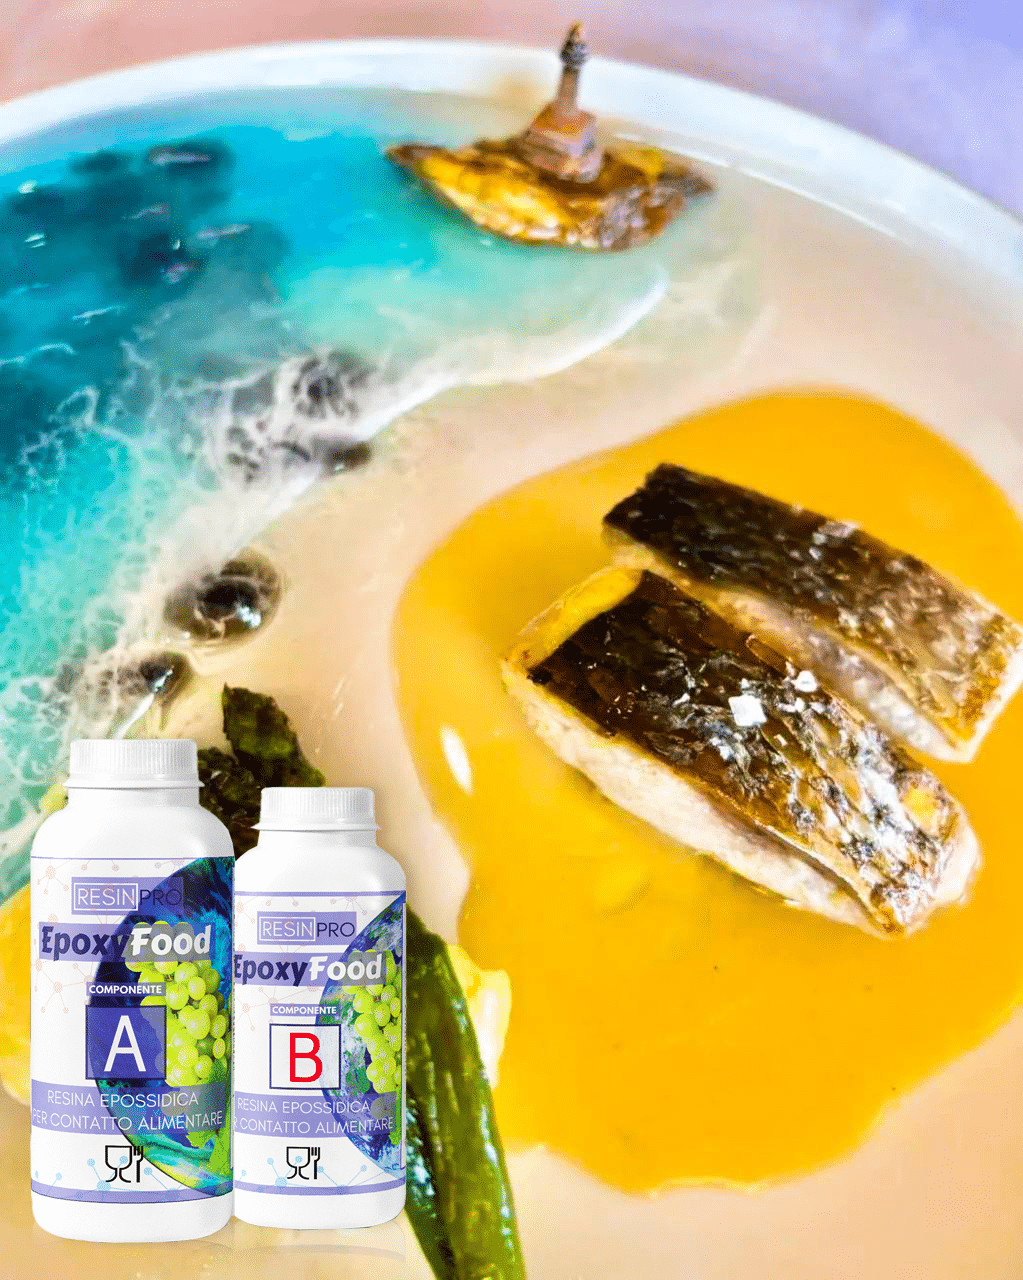
- “EpoxyFood” – Certified Clear Food Contact Epoxy Resin for Coating – ideal if your sink needs a safe, protective finish
- Microfibre cloths, soft sponges, and a non-abrasive cleaner
- Rotary polisher, hand pad holder, or polishing pad
- Disposable gloves and safety goggles

Key tools and materials for restoring your resin sink
Choose high-quality cleaning products and appropriate resins for optimal restoration results. Using certified food-safe epoxies like EpoxyFood ensures peace of mind for kitchen use, while polishing systems designed for resin will restore both shine and clarity. Safety gear, including gloves and goggles, adds an extra layer of protection during the process.
Step 1: Clean and Prepare the Sink
Begin by thoroughly cleaning your resin sink. Remove all grime, grease, and soap residue using a mild, non-abrasive cleaner and a soft sponge. Rinse with warm water and dry completely.
Thorough cleaning is essential for adhesion if you plan to apply a new resin layer later, and even minor dust can cause imperfections. Allow the surface to air dry or use a lint-free towel.
Inspect the sink for deep gouges or chips. Minor scratches and dullness can be addressed with polishing and a clear recoating, but structural damage will require more extensive repair.


Step 2: Sanding Any Problem Areas
If the sink surface has visible scratches, marks, or patchy discolouration, gently wet sand these areas with a fine-grit (1000–2000 grit) sandpaper. Work evenly and avoid excessive sanding, focusing only on affected spots.
Wipe away sanding residue with a microfibre cloth and ensure the sink is dust-free and completely dry. Do not apply resin or polish to a wet or dust-covered surface as this will reduce the quality of results.
Step 3: Apply a Food-Safe Resin Coating (Optional)
If your resin sink has lost its topcoat or you wish to further seal and protect the surface—especially in kitchen sinks—a food-safe coating will help. Use a suitable clear resin and follow package instructions for mixing, timing, and application.
For a kitchen or food-contact area, “EpoxyFood” – Certified Clear Food Contact Epoxy Resin for Coating is certified as non-toxic and ideal for this task. Mix and apply the resin with a foam roller or brush, ensuring even coverage without bubbles or pooling. Allow to cure according to the resin’s instructions, ensuring there is no moisture or dust during this period.
Step 4: Polishing to a Gloss Shine
After any new resin coating is fully cured, or if you’re simply restoring surface gloss, polish your sink to remove micro-scratches and dull areas. Use an appropriate polishing product designed for epoxy surfaces.
“Epoxy Polish” – Epoxy Resin Polishing System is well-suited for this step, whether you polish by hand (using a hand pad) or with a rotary polisher. Apply a small amount to the pad, working it over the sink in gentle, overlapping circles. Continue until the surface regains clarity and gloss.
Polish only after any coating has completely cured and always keep the pad moving to avoid heat buildup or swirling.
Tips for Best Results and Common Mistakes to Avoid
Take time for the preparation and curing steps. Always use gentle, circular motions when polishing, and avoid excessive pressure. Never shortcut drying or curing times—patience yields the best finish.
Test any cleaning or polishing method on a small, inconspicuous area first. Ensure the room is well-ventilated, and use gloves for your safety. If re-coating, do not use the sink until the resin is fully hardened, as premature use may ruin the surface.

Extra pointers for a flawless restoration
Well-lit, dust-free environments produce the best outcomes when applying or polishing resin surfaces. Waiting for full cure times is worth the investment—your sink will shine for years and resist future stains and dullness.

- "Epoxy Polish" – Epoxy Resin Polishing SystemPrice range: £18.95 through £47.45"Epoxy Polish" is designed to deliver a glossy finish and restore clarity to resin surfaces, supporting polishing needs in restoration projects.
- "EpoxyFood" – Certified Clear Food Contact Epoxy Resin for CoatingPrice range: £20.95 through £146.95"EpoxyFood" is a certified food-safe transparent resin suitable for coating kitchenware with clear, glossy finishes.
 "Art Pro Deluxe" – Ultra-High Viscosity Epoxy Resin for ArtistsPrice range: £35.95 through £302.45Art Pro Deluxe is a clear ultra-high viscosity resin designed for precise line control, common in resin art and coasters.
 "Art Pro" – Clear Epoxy Resin for Artists and Surface CoatingPrice range: £19.95 through £267.95Art Pro clear epoxy resin is suitable for artists and crafters seeking durable, high-gloss, and UV-protected coatings for decorative projects.
Frequently Asked Questions
Can I polish a resin sink using just a cloth?
A cloth alone will not yield a true gloss finish on resin. Using a dedicated polishing pad or rotary tool ensures better results.
Is food-safe resin required for sinks?
If your resin sink is used for kitchen or food preparation, a food-safe resin like EpoxyFood is recommended for hygiene and compliance.
How long before I can use my sink again after restoring it?
Wait until the resin or polish is fully cured—this can range from 12 to 24 hours for polishing, or longer for new resin coatings.
What should I avoid using on resin sinks?
Avoid harsh abrasives, scouring pads, and chlorine-based cleaners as they can scratch or discolour resin surfaces.
Do I need professional polishing equipment?
A rotary polisher or hand pad holder will give the best result, but you can also use a soft pad by hand for smaller jobs.
Can all resin sinks be restored?
Most resin sinks can be restored if they are structurally sound. Severe cracks or chips may require professional repair.