 Free shipping on orders over £29,85

How to season resinous wood?
Step-by-step guide for preparing and protecting resin-rich timber
Seasoning resinous wood is a crucial process that ensures longevity, stability, and a professional finish, whether for furniture, décor, or kitchenware. This guide walks you through each essential stage, from surface preparation and drying to sealing and finishing, so you achieve the best possible result on resin-rich timber.
What You’ll Need
- “EpoxyWood” – Wood Restoration Epoxy Resin for Deep Penetration and Waterproofing: For deeply sealing and waterproofing dry wood.
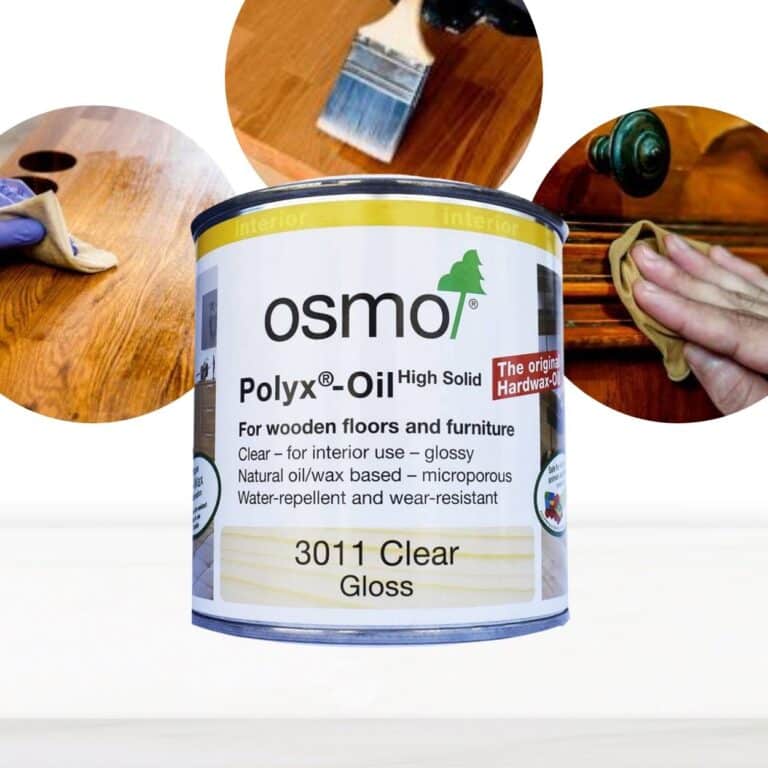
- “Osmo” – Hard Wax Oil for Wood Protection and Finish, Gloss & Matt: Hard wax oil to deliver a breathable, protective finish in gloss or matt.
- “EpoxyFood” – Certified Clear Food Contact Epoxy Resin for Coating: For a clear, food-safe top coat on items in contact with food.
- Wood Stain for Wooden Surfaces – 250ml Water-Based: To enhance or modify the timber’s appearance prior to finishing.
- Sandpaper (various grits), brushes, lint-free cloths, gloves, and safety goggles.

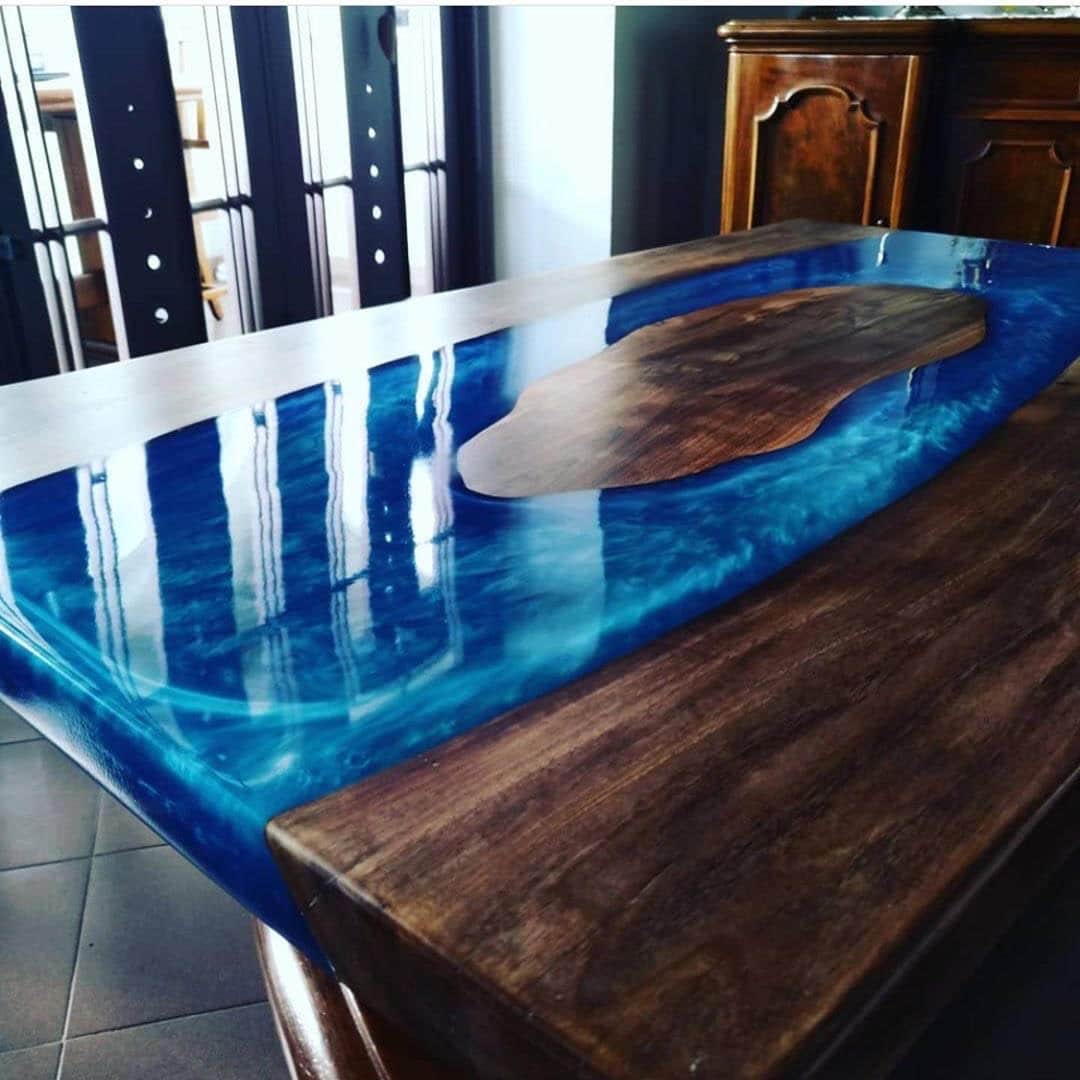
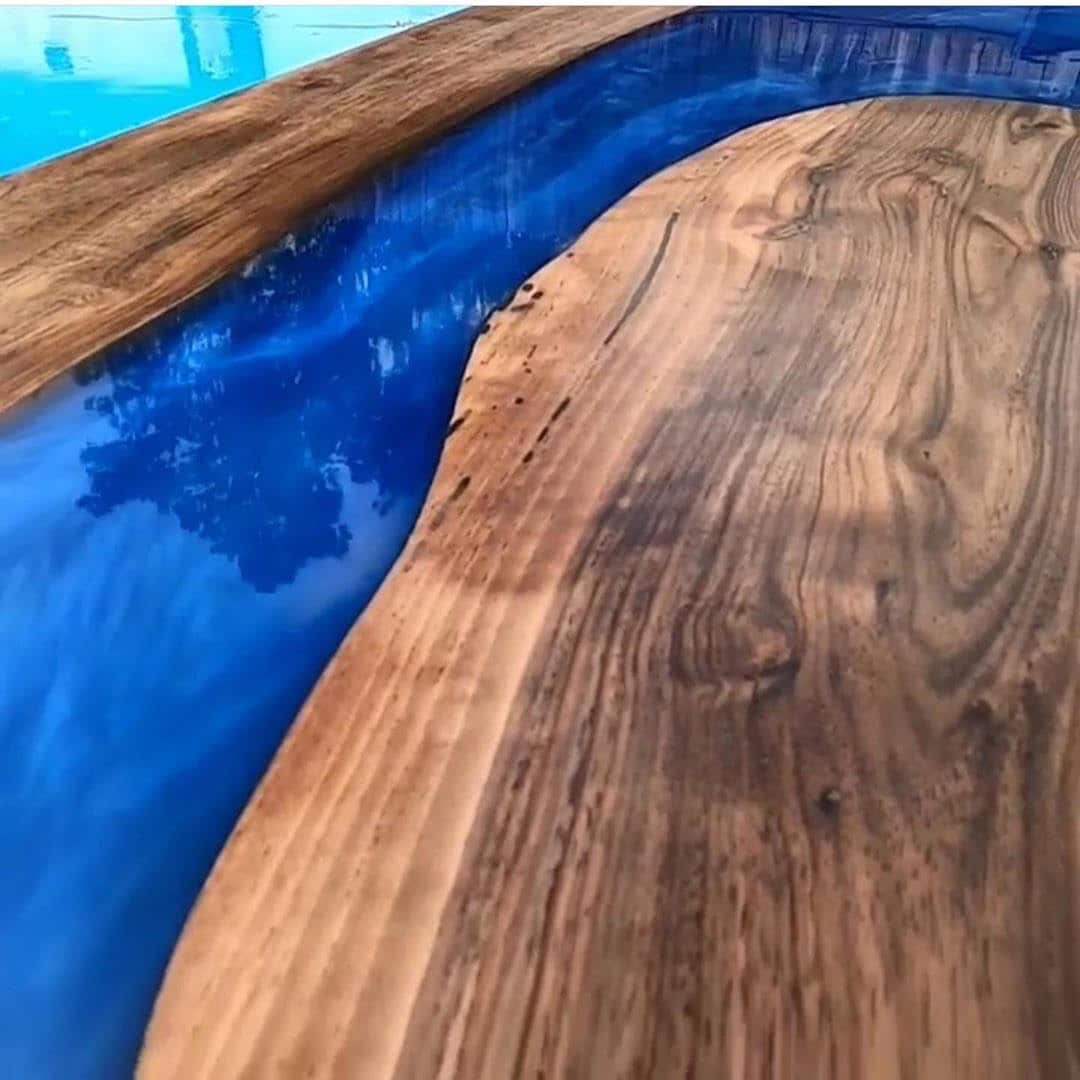
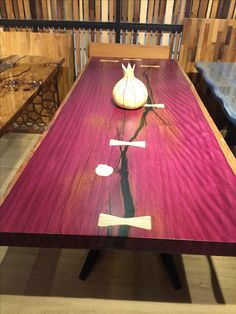
Visual Examples of Seasoned and Finished Resinous Wood
See how seasoned resinous wood achieves a smooth, stable appearance and deepened grain character when properly dried, sealed, and finished. The right products highlight the wood’s natural beauty while offering long-lasting protection.
Step 1: Prepare and Dry Your Resinous Wood
Remove any surface residues and cut ends for even seasoning. Resinous wood, such as pine, fir, or certain tropical species, often contains sticky sap or pitch that can interfere with subsequent coatings. Start by trimming and shaping your wood to its final dimensions, then remove any bark or visible resin globs with a scraper or sharp tool.
Check moisture content for proper wood drying. It is essential that the timber is well seasoned to prevent warping or cracking down the line. Store your wood in a well-ventilated, dry area away from direct sunlight and moisture sources. Allow ample airflow around each board and, if possible, use a moisture meter to ensure the wood is at or below 12% moisture content before proceeding to sealing.
Step 2: Sand and Clean the Surface Thoroughly
Sand and clean the wood before sealing. Using progressively finer sandpaper (start with 80-grit and progress to 180-220 grit), smooth all surfaces and edges. Sanding removes surface resin, opens the grain for deeper penetration, and creates an ideal substrate for further treatments. Be sure to work with the grain of the wood to avoid scratches.
After sanding, wipe the timber thoroughly with a damp, lint-free cloth to remove all dust and particles. Allow it to dry fully before moving on. If you wish to alter the natural colour, this is the stage to use a water-based dye such as Wood Stain for Wooden Surfaces – 250ml Water-Based.
Step 3: Seal and Waterproof with Penetrating Resin
To stabilise and waterproof seasoned resinous wood, apply a deep-penetrating epoxy resin. “EpoxyWood” – Wood Restoration Epoxy Resin for Deep Penetration and Waterproofing is ideally suited for this purpose. Its ultra-low viscosity allows it to infiltrate the wood pores, reinforcing delicate areas while making the timber impervious to moisture.
Mix the resin according to instructions and apply liberally with a brush or roller, ensuring all end grains and exposed surfaces are covered. Allow resin to soak in for several hours, wiping away any excess to avoid pooling. For best adhesion, repeat a second coat if the wood is especially porous. Cure in a dust-free, ventilated area as per product guidance.

Step 4: Finish and Polish for Appearance and Use
Once sealing is complete, select a final finish to protect the wood and highlight its character. For timber destined for furniture or decorative pieces, “Osmo” – Hard Wax Oil for Wood Protection and Finish, Gloss & Matt provides a natural feel and moisture resistance. It is easy to apply—simply brush or roll on and allow to cure without buffing. The breathable finish allows the wood to move subtly without peeling or flaking.
If your project is intended for food-contact, like serving boards or platters, use “EpoxyFood” – Certified Clear Food Contact Epoxy Resin for Coating as the final layer. This ensures a certified food-safe, crystal-clear protective barrier, ideal for maintaining both appearance and hygiene.
Tips, Common Mistakes, and Troubleshooting
Choose food-safe finishes for kitchen use and always follow the manufacturer’s instructions regarding curing times and safety precautions. Avoid thick coatings or rushing the drying process—resinous wood tends to release oils over time, which can impede adhesion if not thoroughly dried and sealed. Test a small, inconspicuous area before large applications to check compatibility and finish.
Maintain ventilation and stable temperatures during curing. If you encounter sticky patches or clouding, lightly sand affected areas and reapply a thin layer of resin or oil. Patience at each stage—especially during drying and curing—yields far better long-term results.

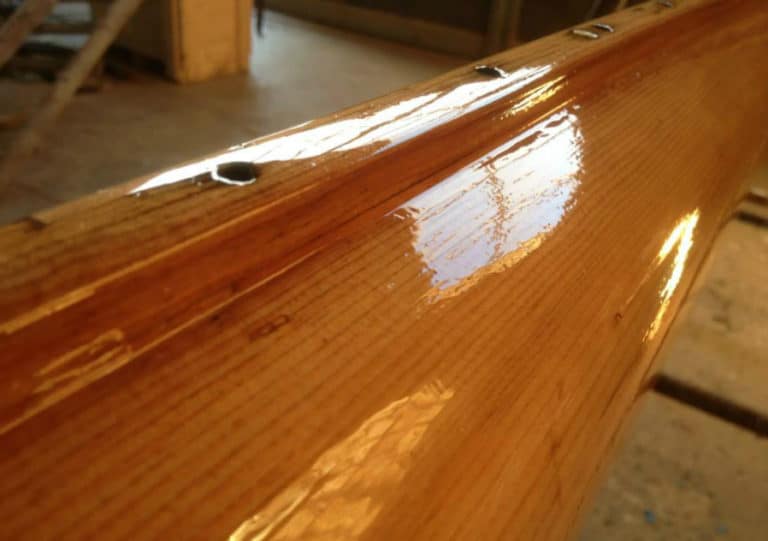
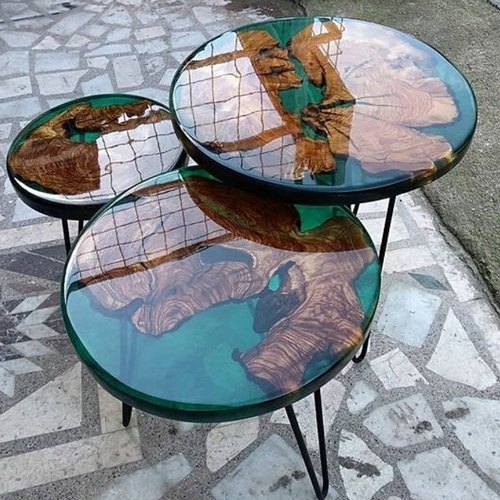
Before and After: The Impact of Correct Seasoning
Notice the colour differences, clarity, and surface resilience gained after following each step with care. Properly seasoned wood not only looks more refined but also stands up better to daily use and the elements.

- "EpoxyWood" – Wood Restoration Epoxy Resin for Deep Penetration and WaterproofingPrice range: £27.95 through £41.95EPOXYWOOD is designed for deep penetration and waterproofing of wood, highlighting natural grain with a warm straw-yellow finish.
- "Osmo" – Hard Wax Oil for Wood Protection and Finish, Gloss & MattPrice range: £26.45 through £41.95Osmo Hard Wax Oil delivers a clear matte or glossy finish for wood surfaces, suitable for woodworking projects under the theme How to season resinous…
- "EpoxyFood" – Certified Clear Food Contact Epoxy Resin for CoatingPrice range: £20.95 through £146.95"EpoxyFood" is a certified food-safe transparent resin designed for coatings with good clarity and a gloss finish.
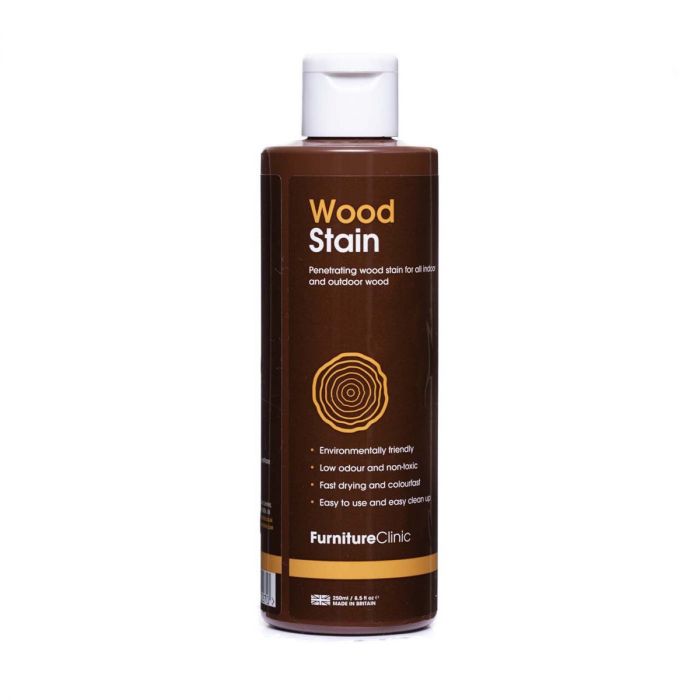 Wood Stain for Wooden Surfaces – 250ml Water-Based£12.45Water-based wood stain for new and aged timber, designed for use in resin projects within the theme of seasoning resinous wood.
Frequently Asked Questions
How long should resinous wood be dried before sealing?
Dry until moisture content is at or below 12%. For most woods, this takes several weeks to a few months in a ventilated, dry space.
Can I use food-safe epoxy on wooden platters?
Yes, certified resins like EpoxyFood are suitable for utensils or platters, provided they are fully cured and used as directed.
What is the best way to remove resin pitch before finishing?
Gently scrape off globs with a sharp tool, then sand the area thoroughly to remove sticky residues before drying and sealing.
Can hard wax oil be applied over epoxy?
Yes, only if the epoxy is cured and lightly sanded. Test compatibility first on a small area to ensure proper adhesion.
What are common mistakes when seasoning resinous wood?
Rushing drying stages, applying thick coats, or not cleaning the surface properly can all cause adhesion and durability issues.
Should you use stain on resinous wood?
Water-based stain can enhance the look if applied after proper drying and preparation. Always allow it to dry before sealing.